How to make a DIY ironing board?
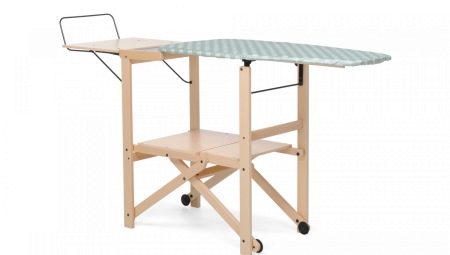
How to make a DIY ironing board?
For high-quality, and most importantly, comfortable ironing of clothes and linen, a modern iron with the necessary options will not be enough, since for such work we also need special equipment and a place. An ironing board is what you need more.
We do it ourselves
Of course, today there are no problems finding ironing boards. There are many different models to be found in any specialty store. And yet there is another fairly simple way that will allow you to acquire this necessary item in everyday life - you can make an ironing board with your own hands. Such a thing can even be presented as a gift to a loved one. Such a gift will be appreciated when they find out that you did everything yourself.
pros
They washed and then ironed all the clothes and linen, now the question arises: "Where to put and hide the board?" Typically, ironing boards are left unfolded in the room, and some folded them after each ironing and tucked them away behind some furniture to make room in the room. But this folding and unfolding takes a lot of time and effort. There is a great way out - a pull-out ironing board.
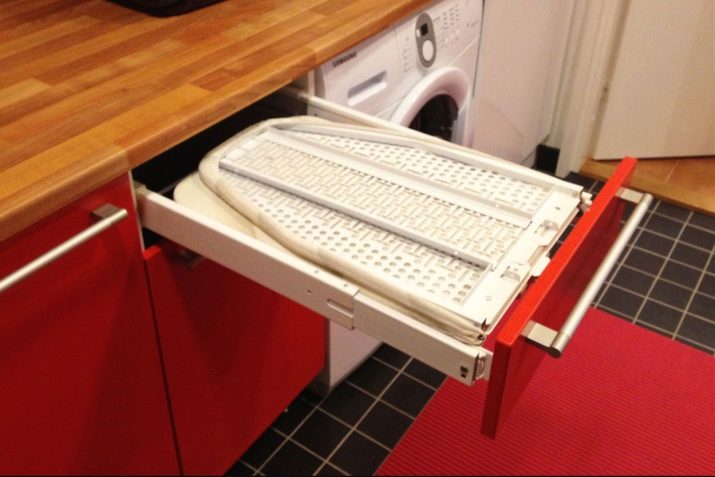
This built-in type of ironing structure combines many advantages.
- Easy installation. For the simplest possible use, the board is attached to the wall. Several special fasteners are screwed to the wall, and then the board itself is installed on them. By the way, it is recommended to prudently choose a place so that there is always an outlet next to the built-in structure.
- Significant savings in free space. Households can not be limited in movement, because the ironing unit can now be hidden in the closet, and this, in turn, will give the room more free space.
- Practicality. You need to iron your clothes - the board is taken out of the closet, ironed - hid back.
- External appearance. The folding ironing structure is designed to suit the style of the interior, thereby complementing the overall picture of the entire space.
- Robust design reliability. All these qualities provide the ironing board with a long service life. For example, there are models that are equipped with a sturdy metal frame with thoughtful details.
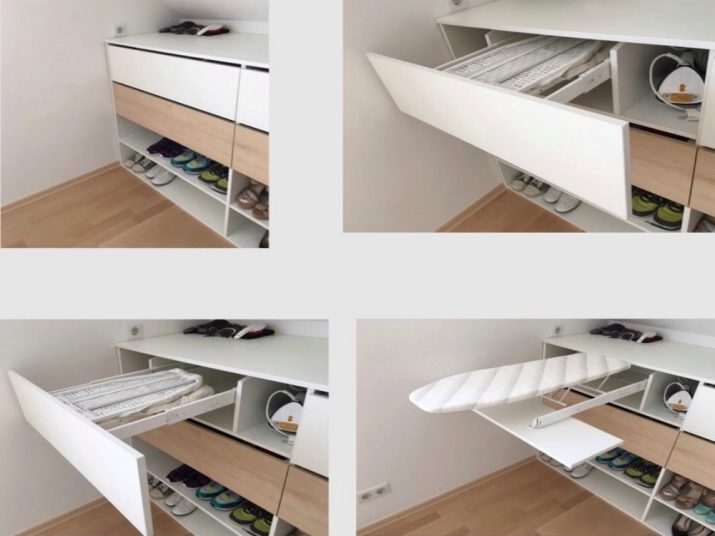
We make a folding structure
Now you need to figure out how to mount such an option yourself, make drawings and a diagram. A special mechanism allows you to lower and raise the tabletop if necessary, which is very convenient. In addition to the table top, this ironing structure also has a frame built into the wall niche and a footrest.
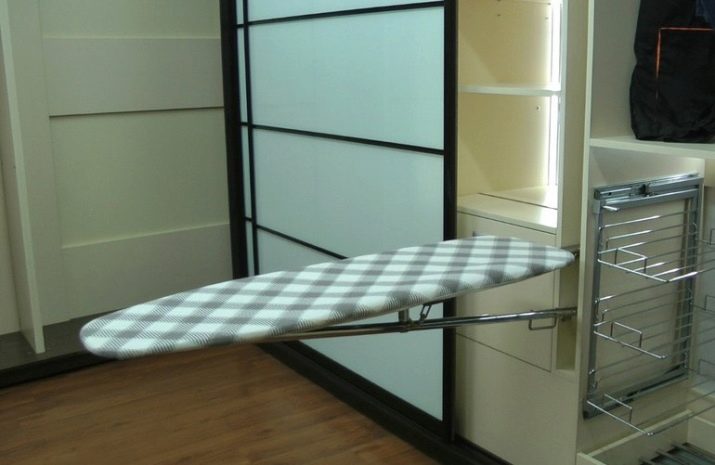
By the way, you can choose different sizes for this type of device. You just need to take into account the availability of free space in the room where the built-in ironing board will be located. Various decorative elements can be used to make the ironing device more attractive.
Cooking a niche
First of all, before installing the ironing board, you need to make a niche where the device will be folded. That is, first you need to make a storage for the ironing structure. It is easier to make a niche in a frame-type house. You just need to pull out the inner lining in order to then give the niche a special shape with the help of wooden boards.
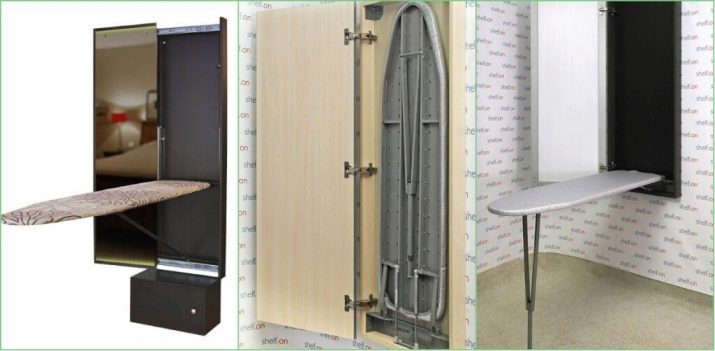
To correctly calculate the size of a niche, you should take into account the dimensions of the ironing board. The bottom stop, located at the very bottom, should be located at a height of 80 cm, not higher. This height will allow you to unfold the ironing structure for convenient use.
Step by step manufacturing
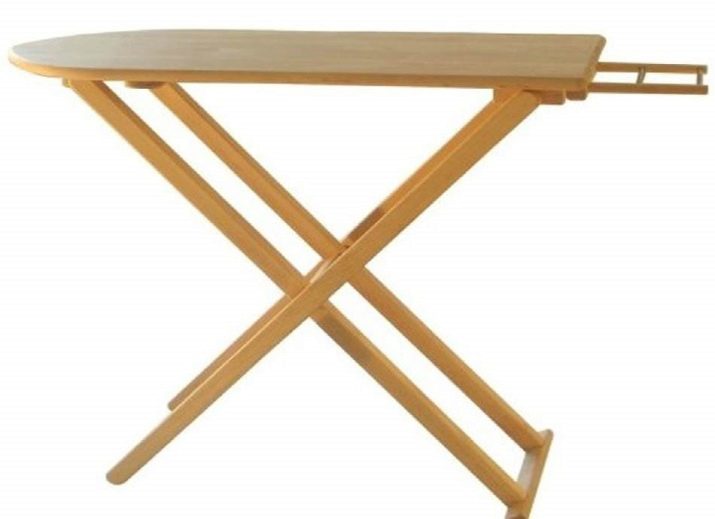
- We determine the size of the future board. The optimal length of a homemade wooden countertop will be 130 cm, the width of the device should be 40 cm. The furniture board must be measured based on these parameters. It is better to choose a shield shape with rounded corners. When using the board with such angles, the upholstery will not suffer.
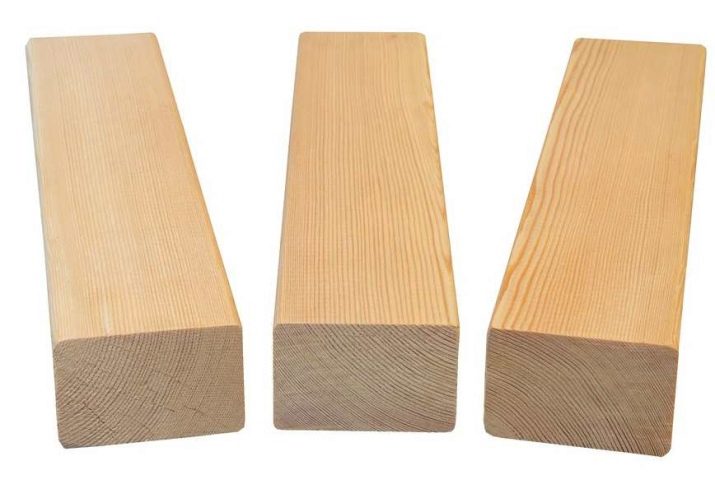
- Next, you need to prepare several bars, the size of which is 3.5x4x30 cm, and three bars with a size of 3.5x4x110 cm.Of course, these parameters may differ: everything will depend on the space of the room and the height of the household who will use the ironing board.
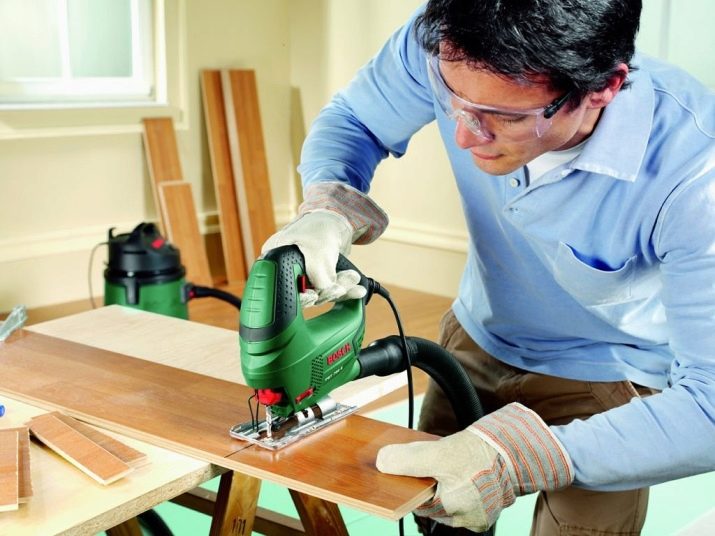
- An electric jigsaw is used for precise and fast cutting of the element. At the edges, the part is processed by a milling machine.
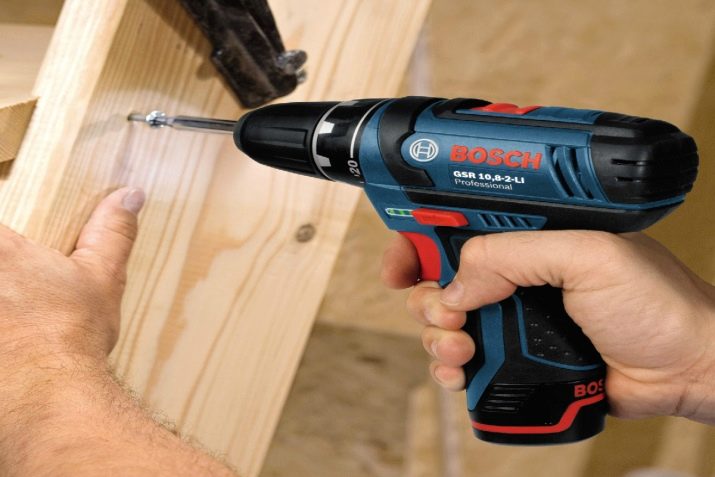
- 52 cm are measured on a long bar, 5 cm are measured on the other side. Marking points must be marked, and then through-type holes are drilled in the marked places, you need to use a drill with an 8 mm drill. Do the same with other bars.
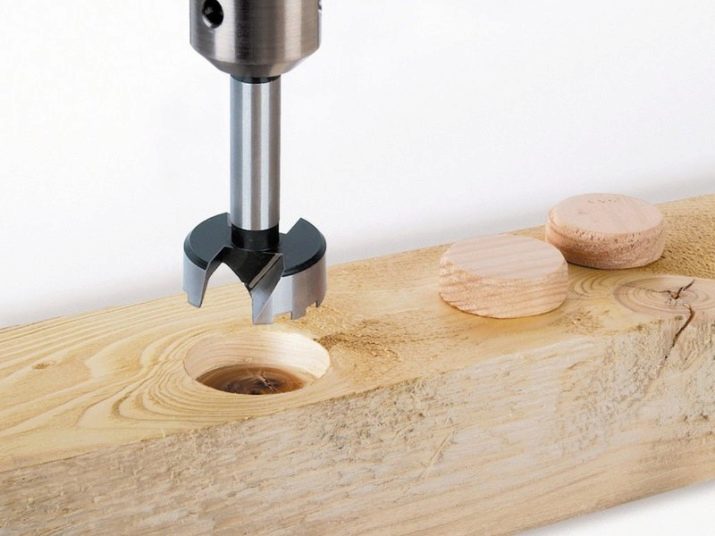
- The cork drills create a cull on two long beams. This will prevent the bolt heads from sticking out, they will be completely sunk into the material.
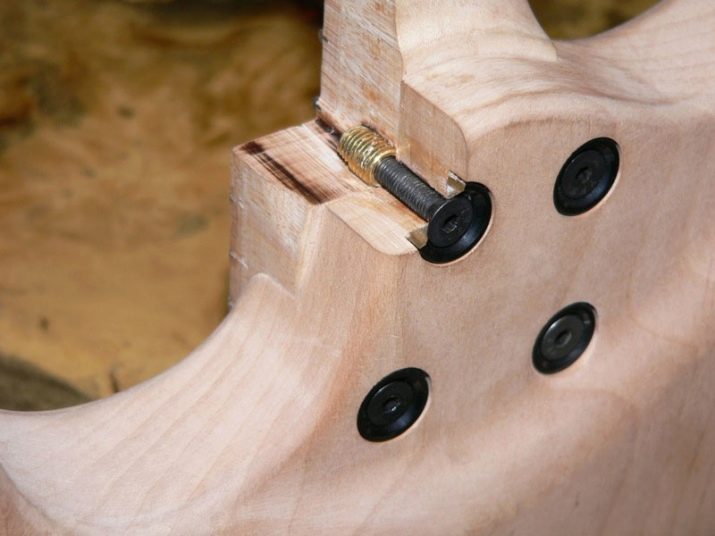
- Next, you should connect the 3 obtained beams with bolts. It is better to use fasteners marked M10. The bar in the middle rotates 180 degrees.
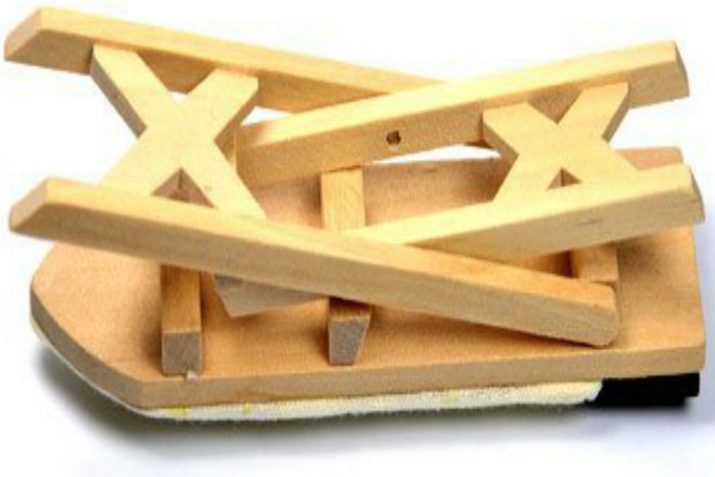
- We measure 3 cm from the edges of the short bar, create 8 mm holes. We make a selection on one of the sides.
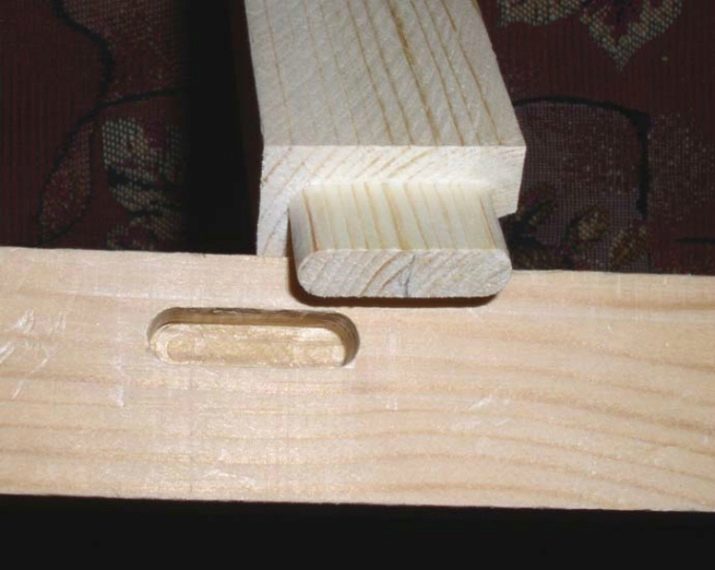
- Further, similar holes are drilled, but only at an indent of 2 cm. The sample is made on one side.
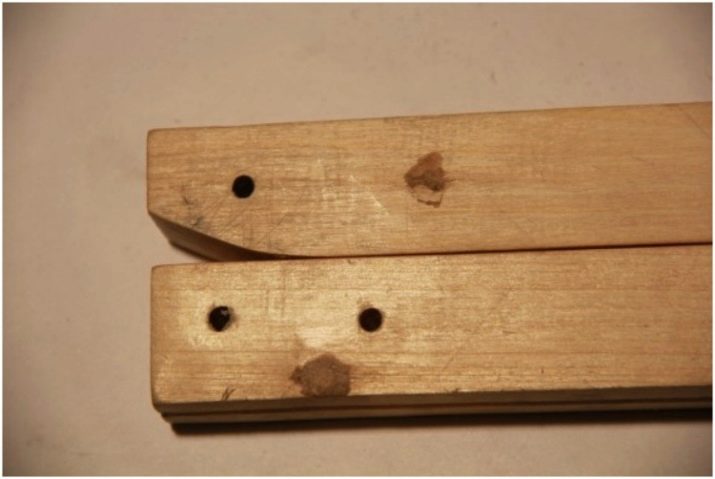
- Long bars with short ones are bolted together.
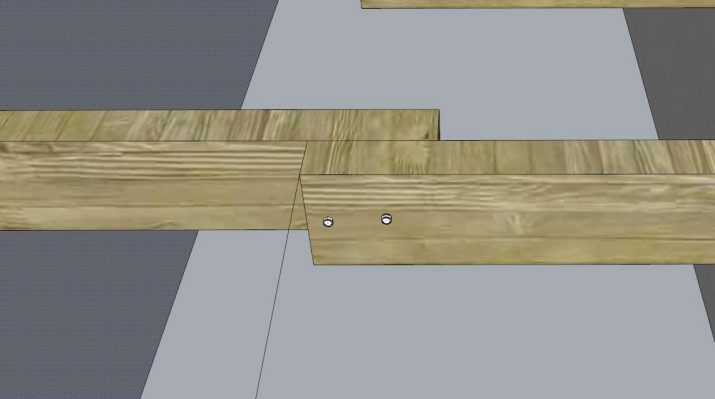
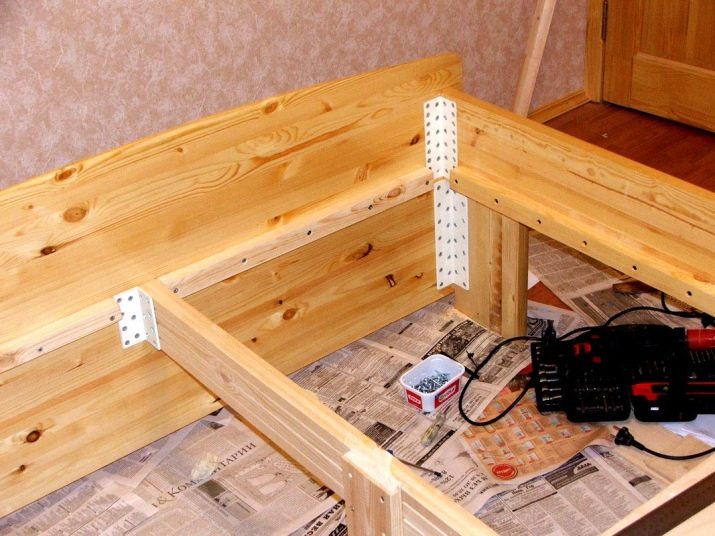
- Supports made of long and short beams are fixed to the table top. In this case, you should indent the edges by 18 cm.
- With the help of a milling machine, on the other side of the tabletop, a recess is created for one leg, so it will fold inward when the transformer structure is unfolded.
- Now you can start cutting out the upholstery type of panel. This should be done taking into account the dimensions of the countertop. The size of 150x50 cm is considered optimal.
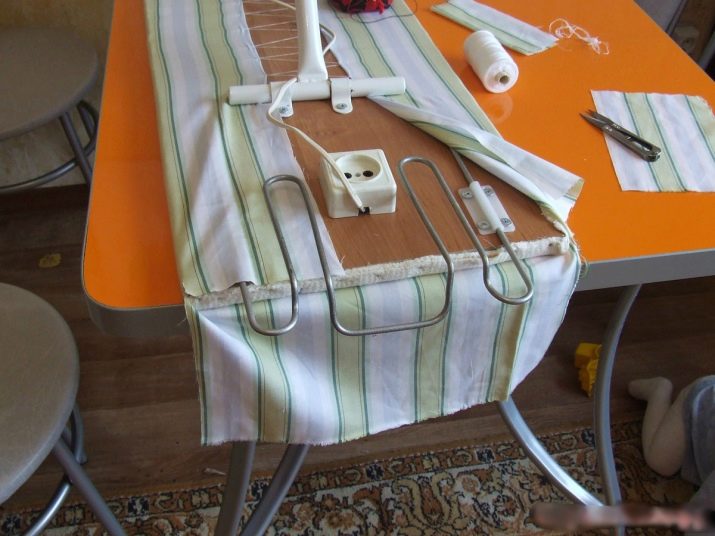
- On the lining fabric, you need to circle the countertop in order to then cut out the fabric and place the cut piece on the surface.
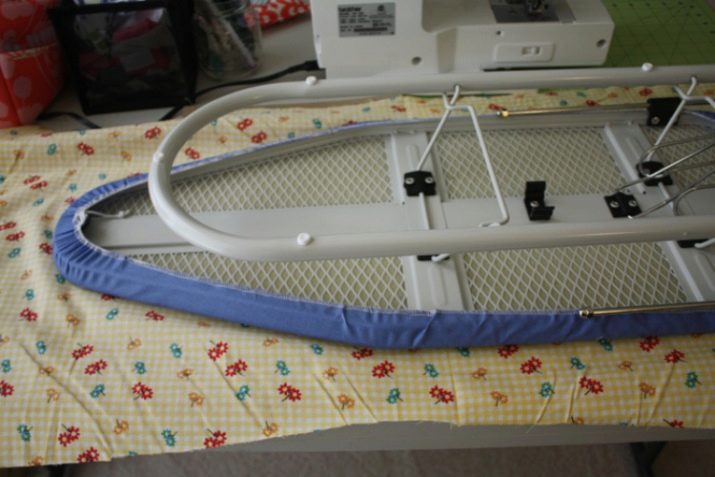
- The tabletop will now need to be turned over to place it on top of the upholstery fabric with the wrong side up. The edges of the upholstery fabric are rolled up and fixed to the ironing structure. It is better to use a stapler for fastening.
For information on how to make a transforming ironing board, see the video below.


