All about tapestry seams
Recently, handicraft is gaining popularity again. In addition, many new types of embroidery have appeared, which differ from each other only in the complexity of their implementation. Among them, it is worth noting the tapestry stitching.
Peculiarities
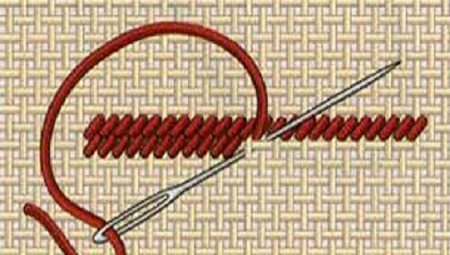
First you need to know that the tapestry stitch in embroidery is a kind of counting stitches. The front side of the finished product looks similar to a half-cross. However, on the seamy side, such a seam differs from a half-cross in that diagonal stitches are made there, which do not allow the finished product to be skewed. The following materials may be required for embroidery.
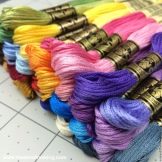
- Threads. Most often, the work is done using woolen or acrylic threads. However, in some cases, a floss is also used, folded in at least six threads.
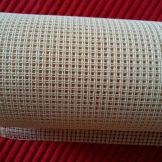
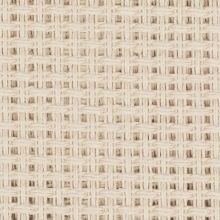
- As for the fabric, a matter is usually used, which is called stramin... It represents the same canvas, but only more rigid. It is usually used for carpet embroidery. If we talk about the canvas, then it is best to buy one on which the cells will be small. In this case, no gaps will be visible on the tapestry. The embroidery on the mesh with satin stitch looks especially beautiful, and not with a cross. The main thing in this case is to choose the right thread size, as well as to familiarize yourself with all existing seams.
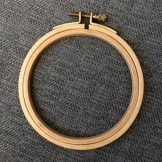
- So that the fabric does not deform, and the seams are perfectly even, you will need to purchase hoop or machine.
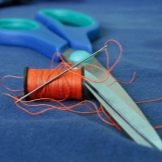
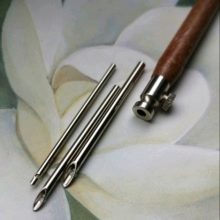
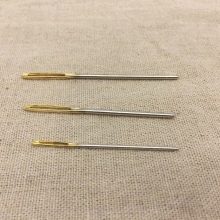
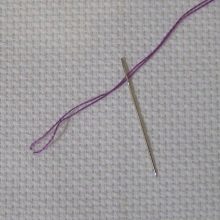
- In addition to all this, when working with tapestry seams, you will also need to purchase sharp scissors, needles, tweezers and a needle threader for more convenient thread retraction.
Application
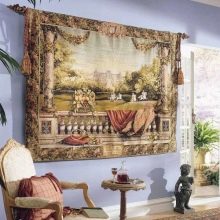
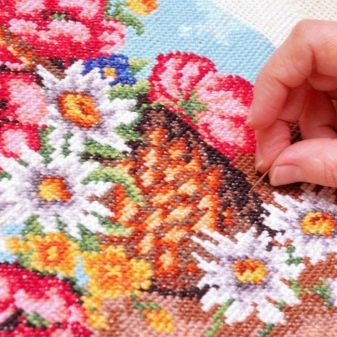
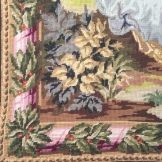
Tapestry paintings have always been highly valued, because their production required not only good materials, but also the talent of needlewomen. Initially, they were products, the size of which was within 20 meters. At that time, not every person could afford to acquire such beauty, because it had a very high cost. However, over time, everything has changed, and today even a novice craftswoman can embroider a tapestry with her own hands.
In addition, the size of the product has significantly decreased, because not everyone can afford to spend a lot of time on its manufacture.

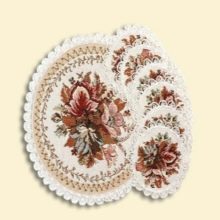
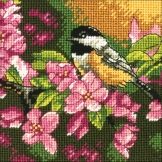
It is enough just to get acquainted with the basics of tapestry embroidery technique and you can create not only a picture or a panel, but also a non-woven carpet. In addition, you can embroider them in any style. After all, the tapestry stitch will give the finished product not only charm, but also grace. Today, tapestry lovers organize exhibitions where you can see any products made with tapestry stitching. The range of tapestry products is large, it can be:
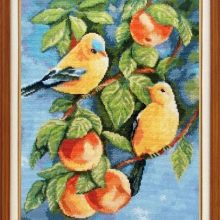
- unusual paintings;
- small napkins;
- large bedspreads and pillowcases made in the same style;
- panel;
- curtains in the living room or bedroom;
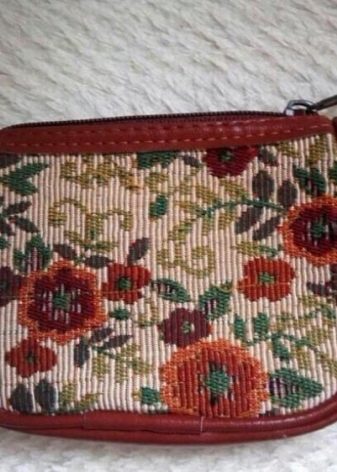
- exclusive bags or cosmetic bags and many other products.
Varieties
There are several types of tapestry stitches that you should familiarize yourself with in more detail. Most often they are performed in one thread.
- Straight. Such a seam is most often used for embroidering the border of a product or stencils. The technique is not too difficult and is done from left to right.
- Oblique. Most often, these stitches are used to fill the background of a tapestry. Rows can be performed both from the left side to the right, and from the right side to the left.
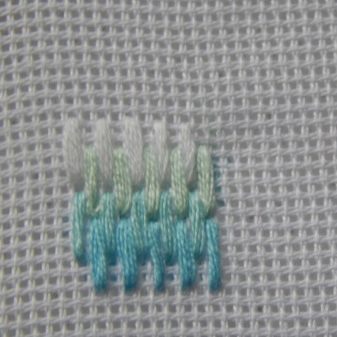
- Breathtaking. Such a seam is used to fill a space or to make a smooth transition. The technique itself is quite simple, but still requires some attention. With its help, pictures can be given relief.
- Elongated bias seam used when embroidering huge canvases. Thanks to such stitches, you can change not only the length, but also the angle of inclination of the stitches. They can be performed both in one and in the second direction.
Technique of execution
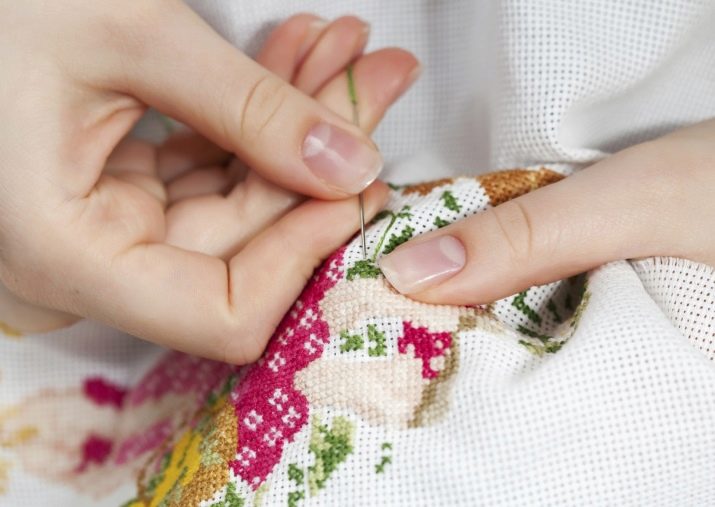
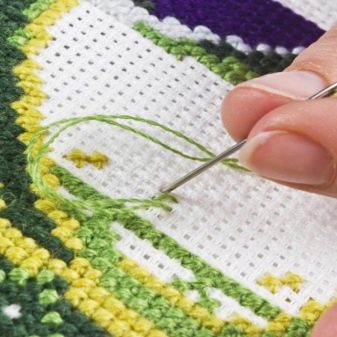
There are two ways to embroider tapestries. In the first case, embroidery is done with satin stitch or cross stitch. This requires a needle with a large eye. In the second case, loop embroidery is performed using a special needle. Before starting work, you should definitely read the master class explaining how to master the tapestry stitching. This is the best way for beginners to understand the process.
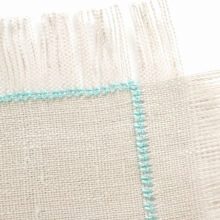
Only after that is it worth starting the embroidery process itself. In any case, before starting work, it is necessary to process the edges of the prepared matter. This is done so that they do not crumble.
To learn how to embroider, you need to consider the technique for performing each tapestry stitch step by step.
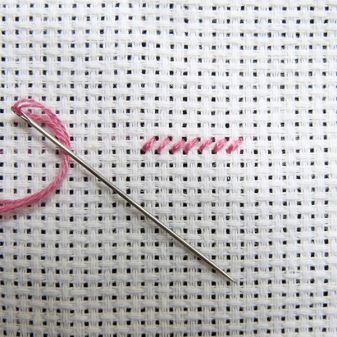
Continental
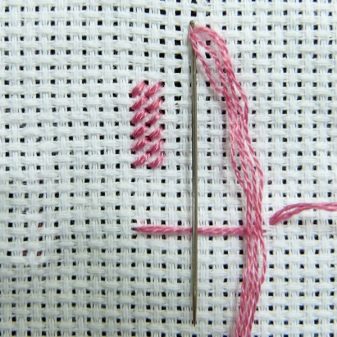
This embossed seam differs from others in its high strength and is made in one thread. For its execution, it is necessary to enter the needle from the seamy side into the left corner located on the lower side, and withdraw it in the upper right corner from the front side. Further, the same actions must be done in the square next to it. Thus, these steps are repeated to the end. After that, the work turns, a transition to a new row is made, that is, the seam is performed in the opposite direction. On the front side, the seam resembles a half-cross.
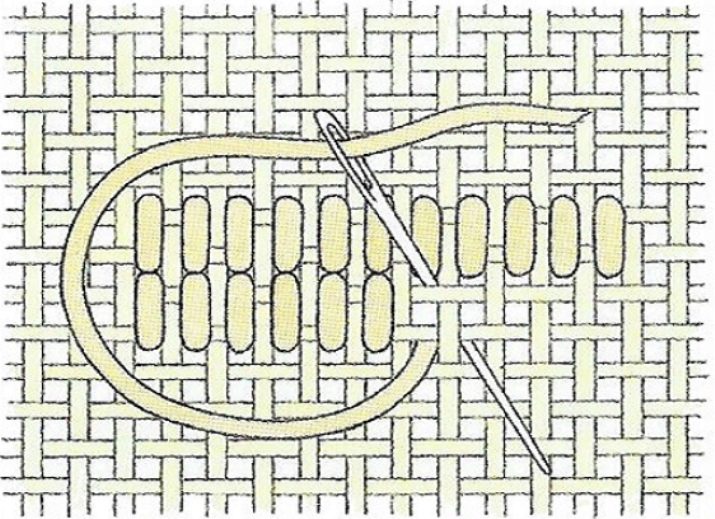
Straight
To complete such a seam, you need to thread a needle into the right corner of the square located in the lower corner from the wrong side. Then it must be displayed in the lower right corner from the front side, only in the adjacent square located in the upper row. The seam is slightly longer than with other embroidery methods. Repeat everything in the same way to the end of the row. Such seams look very beautiful when combined with oblique seams.
In this case, they turn out to be more voluminous and beautiful.
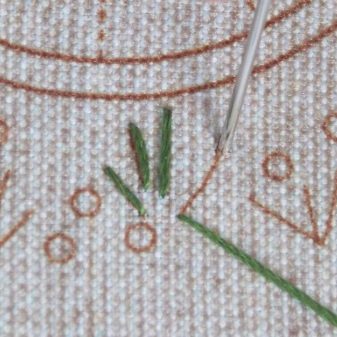
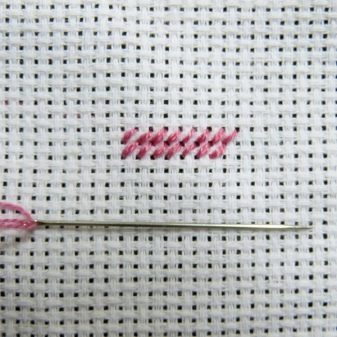
Oblique
To complete it, you need to stretch the needle to the left corner, located at the bottom of the square, and bring it to the right corner of the neighboring square located in the top row. All actions must be performed to the end of the row in the same way.
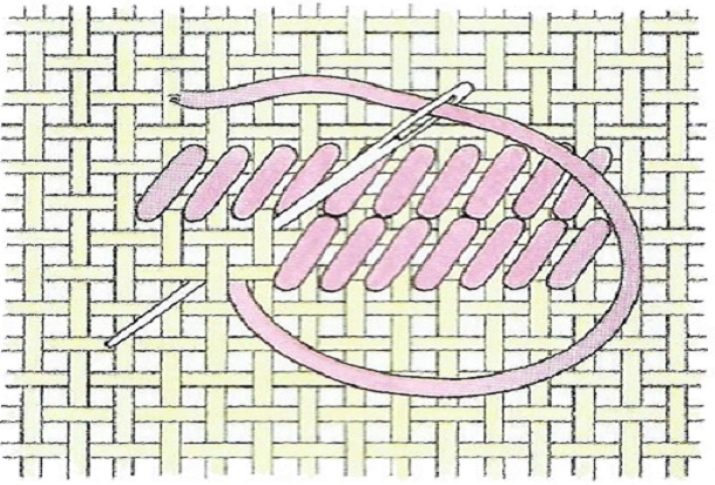
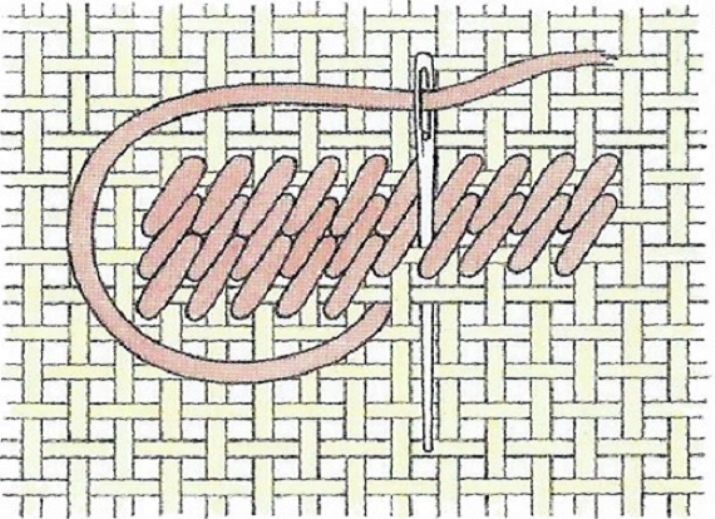
Oblique elongated
This seam is very similar to the previous one. However, there is one difference - the stitch connects the squares that are located through one cell, and not as in the previous version.
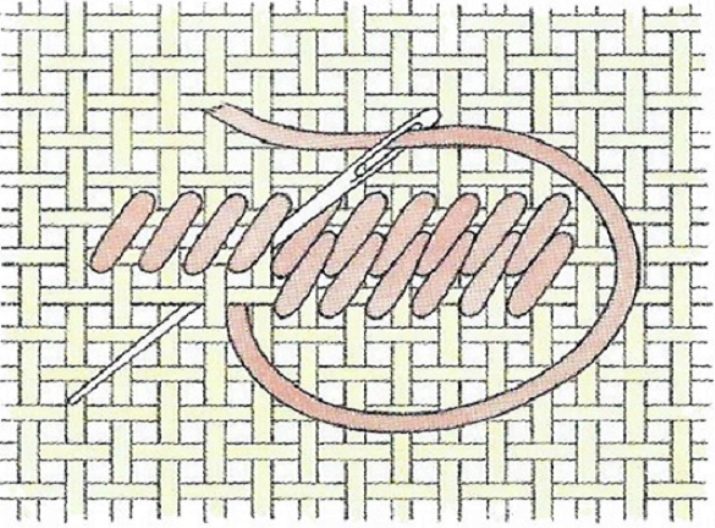
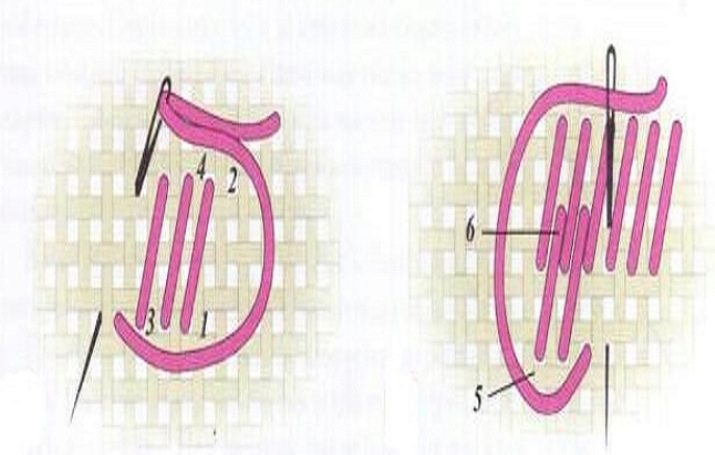
Breathtaking
The first row of a grasp seam is made in the same way as an elongated bias seam. For the first stitch in the second row, place it two squares below the last stitch in the first row. The end of the stitch is secured between the beginning and the end in the top row. In this case, the stitch size can be longer or shorter. In any case, they are formed at the discretion of the master.
It is important to ensure that everything is done correctly, that is, there are no distortions when working with the product.
Expert advice
For beginners, in order to avoid mistakes in such a matter, it is worth listening to the advice of more experienced people.
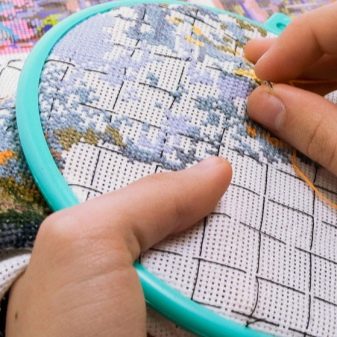
- First of all, novice craftsmen should make tapestry stitches on a large canvas. In addition, it is best to use prepared diagrams for this. In this case, the product will turn out to be not only beautiful, but also correct.
- The embroidery fabric must be absolutely flat. There can be no knots on it, because it is strictly forbidden to make them. To prevent this, the thread must be folded in half, and its free ends must be pulled into the needle. The loop that has formed is best used to secure the thread to the fabric. If necessary, the ends of the threads can be fastened with a few small stitches.
- To make the tapestry perfect, you need to learn how to choose the right thread. Their size depends on the size of the cell on the canvas. Ideally, the threads on the canvas should fit snugly together so that there are no gaps anywhere.
- On the seamy side of the tapestry, there should be absolutely no broaches of threads: neither long nor short. After all, they can be seen on the front side of the product, which will significantly spoil the impression of the work done.
- Ideally tapestry stitching is best done from left to right.
- It is imperative to ensure that the thread is always taut. Thus, it is possible to avoid distortion of the fabric in the finished product.

Despite the large number of embroidery techniques, some of the best products are obtained using tapestry stitches. They not only have a sophisticated and attractive look, but they also look "rich".

For how tapestry stitches are made, see the next video.


