How to make a tapestry with your own hands?
An exquisite hand-made tapestry can harmoniously fit into almost any interior and become its main "highlight". Its production is not particularly difficult and is accessible even for novice craftswomen.
Tools and materials
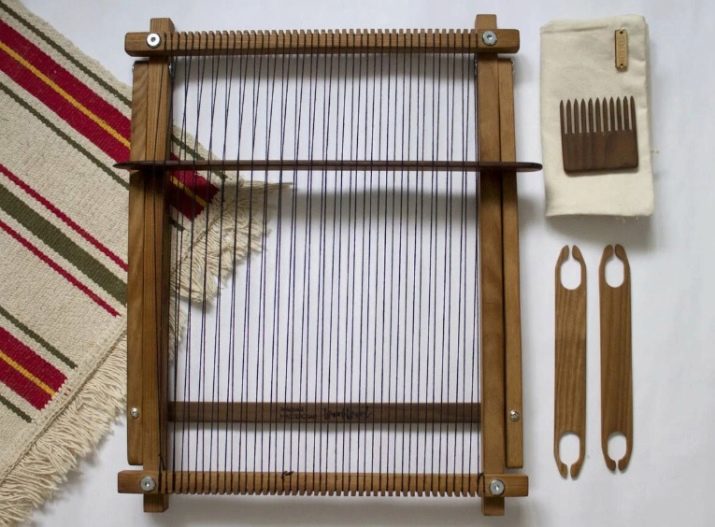
In order to make a tapestry on your own, you will need a special needle, twine, threads suitable for needlework, or multi-colored yarn, as well as a wooden stretcher in the shape of a circle or square, standing on legs of different heights.
Of course, if the farm has a ready-made machine for hand weaving, then it will be much more convenient to work on it.
Besides, in some cases, canvas and scissors can come in handy, as well as a decorative frame in which the finished product will be placed.
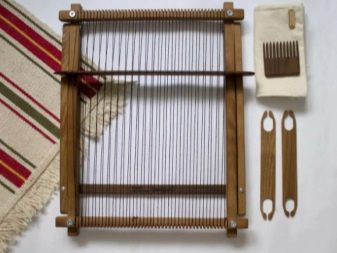
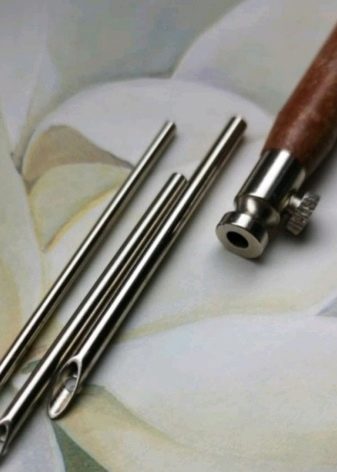
A special needle should be taken, since a simple device with a plastic handle can quickly break. A better solution would be to purchase needles with a wooden base, and they should be of different lengths and diameters. The working length in this case ranges from 3.5 to 7.5 centimeters. The thickness of the main needle cannot exceed 2-2.5 millimeters, but varieties with a diameter of less than 2 millimeters are suitable for work on a cotton base. For wool and synthetics, the use of needles with a thickness of 2 to 2.5 millimeters will be optimal.
The wooden frame should be selected in such a way that the size of the frame is larger than the size of the planned pattern., that is, to create a tapestry with sides of 40 centimeters, you will need a frame with sides of 50 centimeters. The allowance on the sides should be at least 5 centimeters.
It is recommended to select threads with a permanent color. They can be cotton, linen, wool, or artificial.As for the quantity, it is better to immediately purchase the material with a stock. You can embroider the tapestry on different fabrics, but for the first time it is recommended to use loose linen with a loose thread weave. Expensive paintings, as a rule, are created on natural cotton fabrics, and synthetics are most often used for budget work.
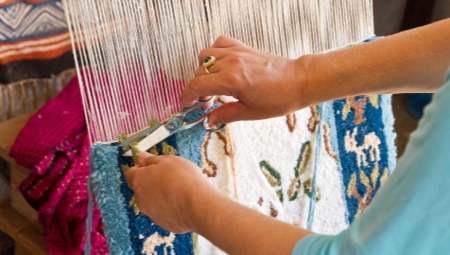
Manufacturing
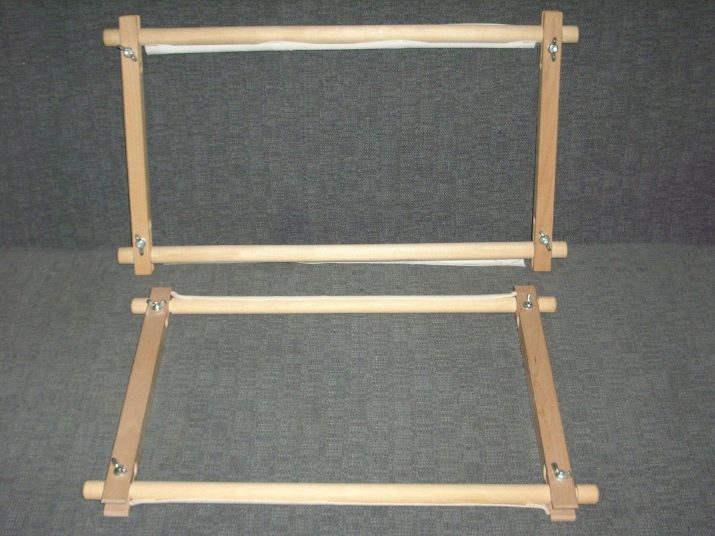
Before starting to make a tapestry with their own hands, craftswomen should study the independent creation of a semblance of a loom, that is, a stretcher, which will be both the basis and the decorative frame of the product. The construction will require wood or bamboo sticks, small nails with a hammer, and quick-drying glue. Having measured the dimensions of the trellis, it is necessary to transfer them to wooden blanks. For example, for a square tapestry with sides of 30 centimeters, a frame 50 centimeters wide and 70 centimeters high will be convenient. The wireframes are cut in such a way that each pair in the corner joins into a triangle. They are then fixed to each other either with nails or with glue.
Further, along the upper and lower planks, it is necessary to symmetrically drive the carnations in one or two rows. One row is more suitable for children, but adult craftsmen traditionally use exactly two. It is better to make pencil markings first and operate with a hammer carefully so as not to destroy the wooden frame. The spacing between the studs depends on the thickness of the warp: twine or linen thread. It is customary to keep a centimeter gap in the first case and a five-millimeter gap in the second.
Do not forget that the more distance remains between the threads, the easier it will be to weave.
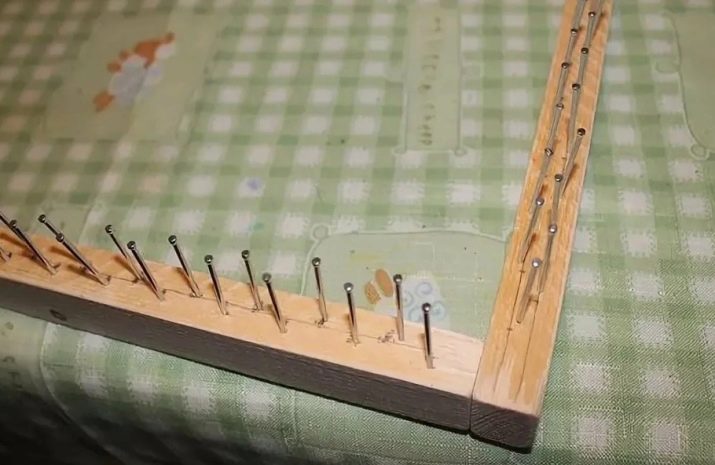
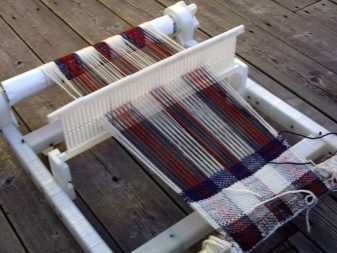
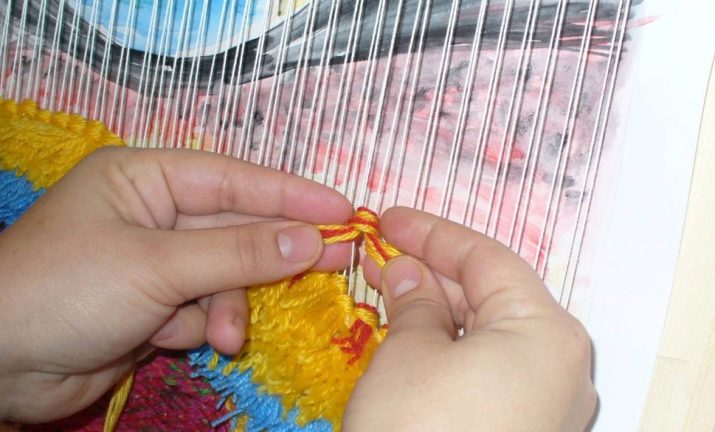
The next step is to tighten the twine. Having securely fixed it around the first upper nail, you need to go down and wrap around the first lower one, and then go to the second upper nail. The entire frame is processed in the same way, but in the last section the tip is wrapped several times, after which it is trimmed.
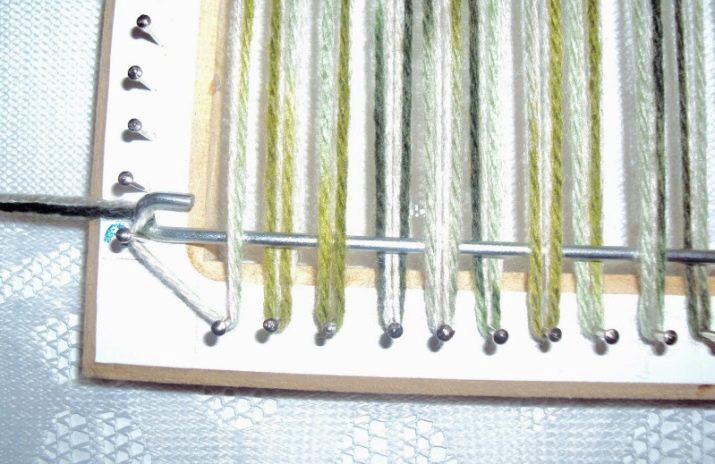
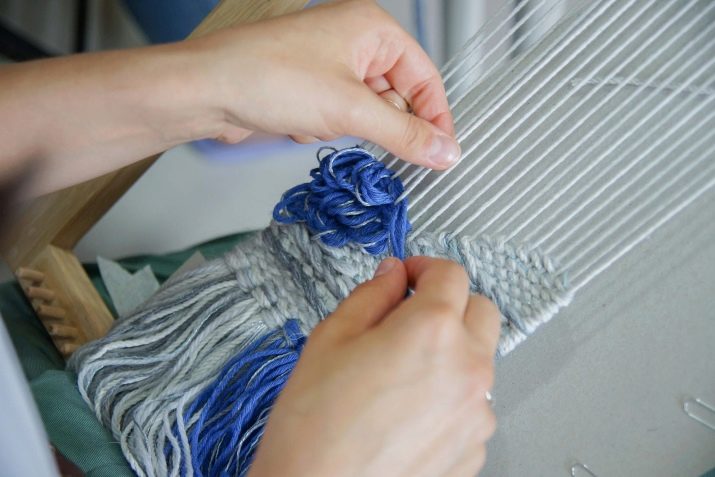
Having prepared the machine, you need to thread a woolen thread into it and start weaving directly. It should be added that in the case when the frame is to remain the decorative frame of the tapestry, the carnations should be driven into its seamy side. Sometimes the warp threads are simply wound around the horizontal strips of the frame.
This method complicates the work itself, but speeds up the preparatory process and allows you to weave over the image on each side.

Any tapestry master class at home will, in fact, require you to follow the same steps step by step. Having decided on the shade of the threads, you should deal with the existing weaving methods, of which there are a huge number.
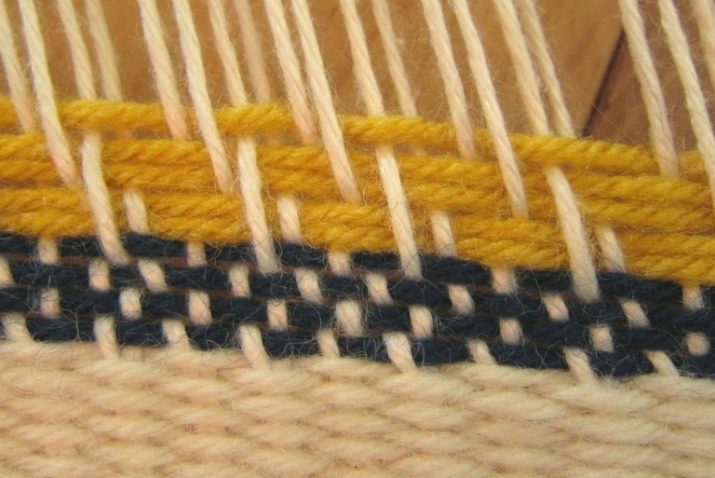
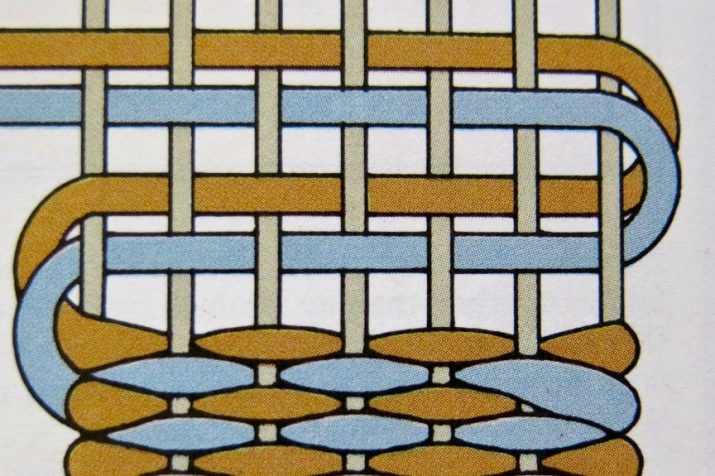
- The simplest is linen, when the working thread passes through the warp threads through one.
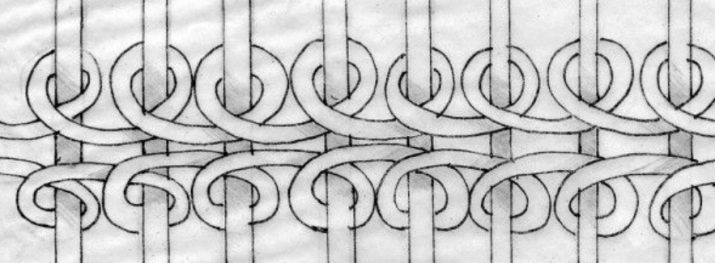
- If weaving by hand in a pattern-forming way, then the working thread will have to go around all the warp threads twice.
- With the twill tapestry knitting method, the warp thread will only need to be passed between odd warp threads. Since the work is carried out in rows, it is important to be able to change and combine shades.
- For example, this can be done using the carpet method, when the thread, having reached the border of flowers, turns back, and the row continues in a different color. In order not to create gaps, you can braid the bordering main thread with two working threads.
It is better to start acquaintance with the technology of creating tapestry with some simple scheme, including a circle and simple horizontal connections.
It will be more convenient to fix the sketch on the frame so that the warp threads are higher. For voluminous weaving, use of "braids" alternating with regular rows, or tying knots is suitable. The carpet technique is also useful here, that is, fixing individual fragments of yarn on the warp threads.
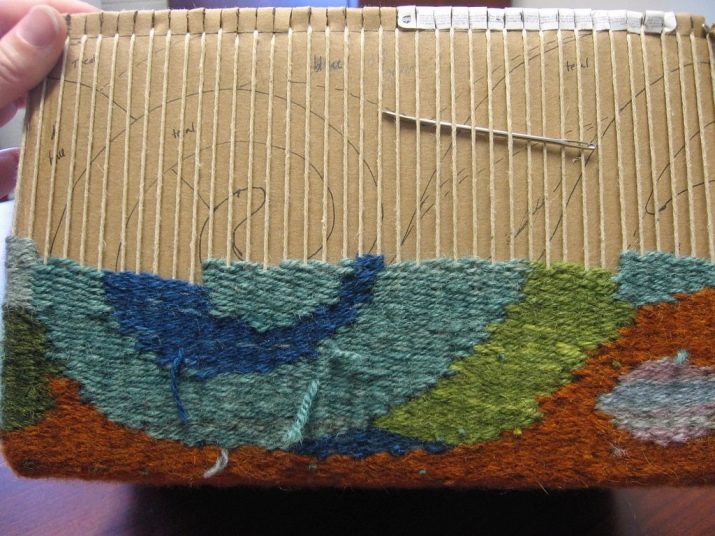
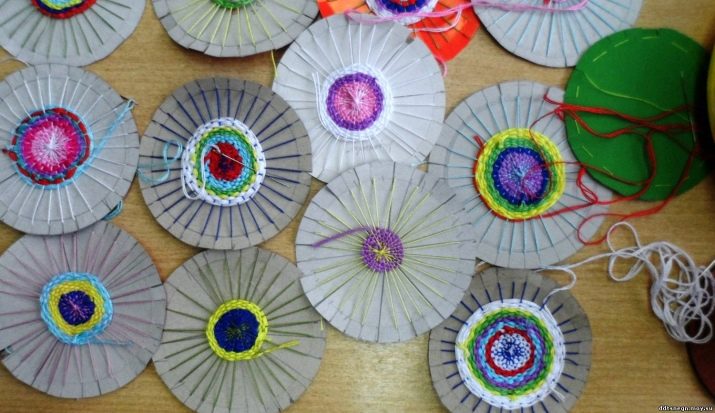
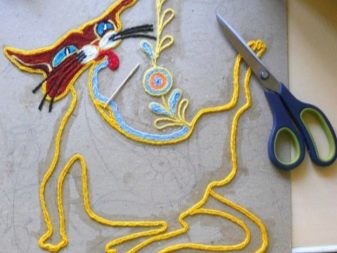
In general, even before working with the machine, it makes sense to study less complex techniques, for example, creating a tapestry on cardboard in the form of a circle in a frame. First of all, a circle is cut out of thick cardboard using a plate or a saucepan lid. Any thread is suitable for work, with the exception of terry and acrylic varieties, which are distinguished by excessive "stretch". Notches are made on the circle, and the working thread is fixed with a knot in one of them. The thread is folded in such a way that the work is always carried out on the front side.
In addition, it is important to ensure that the cardboard blank does not break.
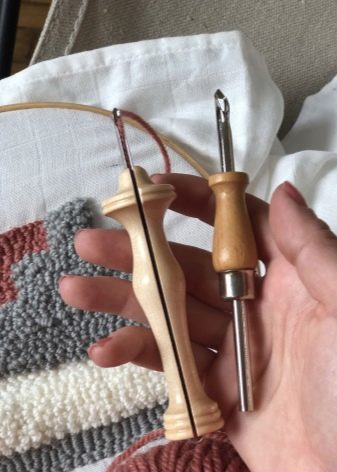
The creation of a nonwoven tapestry with a fabric backing requires the use of cotton with sides equal to 50 centimeters, special crochet hook, scissors, hoops and colored synthetic threads. A pen or felt-tip pen will allow you to paint the pattern on the wrong side of the fabric. To fix the base on the hoop, thread the hook, possibly using a thin wire. The thread is inserted into the surface until a loop is formed, and it is very important to monitor its tension. The movements should be reciprocating, and the needle should be directed only straight down.
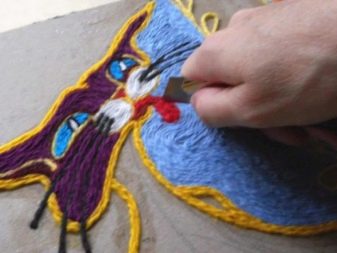
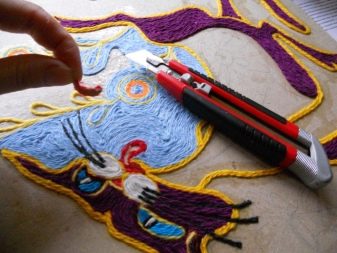
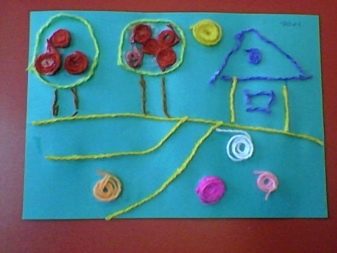
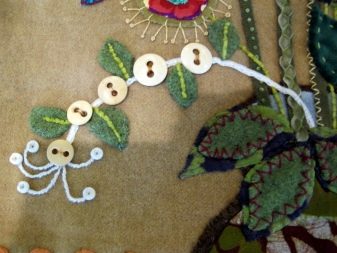
Another unusual way is the manufacture of a completely simplified non-woven tapestry, which is ideal for children's creativity.... Felt, drape or cloth is used as a base, on which pieces of the same fabrics, but in different colors, are then glued to create a pattern. For example, a house, a sun and a tree carved out of drape are fixed on a felt canvas. Then one synthetic cord is slightly unraveled and used to form branches, while the others are applied to clouds. The seams are made along the length of the felt, keeping a gap of 2 to 5 millimeters.
Recommendations
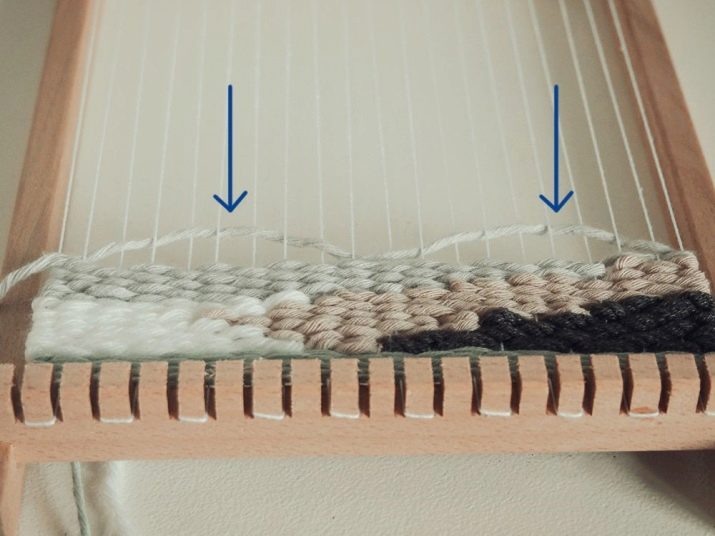
During the working process, it is recommended to pull the thread in a "slide", and then lower it, laying along the pattern. From time to time, the entire product should be slightly pulled up by hands in different directions. The threads should be taut at the edges of the tapestry. If they are too thin for this, then you can pull them in two folds. If necessary, a rope is tied to the extreme threads, and it is also pulled to the sides of the stretcher.
This method will correct a small error that has arisen due to the fact that the tapestry is pulled together.
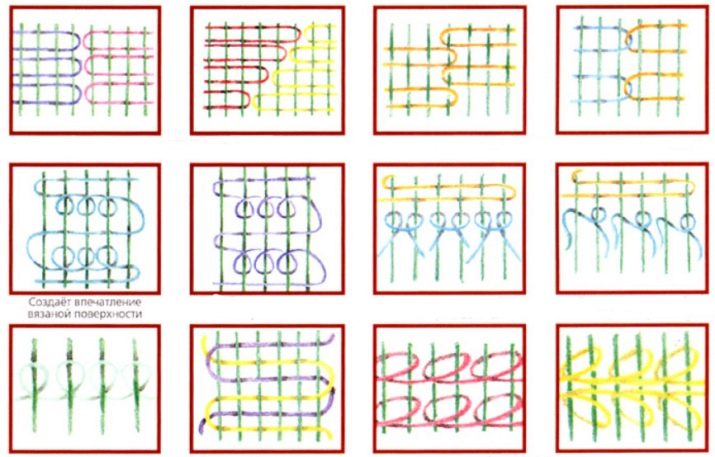
For weaving tapestry, it will be helpful to use different short stitches.
- Semi-cross means creating a seam in one plane and is used most often.
- Continental stitch is characterized by the absence of straight lines from the inside out, since they run at an angle and are much longer than from the front side.
- A straight stitch is made strictly up, down or across. Using the gripper requires slightly overlapping stitches.
- The braided stitch is sewn in such a way that the whole row overlaps the adjacent one and forms a weave.
- The loop stitch is followed by the pulling of the threads that simulate the villi.
In the next video, you will learn how to make a tapestry loom with your own hands.


Cool, thanks it was very interesting.