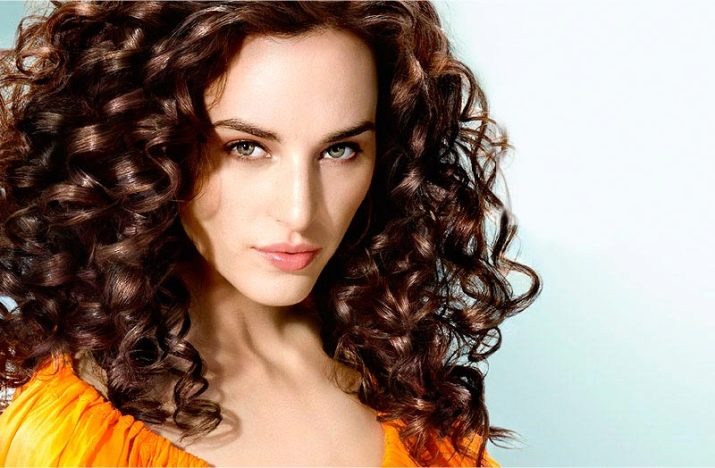
How to perm your hair at home?
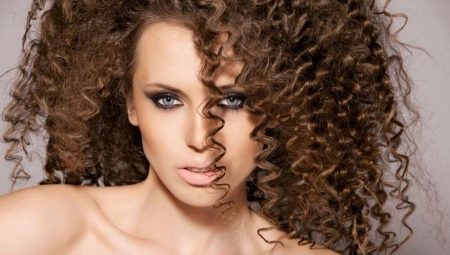
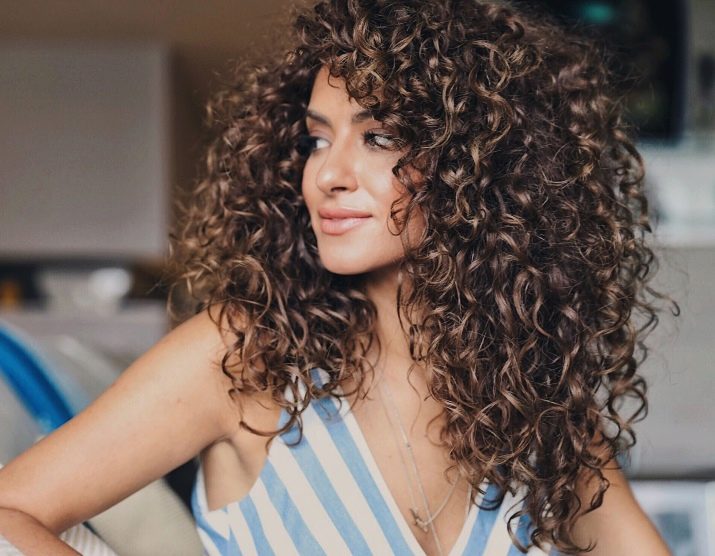
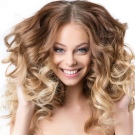
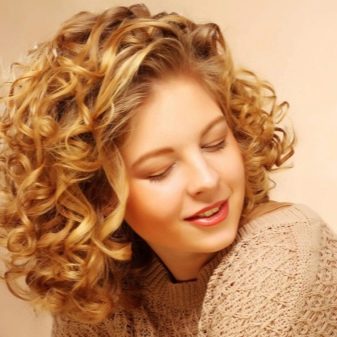
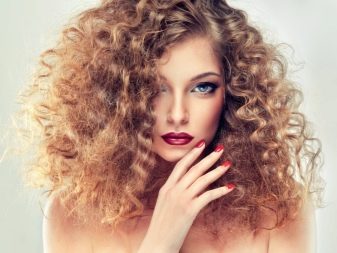
At all times, curly curls were considered a real pride and adornment of a woman. Unfortunately, nature has not endowed all the fair sex with elastic curls - but this is not a reason to despair. Nowadays, nothing is impossible - you can easily and quickly become the owner of a luxurious curly hair even at home.
Procedure rules
Probably, every woman is able to quickly curl her hair with a curling iron, but when it comes to a more radical change in hairstyle, then ladies try to turn to professional masters in beauty salons - women of fashion are afraid to burn the strands with perm.
Their fear is not groundless, indeed, the very first formulations were far from safe, and when carrying out the work, so many subtleties had to be taken into account that even hairdressers sometimes made mistakes. As a result, the hair, at best, dried out and split, but often it simply fell out, and only an uneven "hedgehog" remained on the head.
However, technologies do not stand still, and today the cosmetic industry offers gentle formulations that have a minimal effect on the hair shaft, so it is quite safe to use them even at home.
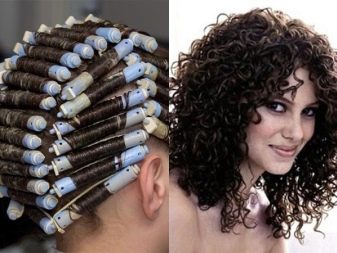
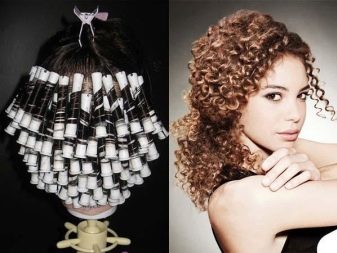
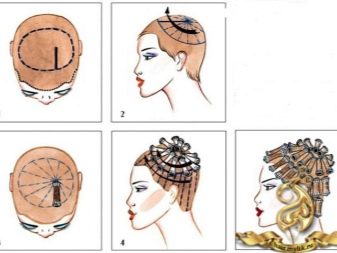
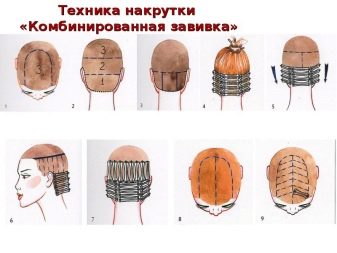
Long-term styling is done using bobbins and fixing mixtures, while, depending on the type of location of the curlers, several types of curling are distinguished.
- Horizontal - such options are used by owners of curls of any length.This technology is extremely easy to learn and use at home.
- Vertical - this method is used only on elongated strands. A separate type of such a curling is considered to be a technique in which the curls are first twisted into a tight tourniquet, and then wound around the curlers.
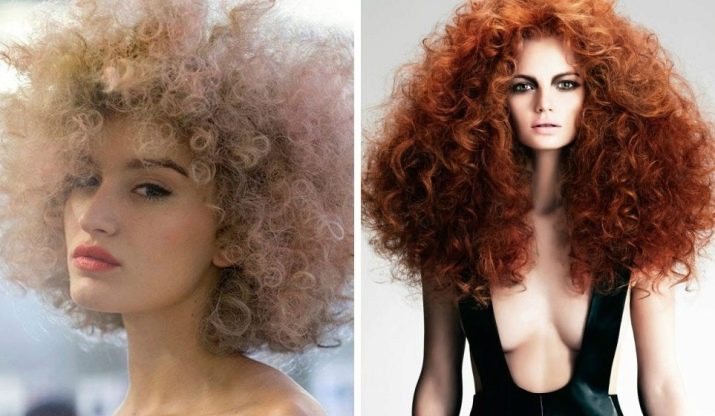
- In a circle - this option is good for owners of medium-length hair, trimmed using a cascade or graduation. In this case, the hair acquires volume and has a natural look excluded.
- Combined - here vertical and horizontal curls are combined with each other.
There are several things to keep in mind when curling your hair at home.
- If you wish, you can curl not the whole shock, but only the tips or the root section. The first option is good for women with pointed triangular face shapes, as well as for girls with rather short strands. Styling near the head is carried out to add splendor.
- To achieve the most natural effect, you can use a perm on the braid. In this design, the strands are first braided into a classic braid 2/3 of the length, and the ends are wound on a bobbin.
- Curls of different sizes look quite stylish - this is possible when using the "train" method, when each strand is wound on papillotes of different diameters.


Chemistry at home can be done in two ways:
- in the first case, a fixing compound is first applied to the hair, and then wound;
- in the second, on the contrary, the curls are first twisted, and after that they are treated with curling agents.
At home, it is better to dwell on the second option, because in the first case, not having enough experience in winding, you can hesitate and not have time to quickly wind the strands, which can significantly harm your hair.
Let us dwell in a little more detail on what happens to the hair at the time of curling. Everyone knows that in order to wind straight hair, you need to change the shape of their section and, at the same time, additionally wind it along the axis. When the strands are wrapped around the bobbin, the curls curl and reshape. At this moment, the protein bonds of the structural composition are slightly displaced, but they are not torn either, because the curls remain only until the first moisture of the hair.
When exposed to strong chemical compounds, the mechanism of action is different. The hair scales are normally closed, but due to the influence of a chemical agent, they disintegrate inside the hair shaft and open, which leads to damage to protein bonds. At this point, the hair can be shaped into almost any shape. After that, it must certainly be fixed. Immediately after this, the hairs begin to restore their structure, the keratin gradually regains its strength and elasticity, and the scales close again. Thus, when curling is carried out, the curls are simultaneously affected both physically and chemically, and the curls themselves experience a rather powerful force of tension and internal pressure.

The efficiency of curl formation and the speed of winding curls is affected by the concentration of the active composition, as well as the time of its holding. And of course, the structure of the hair.
Tools and materials
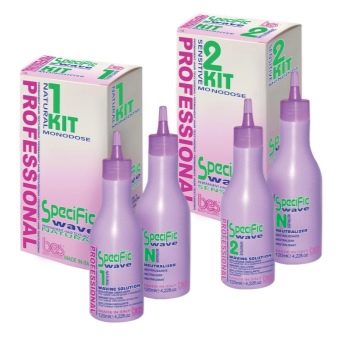
To carry out the work, you will need a set of the following tools:
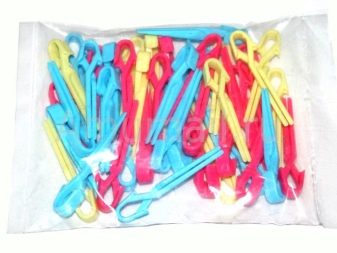
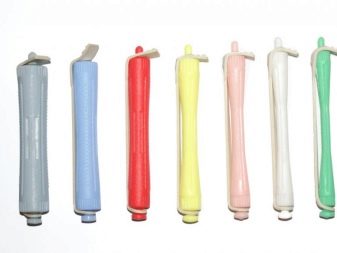
- bobbins or curlers of several diameters - from 20 to 70 pieces, keep in mind that they must be wooden, the use of plastic and metal papillotes is unacceptable;
- a comb with a narrow spacer handle or a non-metallic knitting needle;
- a foam sponge for applying a fixing agent;
- sponge for a more even distribution of fixers;
- latex or rubber gloves;
- measuring capacity;
- mixing bowls - they must be either glass or porcelain;
- cape to protect shoulders and clothing;
- towels.
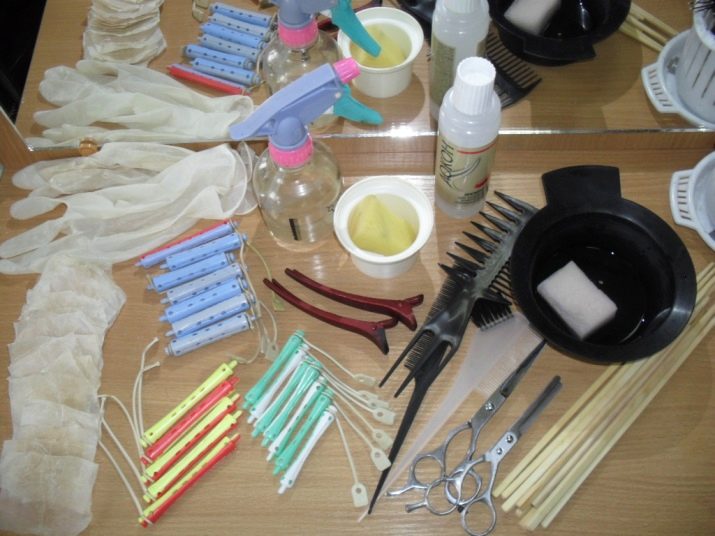
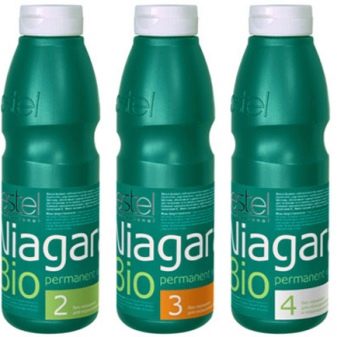
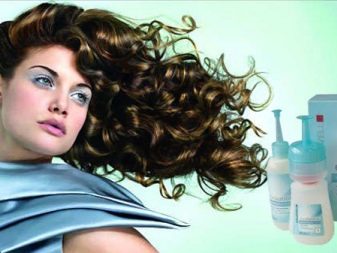
In addition, you will need the curling preparation itself, a fixative and a conditioner balm.
Several types of products are used for perm.
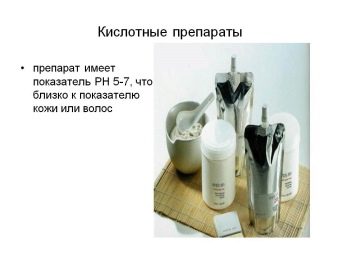
- Acidic - the most persistent, providing the longest effect and the highest degree of fixation. The composition can be used on thick and thin hair, but at the same time it damages the curls quite badly, therefore, after the procedure, a course of restorative care procedures is required.
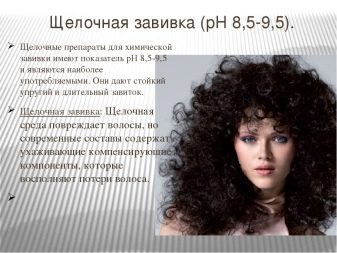
- Alkaline is a much softer curling method that lasts for quite a long time. However, this option is not suitable for all hair types.
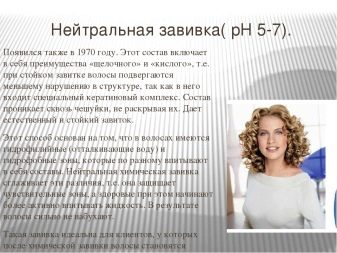
- Neutral is the most gentle technique that creates wavy curls along the entire length of the hair, regardless of the type and condition of the hair, although even such formulations have a destructive effect on the hair.
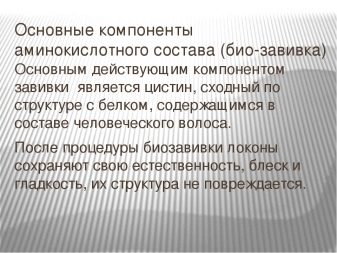
- Amino acid - suitable for thin and weakened curls, during manipulations, the curls not only curl, but also feed on all kinds of amino acids and proteins.
At home, it is better to stay on one of the latter options.
How to do it at home?
If you want to do a perm on your own mop yourself at home, you need to take into account the risk of ruining or burning the curls. Sometimes, the most elementary technique hides the use of rather aggressive drugs, so you don't need to buy yourself for the ease of the process when curling. Sometimes a more time-consuming process in fact turns out to be the least traumatic for the strands. First you need to study all the intricacies of home curling, and only then proceed to active actions.
Long-term perm at home can be done at any time, with the exception of pregnancy, breastfeeding and during menstruation, and you do not need to resort to it at the time of chemotherapy and hormone therapy. Keep in mind that you should not wash your head and smear it with conditioners later than a day before the procedure, in which case the balm will not allow the drugs to properly affect the strands and the final effect will be the most unpredictable.
At home, medium and large curls are most often made, for this you will need bobbins of medium and large diameter - from 1 to 10 cm in section, while for longer strands it is permissible to use several types of curlers. After all the preparatory work is completed, you can start the curling itself.
The step-by-step curling instruction includes a number of basic steps.
Start
First, test the drug on the skin and curls. Take a lock on the back of your head and spread it with a diluted compound. If after a couple of minutes the hair has become gray, like ash, become brittle for stretching, and the skin is reddened or swollen, then the composition does not suit you.
Hair preparation
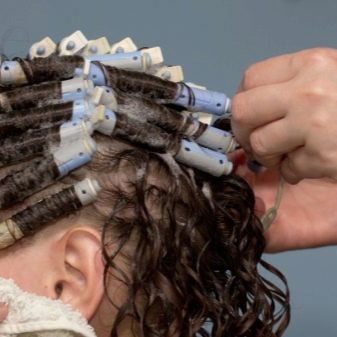
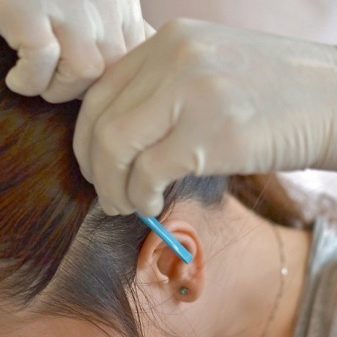
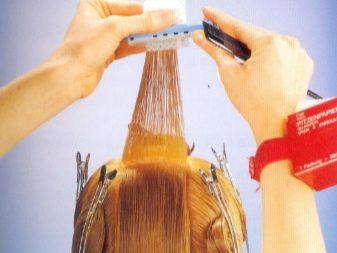
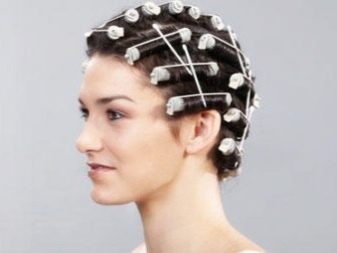
Before perming, the hair is moistened, avoiding massaging the skin, after which the shock is visually divided into two temporal, occipital and crown regions, each is divided into several strands and wound parallel to the direction of hair growth. To protect the tips from aggressive components, it makes sense to wrap them in paper, and only then twist on the bobbin.
Protection
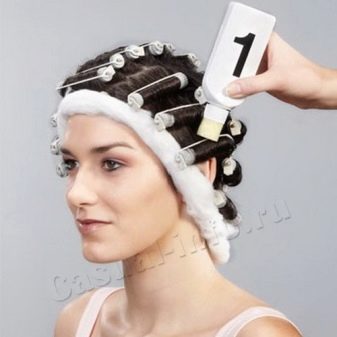
Along the place where the hair begins to grow, the skin should be lubricated with a very fat baby cream or petroleum jelly, and then a tissue tourniquet should be placed on it. A towel should be draped over your shoulders and gloves should be put on your hands.
Application of the composition
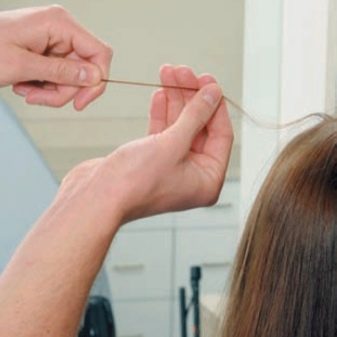
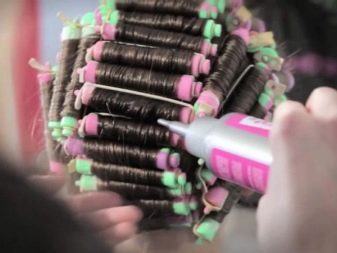
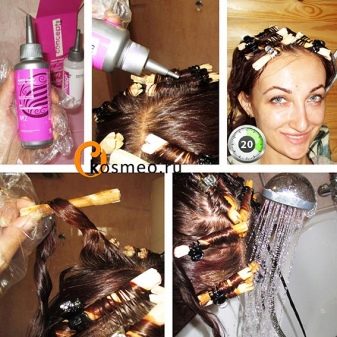
The composition is diluted in the required concentration and spread on the curlers using a sponge or a special applicator. Work should be done very carefully to avoid splashing. Usually, processing begins from the back of the head, moving to the forehead, and then the temporal regions pass.
If you are using acid-based preparations, then you should additionally wear a large insulating cap; in all other cases, a thin shower cap is sufficient.
The drug is kept on bobbins for at least a quarter of an hour.
Examination
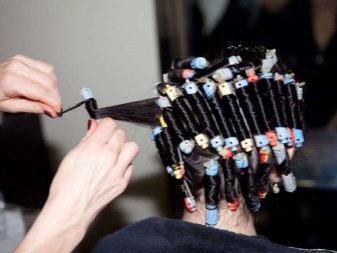
After 15 minutes, one bobbin is spun in each zone, if the curl straightens under the weight of its own weight, then you should hold the solution on your hair a little more, but you should not exceed the time specified in the attached instructions.

Fixation
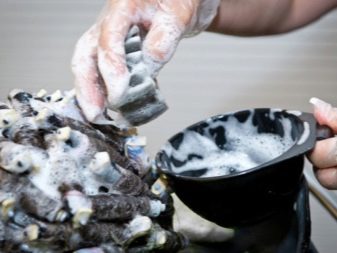
The resulting curls should certainly be fixed. The solution for fixing is diluted in another container, after which, without removing the papillotes, the head is thoroughly washed from the main active solution. After that, using half of the fixing composition, they process all the wound strands, hold for about 10 minutes, untwist and apply the second part of the fixer, hold for another 5 minutes and rinse off completely.
After washing, the hair should be treated with conditioner and dried naturally without the use of a hair dryer and dryer.
How to care?
Perm dries the curls quite a lot, so special masks and serums will be required to care for them, but they can be used no earlier than after the fourth shampooing. Better to apply professional products designed for damaged hair.
Dry your hair naturally, or set your hair dryer to cool air mode.
Chemistry has another side effect - split ends. Therefore, a week after curling, it is better to cut off the ends of the hair, and include special sprays for damaged and brittle strands in the daily care procedure.
You can dye your hair no earlier than two weeks after curling, because until this moment the dye will be fixed very poorly.
After curling, it is best to wear your hair loose, as elastic bands, crabs and other clips can loosen the frizz.
Errors
Keep in mind that there is a risk of making mistakes if you have little experience with perming. Let's consider the most common ones.
Skin irritation on the head
This happens if an excessively large amount of the composition is applied, which, flowing down, begins to cause an undesirable reaction.
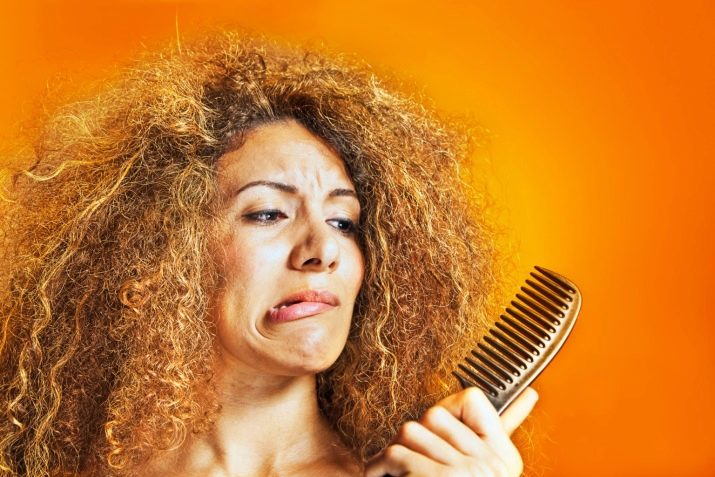
Expressionless curls
Here the reasons can be very diverse:
- weak concentration of the active solution;
- defective or expired drug;
- little solution was applied;
- the size of the bobbin was chosen incorrectly;
- hair was divided into too thick strands.
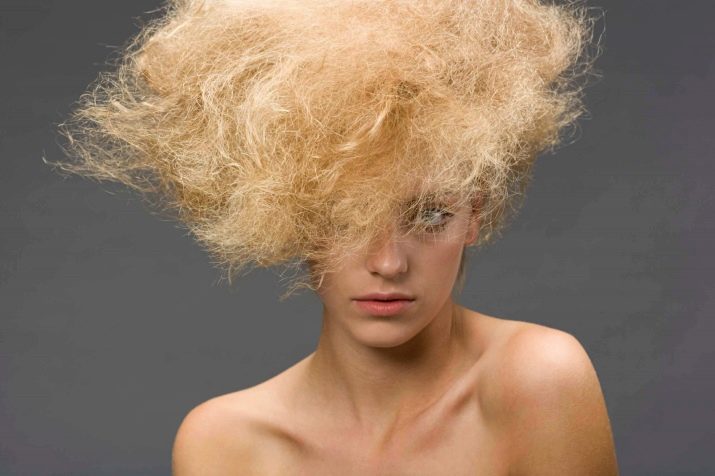
Breakage of hair
Such a nuisance arises if the drug is kept on the head for too long, or too concentrated formulations are used. And also fragility may be due to insufficient fixation time.
Change in hair color
With a perm, lightening by 1-1.5 tones is considered normal. If the contrast is more pronounced, then, most likely, the wrong exposure time was used, or metal products that have reacted with oxidants were used in the work.
For information on how to perm your hair at home, see the next video.


