Kusudama making technology for beginners
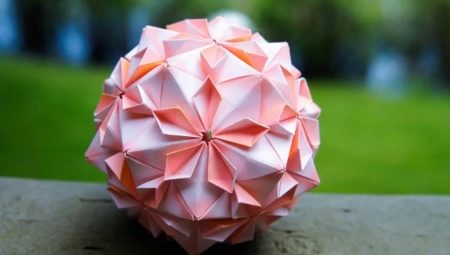
Kusudama is a special modular origami technique... It allows you to create a variety of interesting products. Balls made using this technique can become an original decoration for almost any interior in your home. Today we will talk about what is required to make such items and how they can be made.
Views
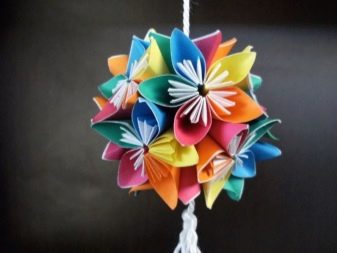
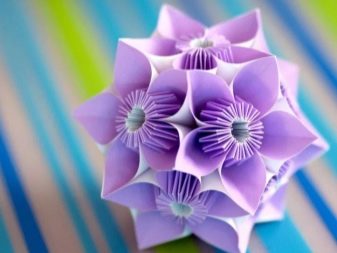
The modules from which products are made using the kusudama technique can be of a variety of colors and styles.
The appearance of the future finished decorative ball depends on such parameters.
The main types of modules include the following types.
- Classic kusudama. This option is the most common. It is based on triangles, from which modules are created. They allow you to create beautiful and original balls. Moreover, such products are made quite easily and quickly. The classic type is considered the most suitable for beginners.
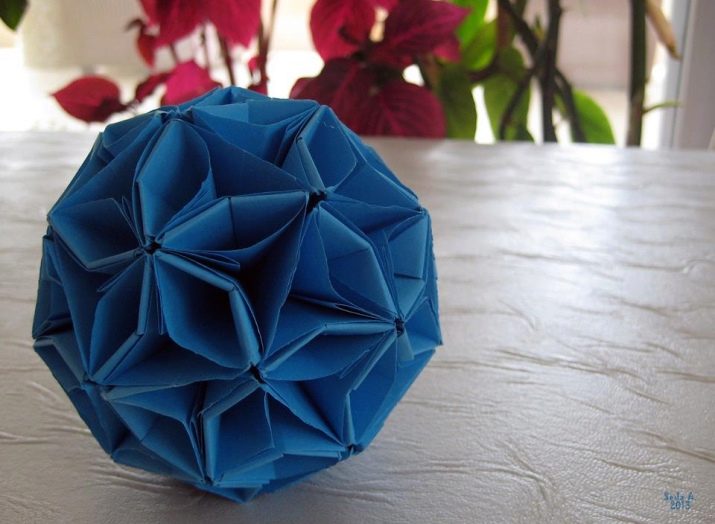
- "Kite". In this case, a square is taken as a basis, but at the same time it should be at an angle of 30 degrees, so a figure that looks more like a rhombus will lie in front of you. Such a figure folds in half along the diagonal line.
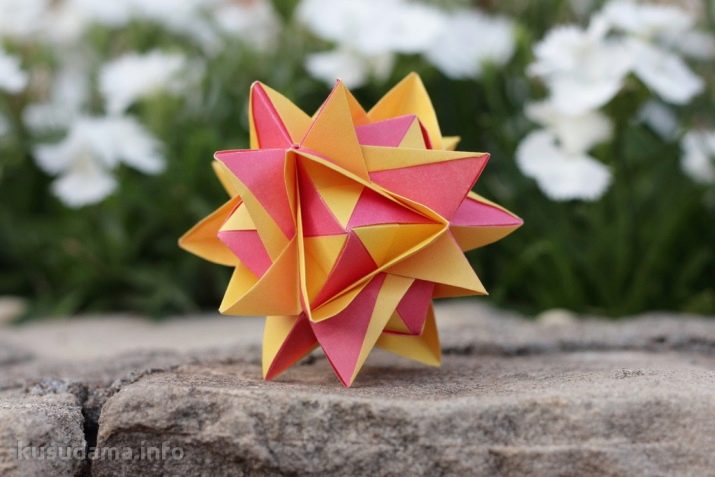
- "Superball". Such a module is made from a square sheet of paper. It is folded in half with the right side inward. The resulting element is unfolded, and then wrapped again in half, but only in the other direction. At the end, the square is folded along the diagonal line with the wrong side inward.
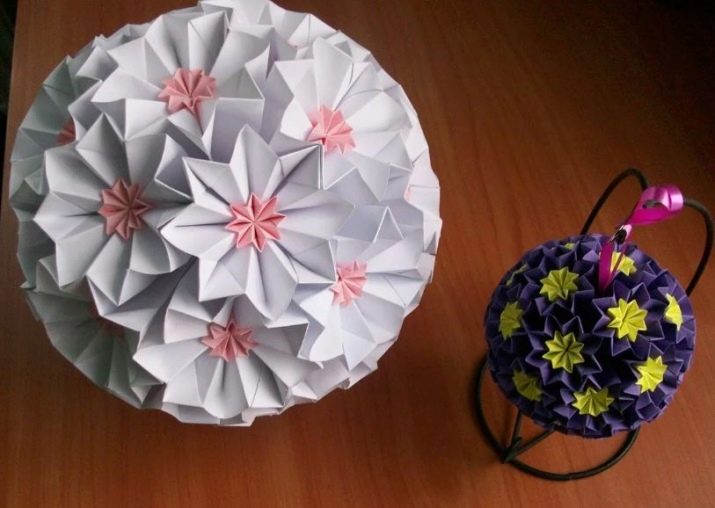
- "Sakura". To make such a module, you need to prepare several small squares of the same size. Each sheet must be folded in half and then unfold.After this, the edges must be bent towards the central fold and open, the squares should be rotated at an angle of 90 degrees and the same lines must be marked. At the end, you need to fold the upper left and lower right corners, the left and right edges to the center, the second upper square from the right diagonally. In this case, the edge of the sheet will bulge.
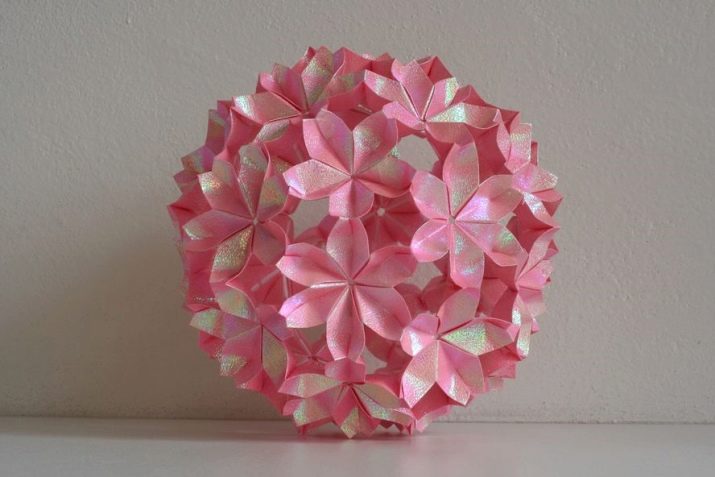
- "Lily". To make such modules, you need to take several squares of the same size. They need to be bent alternately along two diagonals. Then the sheets are turned over to the other side and folded in one direction and the other. After that, the product is folded in such a way as to form a "double square". At the end, you need to fold two opposite corners to the middle, turn the workpiece over and do the same again.
What is required?
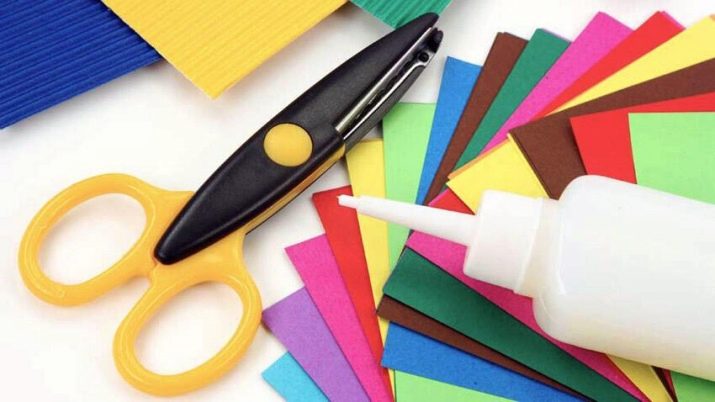
In advance, you should prepare all the necessary materials for creating products using the kusudama technique.
- Thick paper. To make the product interesting and beautiful, it is worth choosing a multi-colored paper base. It should not be too stiff to be comfortable to work with.
- Needles and threads. Better to pick up thin needles.
- Glue. Better to take PVA and glue stick. An adhesive mass is needed at the end when connecting individual modules into a single ball.
- Ribbon and beads. These decorative elements are optional, they can be used to make the ball more original and beautiful.
How to do it?
Currently, there are a large number of different schemes and master classes that will help you make balls step by step using the kusudama technique.
An unusual option is considered a product "Ball of happiness". To make such a magic ball, you need to prepare several squares of colored paper with the same dimensions.
Each of them is folded first in the direction of both diagonals, and then they all unfold and fold in half 2 times in different directions.
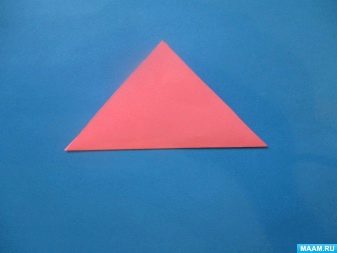
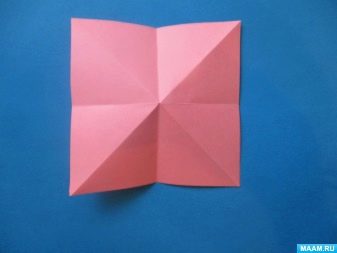
The resulting workpiece is bent in such a way that a "double square" is obtained. After that, you need to carefully bend the sides to the diagonal. Each of these sides is unfolded and lowered slightly. The corners of the workpiece should also be bent, all sheets are fully open. The module is assembled along the lines received. In total, you will need at least 30 pieces with dimensions 9x9 and the same amount with dimensions 7x7.
Each small module fits into a large one. The first circle of the magic ball will consist of 9 pieces, the second will include 6 modules, and the third circle is made from only one blank. Thus, you should get 2 hemispheres. They should be glued together with glue.
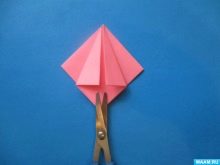
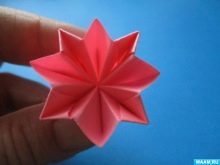
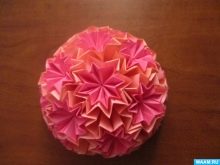
Using the kusudama technique, you can also make a multi-colored openwork paper ball in stages. To do it, you first need to prepare strips of white and blue paper. There should be 60 of them in total (30 strips of each color).
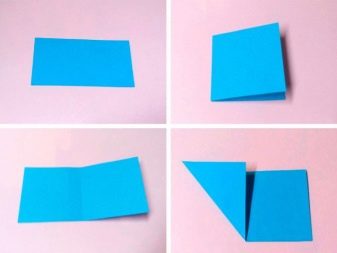
The blue stripes are taken first. They are bent in half, later they are opened, the upper left corner is slightly bent up to the middle. Do the same with the right corner. After that, the upper left corner of the strip is lowered down, and the right - up to the center. All this is repeated several times. Next, the blanks are folded in half. All sheets are unbent and brought to their original position and set aside.
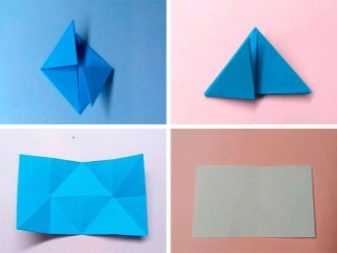
White sheets are also bent in half, later a small indent (0.6-0.7 millimeters) is made from the end of one of the sides and everything is folded again. The sheets are folded to the middle with an accordion. Do the same on the other side of the sheets. Next, connect the upper right and lower left corners. At the end, blue blanks are taken - White paper is put in the middle of them.
Blue blanks are folded along the marked fold lines. Further, the entire product is folded along the marked stripes. White parts are glued with PVA glue.
At the end, you should start assembling the ball itself, for this you first need to glue 5 blanks together.
After that, you need to continue connecting the modules in a circle until a ball is formed.
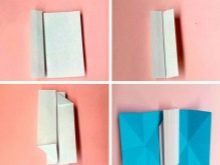
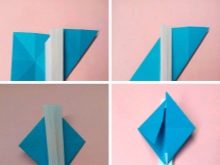
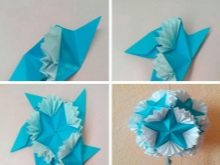
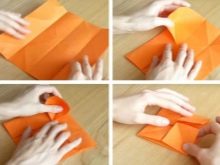
Using the kusudama technique, you can make simple crafts for beginners. In this case, you can prepare squares of colored paper of the same size (it is better to take 8x8 or 9x9). All of them must be bent alternately along two diagonals. It is also necessary to make other fold lines by folding the sheet twice in half, but before that, all the blanks must first be straightened and turned over with the other side. All the blanks are folded back into small squares, while the upper and lower corners should be connected.
Next, fold the corners of the workpiece to the central part of the product, then each of them must be bent into the inner part. After they are lowered a little and all the blanks are folded along a vertical marked line. At the end, the top and bottom corners are connected to the center piece. The workpiece is unfolded in such a way that large triangular corners are obtained.
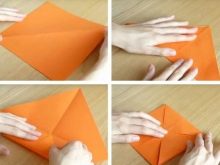
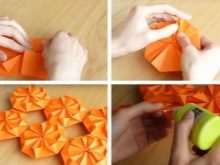
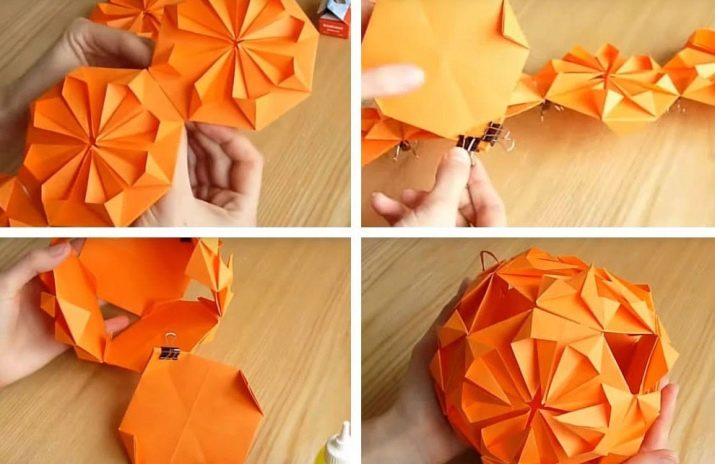
To make the assembly of a whole craft, you first need to prepare 4 ready-made paper modules. They are glued together with PVA glue.
Thus, you should have a large flower (it should look like a chrysanthemum).
So you need to make several products. At the end, ready-made large elements are attached to each other, while a lush multi-colored ball is obtained.
Beautiful examples
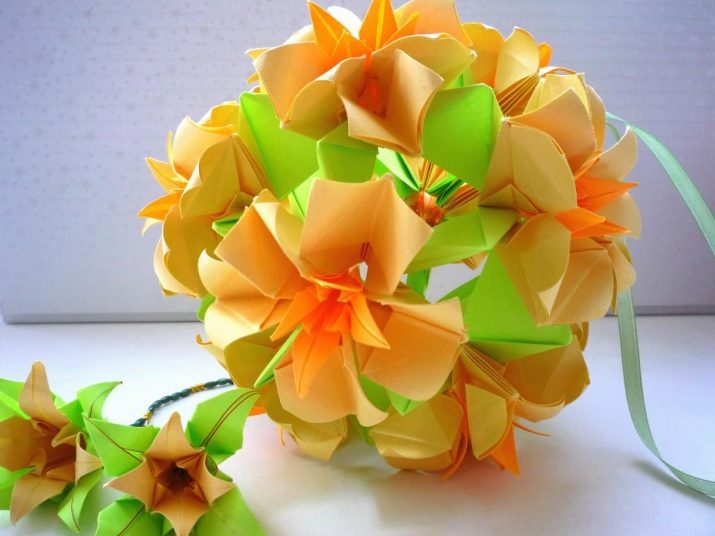
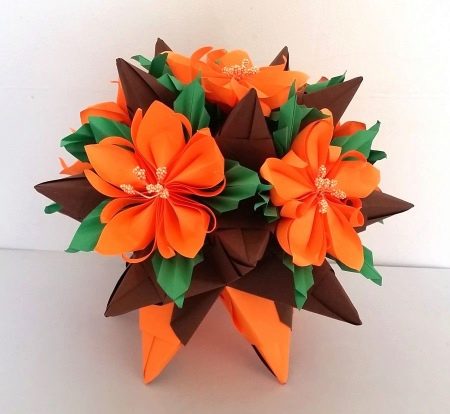
If you want to slightly decorate the interior of your home, then a multi-colored ball with small lilies can be a good option. Flowers can be made from orange paper. In their middle, you can place additional elements consisting of small beads or beads. This will make the craft more original and beautiful.
The rest of the ball can be made out of green and brown paper. From this base, foliage is created. It can be made in the form of a small accordion or folded rhombuses.
Also for the interior, you can make a ball of kusudama, consisting of small flowers, bells. Such crafts include flowers with thin triangular petals. If you want to create a whole composition, then you can make several of these monophonic balls at once and place them in a suitable place.
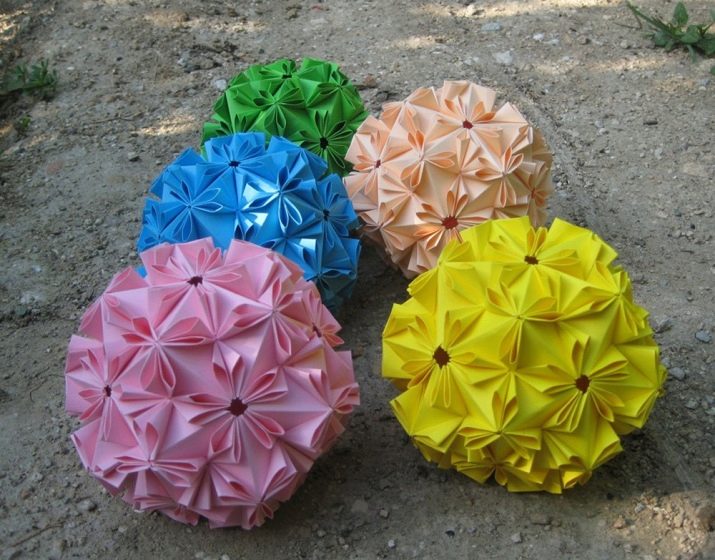
Another unusual option could be product "Star ball"... It is distinguished by an unusual and complex design. The craft is a ball consisting of many shapes that resemble a cone. Moreover, they must be of different sizes and volumes.
Most often "Star ball" is made of two colors.
They also often consist of shapes of different shades of the same color. As in the previous version, you can make several such monochromatic products of different sizes at once and place them together, creating a composition.
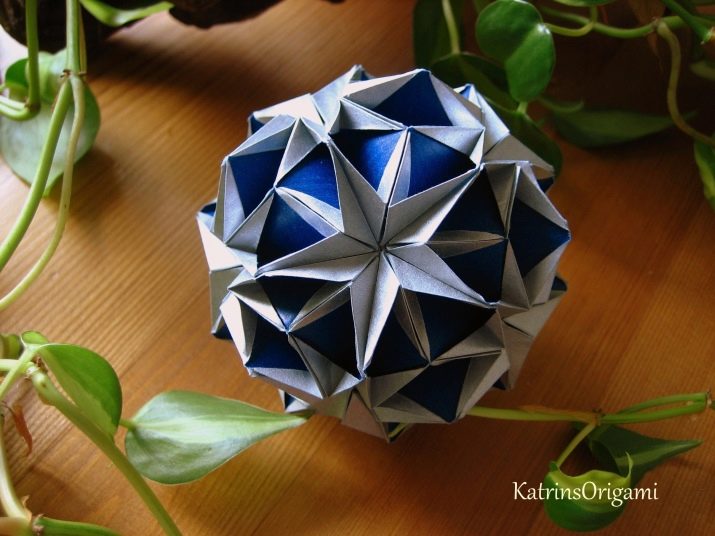
For information on how to make paper kusudama in the form of a ball with curls, see the video.


