All about the guilloche technique
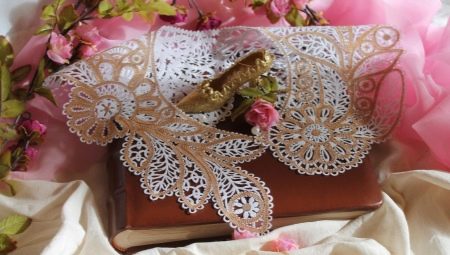
There are many interesting types of needlework. One of them is guilloche. By adhering to the correct schemes and instructions, craftsmen can create real works of art that look elegant and graceful. In this article, we will take a closer look at this technique and learn about its features.
What it is?
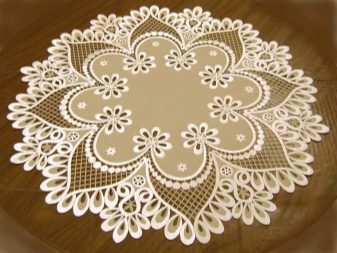
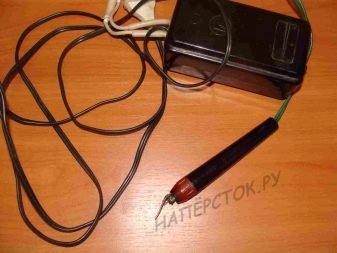
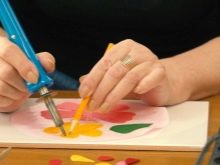
To get acquainted with all the nuances of guilloche, you first need to understand the terminology. This technique assumes openwork burning on woven materials.... Thus, very beautiful decorative napkins are created that make up a wardrobe and even original paintings. For all work, a special device is required, designed for burning wood.
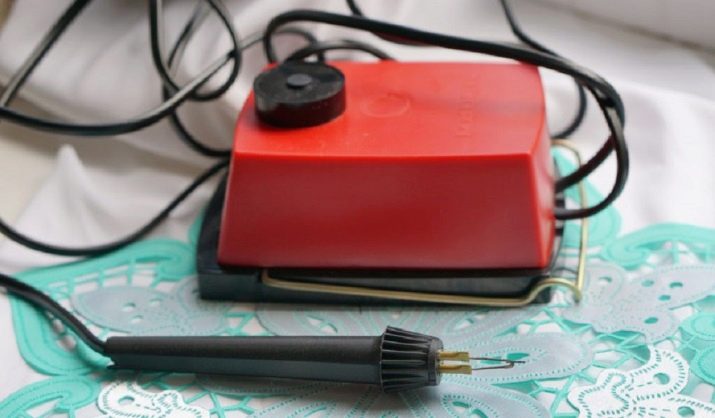
Instead of a sting, a wire needle is installed in it.
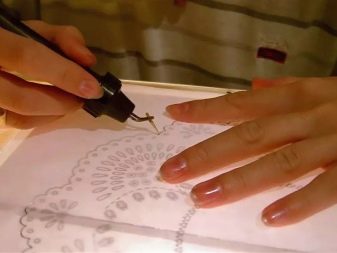
What do you need to do?
To make a beautiful craft using the guilloche technique, it is necessary to stock up in advance with a number of important tools, fixtures and materials... Let's take a closer look at what exactly the master will need.
Instruments
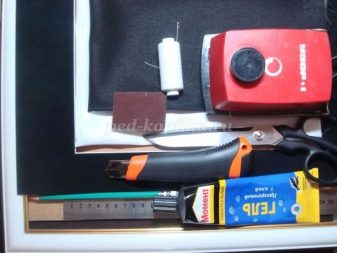
For the guilloche technique, you do not need to purchase expensive professional instruments. However, creative work will not do without special devices. Consider a list of tools that will be needed to create spectacular crafts.
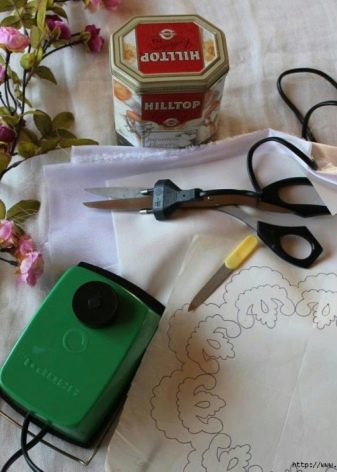
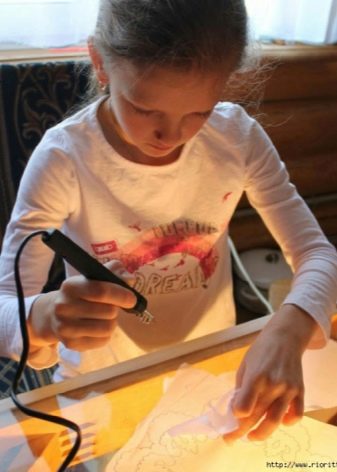
- Special burner. A special electrical device that looks like a pen or a soldering iron with a needle at the tip. It is possible to purchase a burner in a specialized store where handicraft goods are sold. Some craftsmen make this instrument with their own hands. However, it must be borne in mind that the burner must provide for the regulation of the temperature regime of the needle.This is because different types of fabrics have different melting points.
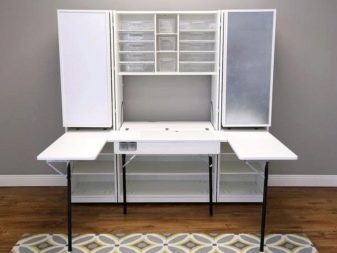
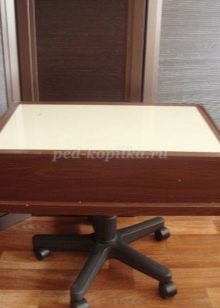
- Convenient work desk. This is a dedicated place where all stages of work will be carried out. Polished glass is often used for this purpose, the thickness of which is from 3 to 5 mm. Chamfers may be present along the edges of such a base, preventing the appearance of cuts.
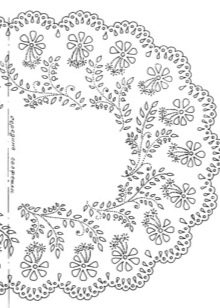
- Stencils. They are pre-prepared drawings. If you use them, guilloche is more accurate and attractive. It will not be difficult to find the optimal scheme, since they are widespread today.
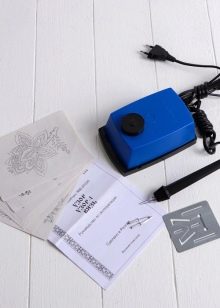
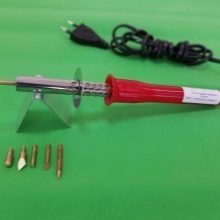
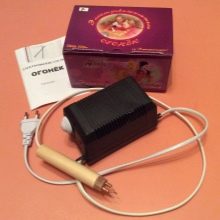
For the guilloche technique, it is important to choose the right burner correctly. There are several subspecies of this apparatus.
- Soldering iron. It will be a good solution for processing fabrics. It will be necessary to properly sharpen the tip of the instrument so that it resembles a needle, and you can proceed directly to work. However, this type of sting is poorly suited to impact on woven fabric. The latter will constantly stick to him, which will take a lot of extra time and will often distract the master.
- Burner with temperature controller. A device that will suit many craftsmen. With him, the range of work is significantly expanding. It is now possible to work with various types of fabrics and other suitable materials.
- Special fabric burner. The standard device assumes work with woven materials. It is pasted over with a coating designed to protect the hands of the master from overheating. However, there is only 1 needle in this device, which cannot be changed. The temperature is also provided for only 1.
- Burner with replaceable nozzles. The presence of different attachments allows you to form lines of different thicknesses and interesting patterns. If a nozzle suddenly becomes unusable, it can be ordered separately from the online store.
Then you don't have to buy a new device separately.
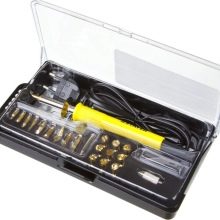
The master cannot do without some auxiliary, but no less useful tools, these include:
- scissors with sharp blades (it is better not to use a blunt instrument);
- tweezers;
- nippers;
- adhesives (it is worth preparing both PVA and "Moment");
- tracing paper;
- copy paper.
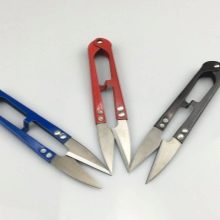
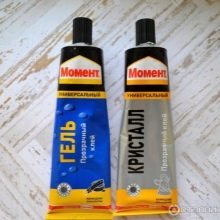
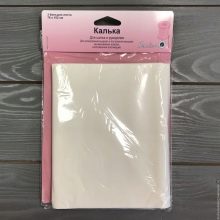
All the tools that you will use for guilloche must be of high quality and serviceable. Twisted and broken attachments will not only complicate the performance of all work, but can also lead to damage to the result of the work. It is recommended to pre-arrange all prepared tools in one place and within walking distance. Thus, you will save time searching for the right attachment at a particular moment. It will be much easier and more convenient to work this way.
Materials (edit)
Before mastering the popular guilloche technique, the master must prepare not only the necessary tools, but also the materials. To make an effective and original craft with your own hands, you can use the following positions.
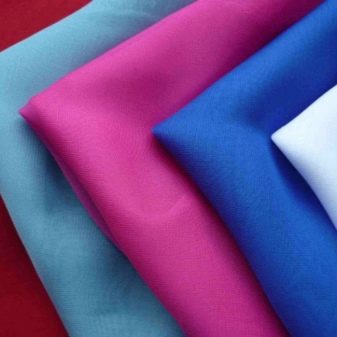
- Synthetic fabrics... In this case, materials such as silk, nylon, nylon, raincoat or lining fabrics will be appropriate. For this type of handicraft, it is important to select textiles that will not burn, but melt.
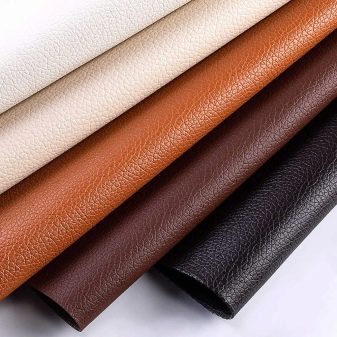
- Leather... The technique in question is used to create beautiful patterns not only on fabric or wood, but also on leather. This uses the same tools. The thickness of the leather material must be at least 3 mm. It is most convenient to work with such a base on the most rigid and stable surface.
Master classes for beginners
The guilloche technique is interesting and attracts many craftsmen. It is not so difficult to master it. The main thing is to act clearly according to the plan, not to neglect any of the stages of work. Consider a few interesting master classes for novice needlewomen.
Panel
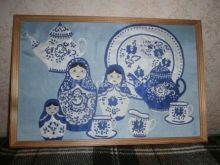
Using the guilloche technique, craftsmen can make very beautiful and expressive panels, which are hard to ignore. Often such products become unusual and bright interior decorations. It is quite possible to make them with your own hands. Consider one of the master classes for making such a decor. Silk fabric is often used in the guilloche technique. You can make a spectacular craft from it. To make a panel, the master will need the following tools and materials:
- high-quality burning device;
- fabric (the ideal solution would be lining-type silk, preferably multi-colored);
- diagram of the future panel (detailed schematic drawing applied to tracing paper);
- glass (its approximate dimensions are 30x90);
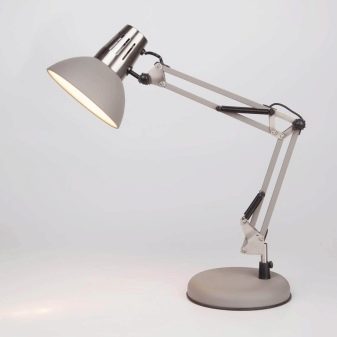
- table lamp (will be needed for full illumination of the workflow);
- scissors with sharp blades.
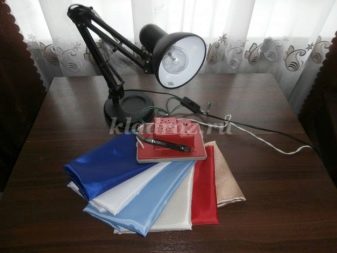
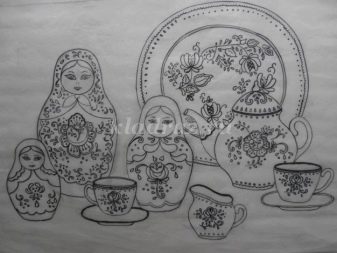
Having prepared all the necessary components, the master can proceed directly to creative work.
They consist of several stages. Let's consider each of them.
- First you need to carry out preparatory actions... Place a blue piece of fabric on a snow-white one, iron the materials with an iron. Cut out a rectangular piece measuring 62x42 cm - this will be the base of the future panel. It is on it that all the components of the composition will be superimposed: saucers, cups, nesting dolls and others. To do this, you will need to use black, beige, red and blue shades.
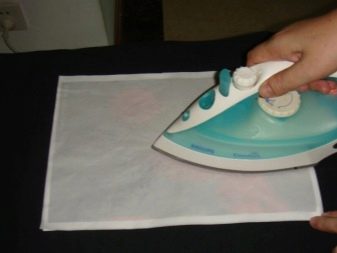
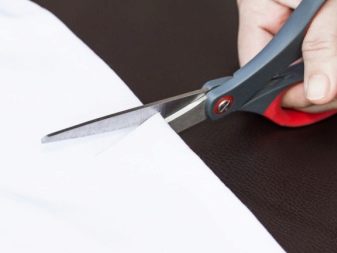
- For preparation of consignment notes small pieces of textile should be used (25x30, 10x10). They need to be folded in half and flattened.

- Further the glass must be fixed between reliable supports... Place a lamp under the glass to illuminate the future image.
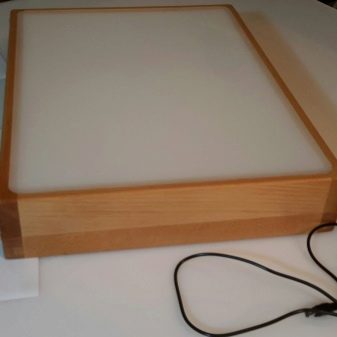
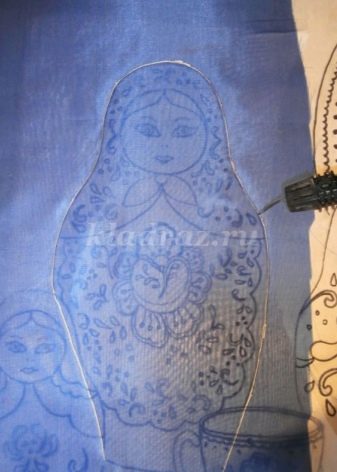
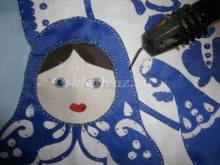
- Lay out the sketchy drawing of the panel on a glass base... Place blue pieces of fabric on the base. Using a burner needle, cut along the contour the first part - the matryoshka (you must cut it out completely).
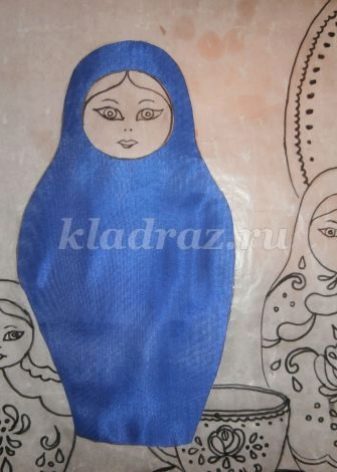
- Make cut-out elements: "droplets", "curls", "polka dots" on the blue material. When carrying out work, the handle of the burner should be held at an angle of 45-50 degrees in relation to the textiles.
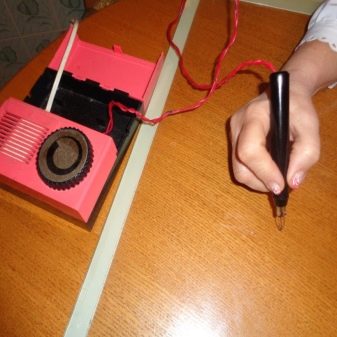
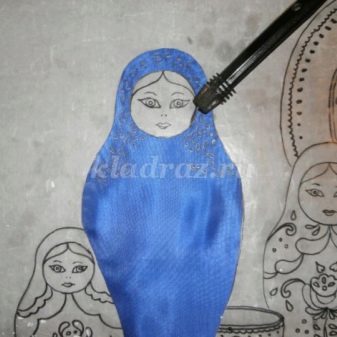
- Gently grasp the blue element by the edge and remove it from the surface of the tracing paper.
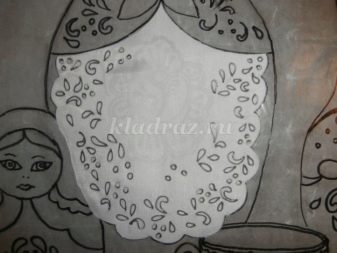
- Further apply a crisp white fabric. Cut out the apron of the matryoshka, moving along the contours. Prepare the slits on white fabric. Remove the snow-white part from the tracing paper.
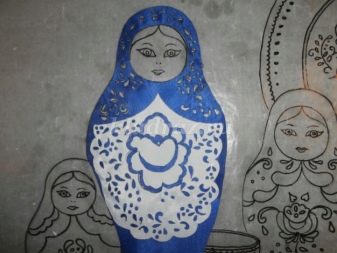
- Place a white woven fabric over the drawing, cut out the flower. Its border should be made blue. Remove the part from the tracing paper.
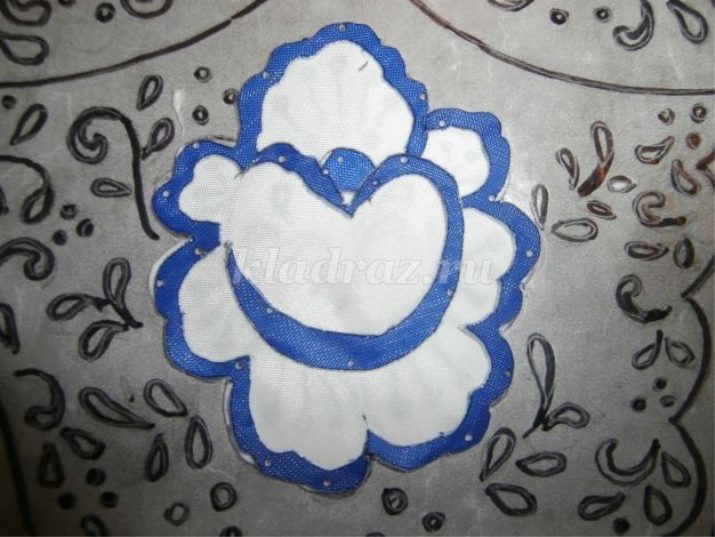
- Collect the matryoshka... Apply a white apron to the blue part. It is necessary to cauterize with each other pointwise.
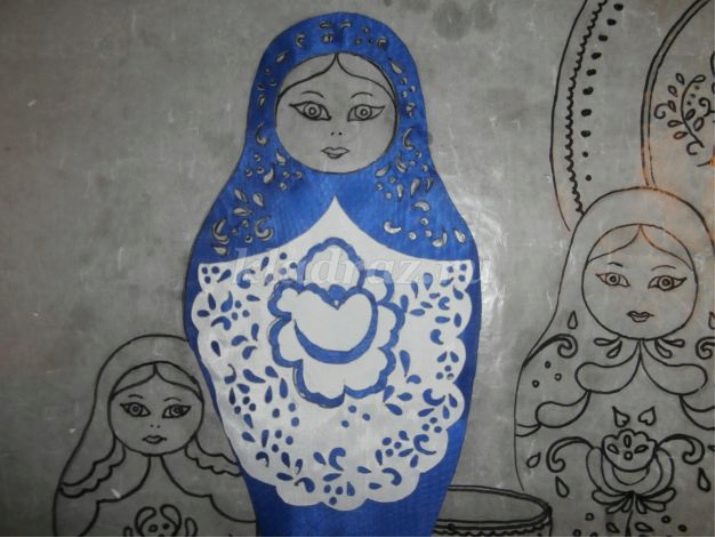
- Cut out the blue, white components for the next nesting doll. Connect them. Attach and secure the droplets and dots.
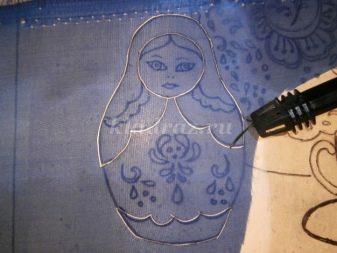
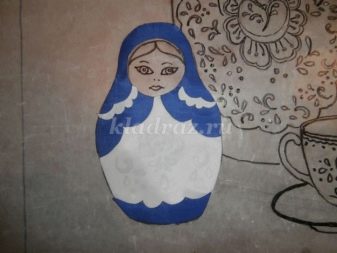
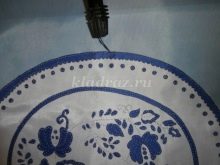
- Remove the entire cut pattern from the diagram. Lay out a white cloth on the image, cut out the dish. Cut through the blue "flowers", "curls", "droplets", "leaves" separately. Apply blue components on a white base, heat with dots.
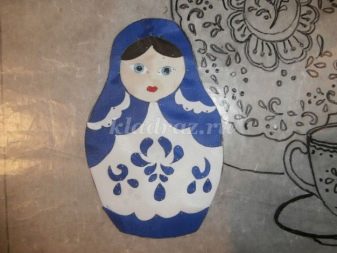
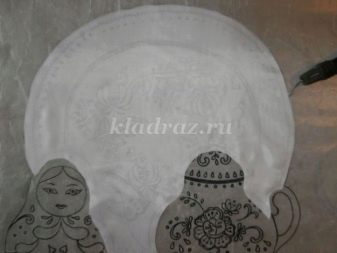
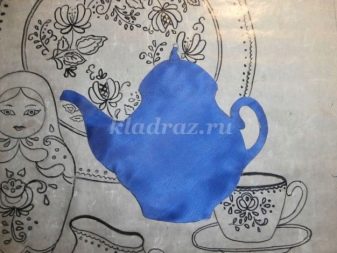
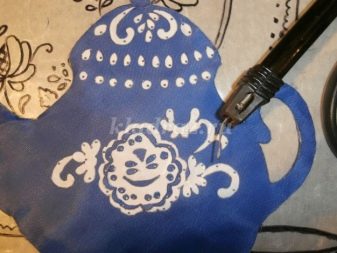
- Apply a blue cloth. Cut out the outline of the teapot, remove this part from the tracing paper. Cut through the overhead white components. Assemble the kettle, attach the overhead parts to the base at the points.
- Similar prepare and secure the cup.
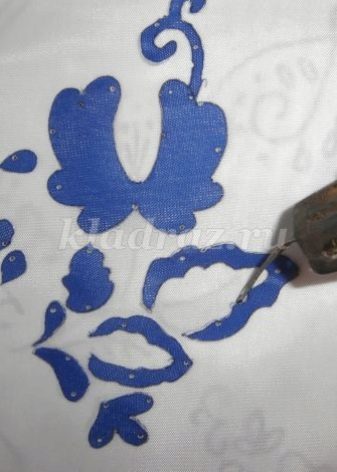
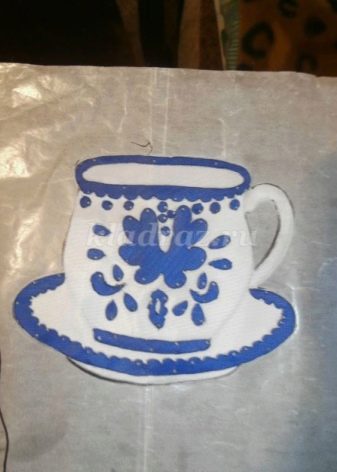
- All overhead panels spread out on the base, attach to the points.
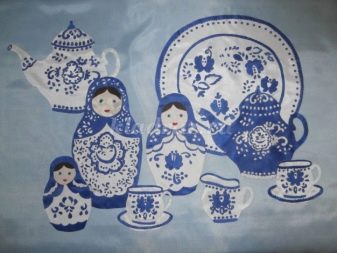
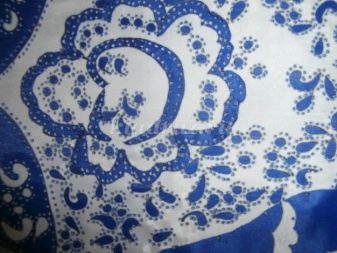
Heat each component with solid dotted lines.
Paintings
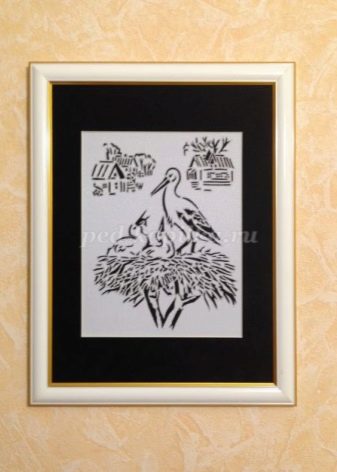
The guilloche technique makes it possible to produce attractive paintings with various subjects. Let's figure out how to make a minimalistic picture with a silhouette applique with our own hands.
- Find your favorite picture on the Internet... Increase it to the required size. For silhouette compositions, images are suitable, the elements of which are not too large.

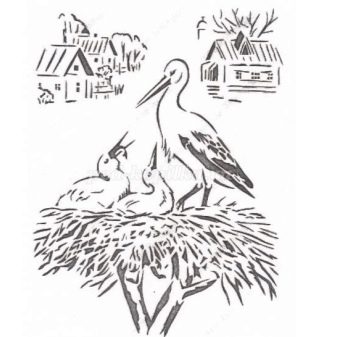
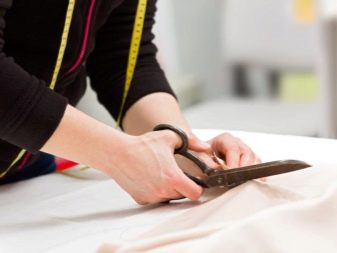
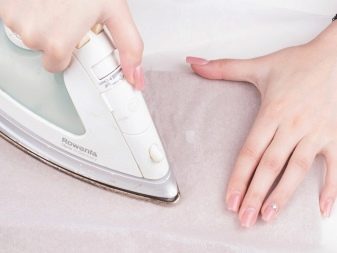
- Cut a white fabric with a size of 55x43 cm... Make allowances. Place the design on the ironing board.Lay the fabric on top, iron along with the picture.
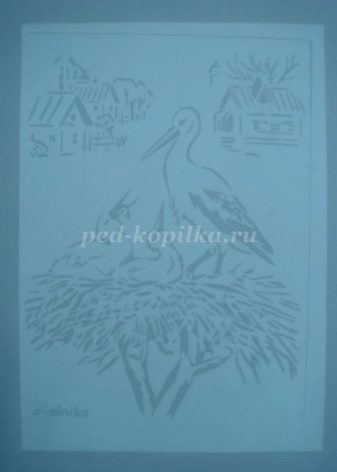
- Place the prepared cloth with a picture on a glass or light table... While holding the fabric, cut through all the dark parts with a burner with a thin needle.
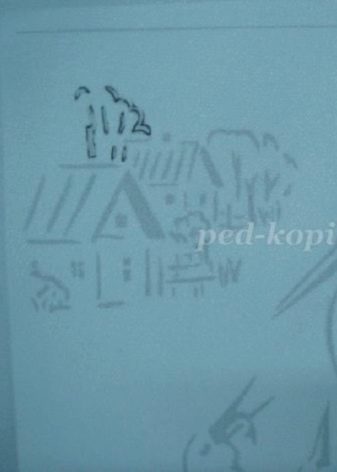
- Cut out the upper and lower elements of the picture with a burner... Separate the material from the drawing. Place the work on the ironing board, put a dark cloth on top, iron it.
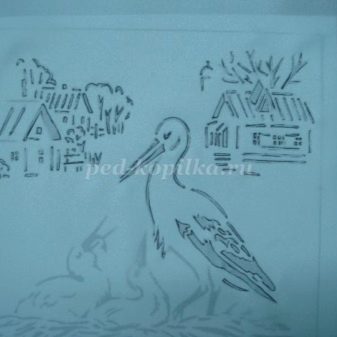
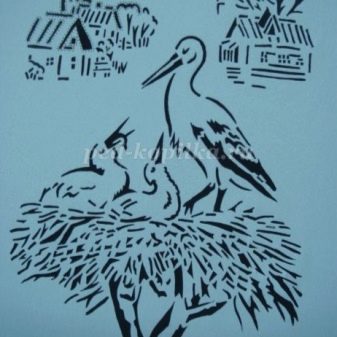
- Turn the ironed work over and lay it on the glass... Cauterize the points with a fine needle.
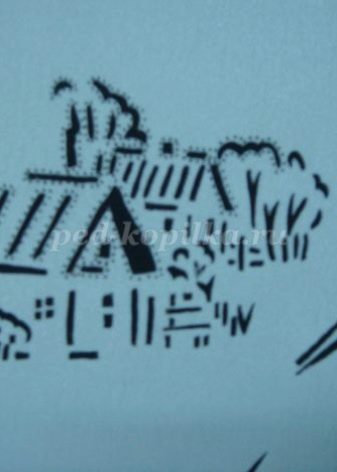
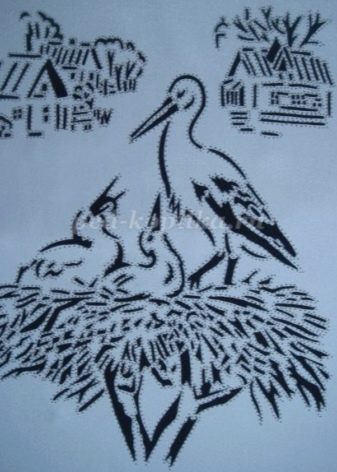
- Decorate the work attractive frame.
Crafts
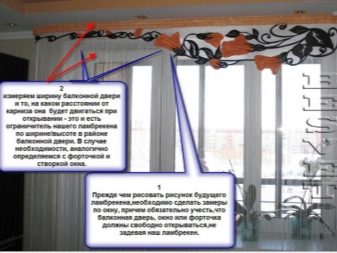
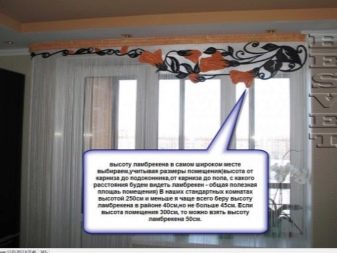
In this technique, you can make a variety of crafts. From them it is possible to get a cool tablecloth, napkins, original dressing, patterned bows and even lambrequins or curtains. You can make beautiful decorations for the interior, for example, it can be a cute butterfly, flowers and many other similar elements. Let's consider how to implement guilloche lambrequins with our own hands.
- The first step is to carefully measure the length parameter of the future lambrequin. Make the correct pattern based on the data you received.
- Cut the prepared part as carefully as possible... Fix it securely to the base. Try not to make mistakes.
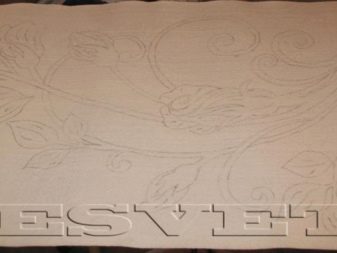
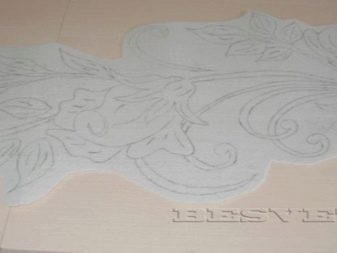
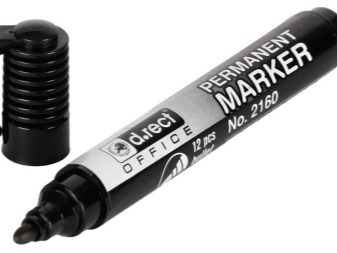
- Circle element along the contour with a marker.
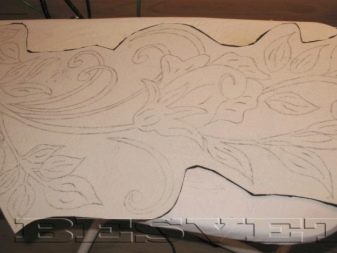
- Cut out the outlined element using a burner, moving along the contours.
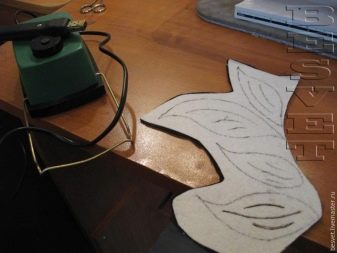
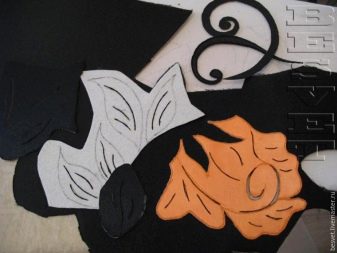
- Do the same for the material which you will use on the front side.
- Glue the front half of the workpiece to the base.
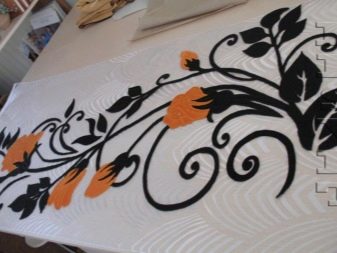
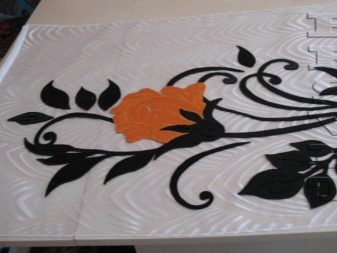
Carefully process the edges of the resulting product.
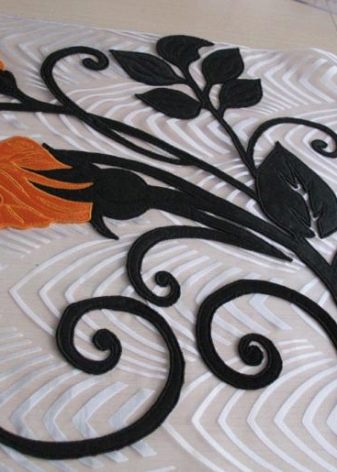
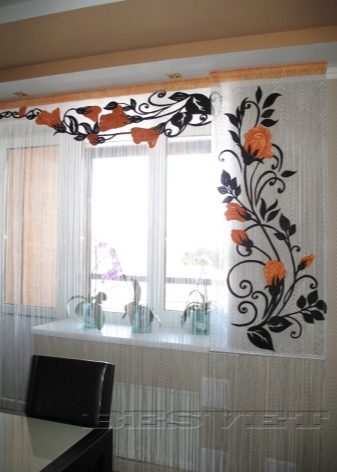
Useful Tips
Let's take a look at some useful tips related to the guilloche technique.
- If work is planned with the skin, it should first be slightly moisten with water using a sponge.
- For needlework, it is advisable to use transparent glue. With its help, it will be possible to perfectly decorate the finished work.
- It is most convenient to work with materials having a dense texture.
- Before starting to work with fabrics, they should be ironed thoroughly beforehand... Then they are securely fixed on the working surface.
- During the work, you must remember on compliance with safety regulations... Do not touch the needle of the machine to avoid getting burned. For the work to be of high quality and accurate, it is important to carefully monitor the position of the needle. It should be strictly perpendicular to the work surface.
- During the manufacture of any craft by guilloche, it is necessary to act gradually, do not rush. Excessive haste will lead to the fact that the finished product may not turn out very neat, and the craftsman will have to correct many mistakes.
- When printing a drawing for a future craft, make sure so that it has thick enough outlines.
- Keep track of the size of the glass sheet of the base and the future craft... Special chamfers must be present at the edges of the glass. Only with them the probability of cutting yourself on the material will be minimized.
- Crafts made using this technique can be additionally decorated with decorative stones, rhinestones and other attractive materials.

Examples of beautiful works
Observing all the nuances of the considered technique, it is possible to create real works of needlework, while using a simple small machine that many craftsmen have in the arsenal. Let's consider several spectacular works.
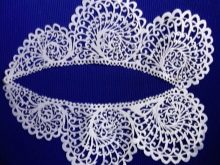
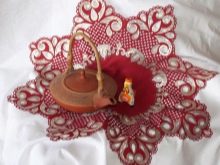
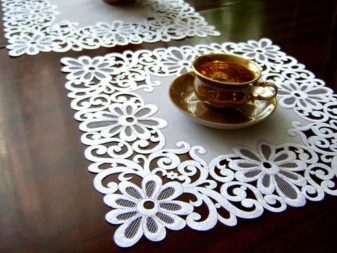
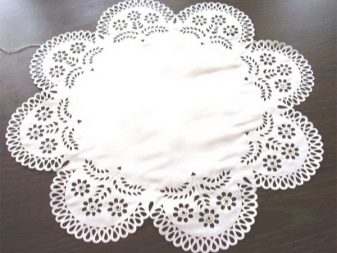
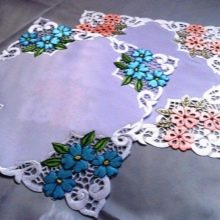
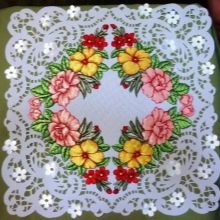
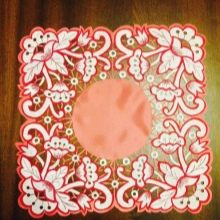
- In the considered technique, you can make stunning napkins with intricate patterned weaves.... It can be a chic item in crisp white with cut-out floral prints. These napkins can become a real decoration of a dining or coffee table, especially when combined with a beautiful set.
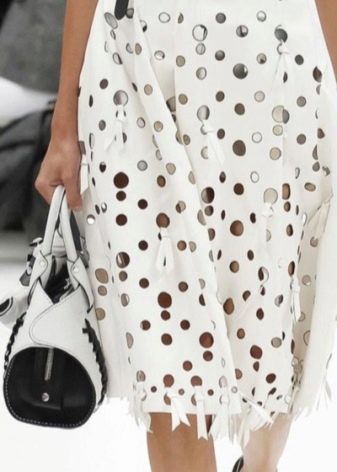
- Nowadays, the guilloche technique is actively used in the fashion industry. Thanks to her, it turns out to make very unusual, stylish things that can transform an image, add a unique flavor to it. For example, it can be a long white skirt, decorated with circles chaotically "scattered" on its surface.
Such a thing is unlikely to go unnoticed by others.

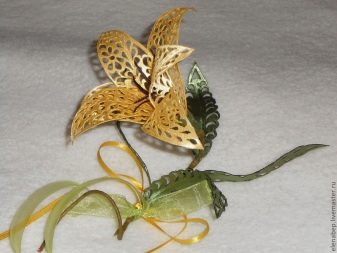
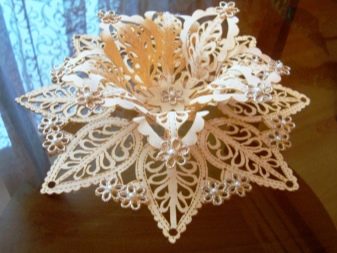
- In the considered technique, beautiful volumetric figures are obtained. For example, it can be light flower buds of pastel shades with large spreading petals. Such decor, complemented by small curls and patterned elements, can become a real bright accent of the interior.
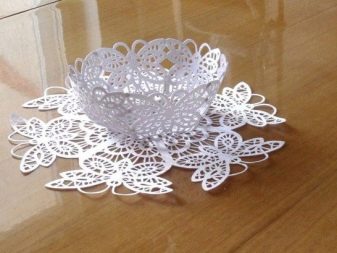
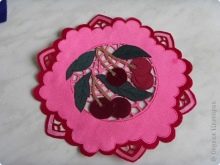
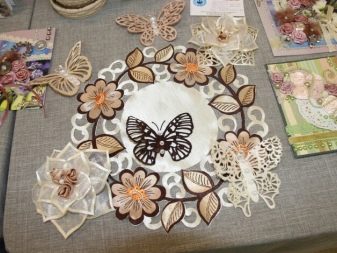
- Many craftsmen make spectacular napkins using the guilloche technique, which are subsequently used not only in the dining room, but also in the interior as a whole. They put table clocks, various souvenirs and figurines. For such purposes, a perfectly round beautiful model of calm shades with the outlines of leaves, flowers and large contrasting butterflies is suitable. A wonderful decor will come out of such a product!
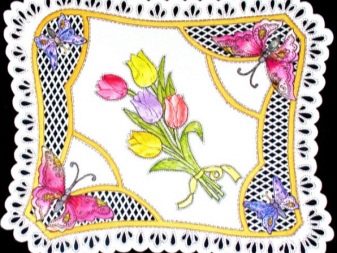
- In the considered technique, you can get wonderful napkins with many small patterned details. In execution, such things turn out to be complicated, but they look very impressive. They can be used to decorate a dining table and any other interior details.
For a master class on making a volumetric flower using the guilloche technique, see the next video.


