How to make a plasticine butterfly?
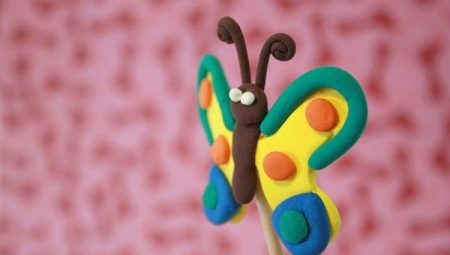
A plasticine butterfly is an original craft, the modeling of which will be interesting for children from 3 to 6 years old. The bright insect is well known to kids on summer days, when it flutters through the fields or city streets. Detailed master classes will help you figure out how to mold a beautiful butterfly with a cone in stages or make it step by step with leaves.
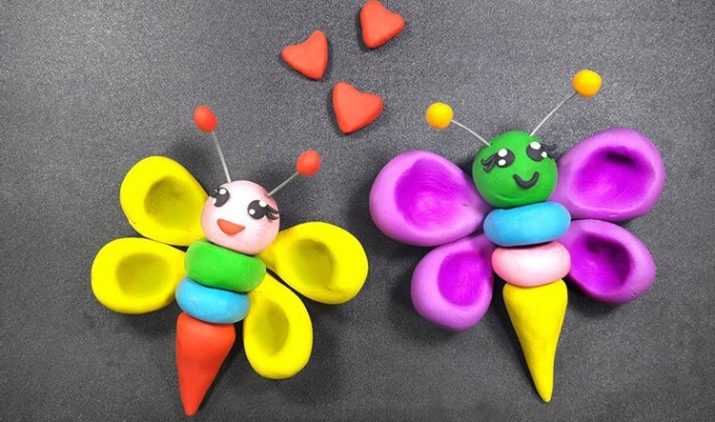


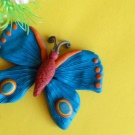

Classic version
Interesting crafts for children are an inexhaustible topic for creativity. A plasticine butterfly can also be very different: bright exotic or reminiscent of a common cabbage, characteristic or neutral.
Children 5-6 years old may well do this work in a creative way, decorating the insect to their liking. Kids will be interested in making a simple bright craft.

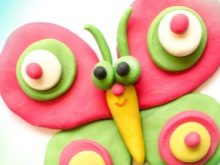

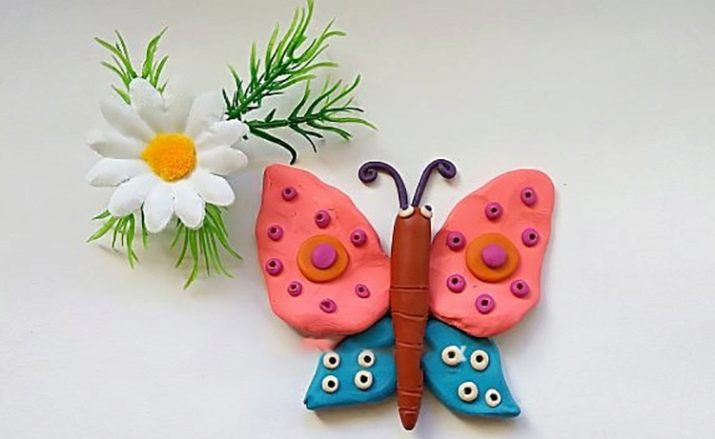
A basic model of a plasticine butterfly, suitable for children of any age, can be made step by step according to the following scheme.
- Prepare materials. You will need brightly colored plasticine, a stack and a toothpick.
- Select the desired shades of material for the body and head, upper and lower wing segments.
- Separate the required number of pieces. It is good to knead the material in your hands, roll it into balls.
- Make a spindle-shaped piece from the blank for the body. Apply an ornament in the form of transverse rings.
- Flatten 2 balls for the upper - larger part of the wings. Give them a teardrop or heart-shaped flat shape.
- Convert the 2 spheres for the lower wing segment into discs. Also form in the form of a drop.
- Collect the wings on the torso. The lower ones are attached first, on top of them there are 2 segments.
- Decorate the craft. Add eyes and antennae to the top of the body. Children can design the wings to their liking - in any desired style and color.
A ready-made butterfly with bright wings will turn out to be spectacular and cheerful.

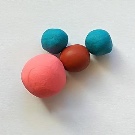


Older children can cope with more complex work, making the insect more realistic and decorative. In this case, the body and head are assembled from 2 separate segments, strung on a thin wire. This will solve the problem of decaying plasticine. Transverse rings are applied to the lower segment of the body. The head is decorated with antennae and eyes.
Further, the work process looks like this.
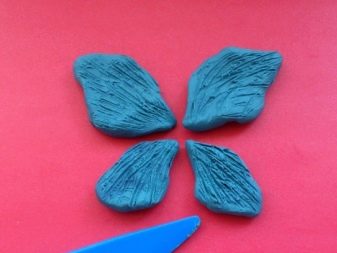
- 4 fragments of wings are molded. The upper ones are larger than the lower ones.
- With the help of a stack and a toothpick, the surface of the wings is covered with small relief scratches. You need to try to position the relief towards the outer edge of the workpiece. Then you get a kind of imitation of pollen on the surface of the insect's wings.
- All elements are collected on the body.
If desired, the child can decorate his butterfly with bright spots made of plasticine in a contrasting color. They are arranged symmetrically or chaotically. The border along the contour of the wings also looks interesting.



Maple leaf sculpting
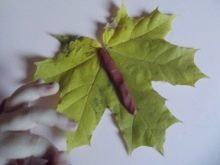
Autumn is a time when butterflies are not seen very often on the street. But at this time, the street is full of various natural materials that can be used as a basis for creativity. A beautiful butterfly is made from maple leaves. In autumn, you can make bright red, orange, yellow wings from natural material. The step-by-step process of work looks like this.
- Collection of material. We'll have to look for the most beautiful leaves. It will be better if they dry well beforehand and then iron them with an iron. So the appearance of the craft will not change after drying. It is also worth preparing 2 leaf stalks.
- Preparing plasticine. You will need a dark brown color and others, bright, for decoration.
- The prepared sheet is laid on the work surface. Its top should be directed downward.
- Sculpt a finger-thick sausage from brown plasticine. This will be the body. Additionally, a ball for the head is molded.
- Assembling the product. In the center of the prepared sheet along the vein, the body of the butterfly is attached. The head is fixed above it.
- Decoration of the product. From petioles from 2 maple leaves, you can make butterfly antennae. From small multi-colored balls of plasticine - decor for her wings.
A child of 3-4 years old can easily cope with the manufacture of this butterfly.


Older children can be offered a more creative challenge. A beautiful butterfly made of leaves and plasticine using the design technique is made on a paper backing, framed. Such work may well be sent to a competition or presented as a gift.
To make a butterfly, you will need the following materials:
- leaves of rowan, maiden grapes or maple, poplar;
- plasticine;
- leaf stalks;
- white cardboard;
- PVA glue.
It is also worth preparing a special board for working with plasticine, wet wipes for hands. The work process takes place in stages. First, a ball is molded from plasticine - a head, flattened to the shape of a disk, supplemented with eyes, antennae from petioles. All this is fixed on a white cardboard base. It is better to place the composition in the center from the very beginning.


Then you can start collecting crafts.
- Lay out 1 segment of the butterfly's body from the rowan leaf. Secure with glue.
- From maiden grapes or small maple leaves to form the upper part of the wings. Glue the cardboard with glue, fix.
- Form the lower part of the butterfly's body from 2 rowan leaves. Stick it on.
- Add the bottom segments of the poplar leaf wings. Commit.
The finished work must be dried, then placed in a frame or mat.
Making crafts from combined materials has a beneficial effect on the formation and development of fine motor skills, helps the child to show creative abilities most vividly.


How to sculpt with a pine cone on paper?
For children in 3-4 years old, voluminous crafts can be quite difficult to perform. In this case a real salvation for a teacher or creative mother, grandmother, nanny will be a master class on making an original butterfly on a paper or cardboard backing.
It is much easier to assemble such a "picture"; it can be decorated with other decorative elements.
The order of work will be as follows.
- Material preparation. You will need a set of brightly colored plasticine, a fir cone, a paper or cardboard base.
- Wings sculpting. The top pair will be the brightest, teardrop-shaped. The lower one is of a contrasting color, almost rounded. You can cover them with patterns, applying them in a stack, dazzle decor in the form of peas, spirals.
- Head sculpting. You will need a rounded ball, a sausage for antennae, eyes, a smile. For the base, black or white plasticine is taken.
- Assembling the craft. The bump is placed with the scales down. This will be the body. The head is attached to it, wings are attached to the sides. Then you can glue the decor elements.
- Fastening to a substrate. The butterfly leans against the base with plasticine details. Slightly nestles.
If the help of adults is expected, the body of the butterfly can be fixed on the cardboard with a thin wire threaded under the scales. At the same time, holes are made in the material itself, through which the ends of the wire are brought out to the reverse side of the picture, fixed together with a twist. Then elements of the plasticine applique are glued around the cone.


For information on how to mold a plasticine butterfly, see the next video.


