How to mold a dinosaur from plasticine?
Many children are delighted with the mysterious dinosaurs. To keep the child's interest and spend quality time together, periodically these massive creatures can be sculpted from plasticine.
How to make a Triceratops?
To mold a plasticine dinosaur with your own hands, you must first pay enough attention to preparation.
- A homogeneous material of high quality, free from lumps, is to be used. The mass should be neither too hard nor too soft. It is important that the plasticine easily crumbles and forms the required figures, but does not crumble. It is better to prepare in advance bars of several bright colors, as well as a sheet of cardboard on which the craft is exposed. Plasticine will need to be thoroughly kneaded and warmed up in your hands. A needle is useful for drawing pictures and decorative elements.
- The place where the work will be carried out must be well lit. The surface of the table can be covered with oilcloth, or you can simply prepare a plastic or wood board for direct modeling.
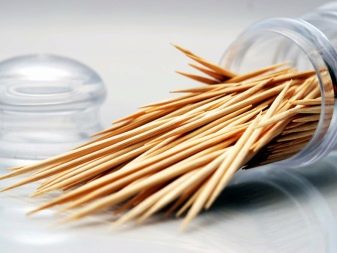
- The main tool for work, that is, a stack, is best chosen from wood, metal or plastic. Toothpicks, which may be needed to secure parts and give the structure stability, are also prepared in advance. An alternative to them can be wire, which will have to be processed with wire cutters, and matches.
- If the modeling takes place in the company of children, then it is wiser to protect the clothes of young creators with an apron, and hair with a scarf or bandana.
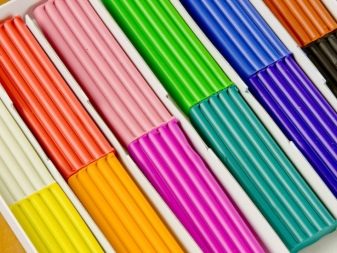

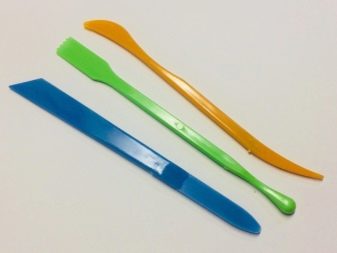
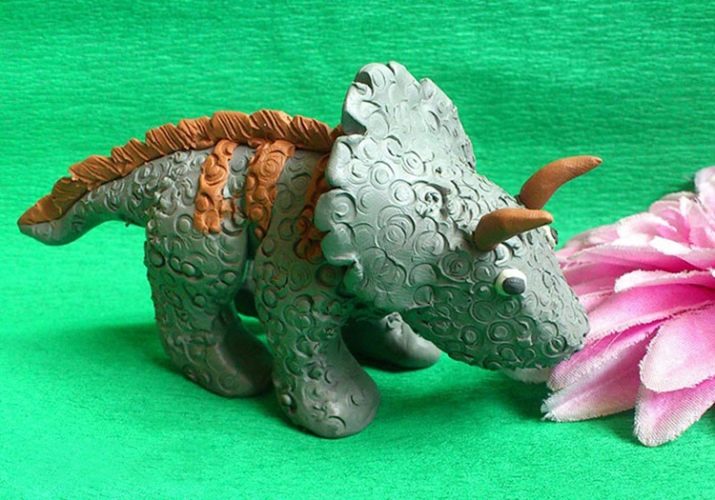
You can start your acquaintance with the world of plasticine dinosaurs with a master class on making Triceratops, the instructions of which are followed in stages. To recreate a massive hippopotamus-like animal with horns and a "fan" above your head, you will need gray and brown plasticine bars, a ballpoint pen shaft and a stack.
In principle, an ordinary knife can be used instead of a stack, but only if parents do not leave children alone with a sharp tool.
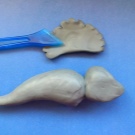
- First of all, a figurine is created from the gray mass that looks like a carrot, which is to become the body and tail of an animal. It is important that the wide front tapers towards the back.
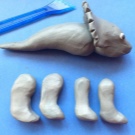
- Further, the tail of the workpiece is slightly bent downward, and the head is glued in front - a large gray part, pointed on one side.
- Also, a cake is made from the substance of this shade, which is given the shape of a fan by the tool. The detail is fixed in a semicircle on the head, and all joints must be smoothed out.
- The four thick legs may resemble ordinary pipes in appearance.
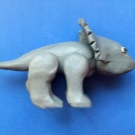
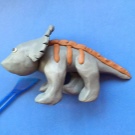
- Having connected the body parts of Triceratops, you need to add eyes to it, and cover the back and tail with two brown "sausages". One of them should go down along the back, and three should go across.
- The creature's two sharp horns also form from the brown mass.
- Finally, using the rod from the handle, the entire surface of the body is covered with round patterns resembling hard skin. This should be done carefully so that the holes do not get too deep.
Rex sculpting
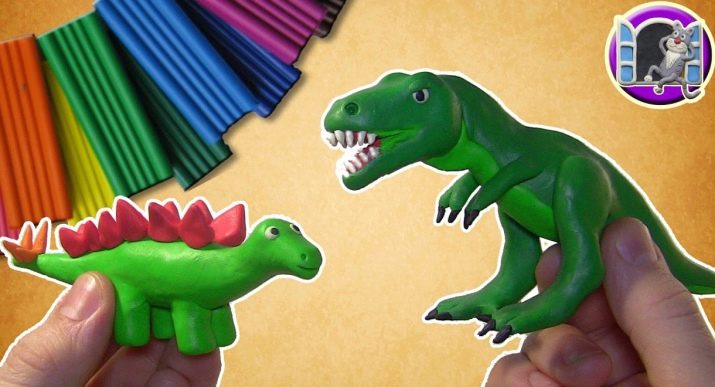
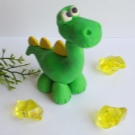
For novice young sculptors, a simple master class is ideal, as a result of which a scary Tyrannosaurus Rex will settle at home.
By following the simple steps, you will be able to learn the basics of creating animal data, and then you can move on to more complex shapes.
For work, you only need plasticine in four colors: brown, white, black and yellow, as well as a toothpick.
Everything is done quickly and easily.
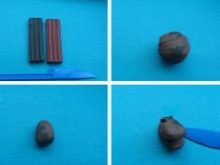
- Mix the black and brown sticks into a single mass. We knead well.
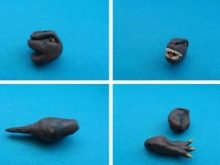
- Form an oval - this will be the head of the tee-rex. On the one hand, it is slightly pressed down, on the other, it is cut in the middle to form an open mouth.
- With the help of a toothpick, small holes are made in the head - the eye sockets. Small balls of yellow plasticine are inserted there - eyes, pupils are formed in them.
- With the help of white plasticine, teeth are made, glued into the mouth. You don't have to try to sculpt each tooth separately, but just place a strip of white material on both jaws and use a toothpick to make gaps in them.
- An elongated body and a tail are sculpted, tapering towards the tip.
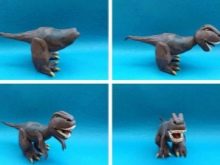
- They shape the neck, attach it to the body, attach the head.
- Now 2 thick hind legs are sculpted, at one end each is divided into 3 parts - these will be fingers. Each finger is narrowed and provided with a yellow claw. Bend the paw in the middle, attach it to the body at an angle of 90 °.
- Small front legs are formed according to the same principle, attached to the body almost under the neck.
- The rex figurine must have a support in the form of a tail, otherwise it will fall forward all the time.
Other options
Having mastered the creation of simple dinosaurs, you can move on to more complex animals, also following the instructions step by step.
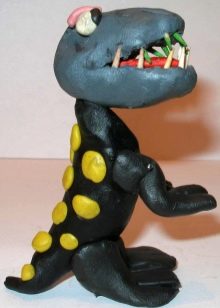
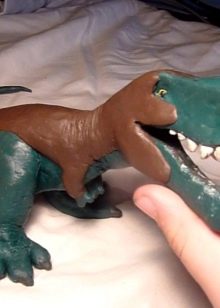
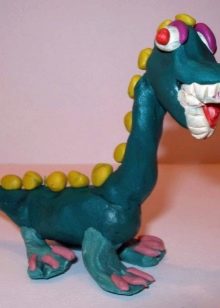
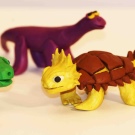
Ankylosaurus
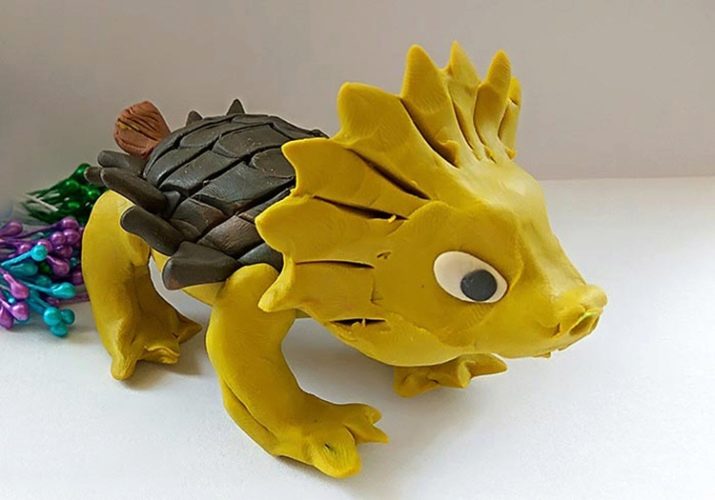
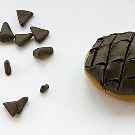
Ankylosaurus looks very unusual. To create a small copy of it, you only need yellow and brown plasticine, as well as a tool that resembles a spatula. By the way, the yellow mass will be used in greater quantities than the brown one.
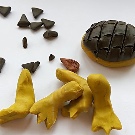
- Having thoroughly kneaded the substance, it will be necessary to form two cakes: the light one will be the body of the animal, and the brown one will be the shell. Additionally, you should prepare several brown blanks for the thorns.
- The brown cake is fixed on the yellow one, and the docking place can be left uneven. With the help of a spatula, the shell is covered with a mesh, and the pieces intended for the thorns are sharpened.
- The legs are also formed from yellow plasticine.To this end, a sausage is first formed from a piece, and then it is bent on one side, flattened and cut twice with a spatula. Three more legs are created in the same way, and a tail is molded from a small piece of brown material.
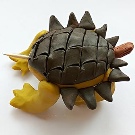
- The torso of the dinosaur is connected to the legs, and the tail is attached to the back. On the opposite side of the tail, you should immediately stick a toothpick on which a large head will be located. The spikes are attached to the sides of the torso so as to form a defensive row along almost the entire circumference.
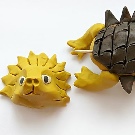
- A ball is made from a good piece of yellow plasticine, which then changes, forming the head of a dinosaur. Its nasal part is extended, the pits for the eyes are pressed through with the fingers, and a "fan" is formed on top.
To make thorns appear on the head, it is enough to sharpen its upper part with a tool. At the end, the creature has eyes, mouth and nostrils, and the head sits on the torso.
Stegosaurus
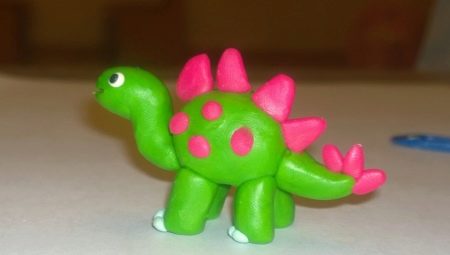
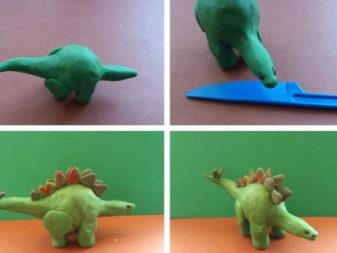
To create a herbivorous stegosaurus, you need green and red plasticine bars.
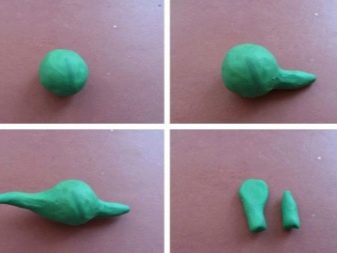
- The body of the animal is formed from a ball and a tourniquet, the junction between which is carefully smoothed out. A rather massive tail resembling an elongated cone is attached to the body.
- A pair of massive hind legs and a pair of thinner and shorter front legs are fashioned from a mass of the same color. The limbs can be simply glued to the body or "put" on matches.
- The dinosaur's head is shaped like a small testicle, which turns out to be much smaller than the body, but only slightly larger than the neck.
- A large number of small triangles of different sizes are formed from a red or bright orange substance. The resulting plates are glued to the back in two rows, following from large to small. The end of the tail ends with four narrow spines.
Brachiosaurus
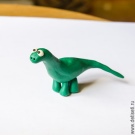
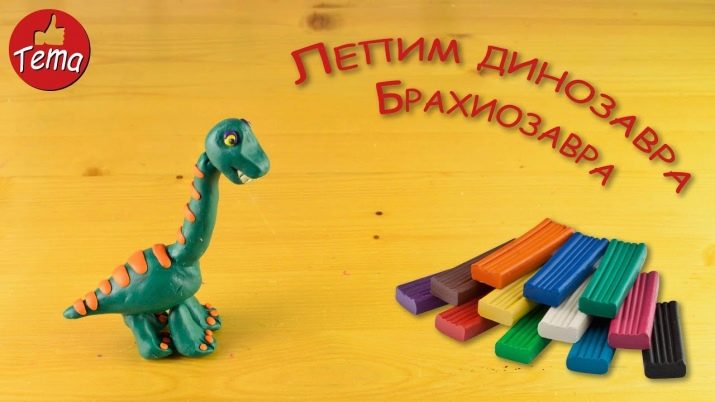
A long-necked brachiosaurus is quite simply created from plasticine. For work, all the same tools and materials are required: plasticine, toothpicks and a stack.
- First of all, an elongated body is created from a crushed bar, one side of which ends with a tapered tail.
- To obtain an upright neck, the toothpick "dresses up" in a sausage of the same shade.
- After the formation of the four of cone-like legs, flat "frog" legs are also attached to them on toothpicks.
- The green mass is used again - now to form an oblong head. A mouth is cut into it with a tool, and a red tongue is inserted inside. The creature's eyes are created from a pair of white balls with black pupils.
- At the last stage, all parts of the brachiosaurus are assembled into a single structure.
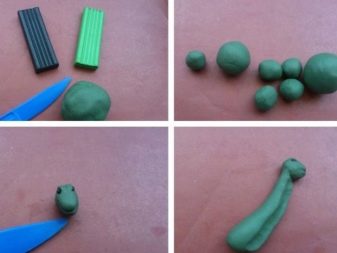
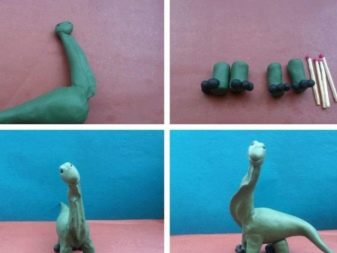
It will be possible to quickly make a brachiosaurus according to a slightly different scheme. The entire mass is immediately divided into several parts: 4 legs, torso, head and neck. The piece intended for the head rolls into a ball, which then shrinks slightly. Having selected the holes for the eyes with a stick, they will need to be filled with small beads of black plasticine. The dinosaur's neck rolls up in a thick flagellum of the same material. The tail immediately extends from the log-shaped body. For convenience, matches are inserted into the short legs of the animal. All parts of the animal are fastened together, and the resulting seams are smoothed with fingers.
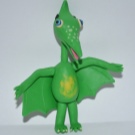
Pterodactyl
To form a flying pterodactyl, it is recommended to use a special air plasticine. The shade of the material is selected depending on your own preferences.
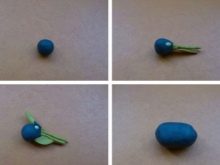
- First of all, a small ball rolls down from the mass of the dominant color, which is to become the head. Separately, a sharp beak is formed from plasticine of a contrasting color. A nose is slightly pulled out of the head, after which a beak is attached to it, and a tuft of the same contrasting shade is added at the top. To complete the pterodactyl's head, it remains to attach white eye balls, draw eyebrows and, if possible, cut out the membranes under the beak.
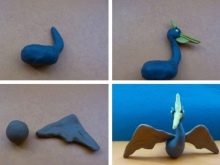
- A large piece of plasticine in the main shade is used for the oval body. The thin but strong neck is sculpted in the same color. The finished parts are fastened together, after which it's time to move on to the wings.
- The brown mass is washed out for a long time and warmed up by hands. Then it is divided into two parts, each of which is given the shape of a triangle. Fix the wings on the body with the narrow side.
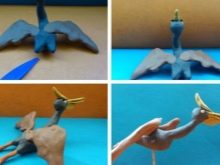
- A small incision is made on the back of the body to form a place to fix the limbs.
Having formed long thin legs of brown color, it remains only to attach them in such a way that the animal "flies".
Plesiosaur
Finally, to complete the collection of homemade dinosaurs is the underwater plesiosaur. To create the simplest model, you can even limit yourself to a material of one color.
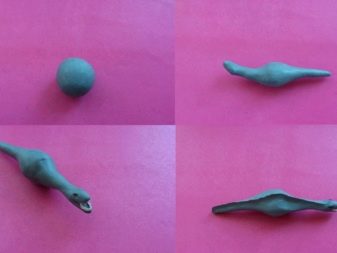
- It all starts with the fact that a large ball is formed from the mass, from which the neck and tail are then extended in opposite directions. It is important that the neck is uniform and the tail tapers slightly towards the end. By applying light pressure to the end of the neck, you can immediately get a flat head. At will, with the fingers, it becomes more oval or oblong.
- A mouth is cut into the face with a stack, where teeth are inserted afterwards. Despite the fact that they should form two rows, it is not forbidden to simply limit ourselves to one symbolic plate of white plasticine. With the help of a tool, the hollows for the eyes are squeezed out in the head, after which they are filled with balls of the required shade.
- Following along the entire length of the body, by pinching, a thin ridge is formed, going along the ridge from the head to the tip of the tail. The fins of the animal can be made of the same color, although contrasting limbs will look much more interesting.
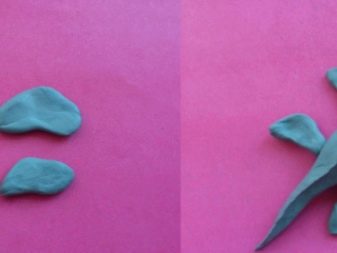
- Four flat "beans" are fixed directly on the belly of the animal. By the way, they can be made more rounded or elongated.
The front fins should be slightly larger than the rear ones.
For information on how to mold a dinosaur, see the next video.


