How to make a plasticine hedgehog?
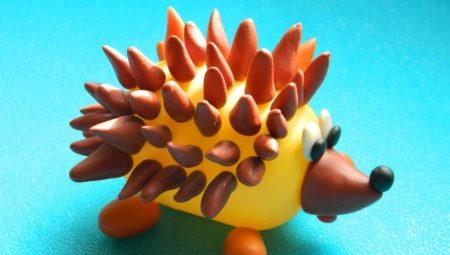
Many children love to make plasticine crafts. This material allows you to create a variety of products and compositions with your own hands. Today we will talk about how you can make a hedgehog from plasticine step by step.
Simple ways
First, let's look at the simplest schemes. Prepare the following materials and accessories in advance:
- children's plasticine;
- board;
- skewers;
- sharp-edged scissors;
- plasticine knife.
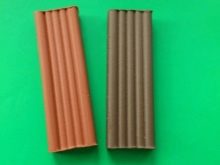
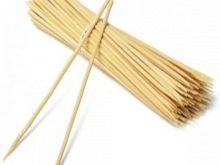
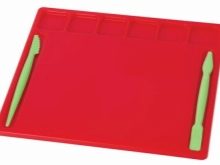
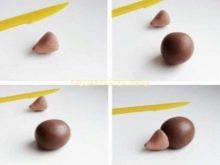
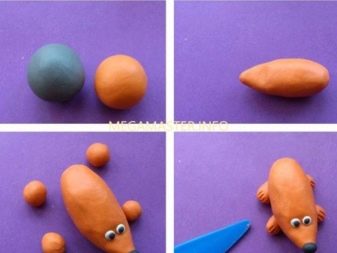
- First, a hedgehog's face is created. To do this, take material of brown and beige colors (beige can be obtained by mixing white and brown). Then light plasticine is carefully rolled into an even ball. After that, the workpiece must be shaped into a cone, then it is laid aside.
- Later you can start making the torso. To do this, take dark plasticine. Knead it well, then roll a ball out of the mass. It is pressed a little on the sides so that the result is an oval.
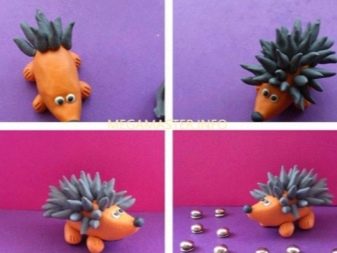
- The two workpieces made are connected to each other. At the junction, you need to add small teardrop-shaped details. They should resemble the thorns of a hedgehog.
- Next, the light brown material is taken again. Ears are formed from it. To do this, roll up two small balls, flatten them slightly and connect them at the bottom. With the help of a skewer, the finished ears are neatly fixed on the head. Several small teardrop-shaped elements are also fixed between them.
- Now you can start forming the thorns. This is done with sharp-edged scissors. Small cuts are made with the tip. With a skewer, push through the middle in the made needles.
- At the final stage, the hedgehog's muzzle is finally formed. With the help of a stack, recesses are made in place of the eyes.At the same time, black plasticine is taken, two identical balls are rolled out of it, and then they are inserted into these recesses. The nose is also attached. Draw a mouth with scissors.
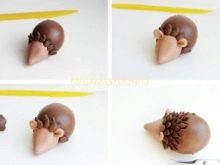
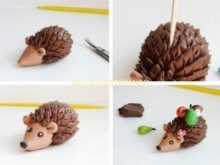
There is another easy way to create such a craft. The following necessary materials and devices are preliminarily prepared:
- children's plasticine (light color for the body and dark for needles);
- napkins;
- board;
- plastic knife.
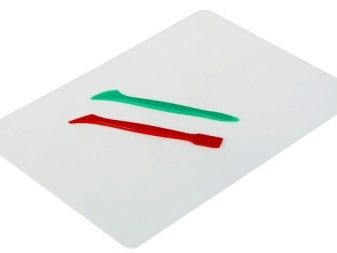
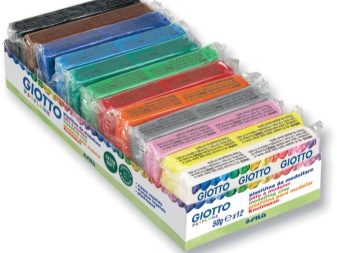
- At first, the clay is kneaded well in the hands so that it becomes pliable. Next, light plasticine is taken. A long cone-shaped blank is formed from it. The sharp end is highlighted in such a way that the hedgehog's nose is visible. The other end should be wide, this part will become the torso.
- A small rolled ball of black material is gently fixed on the spout. Eyes are also formed from the same plasticine.
- Next, the light material is taken again. Four balls are rolled out of it. They are gently pressed in such a way as to give them an elongated shape. These workpieces will become paws. With the help of a stack, small cuts are made on them to make fingers.
- The legs are attached to the body. After that, you can start forming the needles, for this you need dark plasticine. Small pieces come off from it, they all stretch out and sharpen at the ends. The resulting parts are fixed on the body. The result is a beautiful voluminous hedgehog. This master class is perfect even for beginners.
Modeling with seeds
Such crafts made with seeds look interesting.
With sunflower
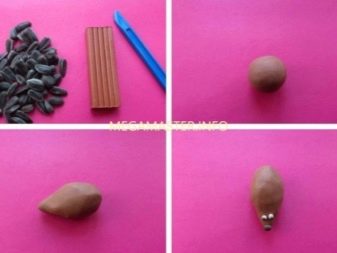
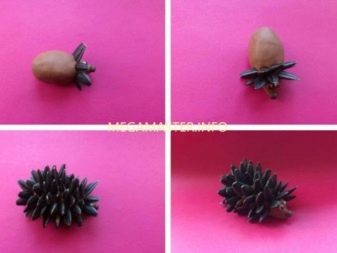
In this case, brown plasticine is taken. He stretches in his hands. A small ball is formed from it. The material is pulled back to blind the nose. The rest can be left in this form - it will become the body of the hedgehog.
A brown small teardrop-shaped piece is fixed to the sharp end. Also, eyes should be made from black and white plasticine, they are also attached to the muzzle.
Next, sunflower seeds are taken. They are inserted into the body with a wide part.
Do not push them too hard.
First, they are laid out at the face, gradually moving towards the end. If desired, such a finished craft can be decorated with various decorative elements.
With watermelon
To create such a craft, you need to prepare the following:
- large paper sheet;
- paints (it is better to take gouache);
- dry foliage;
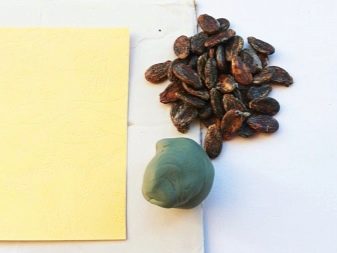
- dried watermelon seeds;
- brown cardboard;
- plasticine;
- scissors.
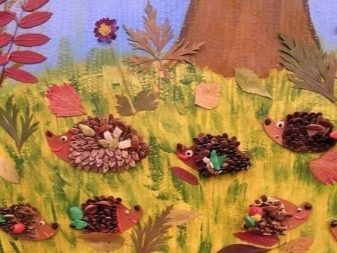
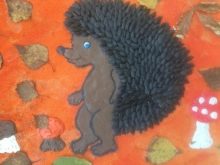
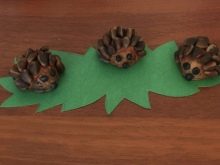
- First, make a background for the hedgehog. A glade or forest is drawn on a large sheet. In order for the composition to become as realistic and beautiful as possible, it is better to glue dry leaves or flower buds onto the material.
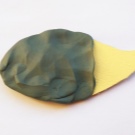
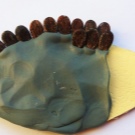
- A hedgehog shape is cut out of brown cardboard. The most convenient way is to use a ready-made template. Then such a cardboard blank is covered with a thin layer of brown plasticine (only the part that will be occupied by the needles).
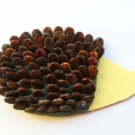
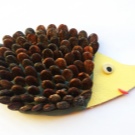
- After that, dried watermelon seeds are taken. They must be inserted into the material with the sharp end up. All seeds should be placed tightly to each other, there should be no empty areas.
- After all the thorns are fixed, they again take plasticine, and the eyes and nose are rolled out of it. The finished hedgehog can be decorated with dry leaves or mushrooms.
- At the final stage, double-sided adhesive tape or simple glue is taken. With the help of their hedgehog, they are attached to a previously made background. If you wish, you can make a whole large clearing with such animals with your own hands.
How to blind with a bump?
In this case, you need to prepare the following:
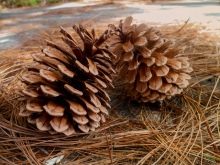
- pine or spruce cone;
- needle;
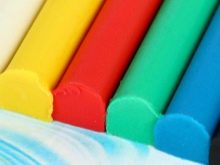
- plasticine for children.
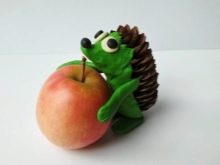
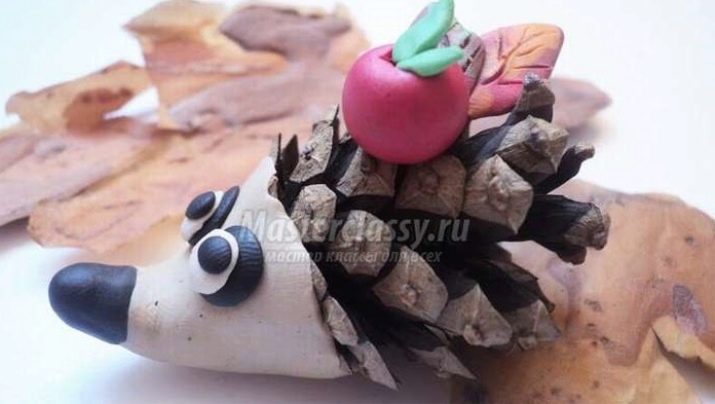
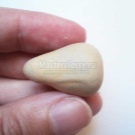
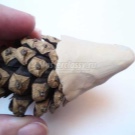
- First you need to take light beige plasticine. Alternatively, you can prepare a light gray material. A cone is molded from it, it will be the head of a hedgehog. The made workpiece is attached to the cone. All irregularities must be immediately smoothed out with your fingers or a stack.
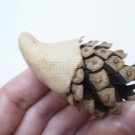
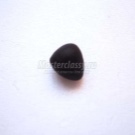
- The corner of the cone rises slightly. It will become the hedgehog's nose. Next, black plasticine is taken. A small cone-shaped blank is formed from it. All irregularities are also immediately smoothed out well.
- After that, the black part is attached to the place where the spout will be. The joint will need to be ironed thoroughly. Next, make eyes. To do this, they again take black plasticine, small identical ovals are rolled out of it. They are flattened a little and attached to the hedgehog's face.
- Then they take a white material, two ovals are also rolled out of it, but already a little smaller. The details are again flattened and in this form are attached over the black elements. Next, small balls of dark plasticine are formed, they are attached from above.
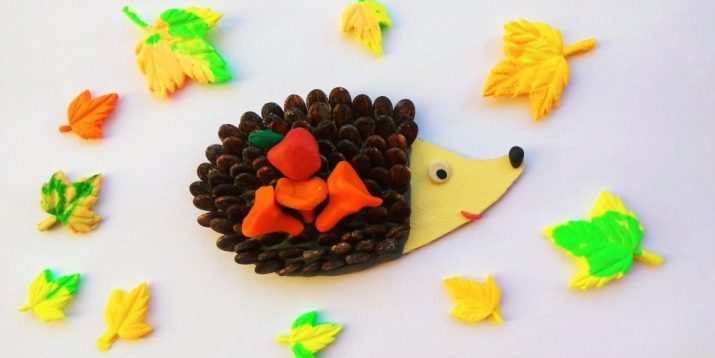
- To make the craft look more beautiful and original, it should be additionally decorated. For this, prepare red plasticine. A ball is rolled out of it. On one side, it is pierced a little with a needle and a depression is made.
- A couple of small leaves are sculpted from green material. They are attached to the previously made hole in the red ball. The result is an apple-shaped part. It can be placed on the torso of a hedgehog.
- You can also make details in the form of autumn leaves. To do this, tear off small pieces of brown, orange, red and green. All of them are mixed with each other to make one marble mass.
- Several leaves are sculpted from the multi-colored material obtained. At first, teardrop-shaped elements are simply formed. They flatten a little. With the help of a thin needle, the veins are drawn. Ready-made plasticine leaves are also attached to the body of a hedgehog.
More ideas
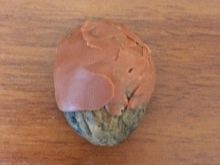
There are many more interesting step-by-step instructions for creating plasticine crafts in the form of hedgehogs. So, you can make a product from half a walnut shell. Moreover, it will be the basis of the craft.
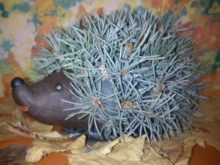
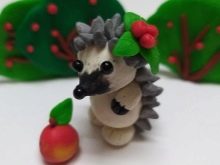
2/3 of the shell is covered with a thin layer of plasticine; it is better to take material of brown or beige color. After that, they begin to fix the details from above, which will imitate needles. For this, toothpicks, matches are best suited. Cereals are also often taken.
At the final stage, the muzzle of a hedgehog is formed. Three small balls are rolled from black plasticine. They are then flattened slightly and fixed in place of the eyes and nose.
This master class is perfect for children of senior and middle groups in kindergarten.
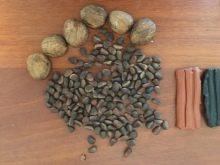
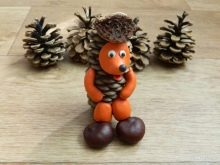
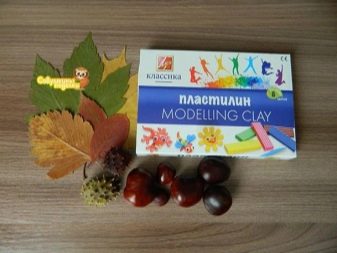
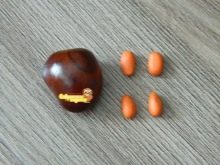
Also, such a craft can be made from chestnut. To do this, you need the following:
- dry chestnut;
- plasticine;
- spiny chestnut shell (plush).
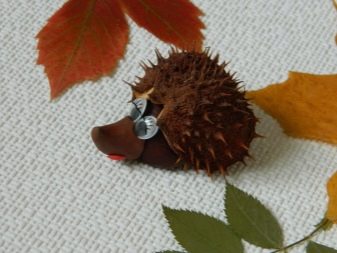
- First, you will need to find a suitable chestnut and plyuska. They must fit together in size. The shell should even be a little larger.
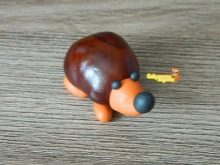
- At the same time, orange-colored plasticine is taken. Four oval blanks are formed from it. They will become the legs of a hedgehog. Each such detail is neatly attached to the chestnut.
- Next, a hedgehog's face is formed. To do this, you need a small cone made of orange plasticine and three balls of black material. In the first part, you need to slightly raise the top.
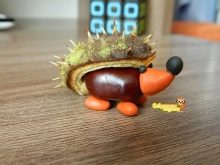
- Black balls are attached to the cone at the places of the nose and eyes. In this form, the workpiece is attached to the chestnut. Later, a piece of cupule is carefully put on top of the dry chestnut.
- If you wish, you can create a whole beautiful composition. In this case, dried leaves of different colors, bunches of berries, mushrooms, cones should be laid out on a cardboard sheet or other flat surface and the finished hedgehog should be placed there.
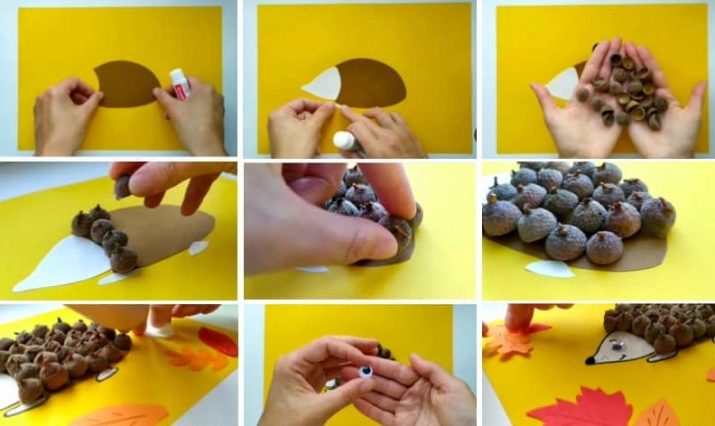
An applique in the form of a hedgehog made of acorns will look unusual. To do it yourself, you need to prepare the following things:
- scissors;
- colored paper;
- cardboard sheet;
- acorn hats;
- plasticine.
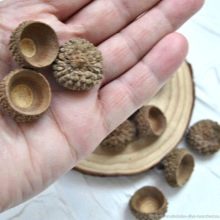
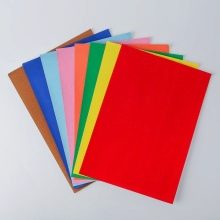
- A brown body and a white muzzle, a hedgehog's legs are cut out of colored paper using scissors. They are glued to a blank sheet. After that, the acorn caps are taken. The whole body is pasted over with them.They will act as needles.
- It is better to attach ready-made plastic decorative eyes to the face. You can also make them yourself from black and white paper. Sometimes they are simply drawn with a marker.
- Also, the paws and head of the hedgehog are marked with a dark felt-tip pen. Then they also draw a round nose, a smile and antennae. At the final stage, decorate the free part of the sheet to make the applique more beautiful. Dried leaves can be used as decoration. It is better to glue them right away.
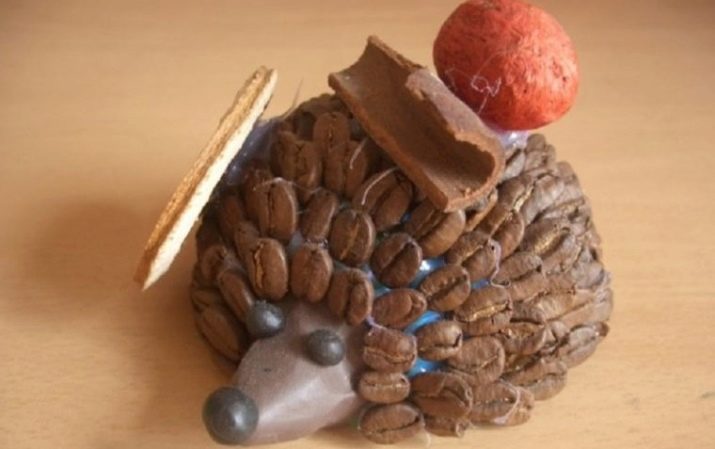
This craft can also be made from coffee beans. First, they take dark-colored plasticine, form a base from it. One end of the workpiece must be pulled out and slightly bent upward. This part will become the hedgehog's nose.
Then a black material is taken, from which you need to blind the eyes and the tip of the nose. These elements are immediately attached to the muzzle. After the base is ready, they begin to gradually fill it with coffee beans.
They need to be inserted at a slight angle.
All of them should be located as tightly as possible in relation to each other. At the end, you can add various decorative details (in the form of leaves, plasticine apples).
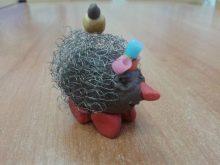
You can make crafts from plasticine and pasta. First, a piece of plasticine of any color is taken. A rather large, even ball is rolled out of it. Further, one end of such a blank is pulled out and sharpened a little. The result is a drop-shaped base.
With the help of a stack, small holes are made for the eyes. They must be filled with black balls. A small dark ball is also attached to the tip of the nose. It is better to attach white pupils to the eyes.
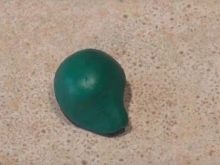
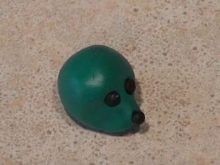
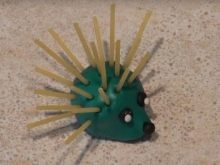
Simultaneously, the pasta is prepared.
Spaghetti is the best option.
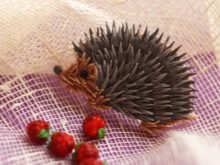
They are broken into pieces of the desired size. All parts should be approximately the same length. Then they begin to gradually be inserted into the base. Spread the pasta as evenly as possible so that the finished craft looks neat and beautiful.
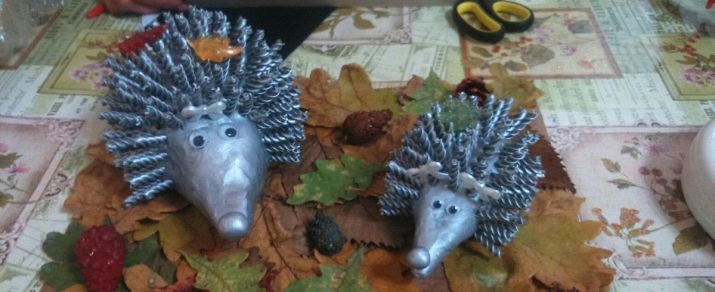
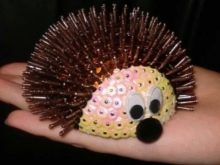
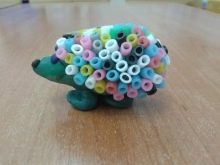
If desired, the finished hedgehog-shaped craft can be decorated with various elements. Often, beads of different colors, bright iridescent beads, as well as sparkling rhinestones and foil are used for this purpose. For the manufacture of such products, you can use simple or airy plasticine.
Plasticine can be used to mold not only an ordinary hedgehog, but also the hero of the famous cartoon "Smeshariki". You will learn how to do this by watching the following video.


