How to mold animals from plasticine?
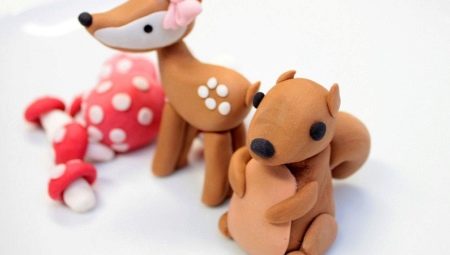
Plasticine is a very malleable material from which countless different objects and figures can be made. Interesting crafts can be done by both adults and children. In today's article we will tell you how you can mold cute animals from this plastic material.
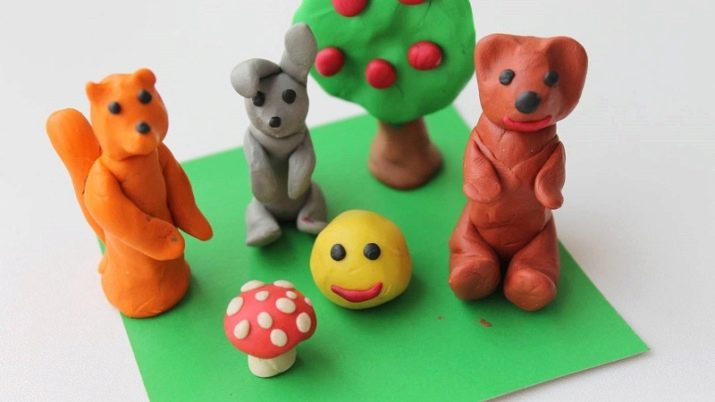
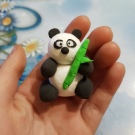
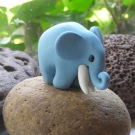
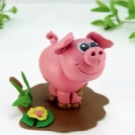
How to make pets?
There are different types of plasticine mass. So, even a very small child can easily make beautiful and funny figures from airy plasticine. There is also less malleable sculptural material, with which "adult masters" usually work.
If a young master is working on creating an original craft, it is advisable to use a light plastic mass. Almost any animal figurines can be created from this material. Children can be fascinated by the process of modeling cute pets.
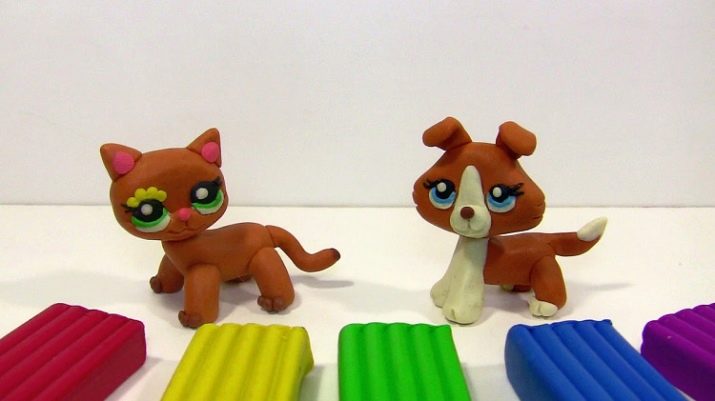
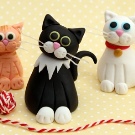
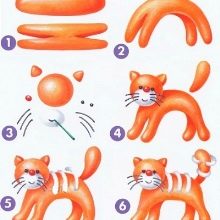
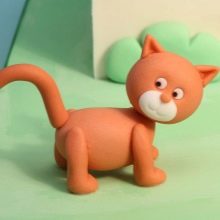
For example, a kid can make a beautiful ginger cat with his own hands. We will analyze step by step how this should be done according to all the rules.
- First you need to prepare all the necessary materials and tools / fixtures. You will need an orange plasticine mass. A flat oval blank of an elongated structure should be formed from it. From this prepared component, 4 legs and a cat's body will be formed further.
- Further, using a knife at the ends of the part, you will need to very carefully make cuts. On both sides of the blank will be formed by a pair of legs, in the middle there will be the back of the future animal.
- At the next stage, the young master will need to bend an oval blank in the middle. This is done so that the figurine seems to stand on supports in the form of paws, while arching a section of the back.
- Further, on one side, the cat's head and ears are attached, and on the other - the tail.
- The eyes of an animal should be made from flattened plasticine balls of white and black colors. And also from one more black or pink element it will be necessary to build a cat's nose. The mustache can be drawn from any suitable materials at hand.
It will take a child very little time to create such a cute and funny pet from light plasticine, but the result obtained will definitely pleasantly surprise him.

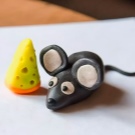
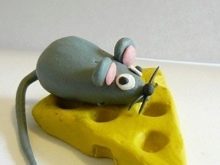
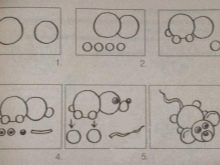
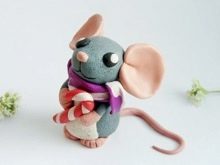
A child can also make a very attractive and funny mouse from plastic material. The process of making such a figurine also does not take much time, but it will certainly cheer up the little master.
- First, it is recommended to warm up the plasticine mass in your hands. Due to this, it will be easier to work with the material, it will be more pliable.
- Next, you need to roll a couple of medium-sized balls. From these balls, 2 important details of the figure will further be formed, namely: the body and the head of the mouse.
- At the next stage, the little master will need to roll 4 more balls, but already of smaller sizes... Subsequently, these blanks will play the role of mouse legs. When the specified components are ready, they will need to be bonded to the rest of the previously formed components.
- Now you need to form a ball-protrusion, which must be fixed on the muzzle of the mouse. And also need a small ball for the nose, 2 flattened balls for the ears.
- It is necessary to form eyes for future crafts... To do this, connect together 2 small white balls with two even smaller black balls.
- Next, the eyes of the mouse are connected, the ears are fixed. The protrusion with the spout is also attached to the muzzle.
- At the final stage, the child will need to roll a ponytail sausage in his palms. It is attached to the body of the craft.
An interesting and cute figurine is ready!
Sculpting wild beasts
Young craftsmen can create many other variations of figurines in the shape of animals from plastic material. It can be not only the usual cats, dogs and other domestic four-legged, but also a variety of wild animals.
The child can learn to sculpt both forest and African animals with his own hands. Let's take a closer look at several master classes on creating such interesting crafts.
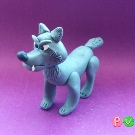
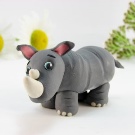
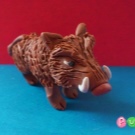
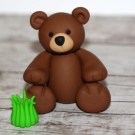
a lion
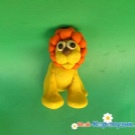
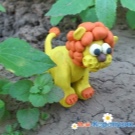
From plasticine, a child can make a very beautiful and original king of animals - a lion. Such a craft can be modeled from soft plasticine. It will be as easy and simple as possible for a child to work with this material.
Let's consider in stages how you can make the king of hot countries and the jungle from plasticine mass.
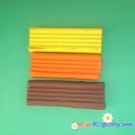
- First you need to prepare 3 plasticine blocks of different shades. It is from them that the lion figurine will be further made. Brown, yellow and orange colors of materials are ideal.
- Next, you will need to form an oval blank. In the future, she will play the role of the body of the king of beasts. In this case, you should use a yellow material.
- 4 paws will need to be made of plasticine of the same color... They will need to be connected together with the body of the future lion.
- The next step is to tackle the formation of the head of the predator. This detail needs to be given a slightly oblong structure. A pair of small yellow plasticine balls should be formed and glued to the cheeks of the animal. And also you will need to prepare a small brown ball. It should also be fixed on the muzzle as the lion's nose.
- Now the king of beasts needs to blind his eyes... To do this, brown or black pupil balls must be glued to the white flattened balls that play the role of eye sockets.
- An orange lion's mane can also be modeled from a suitable number of balls. Ready-made components will need to be glued around the animal's face. Balls representing the mane will need to fill the entire back of the head of the future figurine.
- To securely fasten the head and body of the plasticine lion, you can take an ordinary match. A ready-made molded head should be planted on one end of it, and the other end will need to be stuck into the body. The main thing is to ensure that the match is firmly fixed in all areas.
- Now you should start forming the lion's tail. At its tip, you will need to arrange a charming red tassel. In addition, the king of beasts will need to make orange tips for the legs.
- At the next stage, you need to take a yellow plastic mass again.... Round shaped lion ears are formed from it. Further, these components are fixed on the head of the animal.
At this stage, the original figure of the king of beasts will be ready. The considered scheme is perfect for a preschooler, since it is simple and as clear as possible.
Hedgehog
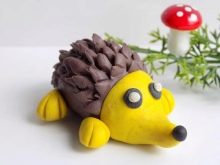
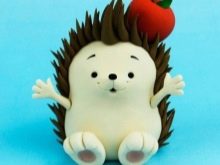
From soft and pliable material, it is possible to mold not only dangerous predators and wild cats, but also other animals. For example, many children really like to sculpt adorable hedgehogs with their own hands.
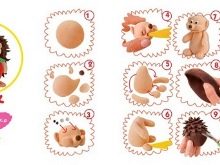
Let's consider step by step how you can independently make a cute voluminous figure in the form of a hedgehog.
- First, you will need to form a ball-shaped blank from brown or gray plasticine. In this case, the details must be given a slightly elongated structure, in order to further shape the animal's face here.
- Ears, eyes, a nose for a hedgehog should be sculpted separately. After that, all the prepared parts will need to be securely fastened to each other.
- Now the young master will need to depict needles on the body of the figure. To do this, you can use suitable natural materials that will simulate needles. You can do a little easier - gently pull the clay in places with your fingers, thus forming a semblance of needles.
This step-by-step instruction is suitable for children of different age groups. Older craftsmen can create more detailed and complex sculptures.
Elephant
A child can also independently make an African elephant from plastic material. Such a figurine can be either small or larger. Ready-made animals will be able to very effectively complement the "plasticine" zoo.
Let's analyze in stages the process of creating an elephant from plasticine.
- First, you will need to prepare all the necessary materials. Be sure to take a gray plasticine bar, as well as white, black bars. It is necessary to prepare a stack and matches.
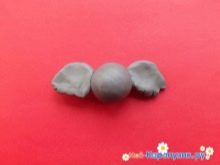
- The starting part of the future figurine is a blank head... It is molded in the form of a plasticine ball.
- Next, you need to shape the ears of the elephant in the form of flattened petals. They can be shaped like a crescent and then uneven on one side. In this case, these elements should be very carefully pulled out with your fingers, processed with a match or a stack.
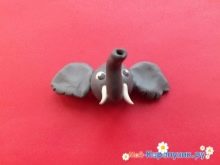
- The front part of the elephant's head should be supplemented with an elongated part - the trunk. It needs to be formed from a gray plasticine piece. The trunk needs to be slightly bent.
- Using the stacks on the elephant's face, you need to gently squeeze out small dots. These will be the eyes of the animal.
- In the grooves made, you will need to place black and white eyes.
- Next, white is fixed on the elephant's face. tusks... They are attached to the sides of the trunk.
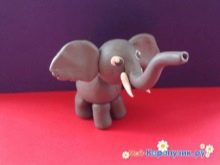
- The body of an elephant is molded extremely simply and quickly. You need to roll another large gray ball. A match is placed in it.
- They put a ready-made match on a match head.
- Smaller gray plasticine balls are used to mold legs cylindrical shape.
- Each limb is set on a match, placed in the body of an elephant.
- The back should be fixed a thin ponytail.
A beautiful plasticine craft is ready.
Snake
It will be very easy and quick to model a plasticine figure of a snake.
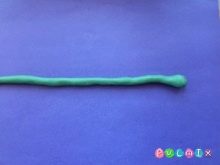
- First you need to prepare a piece of plasticine... You can do almost any color, but it is best to choose a green or blue-green material. The selected plastic material is rolled into a ball.
- Next, the round workpiece is laid on a flat surface, and then pressed on top with the palm of your hand... It is necessary to roll a thin sausage from this component. Along its entire length, this workpiece must be the same and uniform.
- The snake's head does not need to be rolled too much... It is advisable to leave this part a little more dense, rounded.
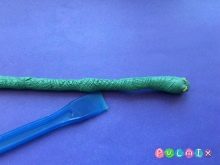
- At the next stage, the future snake will need to make eyes... This can be done using a stack. With the same tool, you will need to depict holes-nostrils on the tip of the muzzle.
- You can design the back of a snake in an interesting way.... It is worth scribbling characteristic stripes on it with a stack. This will create a scale effect.
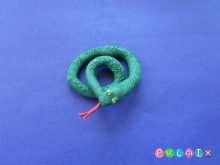
- To complete the image of a beautiful plasticine snake, a thin and long tongue with a bifurcation at the tip must be firmly attached to her head.
To make the figurine of the original snake look as natural and natural as possible, its entire body should be carefully bent in any direction.
Marine inhabitants
The plastic mass allows the production of a wide variety of animals. Various marine life are very interesting and funny. Children are very interested in the process of sculpting fish, octopuses, seahorses and other animals.
Let's consider step by step how you can sculpt a cool plasticine octopus with your own hands.
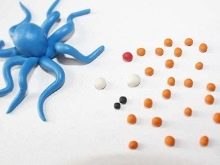
- First, you should pick up the plasticine mass of the shade you like.... It can be quite bright and rich. It is necessary to roll a ball from such a material that has a slightly irregular structure. This blank will play the role of the figure's body.
- You will need to attach 8 tentacle-shaped legs to the prepared body. They must be carefully bent in different directions to create the impression that the octopus is swimming.
- A pair of eyes is attached to the body-head of the figurine., molded from white and black flattened round plasticine.
- To make the craft look more original and funnier, the tentacles can hold a pencil or any miniature toy.
- You can complement the funny craft with a small red detail. This element can play the role of the smile of a sea inhabitant.
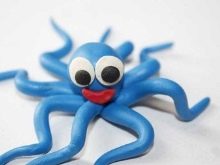
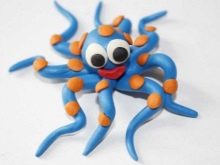
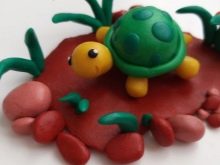
From plasticine mass, you can make another inhabitant of the seas and land. We will learn how to correctly make a figurine in the form of a turtle with our own hands.
- At the first stage, a plasticine piece is formed a circle divided in half.
- Next, they draw up and attach to the previous workpiece a round base, complemented by a neck of an oblong structure... This part may have a different color.
- In a similar color version can be decorated paws and tail of the future plasticine turtle.
- The craft can be decorated with elegant sea stones, or with plasticine circles fixed on the surface of the shell.
- In conclusion, it is necessary complement the figure with eyes and a mouth, formed from an arched pink piece.
To make the turtle figurine look as natural and natural as possible, its shell can be decorated with miniature shells instead of plasticine elements.
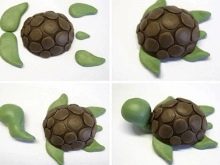
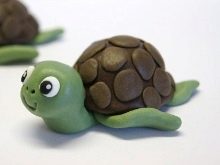
Fantastic creatures
Children really like to create unusual fantastic creatures from plasticine with their own hands. When making such characters, a young master can let fantasy go free, completely surrender to his own imagination. Many fantastic creatures are easy to master, but they turn out to be very expressive and attractive.
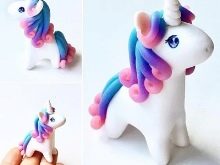
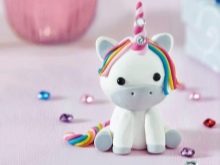
We will analyze all the main stages of self-modeling of a beautiful plasticine figurine in the form of a unicorn.
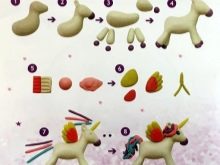
- The horse can be easily formed from several oval blanks of small sizes... They need to be connected. The main thing is to observe proportions. The child can choose any color of plasticine for modeling a unicorn. For example, it can be a pink or pale blue shade - there are no restrictions here.
- Next, you will need to form a plasticine head and ears of a mythical character. These components are fastened into a single structure, and then attached to the neck. The latter is fixed on the body.
- At the next stage, the young master will need to prepare 4 more elements... They should have a thinner structure - these will be the legs of the future unicorn. On the tips of the feet, it is necessary to fix black plasticine segments that act as hooves.
- It will be necessary to form more subtle elements to prepare the tail and mane of the craft... For these components, you can take a plasticine mass of a different color.
- It will be possible to complete the figurine of an unusual mythical character by means of the unchanging horn on the head.... For its formation, it is advisable to take a plasticine mass of a brighter and more saturated shade. In this case, the front legs of the figure are allowed to bend slightly to create the effect of the movement of a unicorn.
For information on how to sculpt cute animals from plasticine, see the next video collection.


