How to mold a fox from plasticine?
Making simple plasticine crafts helps your child develop fine motor skills and imagination. In search of inspiration for creativity, you can pay attention to characters from popular fairy tales or cartoons. One of these is the cunning fox.
Tools and materials
Before starting sculpting, you need to prepare all the necessary tools and materials. It is worth starting preparation with the choice of plasticine. Certain options are suitable for children's creativity.
- Traditional colored plasticine. This is a time-tested option that you need to warm up well in your hands before work so that the mass becomes soft and pliable. Such plasticine can be fluorescent or even pearlescent.
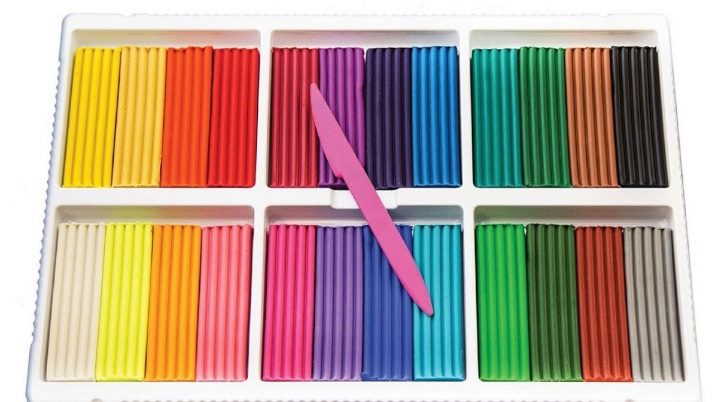
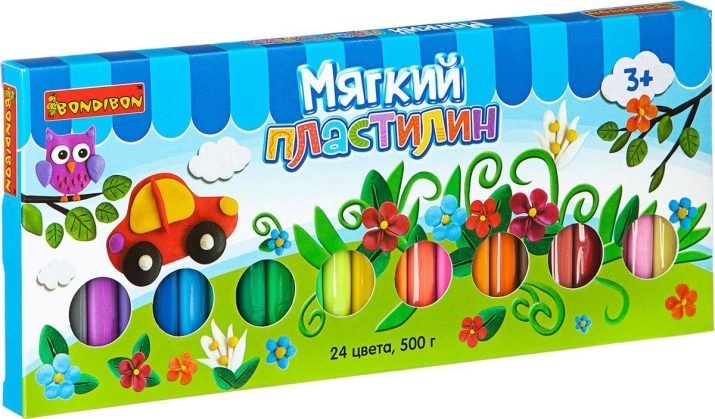
- Soft. Kids like this plasticine very much, because it does not need to be heated and kneaded for a long time in their hands. But the figures from it are not as strong and stable.
- Floating. The main advantage of this material is that figures made of such plasticine do not sink in water. They turn out to be light and beautiful.
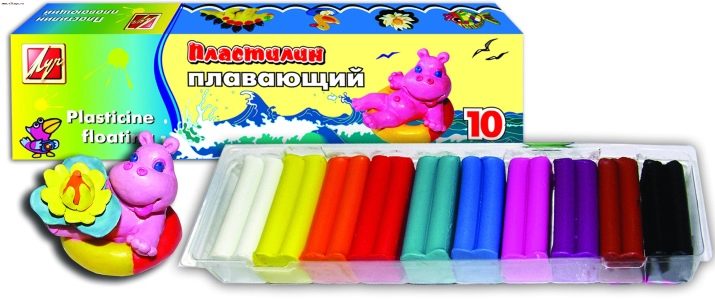
To create toys, you need pieces of orange, brown, white, black and red plasticine. Other tools will be needed for sculpting.
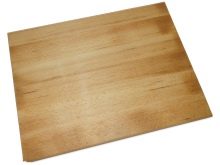
- Wooden plank. It is needed in order not to stain the work surface with plasticine. You can replace it with regular sheets of paper.
- Stack. It is necessary for working with small elements of the shape. The stack usually comes with plasticine. Therefore, you do not need to buy it separately.
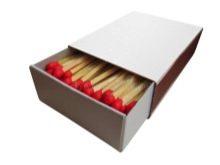
- Matches. They are used as additional fasteners. They help to more securely fix the finished figurine. You can also use small toothpicks instead.

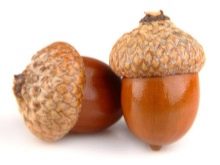
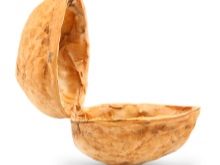
In addition to the basic materials, you can also use additional materials. For example, cones, acorns, or nutshells. To make the figurine the first time around, you need to use a ready-made image of the character you like as a source of inspiration.
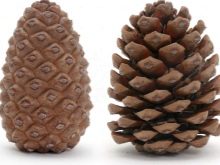
How to mold with cones?
A beautiful plasticine fox will look truly fabulous if you use natural materials, for example, cones, to create it. The process of creating a figurine consists of several stages.
- First of all, we make a fox face from plasticine. It should be neat and slightly elongated. We also sculpt sharp ears from the same material.
- We roll a small piece of black plasticine into a small ball and fix it on the tip of the muzzle.
- We carefully fix the fox's head on the cone. Glue the ears on top.
- From a small piece of red plasticine we sculpt a small tongue and attach it to the bottom of the muzzle. Using a stack, carefully draw all the necessary elements on the face.
- After that we sculpt eyes for the fox. White plasticine is used for the base, green for the pupils. We decorate them with small cilia.
- When the muzzle is ready, you can start sculpting the tail and limbs. We sculpt them from bright orange plasticine. In order to make paws, roll out 2 pieces of plasticine into a short sausage. We make small decorative cuts in the lower front part of the legs.
- We attach both legs to the side of the cone. We repeat the same with the other pair of paws.
- Then you can start collecting the entire figure. Using pieces of orange plasticine, attach the fox's head to the big bump, and then the tail. It is also made from a cone, but longer.
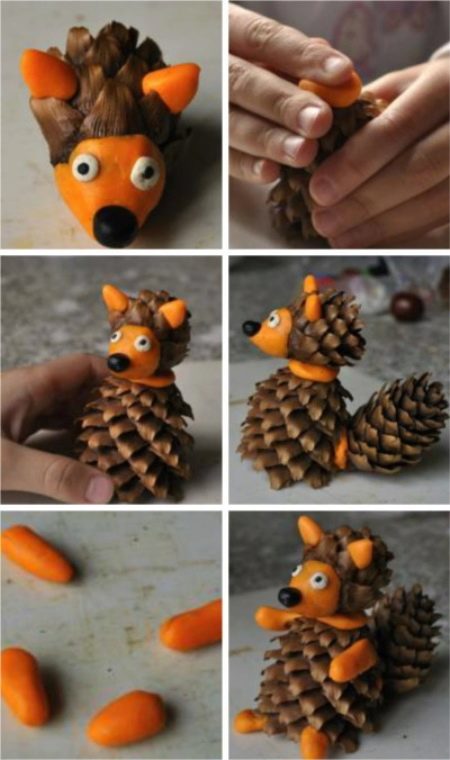
The finished fox must be fixed on a horizontal surface decorated with yellow leaves or flowers. It turns out a beautiful and original craft.
How to make a cone figurine?
So that the child can easily cope with the creation of crafts from plasticine, it is worth making it from simple and familiar figures. The process consists of several stages.
- First, we make blanks for the future toy. We sculpt three large cones from orange plasticine.
- The largest of them is fixed to the surface of the work board. The fox's head is neatly attached to the resulting body, as well as a tail with a slightly pointed end.
- Feet are also made of cones, but smaller. When the parts are ready, they are neatly attached to the lower torso and to the top of the torso.
- The tiny ear and nose cones need to be rolled out well in the hands. The material should be soft and pliable. The ears will turn out to be slightly pointed, and the nose, on the contrary, will be round.
- The last stage of work is placing the eyes on the face.
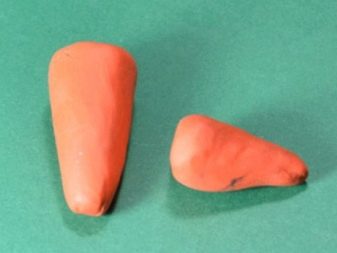
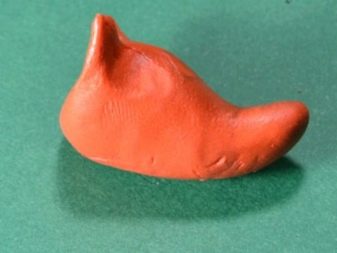
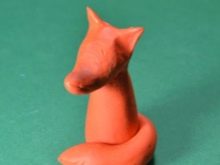
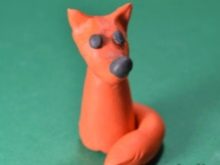
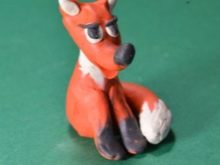
Using this simple master class, you can mold a beautiful fox in just a few minutes.
The resulting figurine can be additionally decorated. For example, fix flowers, a piece of cheese or mushrooms in the fox's paws.
You can make them from the remains of colored plasticine.
Other options
Original plasticine crafts for children can be made using other materials at hand.
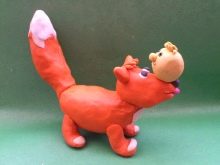
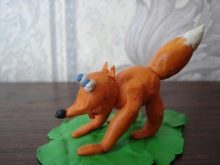
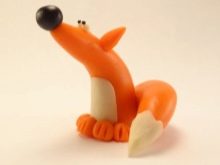
With acorns
To create such a figurine, you can use acorns or ordinary walnuts. A novice master will also need several colors of plasticine. The step-by-step process of creating it looks very simple.
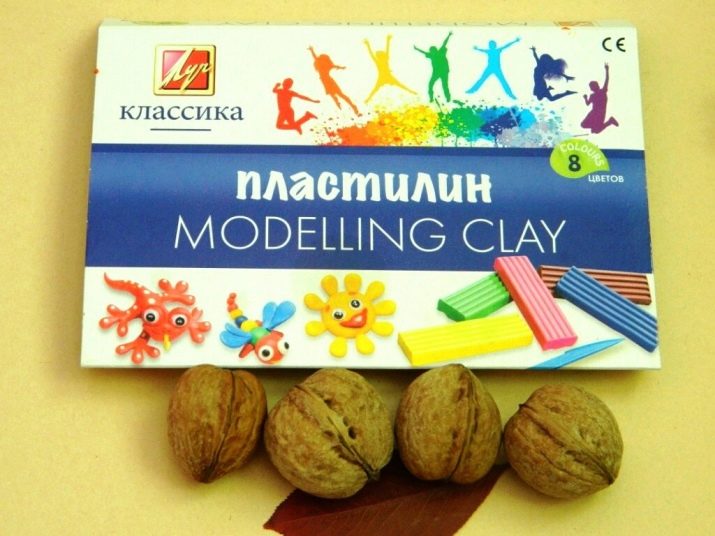
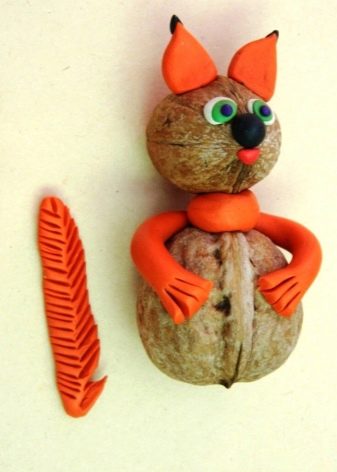
- We make the fox's head from a small nut. You can decorate it with pre-prepared colored details. We sculpt eyes from plasticine, consisting of a white base and green-blue pupils.
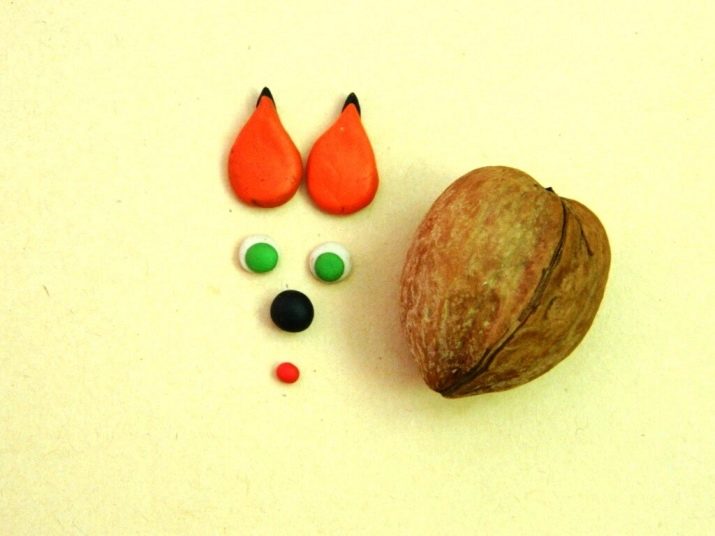
- Divide the orange piece of plasticine into two small parts and mold elongated ears from them. Small black "tassels" are attached to them. From the remains of black plasticine, you need to make a neat nose for the fox. All these parts are attached to the muzzle in the right places. A small red tongue is fixed at the bottom.
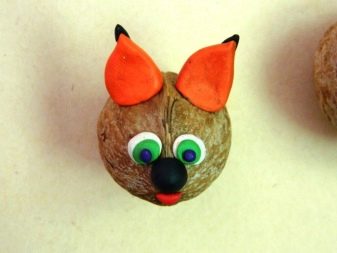
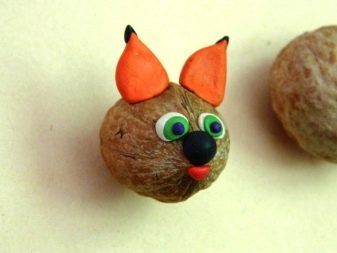
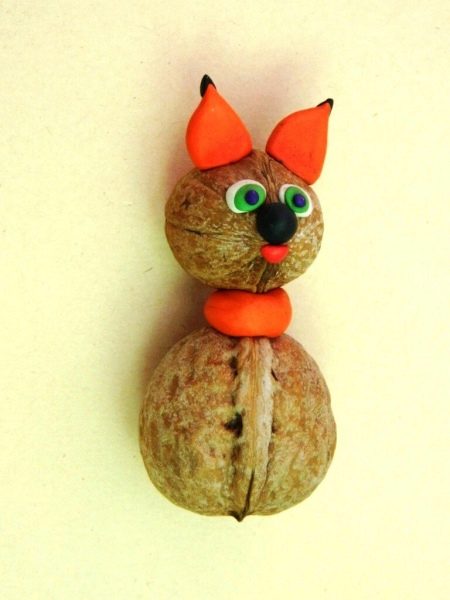
- Using a small piece of orange plasticine, attach the fox's head to the body.
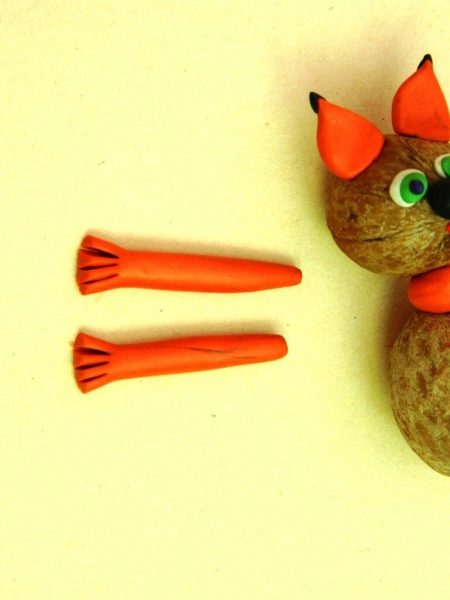
- Next, we sculpt fox's legs from thin long "sausages". Fingers can be selected with a stack for cutting plasticine.
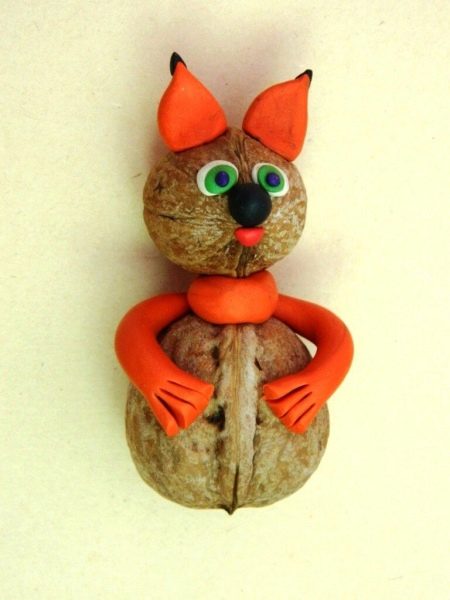
- We attach the limbs to the upper body.
- After that, you can start sculpting the second pair of paws. They should be more massive and wider. In this case, the figure will not fall. Such legs are made from two ovals and two flat circles connected to each other. To make the legs look more natural, the toes on them also need to be stacked.
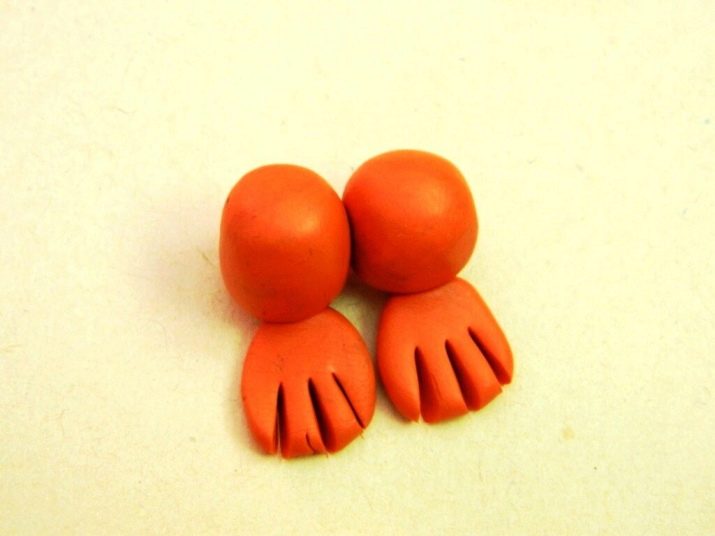
- The final stage is the creation of a neat ponytail. It is made from a flat and long piece of plasticine. The tail is attached, like the legs, to the bottom of the craft.
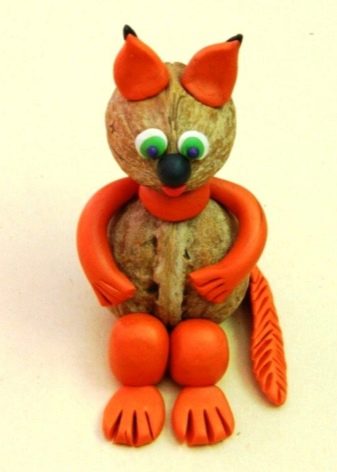
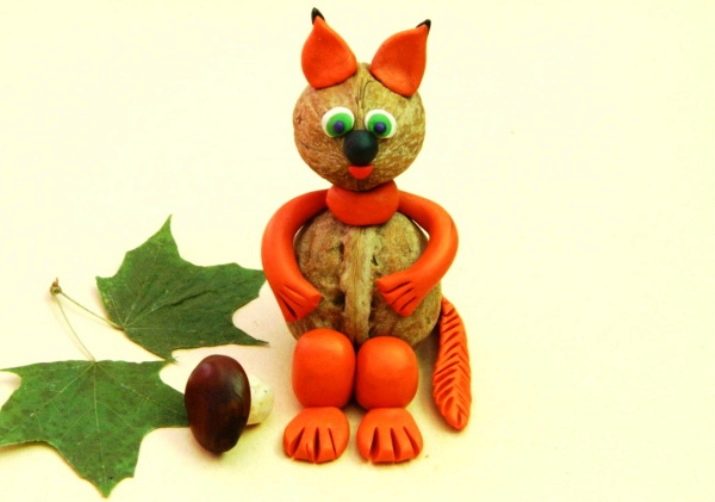
When everything is ready, all that remains is to decorate the base for the figurine.
You can decorate it with moss, small cones, leaves or bunches of mountain ash.
Cartoon fox
This fox looks like a character from the cartoon "Mimishki". Since the figurine consists of a large number of small parts, the child may need the help of an adult while sculpting it. Before you start creating a figurine, you need to read the simple step-by-step instructions.
- The process of sculpting a figurine begins from the head of this character. Roll a ball out of orange plasticine and give it the shape of a droplet. The fox's nose should not be too sharp. We make small triangular ears from small pieces of plasticine and attach them to the head. The central part of the muzzle should be slightly pressed down and small hollows for the eyes should be cut out on it. Place small pieces of white plasticine there. We fix black pupils on top.
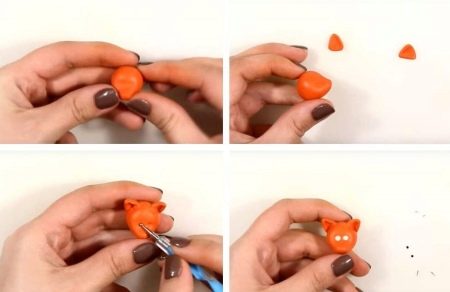
- You can decorate the fox's eyes with small thin cilia made of black plasticine. They should also be used in order to "draw" the animal's edge. They should be short and neat. We fix a black oval in place of the nose. A small smile made of a light and thin strip will complement the face.
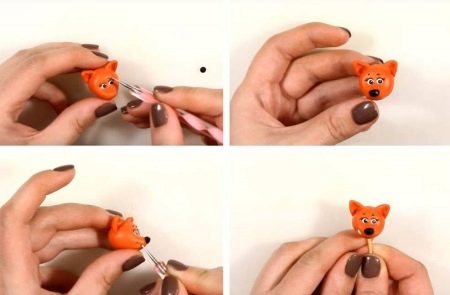
- After that, you can proceed to sculpting the body. It is made from white plasticine. The head is attached to it with a match or a toothpick. A small light green detail is attached at the bottom. The outfit for the chanterelle turns out to be simple but cute. We sculpt two pairs of legs and a small tail from the remnants of orange plasticine. White and brown details are used to decorate them. The tip of the tail and "socks" are made of them.
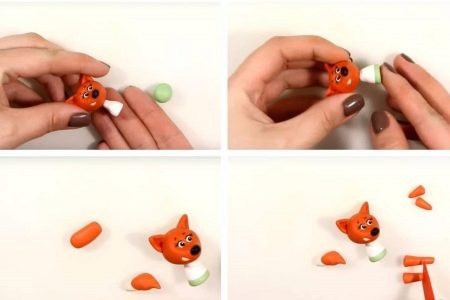
- You can decorate the clothes of this cartoon character with a simple cherrymade of two green stripes and small red circles. The details are very small. Therefore, it is best to attach them to the outfit with a stack or a toothpick.
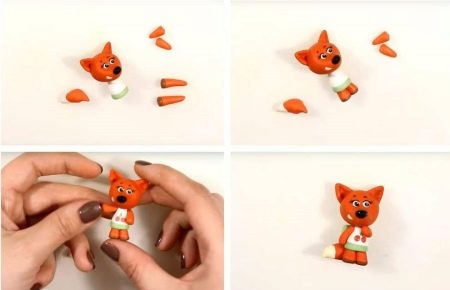
To make the chanterelle look more attractive, it should be covered with a layer of clear varnish. In addition, it will extend the life of the toy.
From cones with a cylinder
Even the smallest can create such a cute craft. The step-by-step instructions for making a fox are also very simple.
- To sculpt the figurine, we will prepare plasticine of orange, white and brown colors. The first step is to make the body of the fox. Roll a large piece of plasticine into a long cone. It shouldn't be too wide.
- Roll out small pieces of plasticine into neat sausages. They need to be attached to the curved cone. The forelegs of the fox are neat and not too long.
- Roll out two small orange balls and flatten slightly. They are attached to the back of the fox's torso.
- They are joined by short hind legs.
- Roll a separate piece of plasticine into a long sausage. The edge of the tail should be slightly pointed. The tail can be directed upwards or wrapped around the chanterelle's body.
- Roll out a small piece of white plasticine in a thin layer and attach it to the fox's chest. This part of the fur can be additionally decorated using a stack or a toothpick.
- The remnants of the orange plasticine must be rolled out. From this cone, you will get a head with a long, sharp muzzle.
- We sculpt neat ears separately. They are also fixed at the back of the head.
- You can slightly "revive" this fabulous character using small pieces of brown plasticine. They will make a beautiful nose and small eyes.
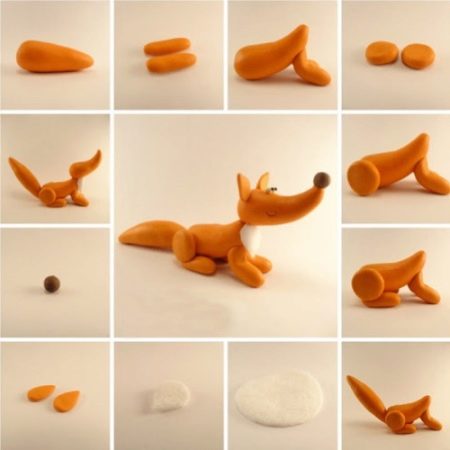
A product made from simple and small details turns out to be cute and cute.
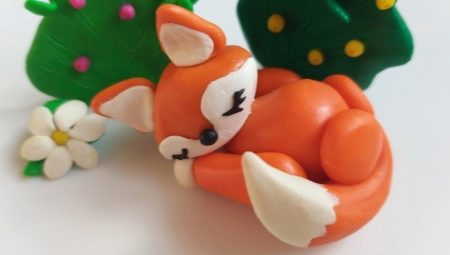
Sleeping fox
Another interesting craft idea is a cute sleeping fox.
It is made from three pieces of plasticine: orange, black and white.
The process of creating a figurine consists of several stages.
- First you need to make the basis for future crafts. Knead a piece of orange plasticine and sculpt the body and head out of it.
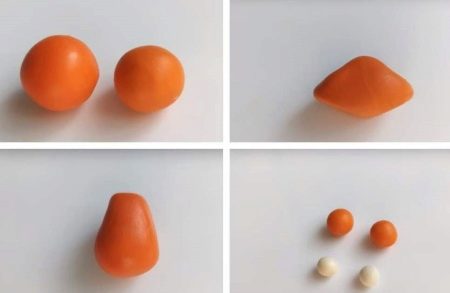
- The small ball should be slightly stretched and flattened on the sides. This will give the fox its cheeks and nose, and stretch the body slightly. The figurine should turn out to be drop-shaped.
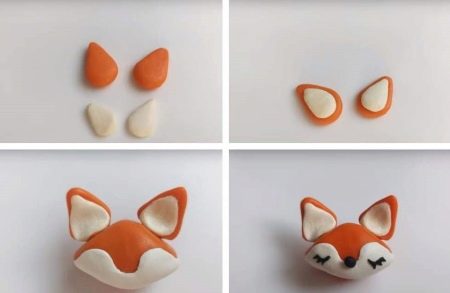
- Then you can proceed to sculpting the ears. To do this, roll up two orange balls and two white ones. From them you need to make small flattened figures. White parts should be slightly smaller. We carefully connect the details of two colors to each other. After that, we carefully fix the ears on the fox's head. We mold a small flat triangle from white plasticine, which will be fixed at the bottom of the muzzle. Decorate his black nose and dark eyes.
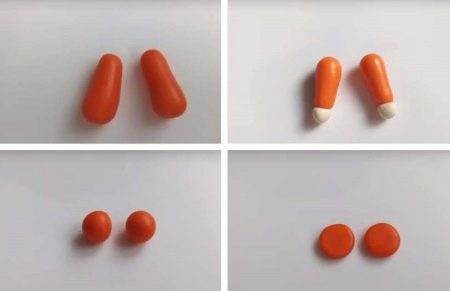
- Next, you can move on to creating the legs. To do this, form small sausages from two orange balls. White "socks" are attached to them along the edges. The hind legs do not need to be worked out to the smallest detail. It is enough to roll the plasticine into large balls and attach them to the back of the body. The last step is to attach the ponytail to the body. It is done in the same way as fox paws. Only its tip should be more elongated and sharp. You can also make the tail edge white. When everything is ready, it needs to be attached to the torso.
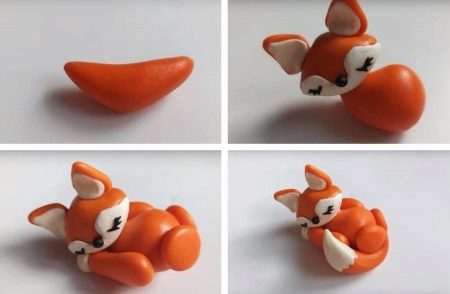
The finished fox looks like a real cartoon character.
On cardboard
A flat figure attached to a piece of cardboard will also look beautiful. This craft is suitable even for beginners.
- First you need to prepare plasticine of several colors. We make the background from the blue material. The lower part should be decorated with green plasticine grass. After that, you can start creating a fox figurine.
- We sculpt a muzzle from orange and yellow plasticine. It should be slightly elongated. Decorate her ears with a brown border, nose and big eyes made of white and blue plasticine. It is worth completing the muzzle by drawing small antennae on it with a stack.
- When the muzzle is ready, you can start creating the torso and tail. For this we use the remains of orange and yellow plasticine. The body of the fox should be slightly arched in the middle, the tail slightly curled. Its edge can be decorated with white. Made from small elongated details, the tail appears voluminous and fluffy.
- When the muzzle and torso are ready, we make neat paws from brown plasticine. Fingers on them need to be "drawn" with a sharp stack.
The red-haired beauty turns out to be graceful and charming.
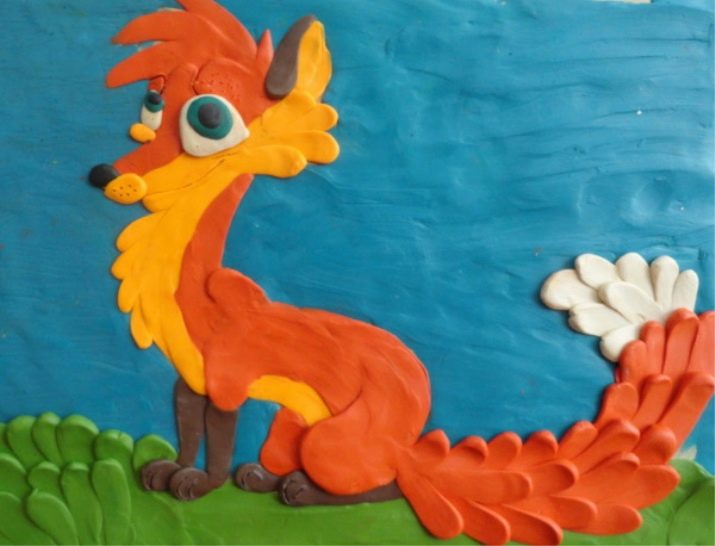
Making plasticine crafts with your own hands is a process that will definitely captivate a child of any age. You can use any of the described figures for inspiration.
How to mold a fox from cones and plasticine, see the next video.


