How to mold a horse from plasticine?
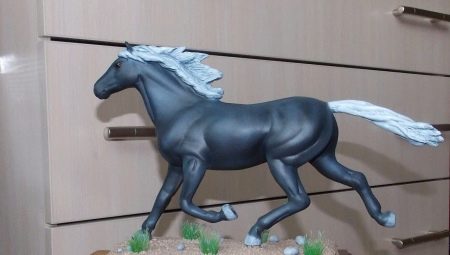
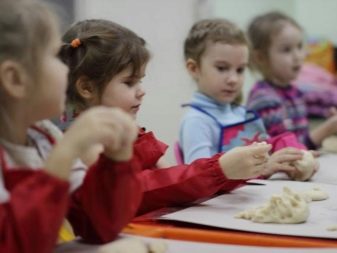
In early childhood, kids are just beginning to learn about the world, especially ordinary plasticine helps in this difficult matter. This material is actively used in children's games, but not always a child is able to create a plasticine masterpiece. It is best to show your toddler how to make simple figurines. For example, a toy horse is easily molded from plasticine. The young sculptor will definitely like this pastime, and, perhaps, he will succeed at once.
In this article, we will consider master classes on creating a horse from plasticine.
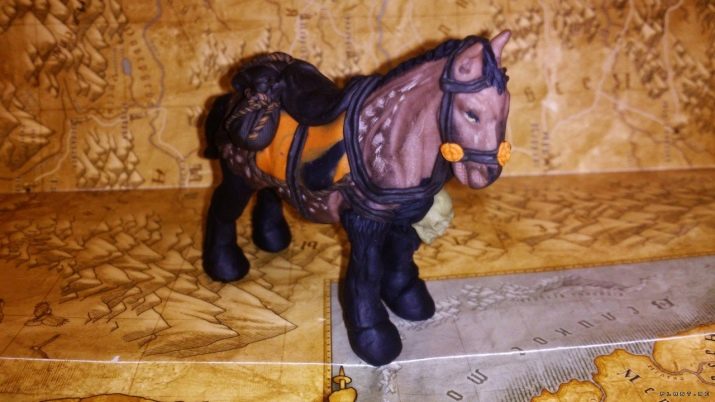
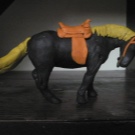
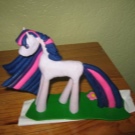
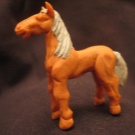
Tools and materials
DIY modeling is a very interesting lesson for the guys. You can create many unusual figures from plasticine. However, in this case, special preparation is required.
First you need to prepare a place for work. Find a flat plank or other solid surface on which to start sculpting.
Oil-based clay can leave unpleasant stains if the work area is not covered.
Newspapers or wax paper work well for these purposes. Now it's up to clarity - you need to put a photograph or statuette of a horse in front of the child. To create a real masterpiece, you need the following things:
- multi-colored plasticine;
- cardboard for the stand;
- knives for cutting patterns on plasticine;
- a couple of toothpicks.
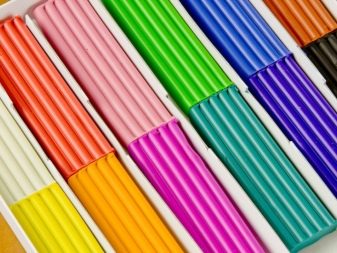
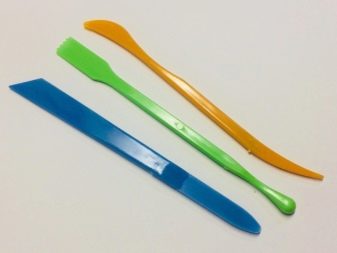
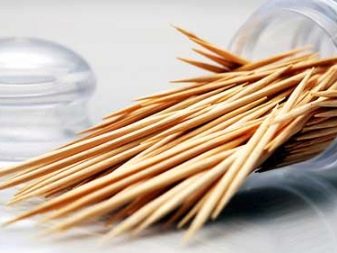
When everything you need is at hand, you can start sculpting. First you need to decide on the dimensions of the future figure. This will help you understand how much material is required. You need to choose a color for the horse, but it can be:
- white;
- bay (red);
- gray (in apples);
- black.
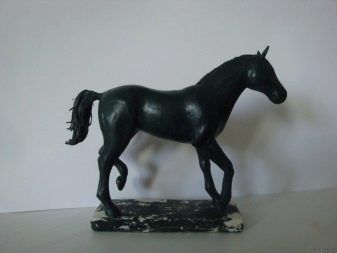
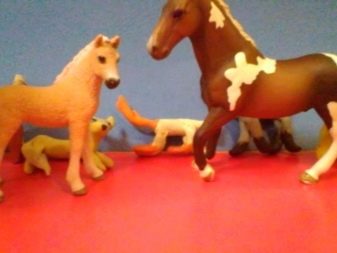
Modeling options
Let's talk about the best options for creating a horse from plasticine.
With wire
To mold a horse using this technique, you will need:
- plasticine of a certain color (black, beige, brown or white);
- three matches;
- thin wire for the frame;
- stack.
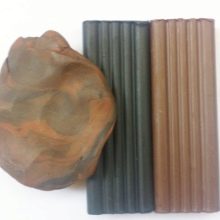
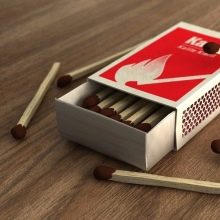
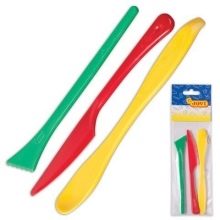
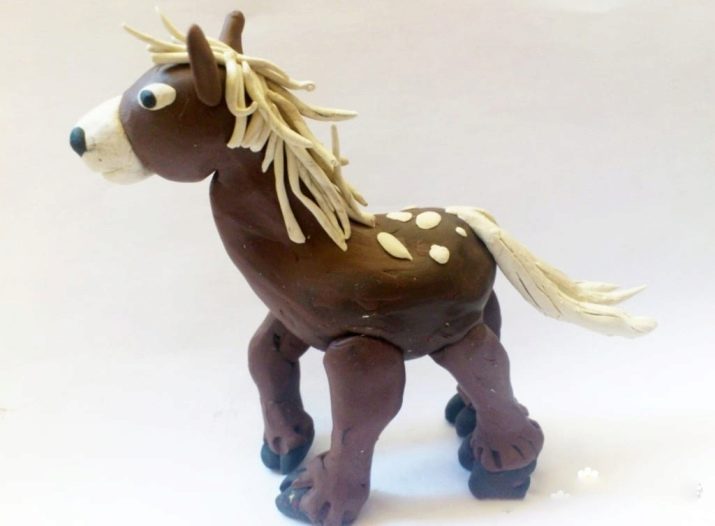
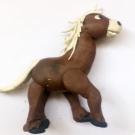
To make the horse's color natural, you will need to mix several colors of plasticine. The colors should follow the pattern of the animal's fur. Then you need to act in stages according to a certain algorithm.
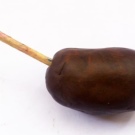
- It is necessary to mold an oval, from which the body of the figure will later turn out. Several matches must be inserted into the workpiece - they will become the basis for the horse's limbs.
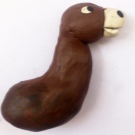
- On the top match, you need to sculpt the neck, and on its top - the base of the muzzle.
- The muzzle of an animal can be created using white plasticine.
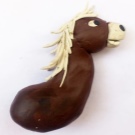
- You need to take some white material and roll up a few small strips - they will become the horse's mane. The more such plasticine ribbons there are, the more beautiful the mane will turn out.
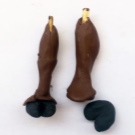
- Then we begin to sculpt the hind legs of the animal. Matches need to be glued with a thick layer of material. These blanks should at least remotely resemble the embossed limbs of an animal; the horse's hoof should be molded from black plasticine. Legged matches are attached to the base of the body.
- To create the front legs, you will need to take two pieces of wire. The wire frame needs to be bent into the shape of real horse legs. Then you need to stick the workpiece with plasticine, the hooves are created separately.
- To create the tail, you need some white material. It needs to be kneaded and formed into several sausages. Plasticine ribbons need to be rolled out, fastened together to make a beautiful tail. The part can be attached to the horse.
- On the back, you can create beautiful "apples" by smearing a little white plasticine on the body of the animal.
A saddle can be made if desired.
With toothpicks
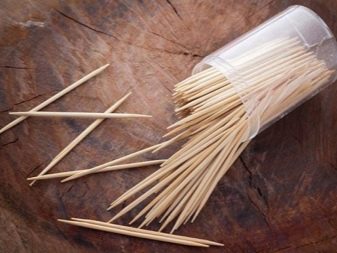
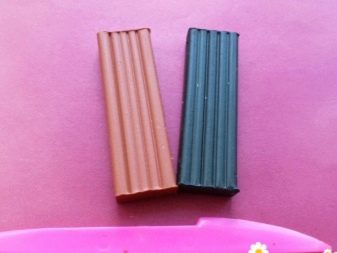
It is extremely easy to mold a beautiful figure with ordinary toothpicks. First you need to decide on the color of the horse, you can do this with your child. To get started, you need to stock up on the following materials:
- brown and black plasticine;
- several toothpicks;
- board and stack for cutting the material.
To easily mold a lanky street horse, you need to follow a step-by-step algorithm of actions.
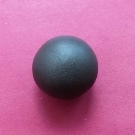
- You will need to roll a small ball. The horse can have any color: bay, black (black), gray with white "apples".
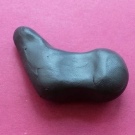
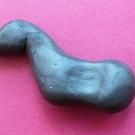
- Roll out the ball in the shape of a small carrot. After that, you need to raise the sharp part of the workpiece and flatten the wide area. You will get the neck and body of the animal.
- You need to attach a muzzle to the workpiece. The head can be made from black plasticine.
- Then we start creating horse legs. Details are attached to toothpicks. The material should be bent in the shape of the real limbs of the animal. When the part is ready, it can be attached to the base.
- In the same way, the front legs are created and attached to the torso.
- The design of the face should start by creating a white or beige mark on the forehead. With a stack, you need to cut out the nostrils and eyes.
- To mold the mane, you need a few brown or black plasticine sausages.
- The matter remained with the details: you need to add ears to the horse, cut out the eyes, attach horseshoes and a lush tail to the body.
The finished horse will be even more beautiful if you cover it with colorless varnish.
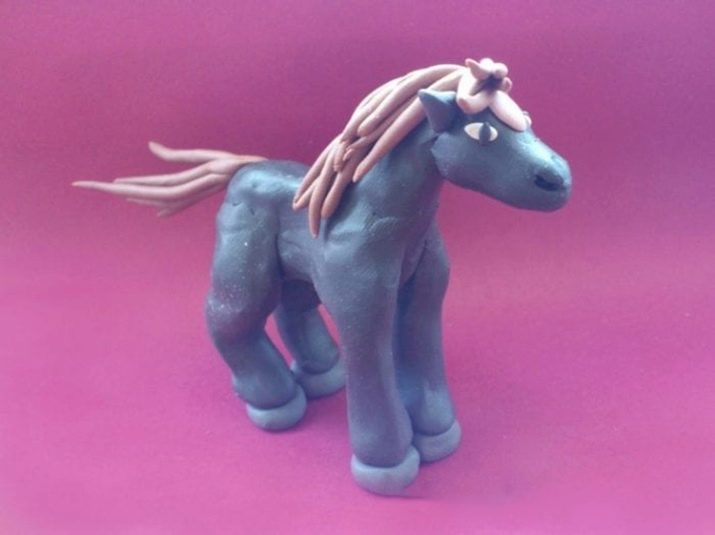
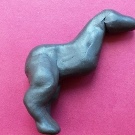
Multicolored
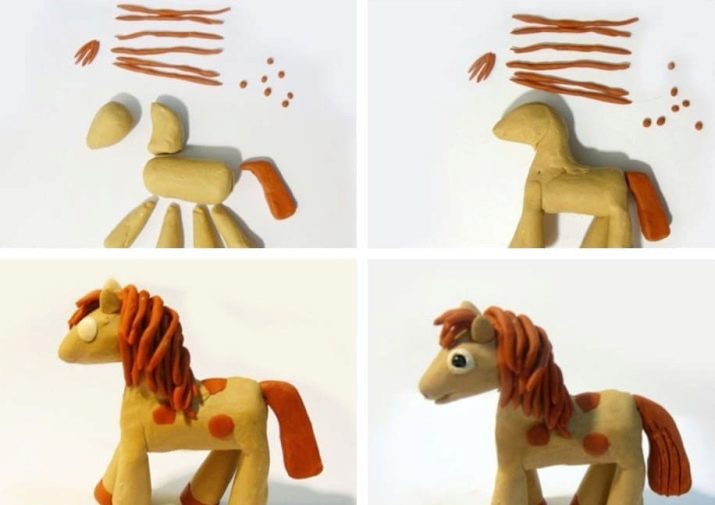
Children should perceive modeling from plasticine as an exciting game. You can make this lesson more interesting with the help of bright materials. For example, you can make the toy orange or even pink.
To make a multi-colored animal, you will need plasticine of several colors, a stack and a board.
Let's describe the scheme of work.
- We take the material of the main color and divide it into several parts. Of the largest elements, you need to mold the head and body. From other blanks (smaller), the neck and legs are molded. Hooves will need to be made from the remains of plasticine.
- The head must be attached to the body of the animal, as well as the legs and hooves. All joints will need to be smeared with a thin layer of plasticine.
- For the mane, tail and beautiful bangs, you will need to make several "sausages". The rectangular pieces are rolled out, attached to each other, and form a developing horse hair.
- With the help of a stack, you need to cut out the eyes. The blanks themselves are made from small pieces of white material and even smaller black balls. The details need to be fixed on the head of the figurine.
Dymkovo horse
Traditional Dymkovo horse figurines are created from clay. After drying, the toys are painted with unusual patterns. A similar figurine can be made from plasticine mass.
To do this, you need to work in compliance with all stages.
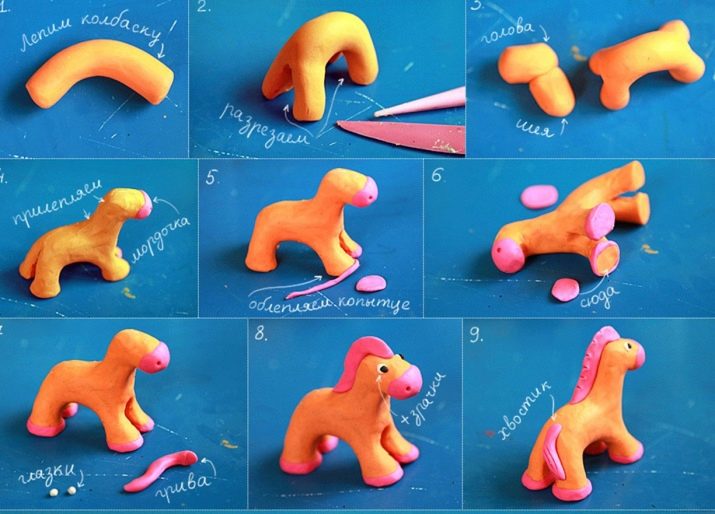
- You need to take the material of the main color and divide the mass into two parts. The first part of plasticine will be required to form the neck and muzzle, from the second the legs and body of the animal will be formed.
- The main distinguishing feature of the Dymkovo horse is in tapered legs. The horse's neck should be thick and short. The parts for the toy are extremely easy to make on their own, and children love them very much.
- For the legs, you will need to roll a thick sausage, which should be cut in the center on all sides. This will create the legs of the figure. The model needs to be bent in the shape of an arc. It is recommended to do this to give the horse stability. The toy should be level on a horizontal surface.
- For the head, you will need to roll plasticine in the shape of an oval; to form the neck, you will need to mold a cone.
- We connect all the details, smooth out the joints.
To complete the plasticine composition, you need to make a few more details. This will require:
- create two cones from plasticine, which will become the ears of the figure;
- from thin ribbons the "hair" of the toy is assembled.
All parts are attached to the horse, and the joints are hidden with a thin layer of material.
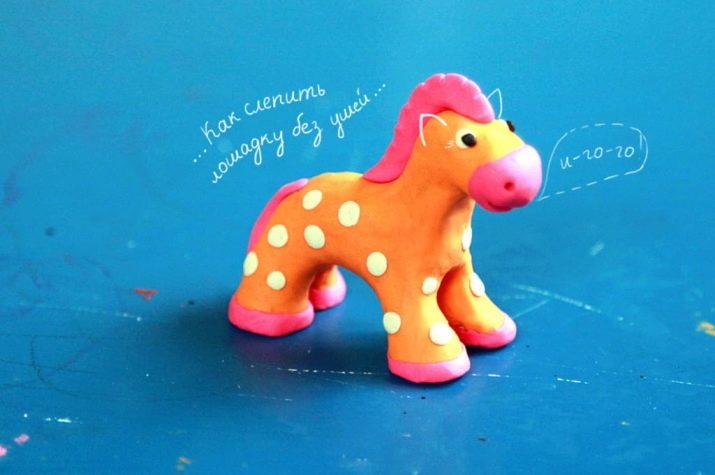
Usually clay figurines are painted. But you don't need to paint a horse from plasticine. To make it brighter and more beautiful, you will need multi-colored cakes. We attach the details to the rump of the figurine and smooth it well.
This completes the process of creating a toy in the style of the Dymkovo horse. However, you can make the plasticine figurine even brighter by covering its surface with water-based paint.
You should not trust this process to a child, it is better to carry out work under the supervision of an adult.
Rainbow Dash
A funny cartoon about fairy-tale ponies is very popular among young children. It has many interesting characters. They can be dazzled by a baby. It will be much easier to do this if not only a small child, but also an adult takes up the task.
For such work, you will need plasticine of all colors. The choice of color depends on the character you plan to sculpt.
To create a beautiful cartoon figurine, you need to work step by step.
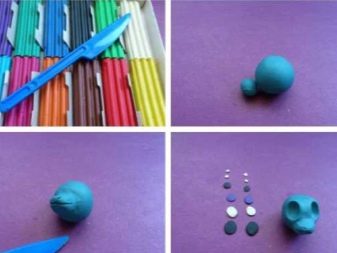
- The best place to start is with the head. For this, blue plasticine is taken, from which two balls roll: one is large, the second is smaller. Round parts need to be attached to each other. In a small ball, it is necessary to cut out a tubercle on which the nostrils will be formed in the future.
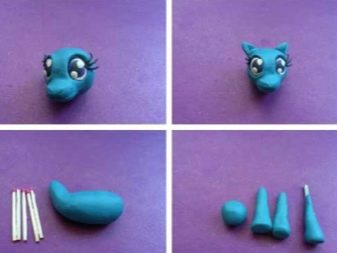
- On the face of the toy, you need to make several almond-shaped holes, which will become the eyes of the horse. Then you need to mold the blanks: small cakes are formed from a small amount of white plasticine. Two black dots are attached to them - the pupils. The eyes can be made colored by attaching a cake of a different color to the structure: blue, blue, purple. The resulting eyes need to be decorated with cilia. To do this, thin sausages are molded, which will need to be cut into equal parts. The cilia are attached above the eye and twisted with a stack.
- Ears in the shape of a triangle are attached to the head.
- For the torso, you need a block of plasticine. One side should be narrow. The torso needs to be bent so that the neck appears.
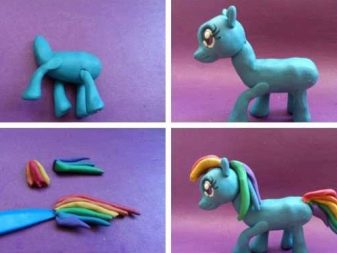
- Then you will need to take matches to attach the limbs to the body. Plasticine is laid on the matches, the legs of the toy are molded. A match is inserted into the base of each blank and attached to the body.
- To create a tail, you can take several colors at once. Roll out the multi-colored plasticine to thin sausages. The mane and tail will be formed from these pieces.
- Everything is attached to the workpiece. Do not forget about the multi-colored bangs.
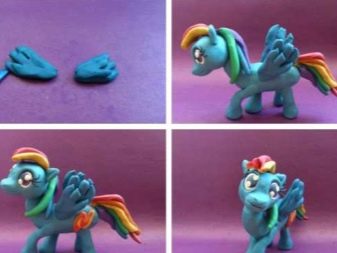
- In the cartoon, charming horses had wings. You can make them using blue plasticine cakes. Several notches are made at the base of the wings, with which you can attach the details to the figure.
Now you can decorate the finished horse with a characteristic lightning pattern.
Useful Tips
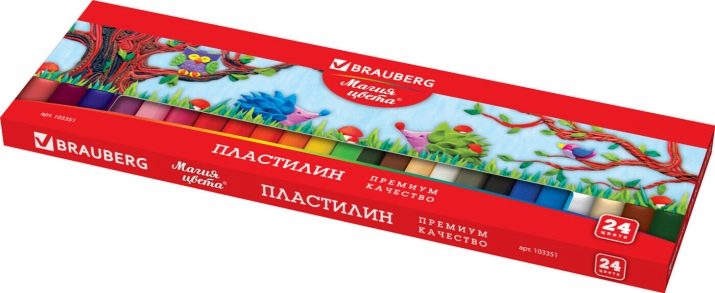
First you need to choose the right plasticine. In this case, the age of the baby is of great importance: elastic and soft material is well suited for the youngest sculptors, and for older children it is better to purchase plasticine of medium softness.
The stores offer an extensive selection of plasticine sets. You should not purchase material that contains components that are harmful to health. Good kits are available from foreign manufacturers. Of course, such material can be more expensive, but natural ingredients are most often used to create plasticine.
It is better to refuse too bright plasticine - such material can have harmful dyes. A pungent and unpleasant smell suggests the same.
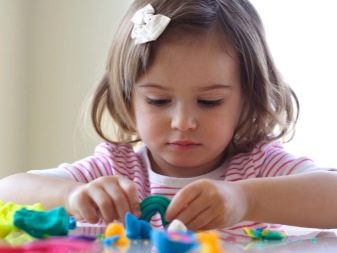
The process of creating a toy horse is aimed at developing a child's creative talent. In the process, the child learns to think outside the box and creatively. It should be explained to the young sculptor what stages the work consists of and what parts, as well as tools, will be required.
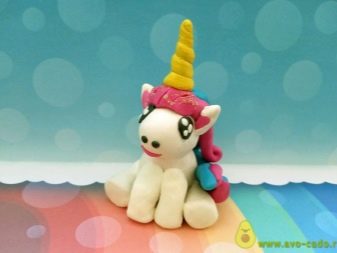
In addition to the horse, you can stick a whole zoo or create your own fabulous menagerie. A beautiful unicorn will become a real decoration of the children's plasticine collection. To create such a toy, it is better to take sculptural plasticine, which becomes solid after contact with hot water. When the baby has developed the skills of working with plasticine, he can start working with clay.
For information on how to mold a horse from plasticine, see the next video.


