Methods for sculpting a spider from plasticine
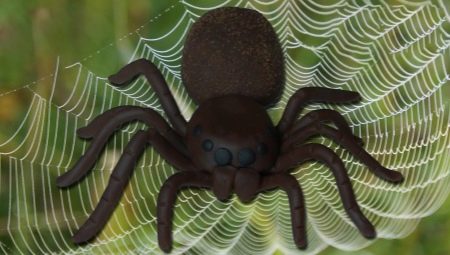
Plasticine sculpting develops imagination and trains fine motor skills of the hands. Almost any figurine can be made from different colors of plasticine mass. Today we will analyze how you can make a beautiful craft in the form of a spider from such material.
Tools and materials
Before proceeding directly to the manufacture itself, you should prepare all the necessary devices and materials for this:
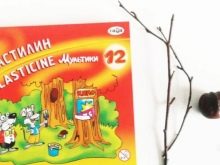
- plasticine (colors are selected depending on personal preferences);
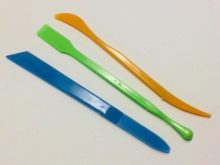
- stack;
- a board for working with plasticine.
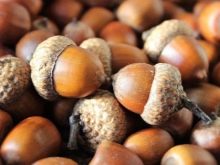
In addition, other materials may be needed, including wire, chestnuts, acorns, and cones.
Such elements will make the external design of the craft more interesting. You can also purchase ready-made spider eyes in advance. They will give the finished craft a completeness and a funny look. But if you wish, you can make them yourself.
Simple option
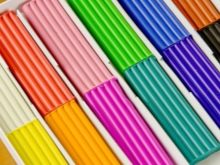
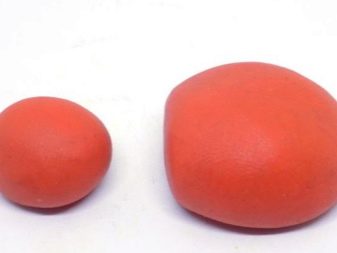
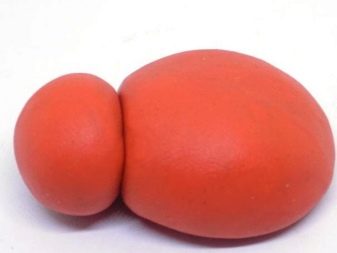
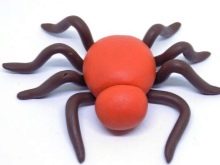
First, you will need to prepare a plasticine mass of two different colors. Orange and brown material is often used. Then you need to roll out a small piece of one color, divide it into two parts and form two balls (one of them should be larger in size). They will further serve as the body and head of the spider. After that, the two resulting parts are connected to each other, flattening them a little. The result should be a single piece.
The transition of the balls does not need to be smoothed, it must be clearly visible.
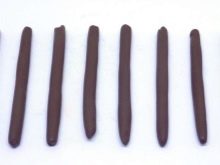
Then you should roll up eight legs. They must be the same size and thickness. In this case, it is better to twist one long tourniquet and cut it with a stack into separate equal parts.The resulting legs are neatly attached to the body of the spider and give them a natural look. Their tips should be made slightly pointed, while all the resulting irregularities are smoothed out with your fingers.
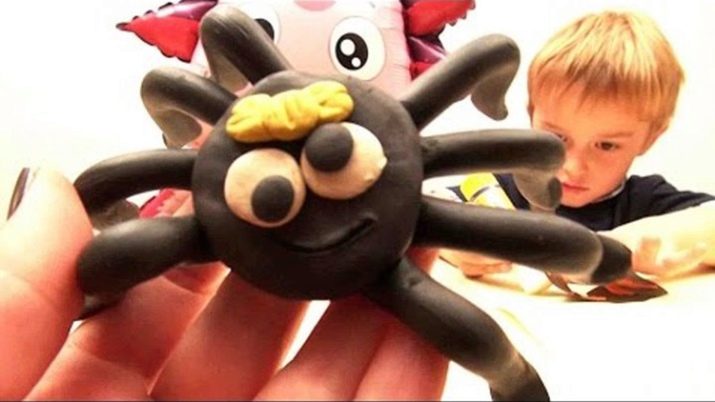
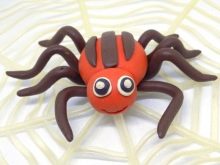
Later, another large strip and two smaller ones are rolled. All of them are slightly flattened by hand and molded onto the back of a spider. It is better to use a white base for the eyes. Two small circles are rolled from such plasticine, onto which even smaller black dots are attached. All this is also slightly flattened and attached to the head. Using a stack can make the spider smile.
How else can you blind?
Next, we will look at other step-by-step schemes on how to make a plasticine spider.
With walnut
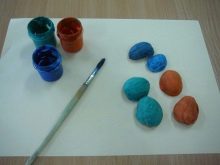
In this case, a walnut shell is prepared. It is neatly painted over with various bright colors. It is better to do this in several layers at once. All elements will need to dry completely.
At the same time, you will need to take the chenille and form 8 identical legs from this material. All of them will be attached to the inside of the shell. This can be done with a small piece of plasticine. In this case, the legs should be bent so that the spider can eventually stand on them.
Later, a nose is formed from the plasticine mass and also attached to the base. Eyes can be created in several ways.
Most often, they take ready-made parts bought in a store. You can also make them with your own hands from old beads, beads.
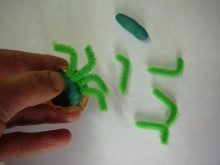
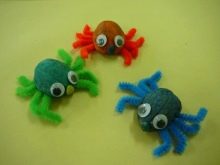
On the web
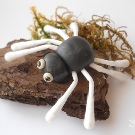
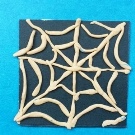
For the step-by-step creation of such a craft, you must first prepare the base. You can take a piece of bark, a board, or just a piece of cardboard as it. If you plan to hang the finished product on the wall, then a small loop is preliminarily made on the back side. After that, white plasticine is taken. Many thin flagella are formed from it, which will be needed to create a web. The thinner they are, the better. On the base, the strips are laid in the form of snowflakes.
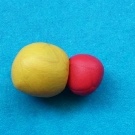
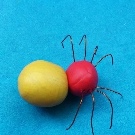
Then, short elements are laid out in the formed triangles so that the web can "sag" slightly. At the same time, any two other colors of plasticine are taken, one ball of different sizes is rolled from them. They are connected to each other. You will also need copper wire. Eight pieces of the same size are cut from it. Each of them is inserted into the sides of a small ball. There should be four such elements on each side.
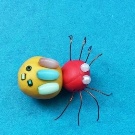
Instead of eyes, you can attach small white beads or beads of the same color. The resulting spider is planted on a web. In this case, the central part of the body will serve as the main attachment point. At the end, the legs should be slightly spread to the sides.
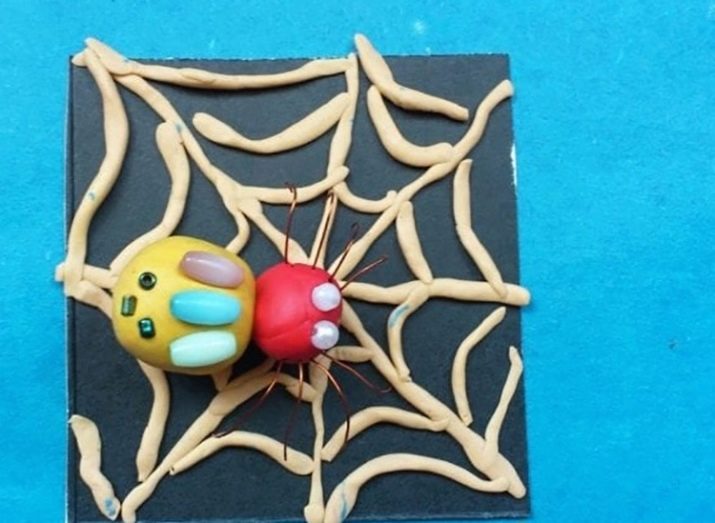
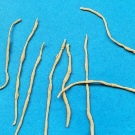
With chestnuts
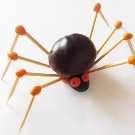
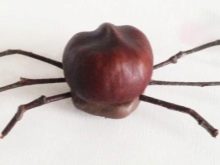
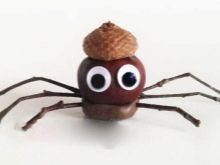
Even children under 5 years old can make such a simple craft. For this, dried chestnut is taken. A cake made of brown plasticine is attached to its lower part. Thin branches can serve as spider legs, which break a little in those places where they bend. The branches should be approximately the same size. They are inserted into brown plasticine. There should be 4 legs on each side. Next, the eyes are glued. You can use ready-made parts from the store, or you can make them yourself from white and black plasticine.
Sometimes the legs are made from wooden skewers. In this case, each foot will consist of two such elements. They connect to each other at right angles. A small piece of plasticine of any color will serve as a connecting element. It is pre-rolled into a ball. You can wear an acorn hat on a spider.
So that she can normally hold on to the craft, a small piece of plasticine should be placed in its middle. In this case, it will become a connecting element.
With rhinestones
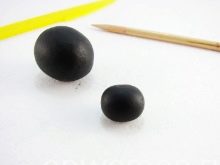
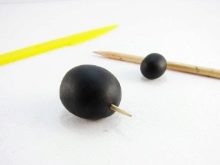
First, two even balls of plasticine are formed. It is best to take black mass. One of them is flattened, it will act as the torso of the spider.In a large ball, you need to fix a small piece of a toothpick or match. Only then a second element is attached to it, which will be the head.
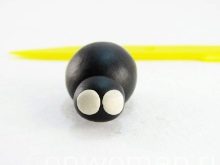
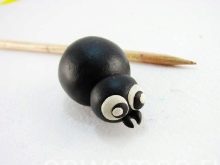
Two flattened white circles are molded onto the head, which will become eyes. Small black plasticine dots are attached to them. Oral appendages are attached under the eyes. It is better to make them from the same material: it is rolled into a thin "sausage", folded from both ends at once and in this form is attached to the base.
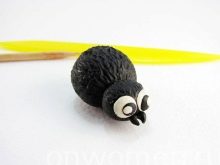
A simple texture should be drawn on the head and body of the spider. It is better to do this with a wooden skewer. The paws can also be made from black plasticine. Eight separate thin flagella are formed from it. On each such detail, it is desirable to draw a volumetric texture. All threads are carefully bent and attached to the body of the spider. Sometimes a simple metal wire is used to create the legs.
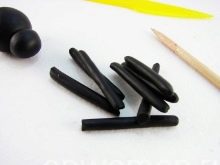
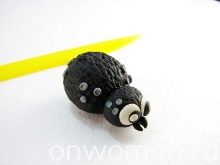
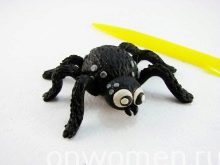
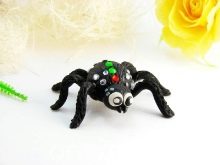
Further, the body begins to be decorated with various decorative elements. You can attach a few small gray beads. Then a few more small shiny rhinestones should be glued to the back. In this case, you can take both monochromatic and multi-colored details. Sometimes one large decorative stone is attached to the craft, and then they are framed with smaller samples. Small rhinestones can be attached to the spider's head as well. If you wish, you can make a separate stand for the craft. It is also made of plasticine.
The finished compositions are often coated with a protective transparent varnish, which will make the product harder and shine.
For information on how to mold a plasticine spider, see the next video.


