Methods for sculpting a fish from plasticine
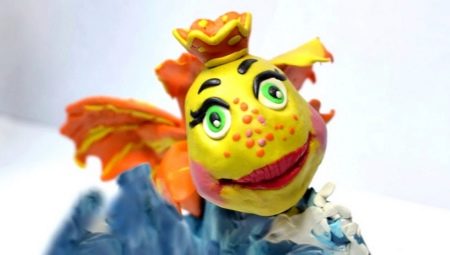
Sculpting is an activity that captivates many children. You can make a variety of figures from plasticine. It can be soldiers, various animals, flowers and fish. We will talk about how to make the latter in this article.

Classic version
You should master the basics of modeling fish from plasticine, starting with the classic schemes. Such options are simple, but this does not mean that they do not allow you to achieve very beautiful results. So, in accordance with the classical scheme, you can make a charming yellow fish with bottomless eyes. It is recommended to master this technique for children aged at least 3 years.
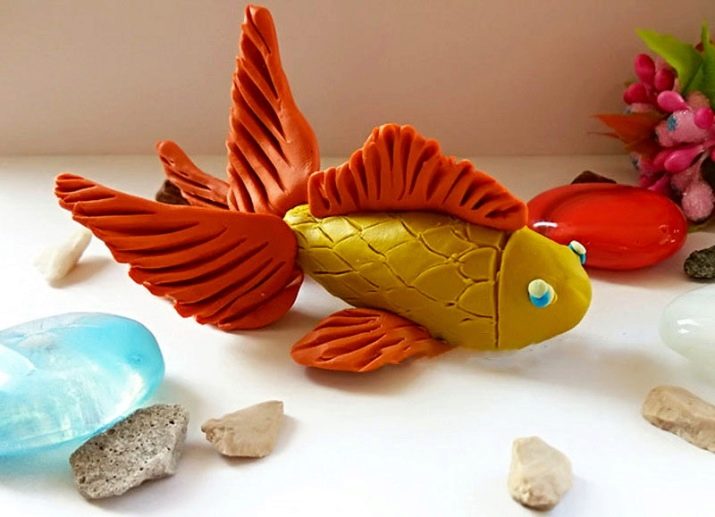
To make a beautiful fish with big eyes, you will need:
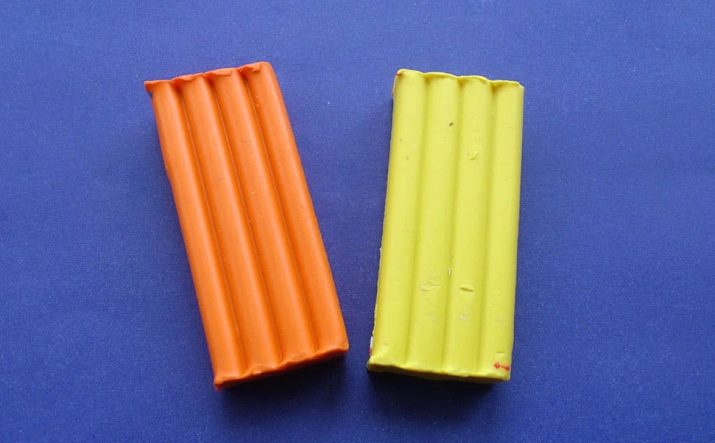
- orange or yellow plasticine (it is advisable to buy material in two shades so that the body and fins of the fish differ from each other);
- plasticine in white, blue and black (luxurious fish eyes will be made from these components);
- stack and sculpting board.


Let's divide the making of a beautiful plasticine fish into the main stages.
- From the yellow plasticine composition, the main component of the fish should be formed - torso and head. Initially, the material must be carefully wrinkled in your hands. It is important to remember that this stage precedes absolutely all stages of modeling.
- From a prepared piece of yellow pull out a part similar in structure to a bullet... An incision is made with the pointed end of the tool on one side, moving in a circle. Thus, the head will be noticeably separated from the body of the fish.
- Tail with such a homemade product it is better to make it more voluminous and lush.To do this, you will need to use 4 parts of plastic material at once.
- To make a tail, you should take 4 plasticine balls... Also, extra balls will be needed to craft fish fins.
- Body fish can be made both flat and voluminous. Here each young master decides for himself what to do.
- 4 plasticine balls that were made for the ponytail, should be pressed down and then pulled out... You will need to make oblong cakes from these components, similar to droplets.
- The upper fin is made triangular... It is notched in the required areas, creating the texture characteristic of fish fins. The lateral fins should be made more modest and smaller. They need to be flattened a little, and then processed in the same way with a stack. In the same way, you need to cut all the orange parts. The more of them, the more magnificent the plasticine fish will turn out.
- With the help of a stack, you can make scales, making diamond-shaped lines... This should be done if desired. There is no need for such manipulations, especially if a young and inexperienced master got down to business.
- At the final stage, it is necessary to assemble all parts into a single structure.... Small fins are attached symmetrically on the sides. One large fin is attached to the back of the fish.
- Should collect voluminous and fluffy tail, and then attach it to the back of the body of the fish.



A similar craft is made simply, but it turns out to be very effective and elegant.
What other fish can you sculpt?
A lot of different fish can be molded from the plasticine mass. In this case, it is permissible to refer to a variety of sculpting techniques. Consider several interesting master classes on making beautiful plasticine fish.

Shark
The shark is a very formidable marine predator. Even such an underwater monster can be made from plasticine. For the manufacture of crafts, it is recommended to use only gray and white plasticine. If you use brighter and more positive colors, then the shark will look too friendly.


Let's consider in stages how to make a severe toothy predator with our own hands.
- First you need to sculpt the main frame... The body should be oblong. A slight taper should be made in the tail area. The head should remain wider.
- On abdomen plasticine shark apply a white oblong cake.
- The main components are prepared from gray plasticine: all fins, tail, high curved fin.
- The mouth of the plasticine fish is cut through a stack. White teeth are placed there or their imitation is formed. The nasal part of the workpiece is lightly pressed with your fingers.
- Attach from behind tail piece, all fins are fixed in place.
- You can supplement the fish small fins at the back. Small black shark eyes are attached to the sides.


The finished interesting craft can be immersed in water and left there. In such conditions, the plasticine shark will not dissolve and will not fall apart.
Gold
A child of 3-4 years old can make a very cute goldfish out of plasticine. For this you will need:
- plasticine composition;
- stack;
- toothpick.

Let's consider the order of actions.
- Worth using bright orange or bright yellow plasticine... To create the body of the fish, you need to wind a large plasticine ball.
- Fin on the tail is done in several steps. First, a ball is rolled, then it is kneaded into a thin cake. The zones that need to be cut are marked with a stack, since the tail should have a triangular structure.
- All unnecessary details are cut out, the base of the fin should be rounded.
- With a toothpick on the fin stripes or waves appear... After that, the tail is attached to the main ball.
- The dorsal fin is made in the same way, cutting out a triangle from a thin cake... It is shaped like a fin, and then the workpiece is attached to the back.
- The pectoral fins are small... To do this, twist small balls, and then turn them into flattened droplets.
- Pectoral fins attached to the body of the fish.
- Next do large and expressive eyesusing plasticine balls of different sizes and colors.
- From a white ball form a large flat disc, attach it to the head of a goldfish. A slightly smaller blue disc is attached to it. It will serve as an iris. In the final, a black pupil is fixed. You can complement it with a tiny white glare. The mouth is made with a toothpick fish.


The cute goldfish will be ready at this stage.
Clown
From plasticine mass, you can also mold beautiful unusual underwater inhabitants. For example, a bright clown fish can turn out wonderful. Let's consider step by step how you can make it.
- First, you need to knead orange plasticine in your hands. Then you need to take one piece and roll it into a ball. Next, it will need to be carefully stretched so that the drawn part is narrowed. The result should be a kind of "tadpole". The larger half of the workpiece is the head of the fish.
- The tapered, drawn tip should be lightly pressed with your fingers from both sides on the sides... Thus, it will turn out to designate the caudal fin. Several lines of small depth should be drawn on it with a toothpick.
- Next, you need to take white plasticine... Roll several sausages out of it. They will need to be flattened as much as possible. Then these components are wrapped around the main orange blank, thus forming the striped body of the clown fish.
- The dorsal and lateral fins are made of orange material. Embossed stripes are drawn on them with a toothpick.
- The fins are fixed in place... Further, the figure is complemented with eyes. They can be molded from plasticine, or you can buy them at the store. Plastic eyes will look very attractive.

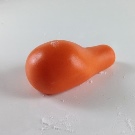


The stripes on the body of the plasticine clown fish can be additionally circled with a black marker. This will make the craft look more naturalistic. Such a fish can be made by children aged 5-6 years.
Swordfish
We will learn in detail how you can make such an interesting plasticine craft.
- You need to take a piece of plasticine in a dark blue or gray-blue shade. Knead the material, and then roll it into a ball. After that, the workpiece needs to be given a characteristic shape in which only the middle remains voluminous, and both ends are made narrower.
- Next, a white plastic material is taken. A flattened cake is made from it, which is attached to the belly of the fish. Next, you need to make an expressive tail fin.
- Small indentations for the eyes should be made on the body of the fish in front of the long nose. To do this, you can use a match or ballpoint pen. Tiny white balls of plastic material should be placed in these indentations. Then they are completed with black pupils.
- Next, make long lateral fins in the form of elongated triangles.... They are attached to the sides. The edges of these parts should be made slightly jagged and jagged.
- On all fins, you need to do small indentation lines.


On cardboard
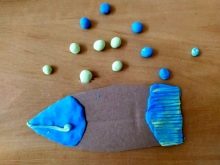
A 5-6 year old child will be interested in sculpting a plasticine fish on cardboard or paper. The course of work in this case is extremely simple.
- Take a cardboard or paper base... A fish with clear contours is drawn on it. You don't have to draw a fish, but print its image on a printer.
- After that, starting from all available lines and contours of the scheme / image, plasticine strokes or plasticine balls of certain colors are applied to the base.
- The craft also needs to be supplemented with beautiful eyes and fins. Various decorations are acceptable.




Useful Tips
Consider some useful tips for sculpting fish from plasticine mass.
- Before making every part very it is important to knead the plasticine well in your hands... This stage of work cannot be neglected.
- If there is no material of a certain color in stock, you can combine plasticine blocks of different shades. Thus, it will be possible to achieve the desired shade. For example, if there is no gray plasticine, you can combine white and black.
- To make a beautiful craft, you must use only high quality plasticine... Bad and stale material will not work at all for such creative procedures.
- It is recommended to sculpt and roll out plastic material on special boards or oilcloths... Working on a kitchen or work table is undesirable.
- Working with plasticine it is recommended to keep wet wipes nearby, so that at any convenient moment you can wipe your hands with them.


For information on how to mold a white shark from plasticine, see the next video.


