Kanzashi style brooches
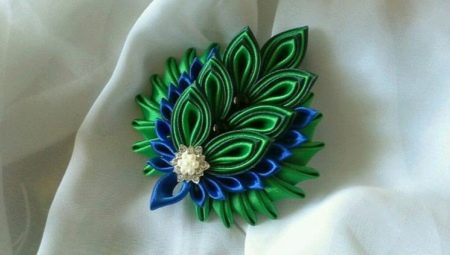
Kanzashi (kanzashi) - Traditional Japanese women's hair jewelry, worn by Japanese women when they put on a kimono. In the post-Soviet space, this handicraft has been reduced to the manufacture of elegant accessories from satin ribbons, although in the original kanzashi are made from wood and even precious metals, which are decorated with silk. Satin ribbons are used as an affordable alternative. Not only hair accessories are made using this technique. It is possible, using the capabilities of kanzashi, to perform a brooch that will draw attention to the outfit.
Peculiarities
A beautiful kanzashi-style brooch can decorate a blouse, jacket, long coat or short (and also a light sleeveless coat). It will decorate a plain dress, and in some cases it will become an elegant hairpin for a stole. In a word, in a woman's wardrobe there are several outfits that will become more attractive with the help of such an exclusive brooch.
Of course, the materials, color, composition of the jewelry must be chosen so that they are a priori combined with things from the women's wardrobe.
It is important that they play along with the type of hostess.: looked harmonious in relation to her color type, appearance features.
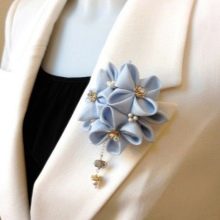
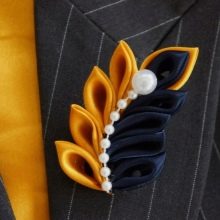
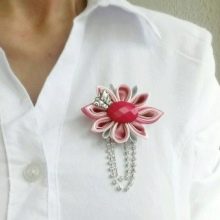
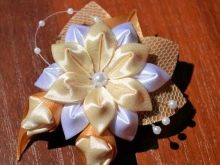
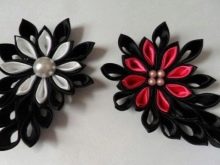
For example, you can make a very gentle cream brooch, which will be organic for women who prefer pastel colors in clothes, sand shades, lightness, lack of radical colors. Brooch made of red ribbons with black details can open up with a total look (all black outfit) or be a good weekend option for a dark coat.
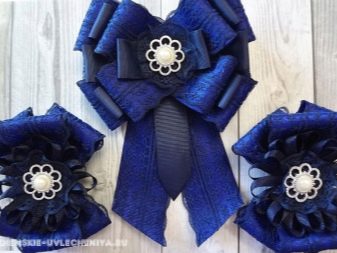
Using the kanzashi technique, it is easy to make a brooch that will suit a girl and can become, for example, a stylish addition to a prom outfit.Or the one that will be a beautiful addition to the line of accessories for an adult woman who prefers not the most strict, but business style.
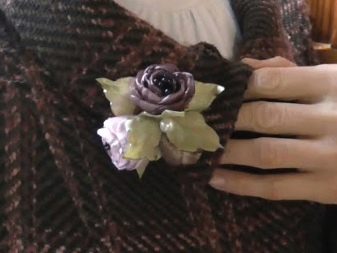
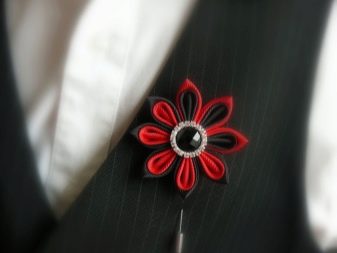
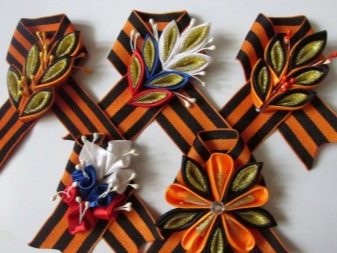
Or the brooch will be designed for a representative of the creative profession, which is not alien to image experiments. It is possible that the brooch may become festive attribute (variant with tricolor or symbolic red carnation, poppy - in the British version). Or, for example, in some school there may be a tradition when on September 1 all teachers come with the same holiday brooches using the kanzashi technique.
Tools and materials
For work, you need to correctly select, first of all, materials. In most cases, the main element is satin ribbon, but you can work not only with her.
What the needlewoman will need:
- a variety of satin ribbons;
- organza;
- rep fabric;
- lace;
- dense high-quality silk (for more expensive and pretentious crafts);
- lurex.
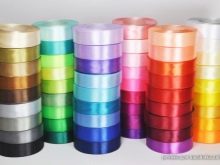
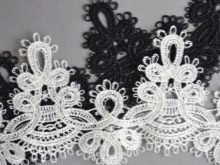
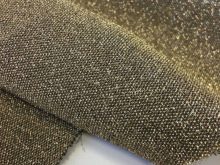
Basically, there are no restrictions in the choice of material. Any dense the cloth... But they usually start with satin ribbons: the material is relatively cheap, affordable, easy to handle. And here is a list of tools required for the job:
- scissors;
- ruler;
- glue gun + glue;
- lighter;
- fragile tweezers (preferably thin);
- wood burner or soldering iron;
- work surface for a soldering iron;
- thread and needle;
- various small jewelry - sequins, rhinestones, beads, beads, etc.
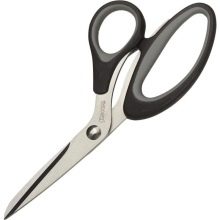
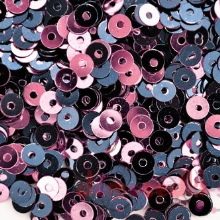
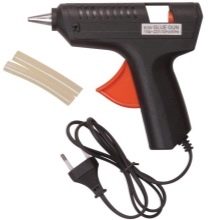
The cutting of the tapes will be carried out not so much with scissors as with a soldering iron or a burner - this way you can achieve an even cut and so that there is no shedding.
As for the adhesive, then the craftswoman will need a glue-gel that does not spread and does not absorb into delicate fabric.
Manufacturing options
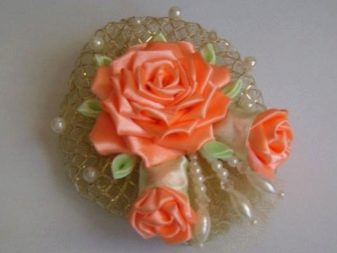
Master class of airy, light brooches from satin ribbons with his own hands is able to become the first successful start in this type of needlework. What you need to take:
- scissors, lighter and glue gun;
- peach tone satin ribbon - 4-4.5 cm wide, 180 cm long;
- light green ribbon 2.5 cm / 30 cm;
- mesh fabric - 11 cm / 27 cm;
- tulle - 11 cm / 27 cm;
- round beads of various sizes;
- 3 elongated beads;
- fishing line, needle-thread, tweezers;
- a clasp for a brooch.
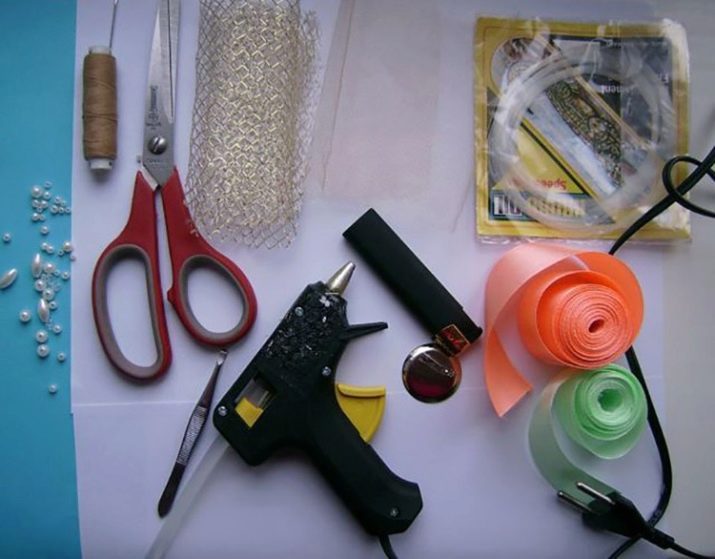
How to make an air brooch.
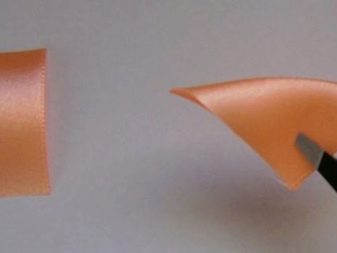
- From the widest peach ribbon, 4 x 4 cm squares (28 pieces) are cut. The first square must be bent into a triangle. Bend the edges of the triangle to its vertex, cut the edge of the element for parallelism of the edges.
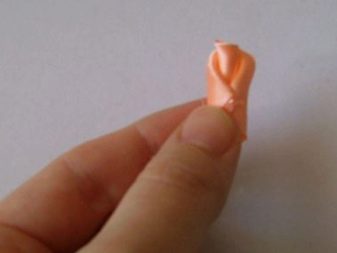
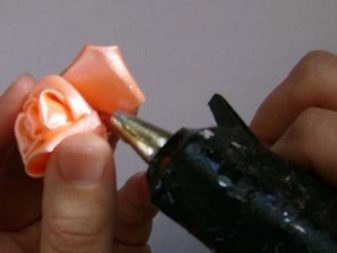
- With a lighter, you need to scorch the edges and press them down so that they stick together. When the petals are all done, it's time to glue. The first petal is taken, its edge is bent inward. The element is rolled up, the edge must be fixed with hot glue.
- Next, glue is applied to the bottom of the new petal and glued around the first. The petals are glued against each other. The rest are staggered. This will create a lush bud for a brooch, which will adorn the delicate shades of the dress.
- Next, you need to make small buds in the amount of 2 pieces. Cut 18 peach squares and wrap like a large bud.
- Now 2 light green pieces of 6 cm are cut off, the edges are singed with a lighter. The edges of the buds are wrapped in these fragments, fixing with glue.
- Small leaves are made like this: 7 light green squares 2.5 cm by 2.5 cm are folded into triangles, then again. The edge of the small triangle needs to be connected, cut off the bottom of the sheet at an angle of 45 degrees. Then the sharp edges are cut off, scorched and glued together after working with a lighter.
- The leaves are glued in a circle. After that, it's time to make a transparent base. Both tulle and "mesh" must be cut off as in the list of materials. The tulle should be inside the "mesh". For camouflage, the edges of the segments are sewn on the wrong side.
- Next, the beads are strung on a fishing line either as in the picture, or in a free style. The moment of decoration can be copyright.
- When all the details of the brooch are there, they are connected.Glue is applied to the inside of the center of the rose, the tips are glued with beads, just like the sewn edge of a tulle fan.
This brooch can be additionally decorate with lace. If you change the peach color to red, you will get a bright thing for a black outfit. The accessory can be worn on a blouse at the prom. Even for a teacher on September 1, such a decoration on clothes will be organic, and if exactly the same brooches adorn the outfits of graduates, it is perfect.
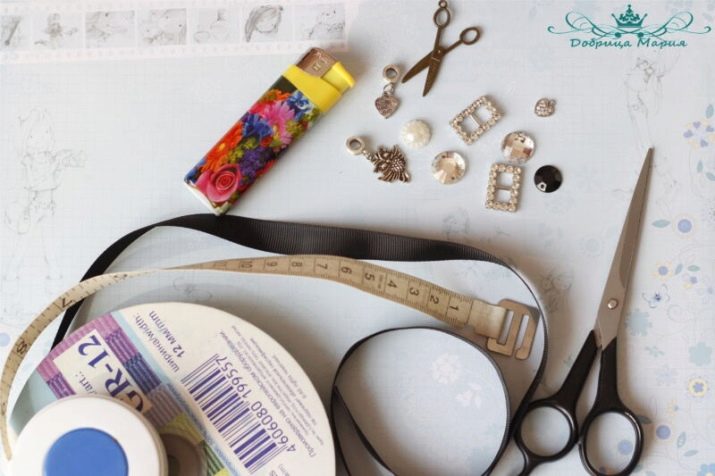
We will hold a master class for beginners on making stylish office brooches (also suitable for study) - perhaps you can push off from such an idea, so that later you can come up with something new of your own. To work, you need to take:
- satin or rep ribbon 1 cm wide;
- ruler, thread and needle;
- lighter and glue;
- clasp;
- a small piece of felt;
- half-bead, rhinestones, any decorative attribute for the core.
MK for making a brooch-tie.
- From the tape you need to cut 3 pieces of 18 cm each, 1 piece - 16.5 cm, 1 piece - 14.5 cm. Find the middle on all the elements, iron the fold and apply glue to this place. Further, both edges are folded towards the middle and pressed well. Do the same with other segments.
- You can already collect the bow. Long segments are connected to each other, the lying X will come out on the side. Now the third long segment is glued. Then the medium is glued to the large one, and the smallest to the medium one.
- For the ends of the tie, take a piece of tape of 18 cm. It is folded in half with a slight separation of the ends. They fold one to another, they are cut obliquely.
- The ends are treated with a lighter against shattering. The element is glued to the assembled bow, fixed.
- The brooch clasp is glued to a mini piece of felt to match the ribbon. This blank is sewn to the wrong side of the bow.
- The selected decorative piece is glued in the middle on the front side of the bow. All is ready!
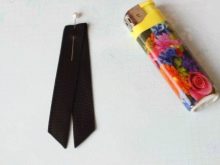
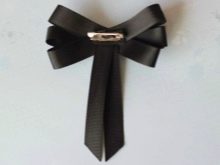
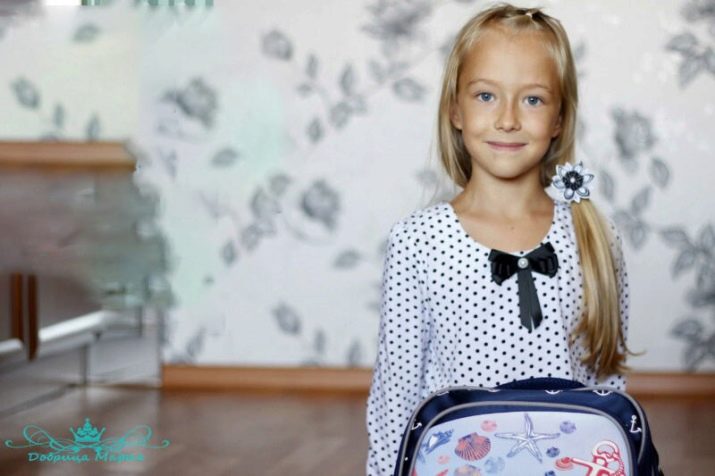
What is wonderful about this simple MK, so its universality... Such an ornament can be suitable for a first-grader's outfit, for a blouse under a light autumn coat. And if you change the colors of the ribbon, it will come out brooch-tricolor. Everything about everything takes very little time, but the result is a self-sufficient, very elegant decoration.
And MK is perfect for beginners, since complex manipulations with ribbons here do not have to be done at all.
Recommendations
And now there are some important tips that will help novice needlewomen to master the first meters of the creative distance without being disappointed in small failures. Without them, few people budge: work requires skill, so you just need to be patient and be attentive to the little things. 7 useful tips for newbies in kanzashi.
- What is it needed for tweezers - the master will hold the petals of future flowers for them. Some women are sure that they can do without it, because the details can be held with your fingers. But you can make friends with tweezers faster than you think: for delicate work, it is better suited than fingers.
- It can be useful in work and hair fixation spray: it will help the petals keep their shape. The option of using glitter hairspray is not excluded.
- Don't forget the foundation: the kanzashi flower must hold on to something. These can be elastic bands, hairpins, a headband, or, as is the case with a brooch, a base with a pin.
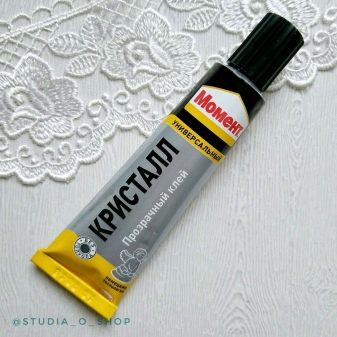
- It is not worth taking the first glue that comes across, but the one that delicately works on the fabric. For example - "Moment Crystal". But you can't do without a glue gun in this type of needlework.
- If there is no soldering iron and wood burner, you can work with hair straightener or curling iron... You can even heat the scissors over the fire, but this is not very convenient and the safety technique may suffer.
- You can't do without a ruler or measuring tape. And it is better if there is a cutting rug or a tailor's mat on the table.
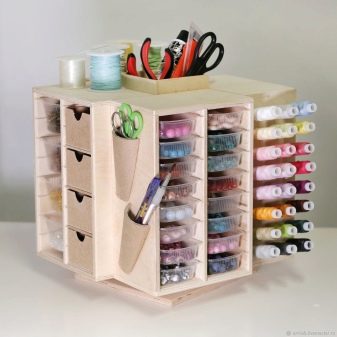
- Success is in little things and in order. Immediately you need to sort the tools / materials into convenient storage systems... This allows you not only to maintain cleanliness, but also to save money.
For those who have not thought of such a system, scraps that could still be useful disappear or simply go to the trash. And also beads, rhinestones are lost, they end up not in one box, but in different places of the house.
Beautiful works
And a dozen more chic kanzashi brooches to inspire and repeat.
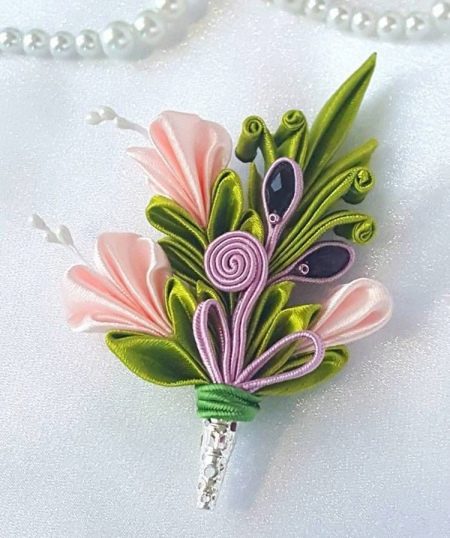
- Such an accessory is requested for a summer wedding. Perhaps it would be nice for them to identify the bridesmaids.
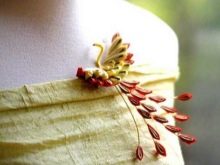
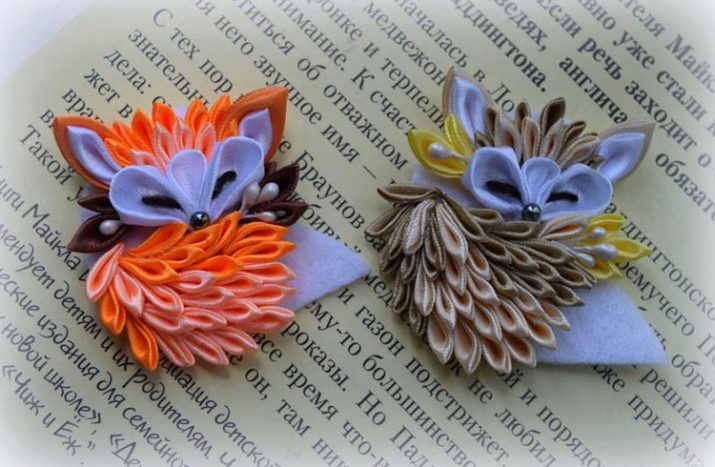
- Without light humor, even fashion is nowhere. In the fall, on the side of the coat, such a chanterelle will make the mood not only for its owner, but also for everyone it meets.
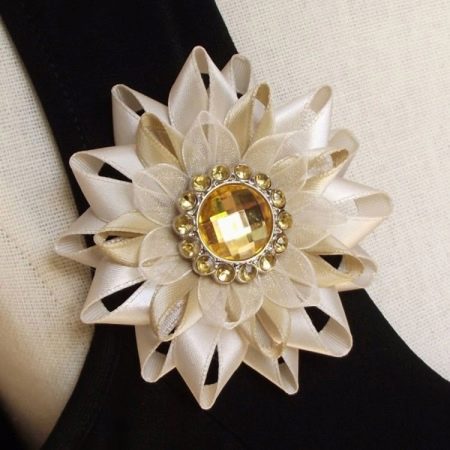
- It doesn't take color to stand out. Everything here is laconic, that's why it's perfect.
- A brooch with a tie is a great addition to an office bow or outfit for a student who wants to look convincing on the exam.
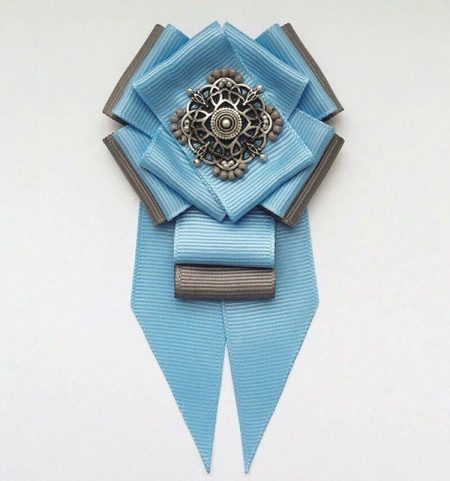
- Graceful and catchy. Cary Bradshaw's wedding bow comes to mind.
Those who are ready for fashionable experiments are worth taking note of.
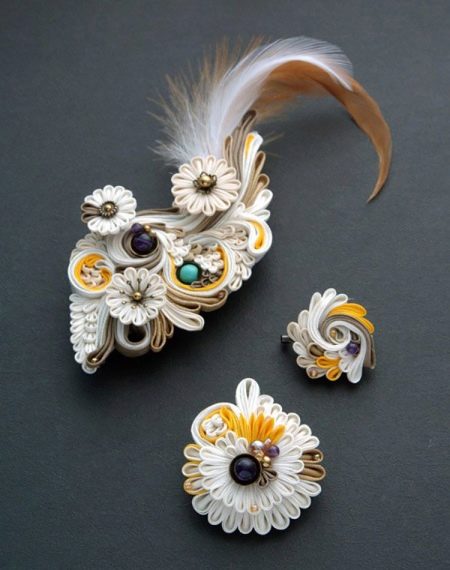
- Another cute and laconic accessory to the business style of clothing.
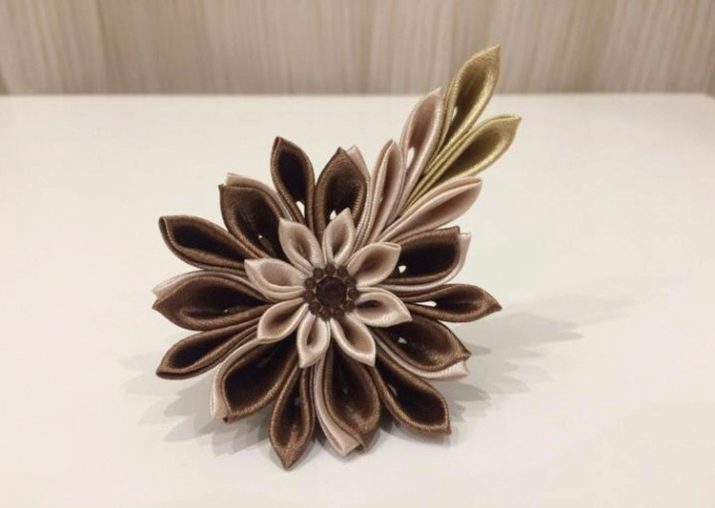
- Brooch-flower: textured and self-sufficient.
Combines with a wide variety of outfits.
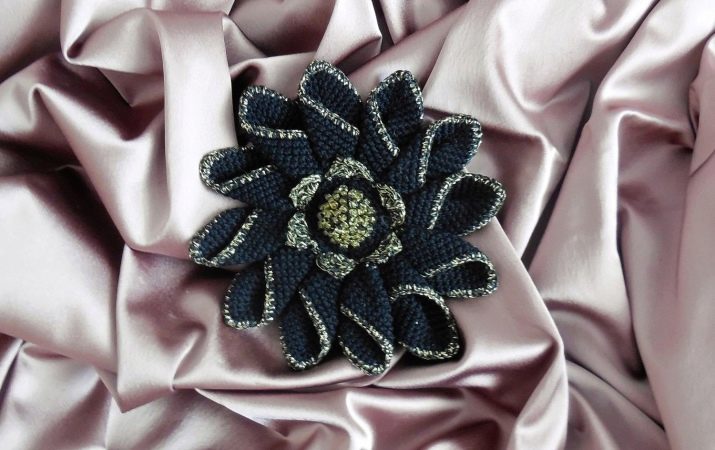
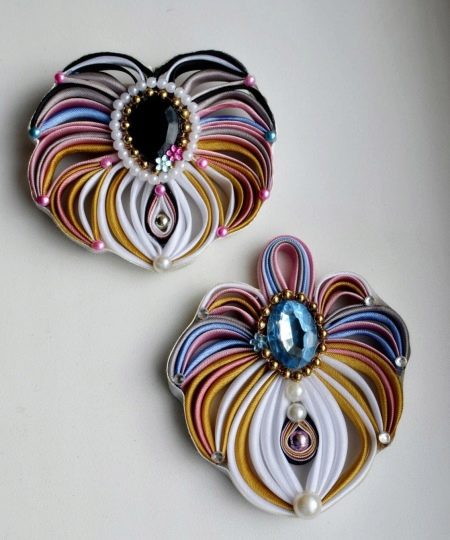
- Not quite ordinary, original brooches - can be used for double bows.
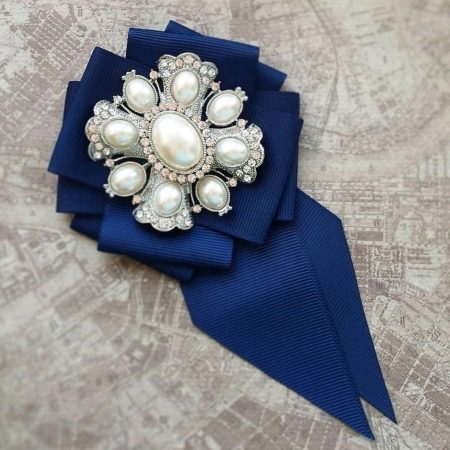
- An example of a very interesting brooch-tie - stylish and intelligent.
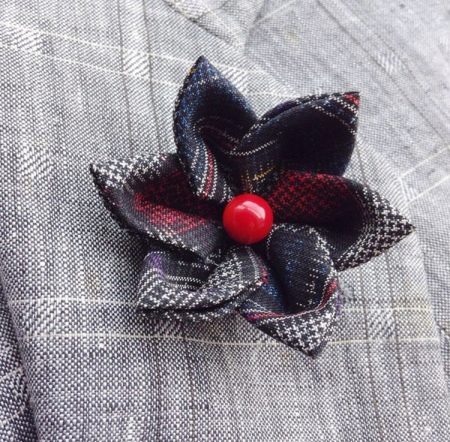
- Men also wear brooches, for example. And this is not foolishness, but relevance, persuasiveness, exclusivity.
For information on how to make a kanzashi-style brooch, see the next video.


