Do-it-yourself kanzashi-style butterfly
Among the wide variety of representatives of the insect family, butterflies are especially attractive. These are bright and quivering creatures, which are difficult to pass by without paying attention. This image is often taken as a basis for creating jewelry, design compositions and various crafts. Using a small set of tools and materials, you can make an adorable kanzashi-style butterfly.
Peculiarities
Colorful insects made from satin ribbons and other materials at hand will look great as an addition to a hairdo, brooches or other jewelry. The kanzashi technique came to us from Japan and quickly gained popularity. It can be easily mastered not only by an experienced needlewoman, but also by a novice craftswoman.
The main material is satin fabric. It is affordable and available in a wide variety of colors. You can make a butterfly in pastel shades, or use colorful and rich colors. The main elements of the crafts are fabric petals, which differ in shape and size.
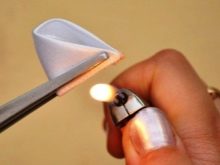
Before creating a craft, it is imperative to process the satin fabric. The edges of the material should be scorched with a candle, lighter or blowtorch. If this is not done, threads will stick out along the edges of the fabric, and the product will look sloppy.
When working with an open fire, you must act as carefully as possible so as not to spoil the textiles and not harm yourself.

Materials and tools
To make an interesting and colorful butterfly craft, you need to prepare a number of materials and tools.
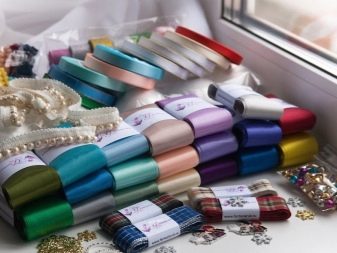
- Satin ribbons. It is recommended to prepare a set containing ribbons of different colors and widths.
- Beads.
- Beads.
- Dense fishing line. It is recommended to use a fishing line for working with beads. It is dense and thin.
- Special glue gun. In the absence of this tool, you can use a universal adhesive that is suitable for working with different materials.
- Sharpened scissors or knives.
- Ruler.
- Meter.
- A set of sewing needles.
- Invisible.
- Pencil.
- Soldering iron (you can also use a candle or lighter).
- Threads.
- Tweezers.

This is a rough list of everything you might need while working. If possible, it is advisable to prepare as much material as possible.
Technique of execution
To make a butterfly in Japanese technique with your own hands, it is enough to accurately follow the points of the master class.
Solid color butterfly
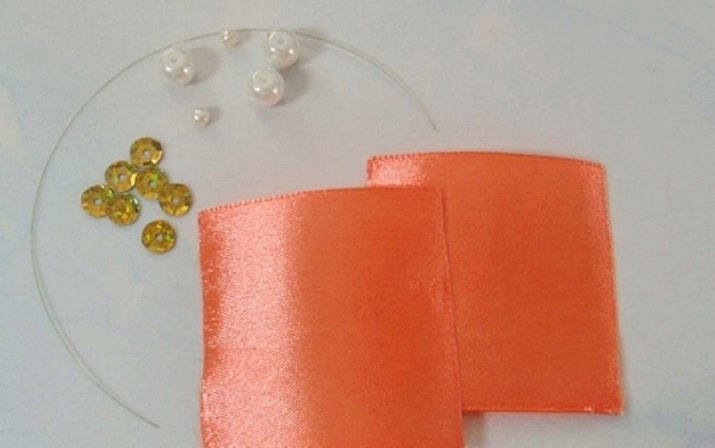
To complete the craft, you will need the following:
- 2 squares of satin fabric measuring 5x5 cm;
- fishing line;
- beads of any color;
- sequins;
- glue or glue gun.
The step-by-step execution includes several steps.
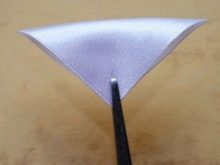
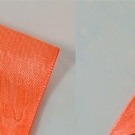
- Pieces of fabric material must be treated with glue, carefully folded in half and glued together. During work, make sure that the atlas is folded evenly.
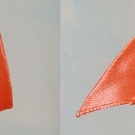
- The resulting triangle must be folded again. We bend the ends and glue them securely. The first element is ready.
- We make one more detail according to the same scheme - these are the wings of the future butterfly.
- If done correctly, we end up with an element with the folded edge slightly raised towards the middle.
- At the fold, you need to cut a neat recess.
- We process the edges of the recess with fire. As a result of processing, they will become wavy.
- Now let's move on to other materials. Beads and beads need to be strung on the fishing line. We fix them with glue. This is the body of a butterfly.
- To make antennae, you can string beads on small pieces of fishing line, or make them using thin strips of cardboard and thin strips of textiles.
- We glue a small piece of thick paper or cardboard with a cloth. We attach the little body to it.
- We glue the fabric petals to the bead body, placing them on both sides at the same level.
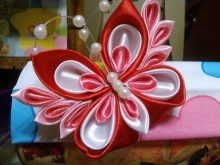
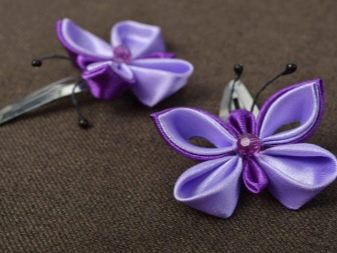
- To make the craft look more attractive, the wings can be decorated with sparkles, sequins and other decorative elements. The kanzashi style butterfly is ready. With its help, you can quickly make an original hair accessory by attaching a butterfly to an elastic band, hoop or hairpin.


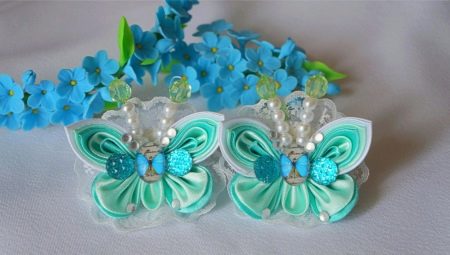
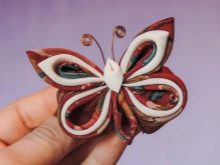
Bicolor butterfly
To make such a craft, you need to prepare the following materials:
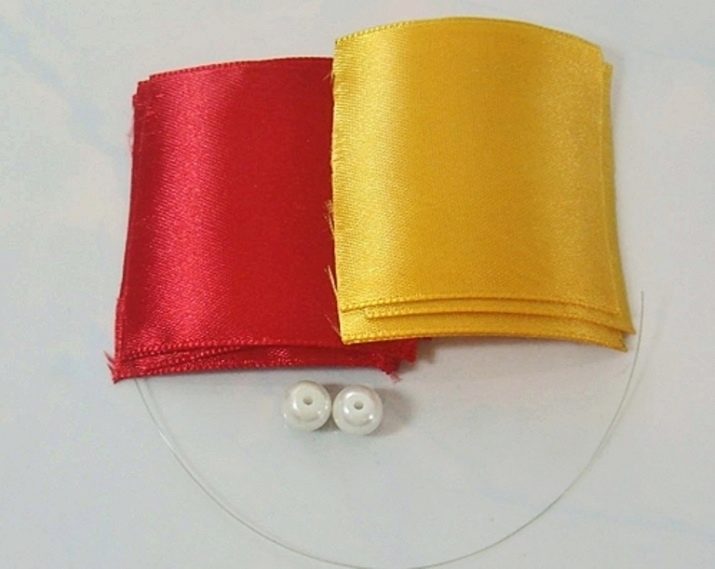
- 4 squares of red satin measuring 5x5 centimeters;
- the same number of elements of yellow (gold) fabric, the same size;
- strong fishing line;
- beads;
- and also do not forget to prepare tools - scissors, needles, glue, etc.
Let's analyze the scheme of work.
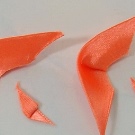
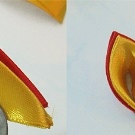
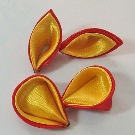
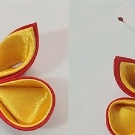
- First you need to make 4 narrow petals. We need 2 elements of gold and 2 elements of red. It is recommended to use the basic assembly scheme for narrow or pointed kanzashi petals.
- Next, we take a material of a different color, and from it we make 4 more elements, but now of a rounded shape. Refer to the diagram below.
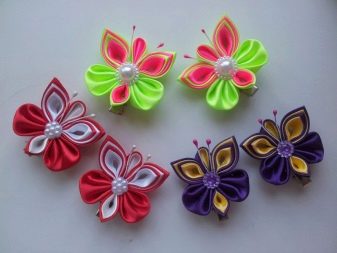
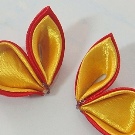
- The result should be 8 details: 4 sharp petals (2 yellow and 2 red) and 4 rounded petals (2 yellow and 2 red). We add one element from two parts of different colors, but of the same shape.
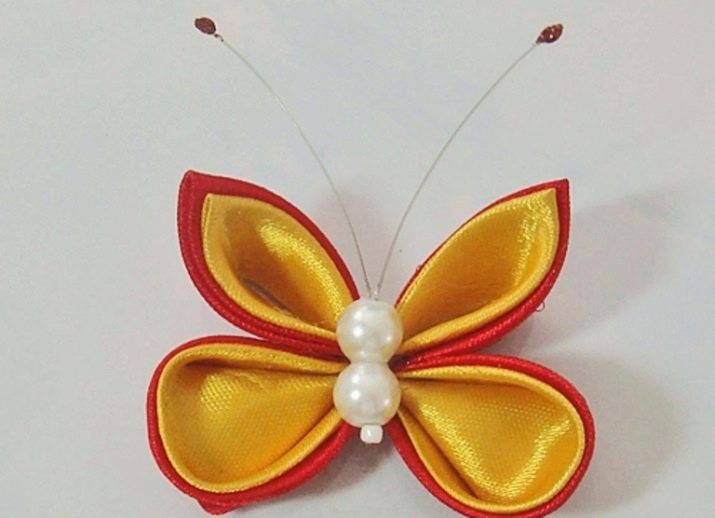
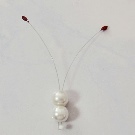
- Now you need to make the body and antennae of the butterfly. To do this, take a small piece of wire, fold it in half, string a small bead, fix it with glue and then string three more large beads (in this case, a small decorative element acts as a fastener for larger ones).
- Two edges of the fishing line will stick out from the core - these are the antennae of the insect. They can be shortened if desired. Decorate the ends with beads or rhinestones.
- The four wings must be connected in pairs and attached to the body with glue. The pointed elements are the upper wings, and the rounded ones are the lower part.
- Now the finished craft can be decorated to your liking.
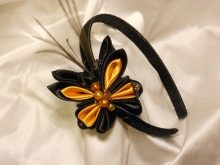
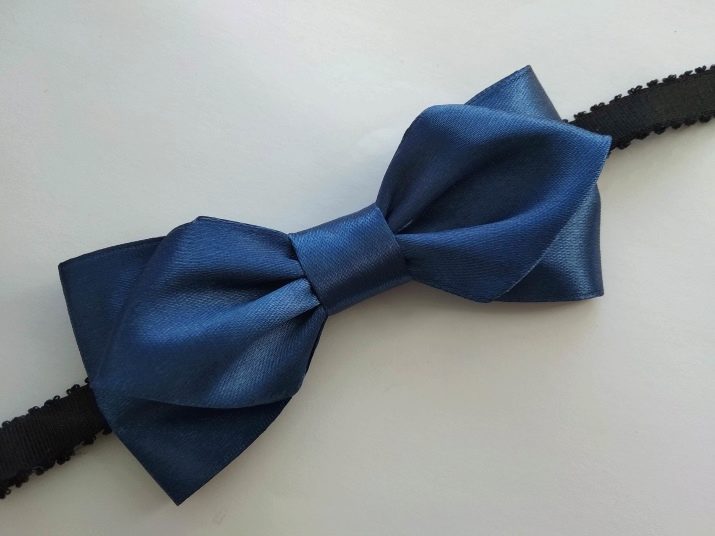
Stylish men's bow tie in kanzashi style
Using Japanese techniques, you can make a bow tie for a man or a boy.
For work you will need:
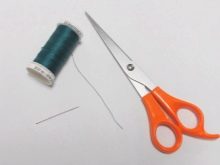
- scissors;
- pieces of fabric (2 pieces - length 11 centimeters, width 5 centimeters; 1 piece - the same width and length 25 centimeters, 1 piece of the same width and length 7 centimeters);
- threads and needles;
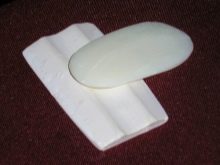
- chalk or a bar of dry soap;
- invisible.
We suggest that you familiarize yourself with the step-by-step implementation.
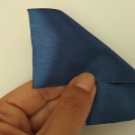
- A piece of fabric that is 11 centimeters long should be folded at an angle.
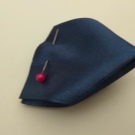
- Then we fold the element in half and fix it with a pin or invisible.
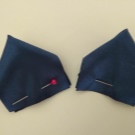
- We make the same detail. Here's what you should get.
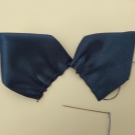
- We sew two fabric elements from the bottom with large stitches.
- And then we sew them.
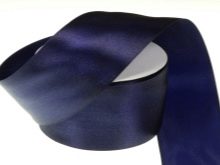
- Now we take the largest tape (25 cm). Tuck around the edges, leaving a small overlap of 1 cm.
- In the middle we sew the part with basting stitches.
- We give the element the desired shape by pulling the thread.
- We sew two parts together. The butterfly is ready.
- We fold a piece 7 centimeters long in half, place it in the center of the butterfly, overlapping the stitches, sew it at the back.
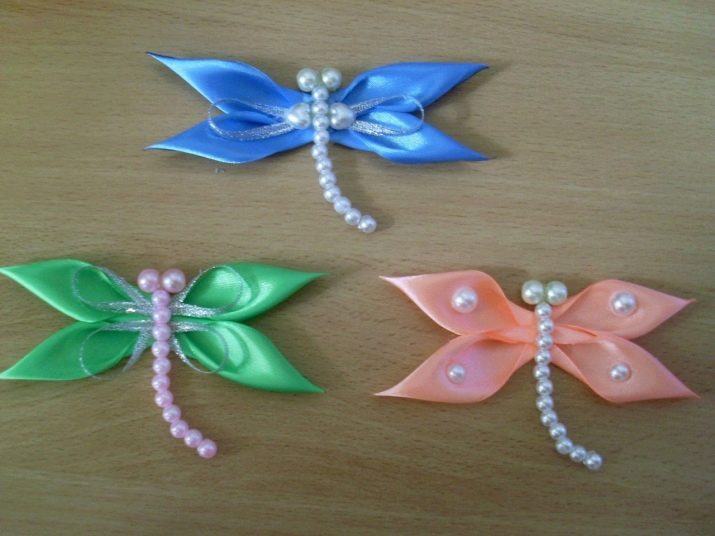
Note: using these master classes, you can make other similar insects, for example, dragonflies.
Interesting ideas
- Instead of beads, large plastic stones can be used to make the torso. These can be purchased at any sewing or handicraft store. With such an element, the decoration will look especially expressive.
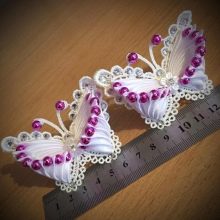
- To make the craft more delicate, the edges of the butterfly are decorated with light lace. And also small pieces of it are attached to the wings.
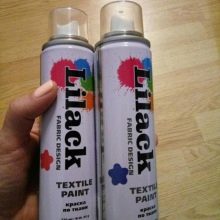
- If the fabric of the required color was not at hand, the finished product can be dyed with spray paint. Pay attention to the gold and silver paint.
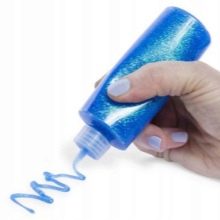
- For a quick and easy decoration, use the glitter tube glue.
A master class on making a butterfly in the style of kanzashi in the video.


