Making a box using the kanzashi technique
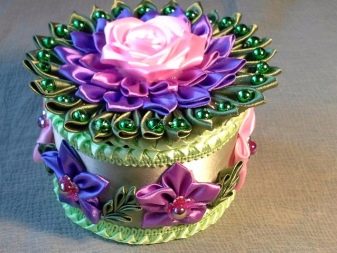
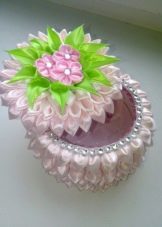
Kanzashi style box will become a real decoration of a women's dressing table or an elegant chest of drawers - in such cute boxes you can store jewelry and jewelry, as well as useful little things for creativity. At the same time, it is not at all necessary to buy boxes in stores - using popular techniques of applied art, you can always make an exclusive product with your own hands.
Peculiarities
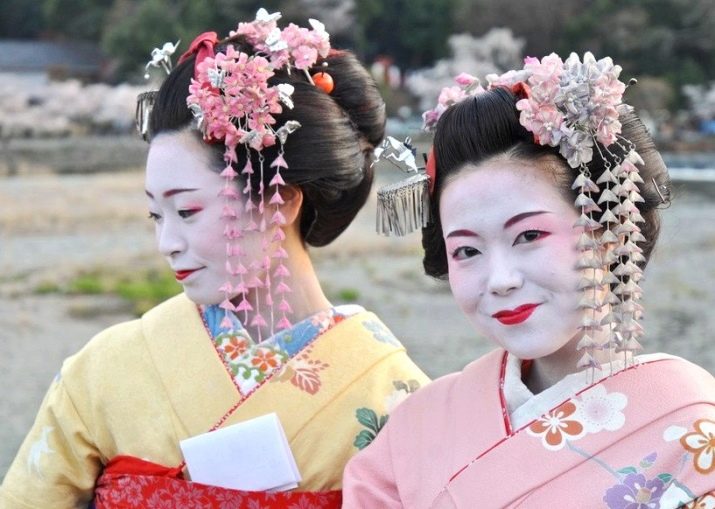
The kanzashi technique originated in Japan about 400 years ago.when in the XVI century. such intricate hairstyles became fashionable among local women that they had to be fixed in some way. This is how the hairpin-jewelry, called "kanzashi", was created. If in origami paper is the main source material, then in kanzashi it is used natural silk.
The technique is based on folding rectangular fabric cuts into petals of different shapes.
They form beautiful jewelry, which craftswomen can really surprise others with. In this case, they are made as simple little flowersand more complex decorations in the form of cascades. Over time, this method was borrowed to create decor items, in particular, stylish boxes for storing little things.
It sometimes seems to novice needlewomen that this is a very complex and time-consuming technique. In factIt is absolutely easy to make a box, since the work is based on only one technique - folding the ribbon... But it will take a lot of time to make the box, it will take accuracy and scrupulousness - after all, in order to decorate a small box, you will have to fold several dozen small and larger flowers from small cuts of satin ribbons.But believe me - all these efforts are undoubtedly worth it, and as a result, an exclusive product will appear that is not even ashamed to present as a gift to a loved one.
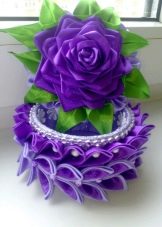
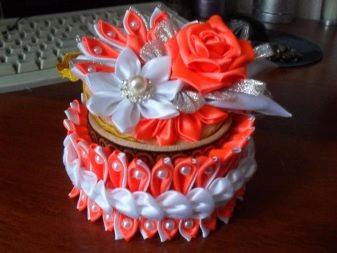
If desired, the boxes can be additionally decorated. In recent years, round-shaped caskets decorated with plastic dolls have become very popular. To create an original little thing, its upper part is taken - that is, the body, as well as the head and arms. The blank is fixed on the top of the box lid, after which it is finished with kanzashi-style elements so that the rest of the decor frames the entire box like a fluffy ball gown.
In such graceful boxes, women usually keep rings, brooches, chains, pendants and other things dear to their hearts.
Tools and materials
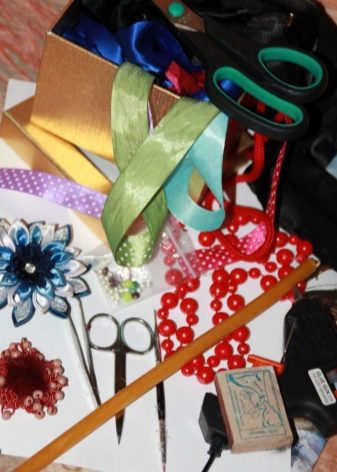
To create a kanzashi-style box, you need the following tools:
- tweezers with pointed and curved tips;
- sharp scissors;
- a piece of chalk or a remnant;
- wax candle;
- long sewing needle;
- ruler.
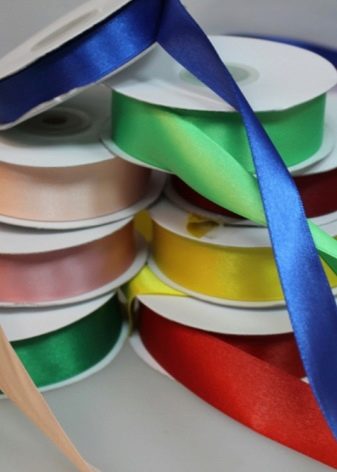
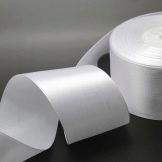
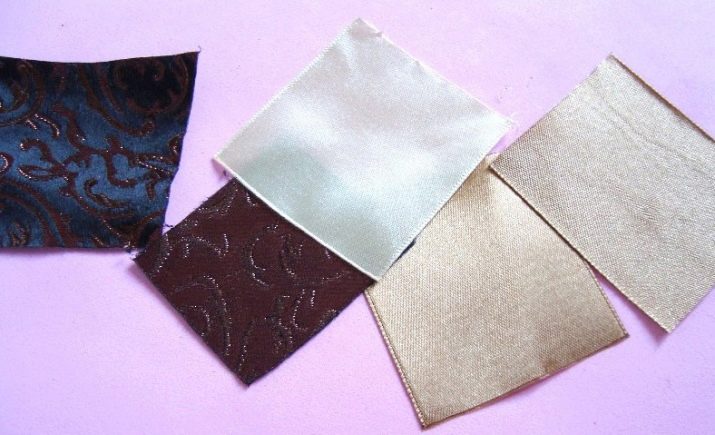
As for the material for making the kanzash box, it is better to give preference synthetics, since the burning of its edges prevents shedding of the threads, while natural fibers are not melted. Most often they use satin ribbons different widths, although rayon or organza may also work if you have the knack and experience with these fabrics.
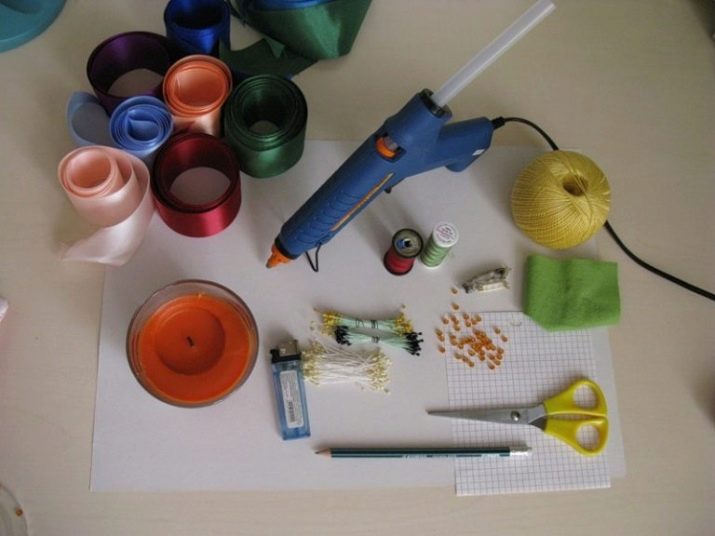
For work, you should prepare threads in the same tone as the tapes used, as well as transparent glue.
To make the box more decorative, you can use additional materials. Usually the following are used:
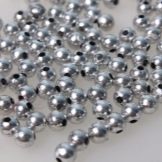
- beads, beads, sequins;
- thin ribbons and cords.
Frame for crafts they are usually made of cardboard. To fix the material on the paper frame, you need pins or hairpins.
Master classes
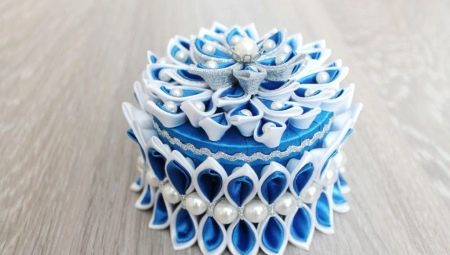
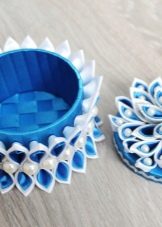
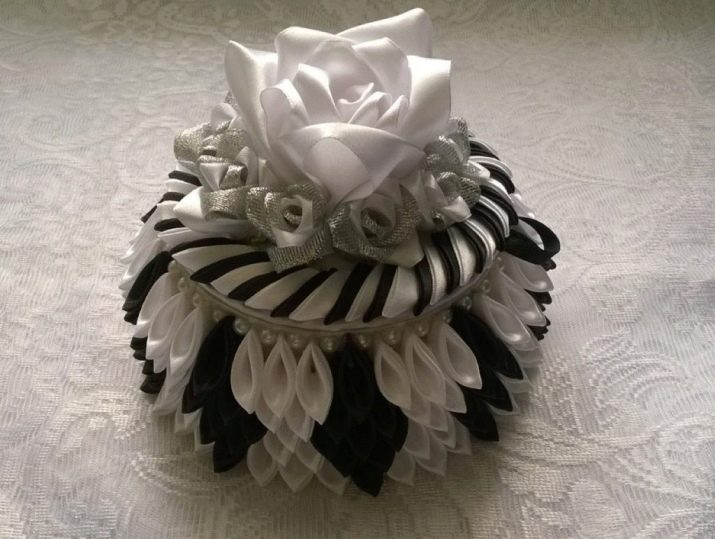
There are many different methods of making a box using the kanzashi technique with your own hands. We will consider step by step scheme of work on the example of the simplest master class. Per basis we will take the idea of \ u200b \ u200bmaking a black and white module, and if desired you can always change the color scheme at your discretion.
So, the following materials should be prepared for work:
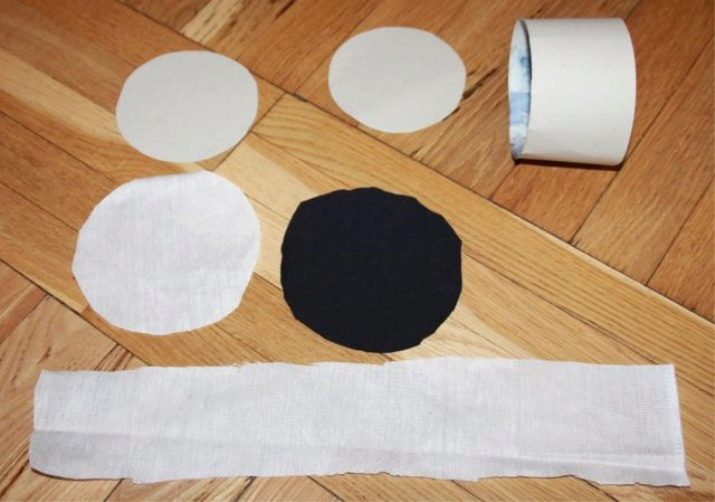
- white fabric - one circle with a diameter of 7-8 cm, as well as a small margin for the design of the sidewall;
- black fabric - two circles with a diameter of 7-8 cm;
- black satin ribbon 5-6 cm wide and 55 cm long - such blanks will need 11 pieces;
- black satin ribbon 2-6 cm wide, 1 m long - 56 pieces of these blanks will be needed;
- white satin ribbon 5-6 cm wide, 180 cm long - you need to prepare 34 such elements;
- any decorative decoration - you can use any ready-made flower or doll to decorate the lid;
- beads of silver or black color - they are needed for decorating the sides.

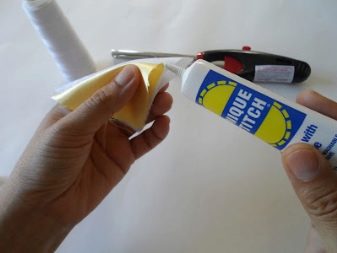
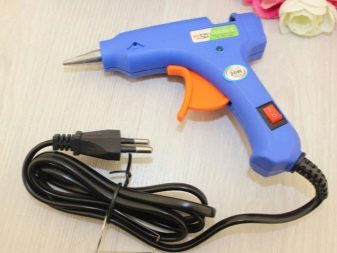
To make kanzashi-style boxes, all working tools and basic materials should be laid out on the table in front of you, prepare a glue gun - connect it to the network and refuel. You shouldn't light a candle right away, you will need it later.
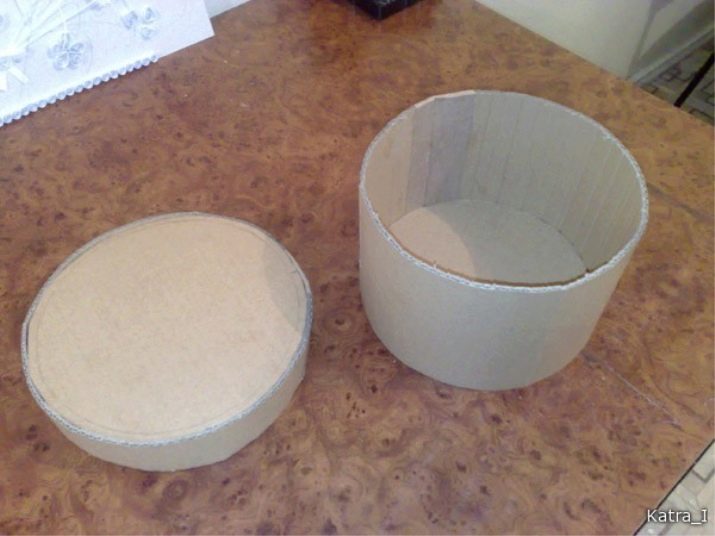
It is advisable to take a ready-made rounded box as a basis.
If one is not available, you can always make it yourself... To do this, cut out two circles with a diameter of 7 cm from thick cardboard - this will be the future cover and bottom of your box. In a similar way, the sidewalls for the box are cut out of the same material.
Some craftswomen use an adhesive tape sleeve or part of a plastic cup.
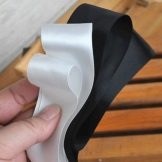
Further, white matter should be carefully cover all inner sidewalls your box and fix the canvas with adhesive. The bottom of the box is pasted over with a black cloth, it can be fixed with an overlap - this will be the lower part of the craft, a drop of hot glue is applied to the edges of the excess fabric.
After that glue the white cloth, in this case, there is no need to overlap - try to fit the circle so that it turns out as even as possible, cut off the excess white fabric. All that remains is top cover - it is also covered with black fabric. As a result of all the work, you will receive a base for the box.
Further 11 square elements are cut in black shade from a tape 5-6 cm wide. Each square is folded in half so that a triangle is formed, and this triangle is folded in half again. After that, the edges of the resulting triangle must be carefully pulled to the center, forming an acute-angled petal... Its base is fixed with glue. All excess part should be cut off with scissors - while keeping them at an angle of 35-45 degrees. These petals will be used for pasting the bottom row of the box sidewall.

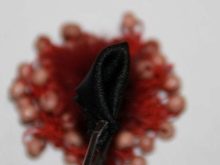
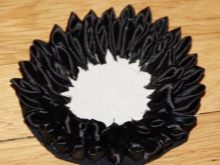
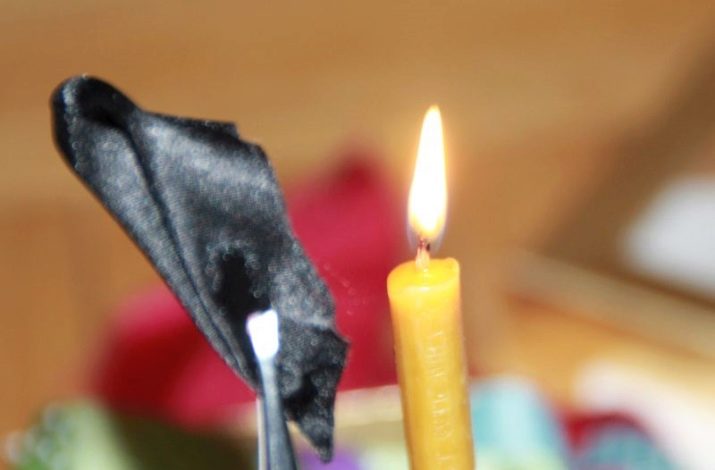
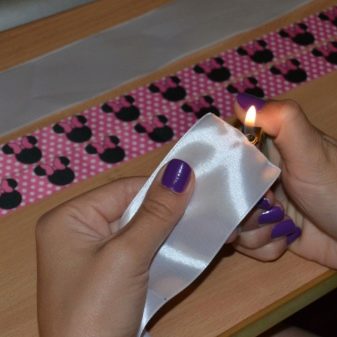
After that, you need to light a candle, and bring each formed petal to the tribe with the lower part - in this way you will singe the edge and remove all unnecessary.
34 squares should be made from a white tape of 5-6 cm and the acute-angled petals should be folded in a similar pattern: 11 of them will be used to make the bottom row of the box sidewall, they are placed alternately with the black ones, and the remaining 22 will be used to decorate the upper part. All the resulting petals should be scorched over the fire, set aside for a while.
After that, 56 petals must be made from a black ribbon 2-3 cm wide to finish the lid: 29 of them are needed for the first row, and, accordingly, 27 for the second.
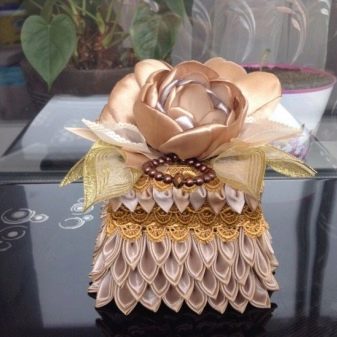
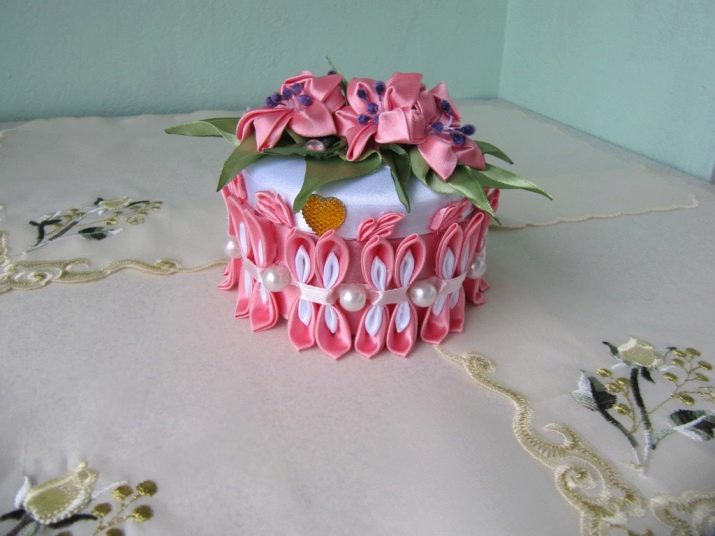
The lid will be almost completely decorated with petals, the void formed in the center is trimmed with a flower - it can be purchased ready-made, made from organza, or also rolled out of ribbons, like kanzashi.
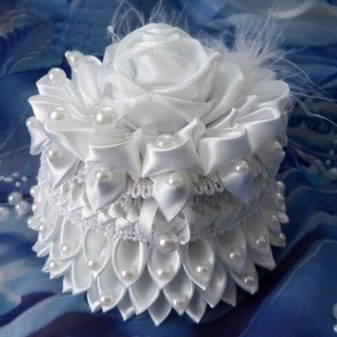
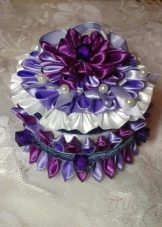
Then you can safely proceed to gluing the sidewalls of the box with petals. The bottom row traditionally alternates between black and white blanks, and the top row consists entirely of white ones. Each blank is fixed to the base of the box with glue. After both rows of the box are fixed, start decorating. To do this, a little glue is applied to the base of the beads and firmly fixed between two rows, while large beads must be alternated with small ones - with this method you can remove all the gaps between the glued petals.
Your box is ready, now you can safely place your favorite jewelry in it. And if you build several similar boxes of different sizes at once, then you can create a very effective decor for the women's corner. In a similar way, you can quickly and easily create a storage for a needlewoman's materials.
Recommendations
Novice craftswomen often have three questions: how to cut ribbons, how to singe them, and how to glue them. Let's try to figure it out.
How to cut?
The main thing is that all the squares turn out equilateral, only in this case you can create perfect petals.
There are two simple ways to cut the tape.
- In the first case, the tip is folded 90 degrees and cut off, resulting in a square. It is applied to a satin ribbon and the same ones are cut along it. The disadvantage of this method is the duration of the working process, but ideally even squares of the same size at the output will become an undoubted advantage.
- In the second case, you need to make a stencil of a suitable size, wind the tape around it several times and make a cut with sharp scissors. At the exit, you will get several squares at once. Please note that you should not wind up too much tape, otherwise the tape may be skewed during the cutting process. The advantage of this method lies in the high speed of work, but there are also disadvantages - the squares do not always come out even.
How are they melted?
In the homeland of kanzashi in Japan, ribbon petals do not melt at all, but they are fixed with special rice glue - it absolutely leaves no traces and gives the products the desired shape, the material after it does not crumble.However, you still need to learn how to work with such a composition, in addition, you rarely find it in our stores.
Our compatriots most often use a candle... You just need to light it up, then melt as many blanks as needed, while your hands remain relatively free. Some needlewomen use lighter, matcheseven enjoy soldering ironby soldering all the cuts - the choice is yours.
Please note: if you are working with fire, then you need to burn the tape at the base of the flame, otherwise the ends of the fabric will turn out to be black.

How to glue?
Ideally, the petals should be glued to the base special glue for kanzashi, in this case, the material will remain elastic and will not harden over time. However, it will do quite well and glue gun... And also some needlewomen recommend using "Moment-gel" - it dries very quickly, without leaving any unnecessary traces, moreover, it is waterproof, transparent and holds the material tightly. The compositions "Titan" and "Moment-Kristall" have a good effect.
The following video presents a master class on creating a kanzashi box.


