All about kanzashi for beginners
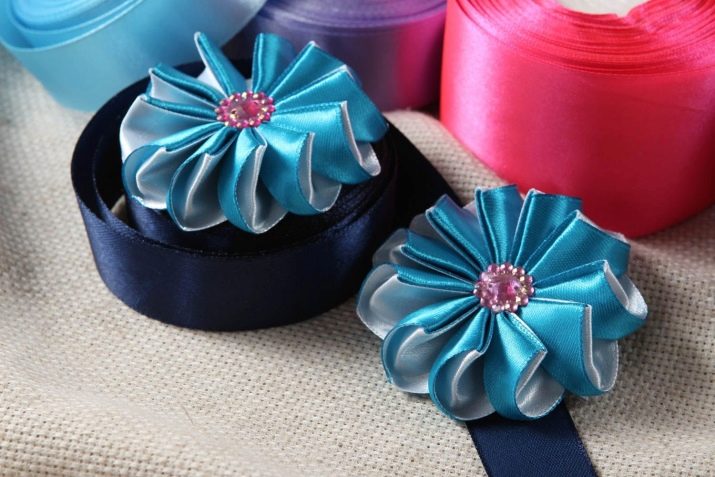
If satin or silk ribbons are folded like origami, then glued and sewn, decorated with beads or rhinestones, you get exquisite flowers from which original women's accessories are formed. This peculiar Japanese technique is called kanzashi. In our article, we will talk about the art of creating ribbon flora and give several master classes for beginners.
Basic manufacturing rules
Initially, amazing ribbon flowers were created by the hands of captivating geishas and were intended to decorate hairstyles. In addition, Japanese women believed in their mystical ability to ward off evil spirits.
Today, thanks to simple and inexpensive art, every woman can not only get an exclusive piece of jewelry, but also become its author, invest her energy, presenting others with impeccable skill, her own special style and taste.
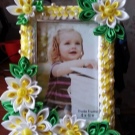
Nowadays, not only hair is decorated with ribbon flowers, they are used to decorate handbags, umbrellas, clothes, boxes, photo frames, curtain holders and many other household trifles.

The kanzashi technique has long gone beyond the scope of floristry., in addition to flowers, animals, Christmas toys, snowflakes, satin Christmas trees and any other pleasant things are collected from ribbons.
What to prepare?
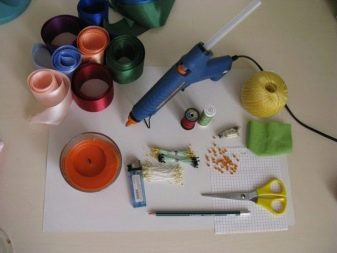
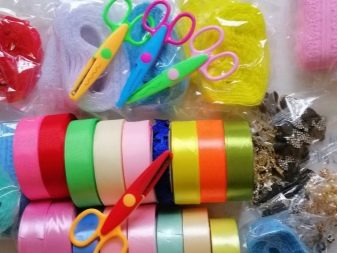
To create miniature satin flowers and figures, you should prepare in advance. To work, you will need the following tools and materials:
- ribbons of different colors;
- needle with thread;
- scissors;
- candle or lighter;
- chalk for marking;
- transparent glue;
- tweezers;
- ruler.
Additional materials are selected as needed. Rhinestones, beads, lace, decorative cords or braid can be useful. It is also necessary to take care of the base on which the future jewelry will be attached (casket, hairpin, postcard).
In ancient times, Japanese women chose satin and silk ribbons for their handicrafts. Today it is recommended to use their synthetic counterparts. The edges of the items are scorched with a candle flame to prevent shedding. Natural materials burn well, but they do not melt well, so modern craftswomen prefer synthetics.
Adhesives designed for fabrics can be purchased at your specialty store. It is easy for them to work with a glue gun. To finally fix the petals, some craftswomen use hairspray.
How to make flowers with different petals?
Professionals do not need instructions, they choose more complex techniques combined with weaving and origami elements... The masters of their craft try to use the most diverse elements in one composition in order to achieve volume and to achieve the naturalness of the product.
Most often, when folding ribbon crafts, they turn to floral elements - petals, leaves, buds. Novice craftswomen should master only two techniques for making such products: with round and sharp petals. To create them, you will need the simplest schemes, thin and denser ribbons 5 cm wide.
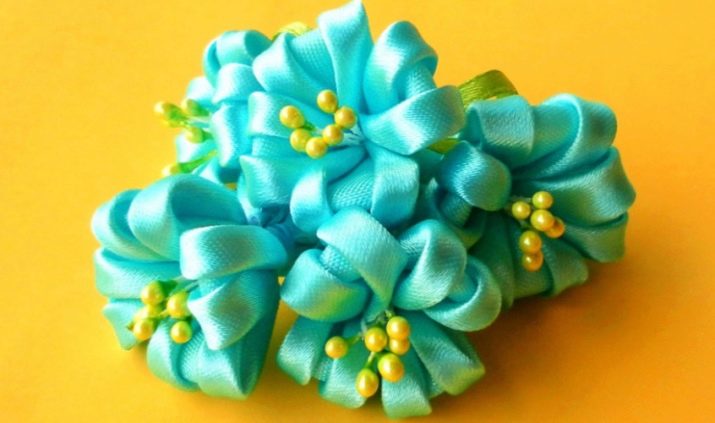
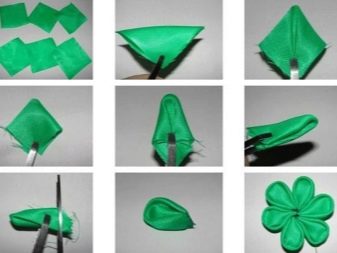
With round
Consider the step-by-step creation of round petals, from which we will form a flower.
- We cut six squares from a wide ribbon.
- We fold them diagonally like paper products in such a way as to get isosceles triangles.
- We turn the workpiece right angle down and bring two sharp corners to it, collecting all three ends of the figure at one point. The result is a smaller square, but more voluminous.
- We pull the side corners of the square towards each other until they are in the center of the figure, clamp them with tweezers and carefully cut off the bottom edge of the workpiece (it is better to cut at an angle, it will look neater). A triangular shape with a rounded end already resembles a petal.
- We melt the lower cut of the petal with the flame of a lighter and press it with our fingers while still warm.
- To fix the product, we additionally glue the melted part.
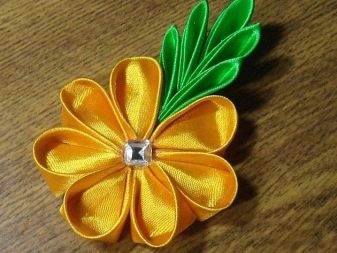
- At the last stage, we put all the petals into a flower and sew or glue together.
- Place a beautiful bead in the center of the item.
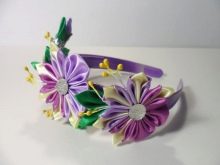
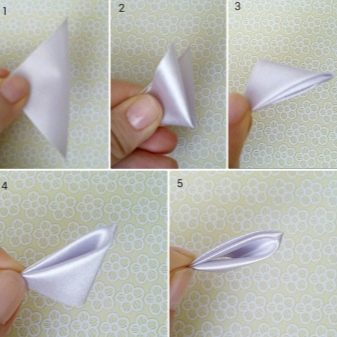
With sharp
Now let's learn how to make flowers with sharp petals. Step by step, the process is as follows.
- Cut the squares from the tape, as in the previous version.
- We fold the squares diagonally, forming triangles.
- We bend the blanks in half again, combining sharp corners.
- And for the third time we fold the triangle in half, making it very small, but voluminous.
- One of the sharp corners will become the upper part of the petal; hold the workpiece by the second sharp corner. Then gently burn the bottom (base) and secure with your fingers.
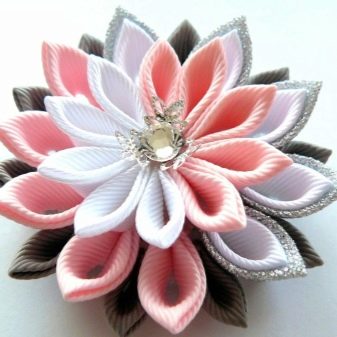
- We form a flower from the blanks, turning them to the core with scorched corners. We decorate the center with a bead.
If such a flower is made of two contrasting squares folded together, you get a more effective product with a beautiful dark outline.
More ideas
To fully master the kanzashi technique, knowing how to make two types of base petals is not enough. We offer you to study other techniques of popular needlework.
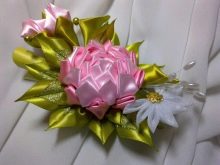
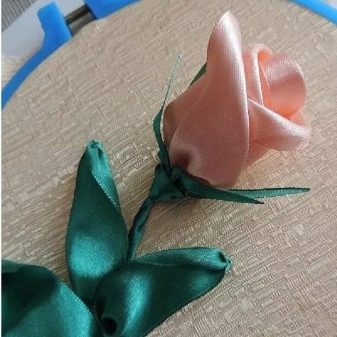
Formation of buds
To create a lush rosebud, it is better to take a satin ribbon, it looks amazing on the bends, imitating the delicate lines of the petals. Beginners should be warned that working with atlas is difficult, it slides and bends more difficult, but the result is amazing.
- It is necessary to start work by unrolling the satin ironed ribbon on a hard surface.
- Next, the edge is slightly tucked outward (along the entire length).
- Then carefully twist the product into a small roll, the top line of which remains curved.
- The lower flat part is pulled together with threads (stitched), forming the base of the bud, and fired.
- The resulting blank is carefully opened from above, trying not to break the fold on the satin ribbon. With skillful movements, the twisted roll turns into a lush rosebud.
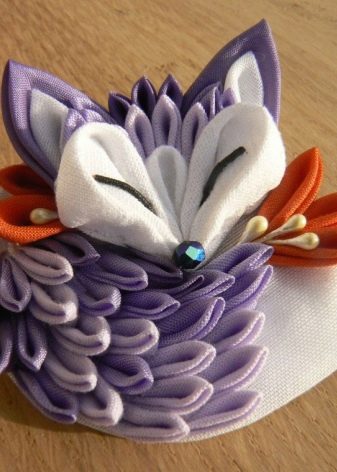
Having mastered the techniques for making sharp and round petals, you can start creating more complex things. From hollow details, spectacular figures are obtained - a tree, a hedgehog, a crown, a swan and other cute products.

Making a butterfly
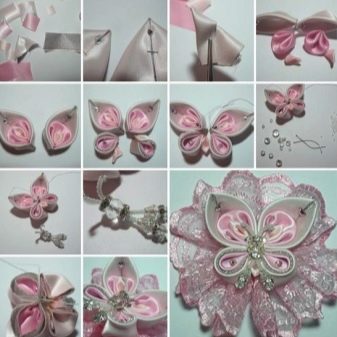
We suggest that you familiarize yourself with another master class, from which it becomes clear how easy it is to assemble a butterfly using the basic skills of making sharp and round petals. So, we will collect a beautiful insect from fabric step by step.
- Cut into squares ribbons of different colors and sizes.
- From the obtained parts, we form the following types of petals: a pair of large light pointed blanks (petals) are made for the upper wings; then we form a pair of medium-sized rounded petals from a dark tape, installed on large blanks of the upper wings (fixation can be done with glue or threads); another pair of miniature light, sharp petals are placed in the center of the dark fragments of the upper wings. Next, we work with the lower wings - we make round petals from a light ribbon, the size of which is similar to the parameters of the middle inserts of the upper wings; we make the rounded blanks made of dark fabric smaller and insert them into the prepared lower wings.
- We sew the finished butterfly or fix it with glue.
- Pull the lace tape from one longitudinal edge, getting a beautiful openwork flower, on which we set our butterfly. The lace color should match the dark wing inserts.
- Beads and seed beads will help to give the product a finished look., from which we form the head and antennae of the insect, as well as decorate other elements of the butterfly.
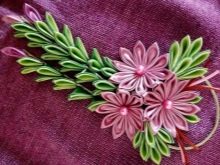
To make sure how beautiful the products in the kanzashi technique are, we suggest that you familiarize yourself with the new products belonging to the hands of talented craftswomen:
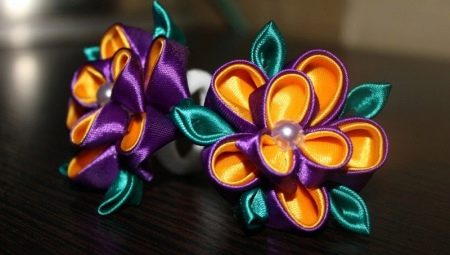
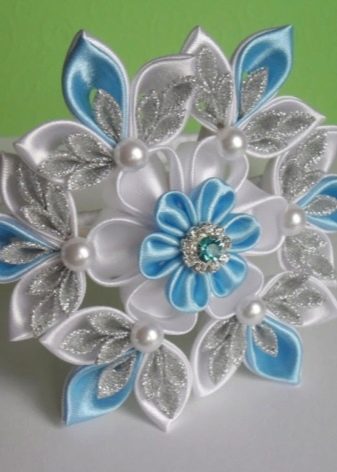
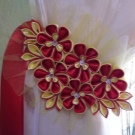
- a flower with pearls made of dense fabric;
- kanzashi-style photo frames;
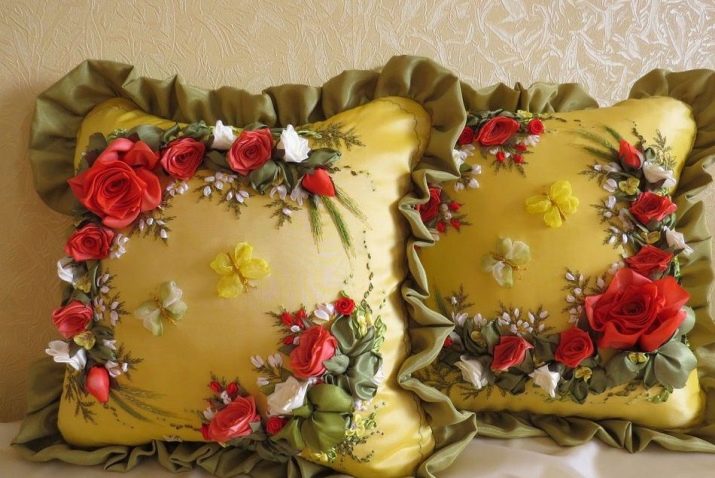
- decorative pillows made of yellow satin embroidered with ribbon flowers;
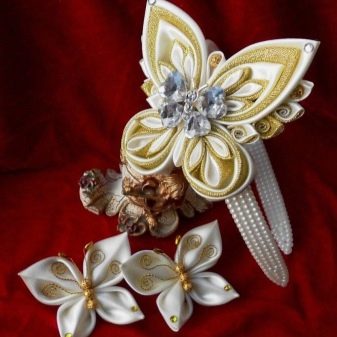
- wedding sets for the bride and groom, made using the kanzashi technique;
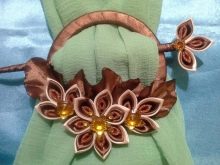
- curtain hooks and brushes;
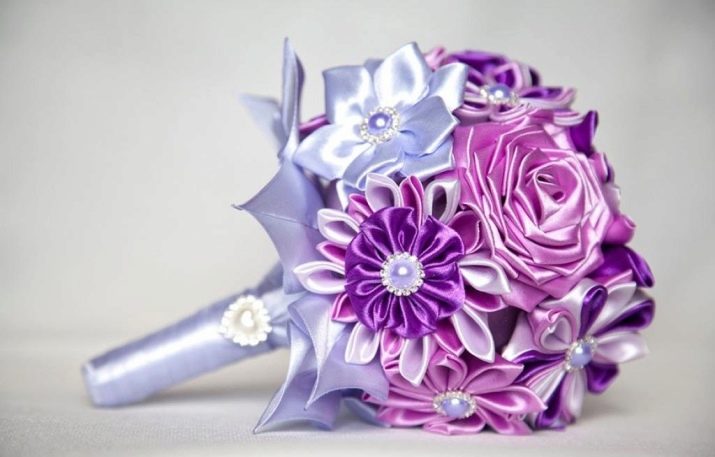
- bridal bouquet, in which natural flowers are replaced with ribbon analogues;
- designer knitted bag, decorated in the kanzashi style.


Recommendations
For beginners who do not yet have sufficient experience in the kanzashi technique, our recommendations may be useful.
- When starting work on a product, you need to first iron the material, crumpled ribbons will ruin the final look of the flower.
- For kanzashi figurines, it is better to choose dense ribbons, they are stronger and more accurate in keeping their shape. It is only necessary to work with nylon and other thin fabrics to create airy flowers. For beginners, when choosing between satin and silk, we recommend silk, it is more convenient to bend it and form petals.
- It is better to start mastering the kanzashi technique with dark ribbons, they have less noticeable singing defects. Having gained experience, you can proceed to work with light material.
- Instead of a candle or lighter, craftswomen often use a soldering iron., it is not safe, but prevents contact with open fire.
- So that there are no traces of glue on the product, it is necessary to choose transparent and thick formulations, for example, "Moment Crystal".
- The workpieces are held over the fire with tweezers, but it is more convenient to form petals without it, using only your fingers.
- If you work with an open flame, it is better to bring the petal to its base, this will give it the opportunity to melt, and not burn.
- By creating a piece of pointed petals, you need to make sure that they all turn in the same direction, otherwise the perception of the "living" flower will be lost.
We hope that our simple recommendations will come in handy in their work and will help beginners create beautiful and unique products.
You can watch useful tips for beginners in the next video.


