How to make a headband using the kanzashi technique?
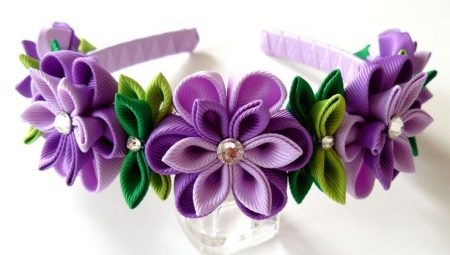
Kanzashi is a popular Japanese technique for creating unusual origami... But at the same time, instead of the usual colored paper, various soft ribbons are used, as well as lace. For classic kanzashi, a silk base is traditionally taken. This technique allows you to create a variety of decorative items and other items. Today we will talk about how to make a headband in this way and how you can decorate it.
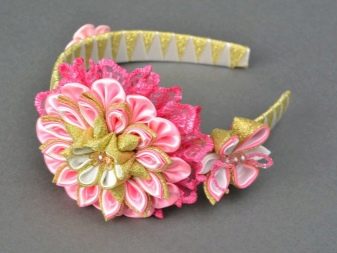
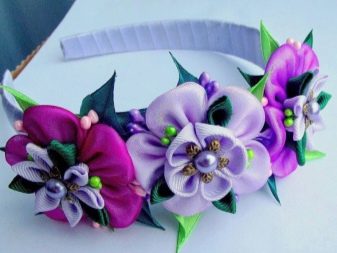
What is required?
To make a new headband using the kanzashi technique with your own hands, you will need the following things.
- Material... It is better to take silk or a more budgetary satin as the basis for the product.
- Instruments... This group includes fabric scissors, ruler, pencil, thread and needles. It is also better to use a lighter, it allows you to quickly process the edges of the fabric.
- Glue... Better to use Moment Gel. It will be needed when connecting individual parts and tapes. You can also use MK glue.
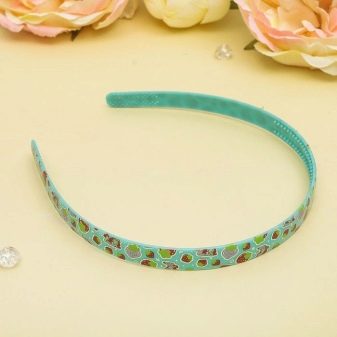
- The foundation... To do this, it is better to take an ordinary plastic bezel without decorations. Its surface should be as flat as possible, without damage or scratches. Otherwise, the tapes will be difficult to attach evenly.
- Pin... This element is optional. But it is most often used after gluing the material to the base. A clothespin is attached to the upper outer part of the product so that the glue mass grabs better and the material does not come off later.
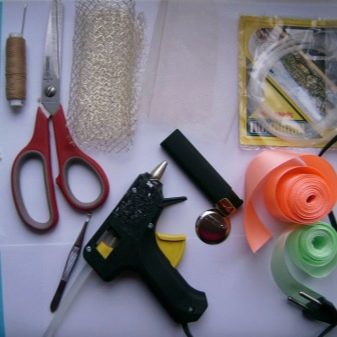
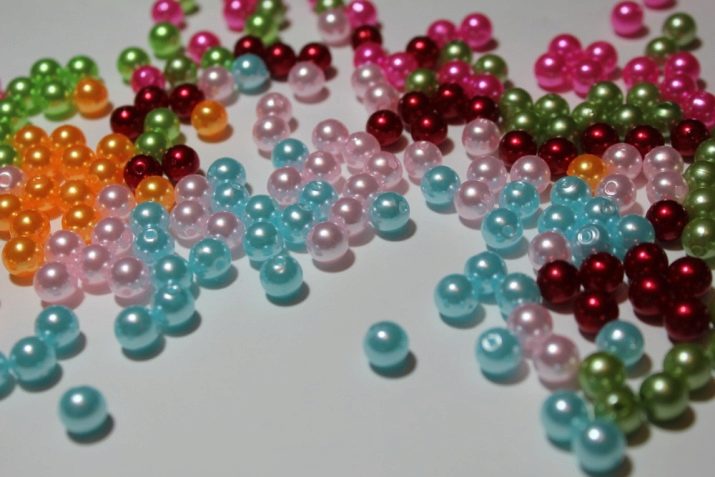
If you also plan to decorate the headband with various decorative elements, then you should prepare separate pieces of fabric. It is better to make them from the same material as the outer part of the accessory so that the overall design is harmonious. As additional parts, they often use beads, pearls different colors and sizes.
But at the same time, remember that there should not be too many of them. Otherwise, the product may turn out to be sloppy and ugly.
How to do it?
Currently there are a huge number of different ideas and master classes, which will allow even a beginner to create a headband using the kanzashi technique. So, you can create such a product with satin ribbons. A plastic headband can simply be braided with such a fabric. In this case, first you need to prepare the base, its width should be at least 2 centimeters. Then you should pick up the tape (its width should be about 1.2 cm, and its length should be 1.5 m).
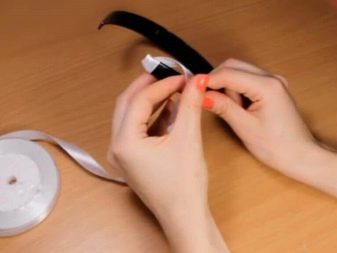
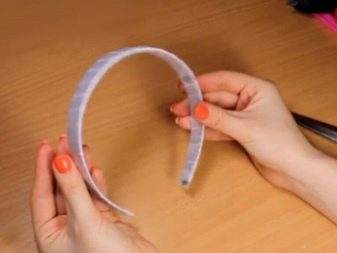
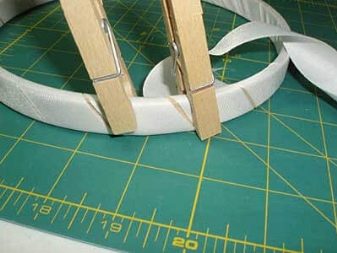
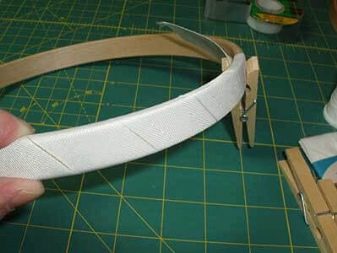
Later, you need to apply a little glue mixture to the end of the strip. This edge is applied to the beginning of the plastic rim. The glue is also applied to the outer part of this base in a uniform thin layer. The base is braided with satin at a slight angle, while it is necessary to ensure that the joints are as smooth and invisible as possible... At the end the other end of the tape is gently glued to the base on the inside so that it cannot be seen.
You can braid the support with two strips of different colors at once, alternating them.
From above, the finished product is fixed with a clothespin and left in this form for the next hourso that the tape can adhere well enough to the substrate.
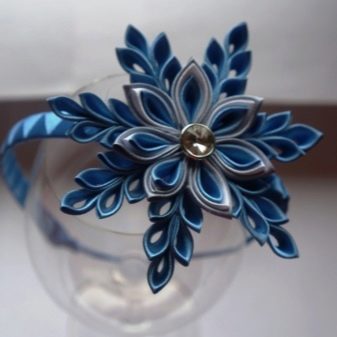
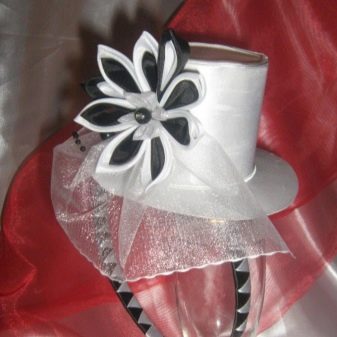
If you want to make such a bezel more interesting, then at the end you can attach additional decorative elements... So, crafts are often used in the form snowflakes... A similar option may be suitable for the New Year's holiday. You can also use small figurine in the form of a hat.
The next option is a kanzashi-style headband, made using double-sided tape and rep or silk tape... In this case, the size of the fabric should be the same as the size of the rim. In this case, only the outer part of the base is drawn up. First, cut off small pieces of double-sided tape (1.5 cm long). The film is carefully removed from it and applied to the ends of the rim on the outside. After that, it is necessary to carefully distribute the adhesive tape with your fingers so that bubbles and other irregularities do not form. The tapes are gradually applied to the adhesive part. You need to press it well.
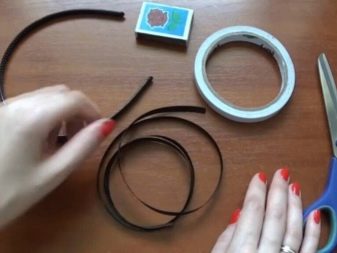
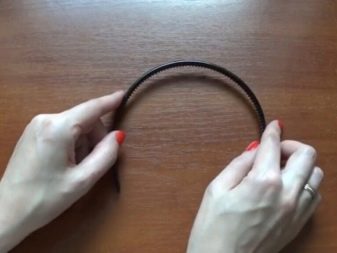
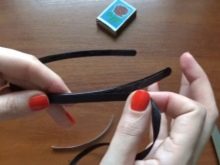
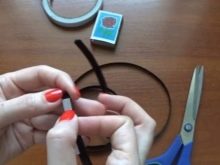
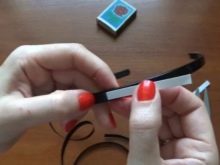
If desired, you can additionally decorate the finished headband with small multi-colored flowers or artificial stones.
This option can be suitable for children, it will be a great addition to an evening dress for a holiday.
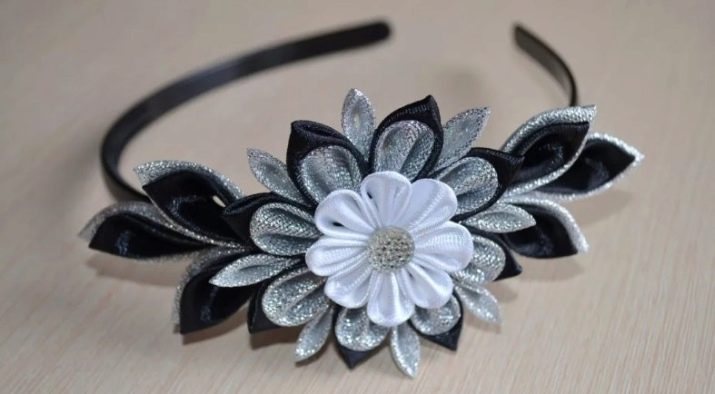
You can make this hair accessory with ribbons in two colors. In this case, they should be glued in such a way that an unusual pattern is obtained on the finished product. To do this, you first need to cut off two small pieces of fabric from each of these colors. They are carefully glued to the ends of the plastic base. You can trim the edges with a lighter. The edges are slightly pinched at the end with tweezers.
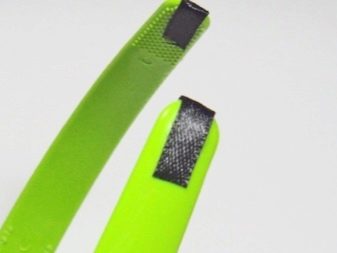
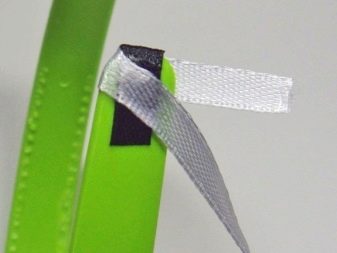
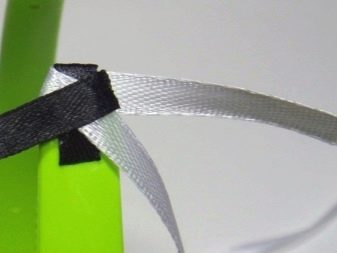
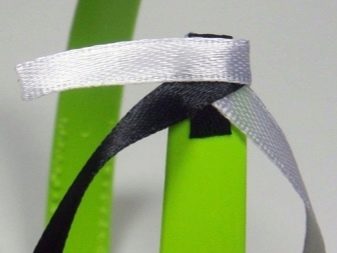
The ribbons must be attached to the accessory in such a way that they fit on top of each other. After that, you need to take the lower strip and direct it under the upper one. So, the upper part will be guided by the bezel, both elements will always intersect. At the end of the tape, trim it neatly with fabric scissors. All elements are glued with PVA glue.
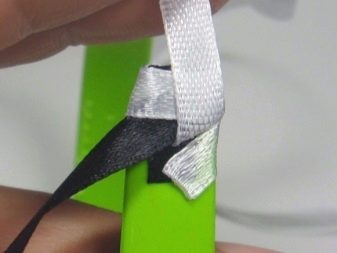
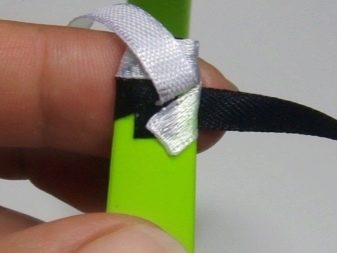
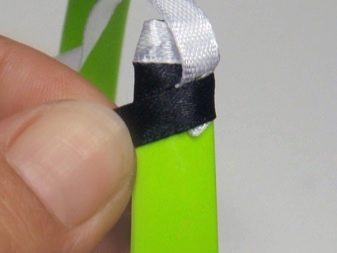
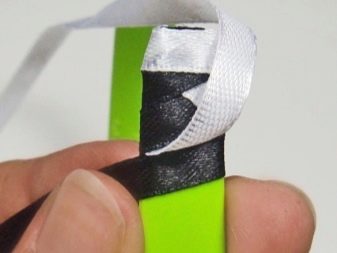
If you wish, you can decorate the finished product with small beads or multi-colored beads.
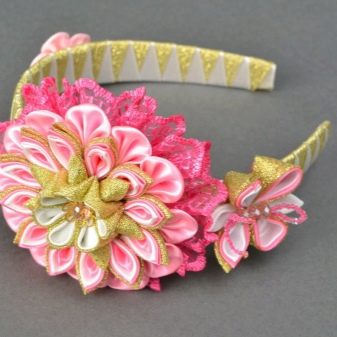
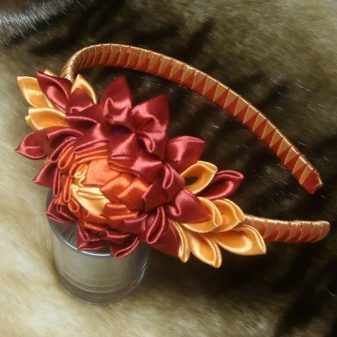
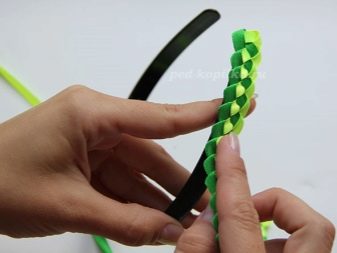
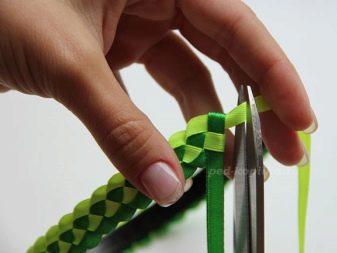
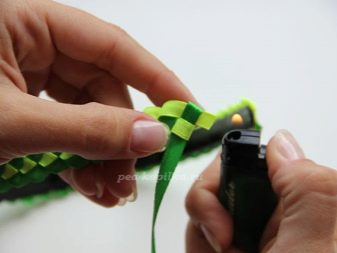
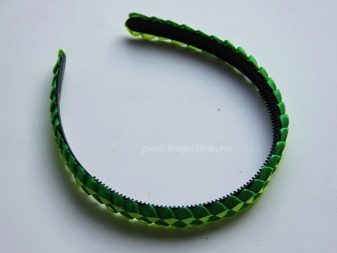
A headband with an unusual weaving will look beautiful. In this case, it is necessary to burn the edges of all tapes in advance so that they do not crumble in the future. Then you should drop a little glue mixture on the wrong side of the tapes and distribute it evenly. The strips are connected in small loops. The tape must be turned to face you, and then stretch one element through the other. This should be done to the end of the fabric, while alternating materials of different colors, if you are weaving from several colors at once.
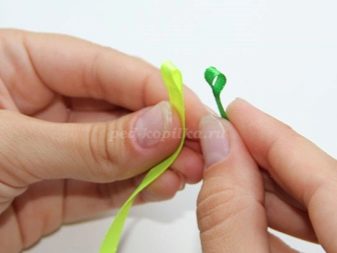
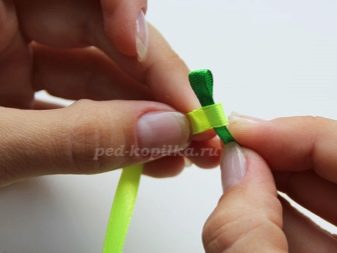
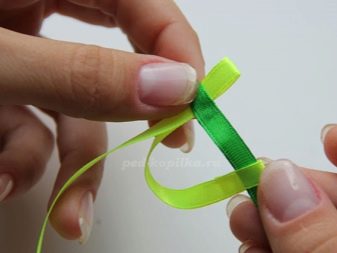
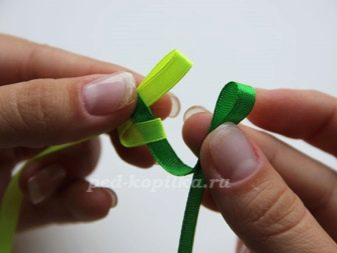
At the end, you should have a strip that looks like a pigtail. Its length should match the length of the headband.The ends of the fabric are carefully trimmed. A little glue is applied to the outer side of the accessory, and then the finished weaving is applied to it.
.
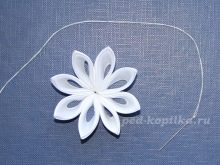
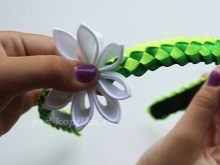
To make such an accessory look more interesting, it can be decorated large flower, performed in the same kanzashi technique. To make this decorative element, you will need to cut the satin fabric into small squares of the same size. In total, you need to make 8 pieces, later they will become petals. Then you should process the edges of the material with a lighter. Thus, it will not crumble while wearing.
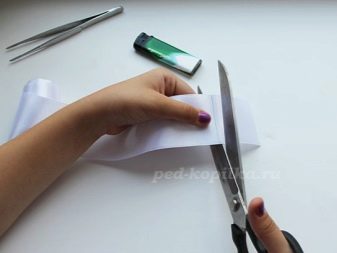
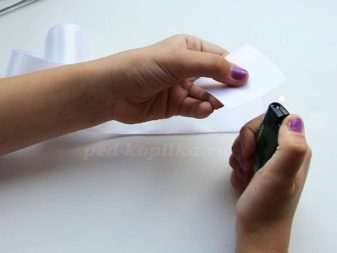
The resulting squares are folded along the diagonal line with the wrong side inward. The ends of the diagonals need to be connected to each other. Later they are folded again. This is how a flower petal is obtained.
It is better to cut off the connected ends at once and burn them with a lighter.
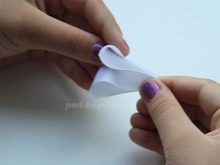
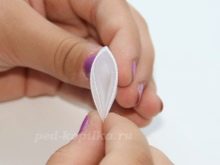
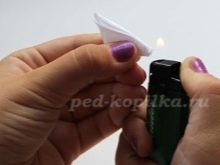
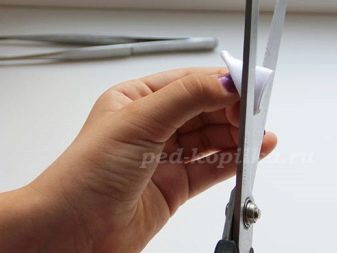
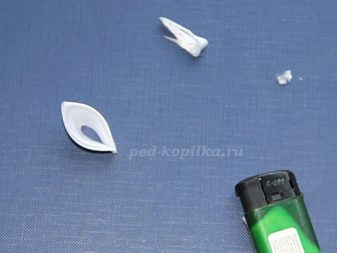
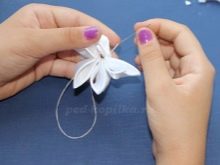
The bottom of the petal is also trimmed with scissors and processed. In total, you need to make 8 such elements. At the end, they are connected together; this should be done with a thread and a needle. In this case, the threads must be selected in such a color that they are practically invisible and do not spoil the design. The thread is well fixed so that the flower does not disintegrate in the future. A little glue is dripped onto the wrong side in the middle of the flower and attached to the rim. A small bead is attached to the center of the decoration.
Beautiful examples
Almost everyone can make headbands using the kanzashi technique for different occasions. So, this one-color accessory, decorated in a neutral style without large decorative details, will be an excellent option for children on September 1 or for everyday wear to school. In this case, it is better to select products in blue, white, beige, pink or lilac colors. This option can be suitable even for adult women.
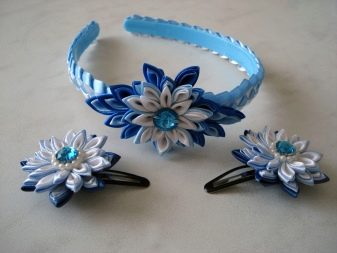
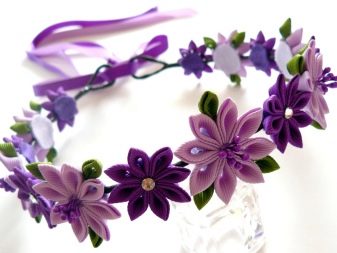
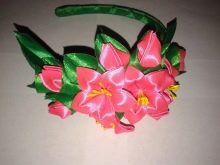
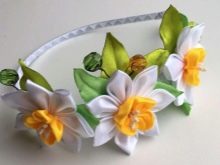
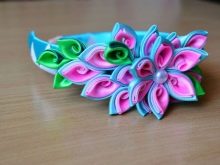
These hair accessories, decorated with two ribbons of different colors, with different decorations are well suited for special occasions. Several large flowers decorated with beads, rhinestones or beads can be attached to the central outer part at once.
An accessory decorated with small flowers or individual petals along the entire length will become a universal option. At the same time, it is better to make such elements not too large so that the product ultimately turns out to be neat. If you wear it to work or school, then you should choose more neutral tones of the material. You can slightly dilute the decoration with small pearls or beads.
How to make a kanzashi bezel with two ribbons can be seen in the next video.


