All about kanzashi bows
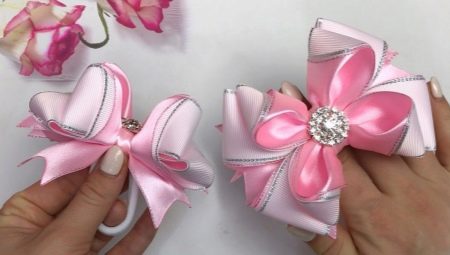
Kanzashi bows are in demand and loved not only in Japan, where they are part of traditional culture. New items of unusual hair ornaments traditionally delight both children and adults, and even a person who is not too versed in needlework can make them. Detailed master classes will help you learn how to make do-it-yourself bows from a rep ribbon and other options quickly and easily.

Peculiarities
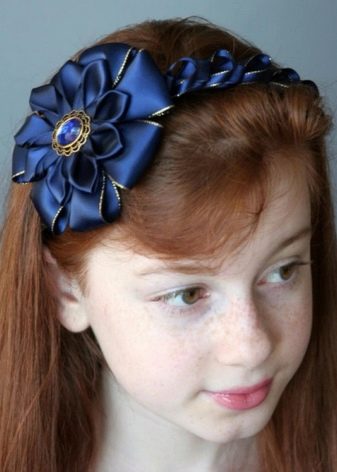
Most people traditionally associate bows with school years and smart first graders, but these decorations have much wider applications. They complement the buckles of shoes and decorate the headbands, tie on the "envelope" of the newborn at discharge. Kanzashi bows are no exception. They are made of rep, silk or satin ribbons, keep their shape well and look attractive.
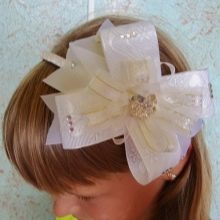
The art of kanzashi is suitable for all skill levels. There are some very simple bows that can be made in 1 hour and are perfect for beginners. More complex pieces require patience and skill, but the result will look much more impressive. The kanzashi technique is very similar to another popular type of Japanese art - origami, only pieces of cloth are used for folding, not paper. Once for these purposes, scraps of natural silk were used; today, blanks are also made from rep or satin ribbons.
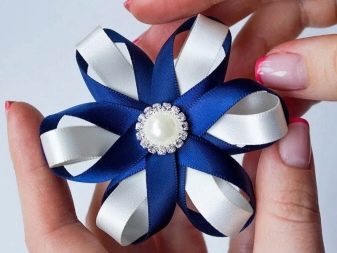
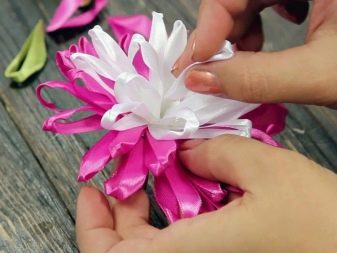
Kanzashi bows differ from the usual way of fastening. They are not tied, forming a tight knot, but folded and fixed with an adhesive joint.Depending on the type of product, it can be in the form of traditional bows or decoration in the form of false flowers - miniature or large.
Tools and materials
When creating bows using the kanzashi technique from satin, silk or rep ribbons not only square pieces of fabric with a width of 0.5 to 5 cm are used.When folding products of this type, rather long strips of 6-10 cm are also used. felt to create a base: rounded parts are cut out of it, to which the rest of the elements are attached.
Additionally, for decoration can be used organza or lace. Among the necessary materials, you can also note all kinds of beads, buttons, rhinestones, buckles, bead holders and centers in the form of cartoon characters.
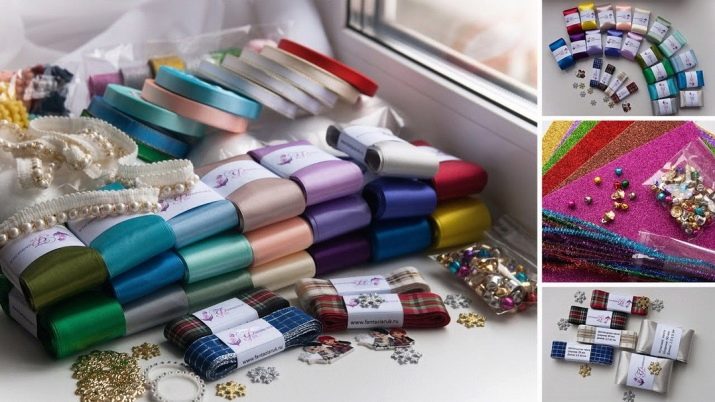
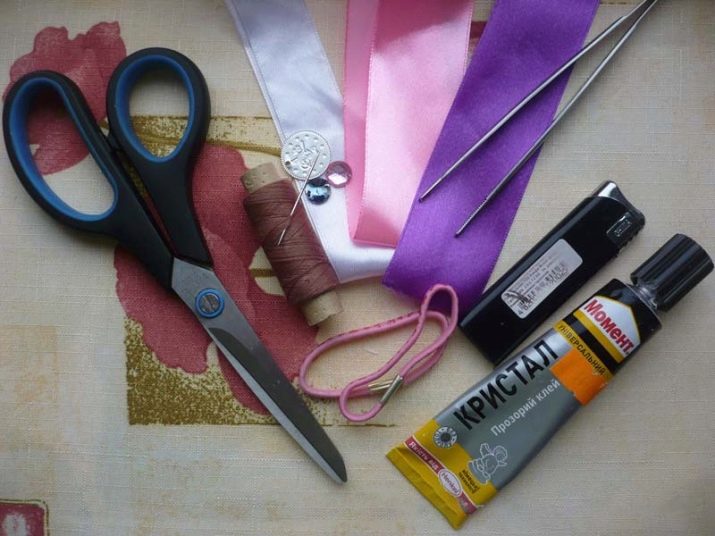
Here is a list of the tools you need to create kanzashi bows.
- Scissors for cutting materials.
- Ruler for measuring line segments.
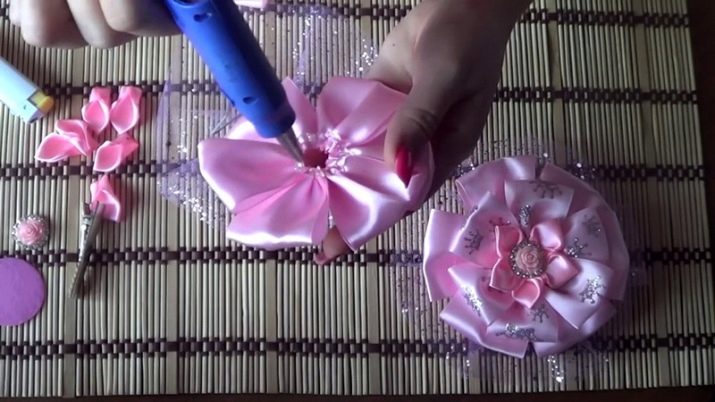
- Thread and needle to assemble the elements. To get a neater and more presentable connection, it is better to replace them with a hot glue gun.
- Safety pins for chipping parts. Experienced craftsmen can cope without them, but beginners cannot do without this auxiliary tool.
- Lighter, matches, candle or fabric burner. Thermal sealing of the edges of the fabric is mandatory for satin and silk, otherwise they will crumble and creep. For large volumes of work, it is better to purchase a burner - it evenly cuts off the edge, it can be used already when cutting. In this case, the metal ruler will act as a stencil.
- Tweezers. It is necessary to hold small parts in the process.
In the kanzashi technique, it is not external decorations that are important, but the perfection and purity of the execution of fabric elements. That is why it is better not to use too many decorative elements.
Manufacturing methods
Kanzashi bows are a universal solution in order to decorate a headband, a satin headband or a hair clip, to make an original elastic band for a girl in kindergarten, school. New designs in this area appear regularly, craftsmen experiment with volume and shape. There are American options with tress - strands of various colors. Japanese models are more conservative and traditional.
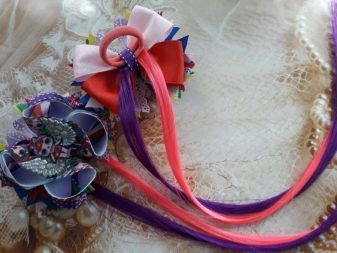
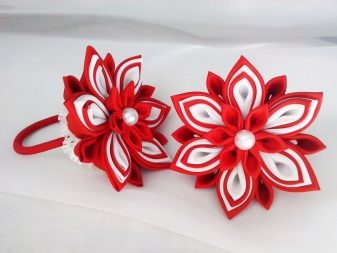
Thematic new ideas are most often targeted at teenagers and children. Summer options with princesses in skirts and butterflies, New Year's white waterfalls, festive lush flowers - these are just a few of the design solutions that can be implemented. For discharge from the hospital, it is customary to create large decorations from wide ribbons 4 or 5 cm wide.
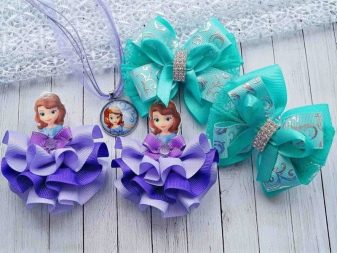
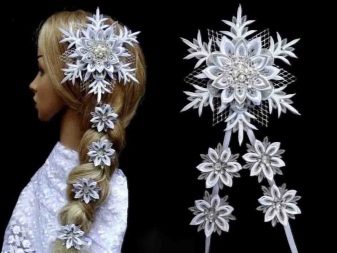
To make a kanzashi bow with your own hands, it is enough to study step-by-step instructions and master classes.
Simple for beginners
The simplest products in the popular Japanese technique are made from rep ribbon. It is easy to work with, not so slippery. For the most common bows, you will need a red rep ribbon 2.5 cm wide and 30 cm long, the same piece with a watermelon print, a green ribbon (1.2 x 10 cm), rubber bands. And also matches or a lighter, scissors, a glue gun or thread with a needle will come in handy.
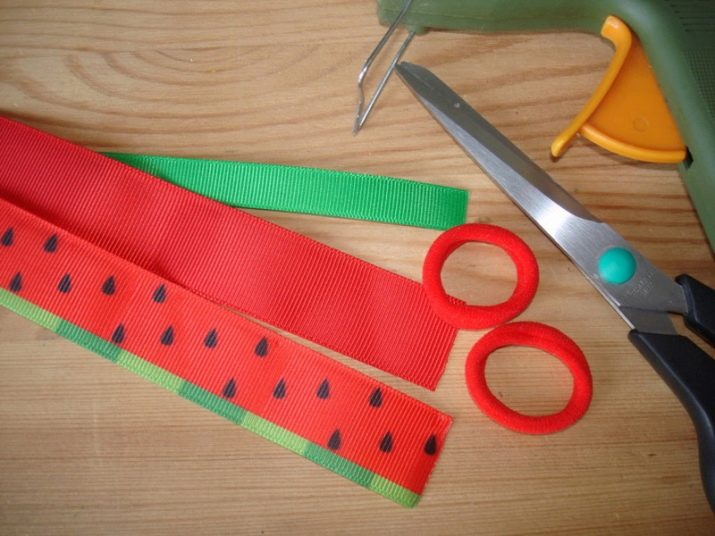
The manufacturing process of a product includes a number of steps.
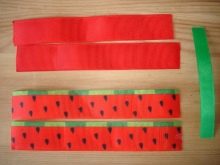
- To begin with, cut the red and "watermelon" ribbons into fragments 15 cm long.
- Take the red line and bend it in half. Then we unfold the tape and turn both ends with an overlap of 2 cm to the place of the fold. We fix the bow in the middle with 2 stitches, we do not tear off the thread.
- We carry out a similar operation with the "watermelon" ribbon. We fix 2 bows together with a thread, lightly gather and tie a knot on the seamy side.
- The first bow is ready, the second is done in the same way.
- Cut the green ribbon into 2 pieces 5 cm long.
- Glue an elastic band on the back of each bow, and a green ribbon on top of it.
- We wrap the green ribbon around the middle of the bow and attach the end to the back.
- Now all that remains is to straighten the bows.
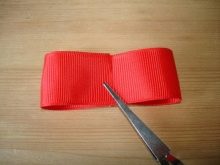
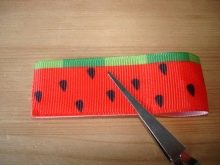
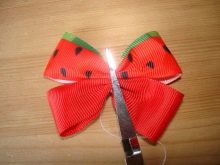
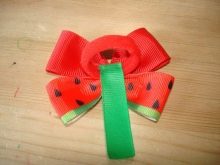
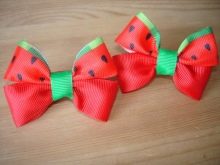
This is the simplest type of product. You can make it more elegant by decorating the middle or edges with beads, rhinestones, lace, etc.
Lush on September 1
Every girl dreams of a beautiful bow for school. To make this jewelry original, author's, it is enough to make quite a bit of effort. The kanzashi technique will allow you to fix the finished product on an elastic band, hairpin, headband or comb, decorating your hairstyle, regardless of the length of the hair.
The bow for September 1 is made of a satin ribbon 5 cm wide and 12 cm long. 17 pieces are enough for a lush accessory. A thematic cabochon or large bead is used as a decoration in the center.
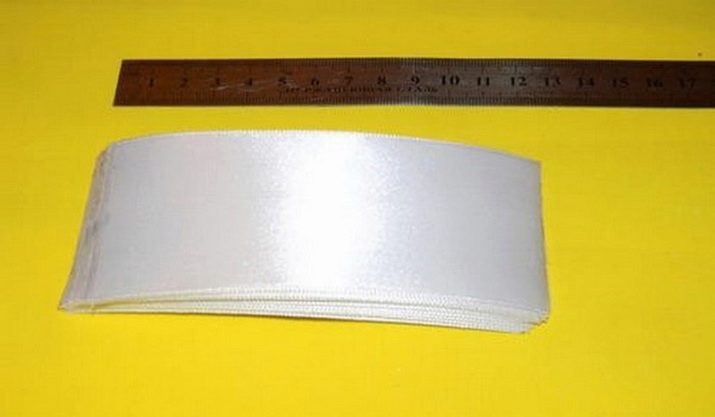
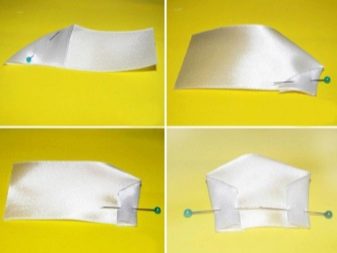
Here is the procedure for making a bow.
- From the prepared pieces of white satin, you need to make parts of the bow. The tape is put face down, the right corner is folded inward from above, fixed with a pin, and the lower left part is similarly fastened. The pointed tip folds inward.
- The part is laid horizontally. The folded parts on both sides should be directed towards the master. The workpiece is connected, scorched or stitched along the edge, pulled together at the base. The detail unfolds and unfolds, acquiring volume.
- As soon as all 17 "petals" of the bow are made, you can start assembling it. To do this, you need 3 needles with a white thread in each. On the first - 8 elements are strung, on the second - 6 petals, the rest are attached to the last needle.
- Assemble the first tier of 8 parts, glue a white felt circle on its back with a thermal gun. Assemble the 2nd tier, carefully glue it into the 1st. Pull off the last 3 petals. Collect the bow and glue the bead in the center. Leave to dry completely.
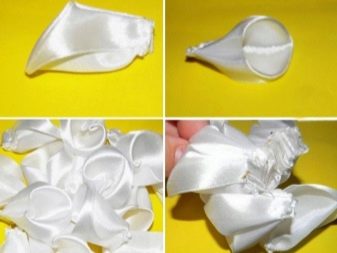
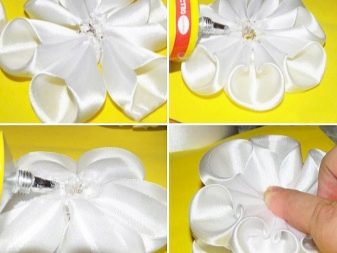
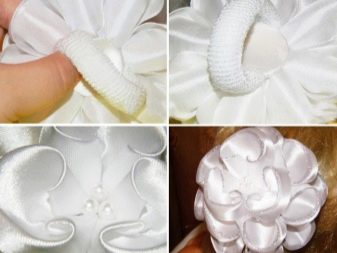
Such a fluffy bow is not very convenient for everyday use, but it looks very presentable in combination with a formal outfit.
Strict
For everyday school attendance, simpler and more formal hair jewelry is suitable. It is better to make such bows from a rep ribbon, which holds its shape well and is quite dense. She will withstand the most active games at recess, will not wrinkle under the hat.
To make the product, you need a white rep ribbon - 6 pieces 40 mm wide and 105 mm long, lace for the base of the same shade and size. Felt circle with a diameter of 40 mm and a rectangle 10 × 40 mm. Colored rep ribbons will need 12 pieces of 10 cm each with a width of 25 mm, white lace of the same size - 6 pieces. An elastic band is useful to secure the product.
In addition, you will need a white satin ribbon. Enough 1 piece 5 × 5 cm and 20 pieces of 25 × 30 mm. It is recommended to use a soldering iron or a fabric burner for cutting the material.
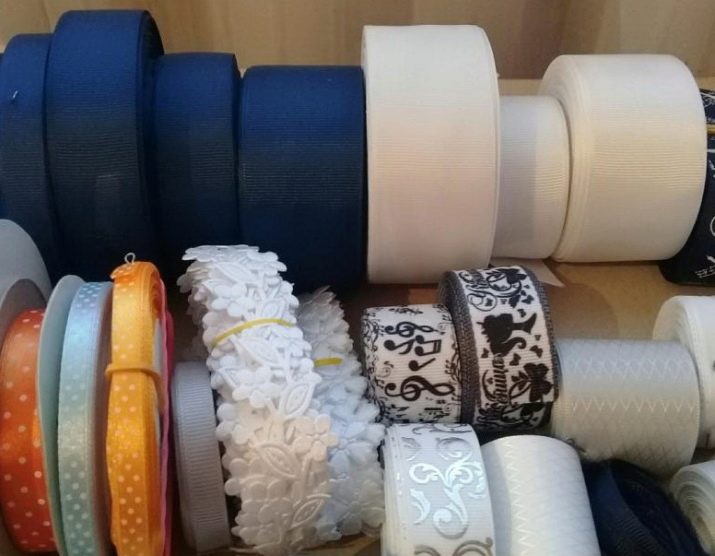
Let's consider a step-by-step procedure.
- Bow formation. Wide white ribbons are folded into loops, lace is laid over them. The ends of the blanks are soldered, all the parts are assembled on a thread so that a closed circle with 6 rays is obtained. The 2nd tier of the bow is also assembled from a colored rep ribbon and narrow lace. The beams must not overlap each other.
- Assembling the flower for the center of the bow. For him, 20 satin blanks on 1 side are rounded off - these will be rose petals, a large 5 × 5 cm flap is folded diagonally not quite symmetrically, folded into a tube, fixed with glue. Separate petals from bottom to top are fixed on the resulting rod in a spiral. The finished rose is glued into the middle of the bow.
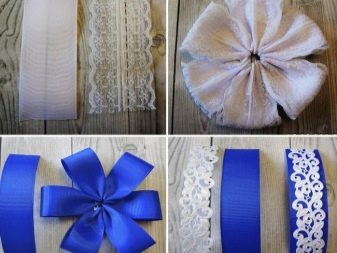
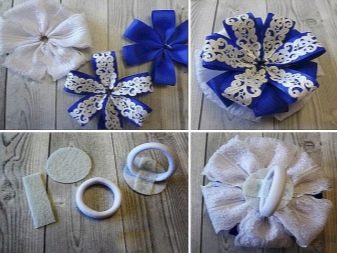
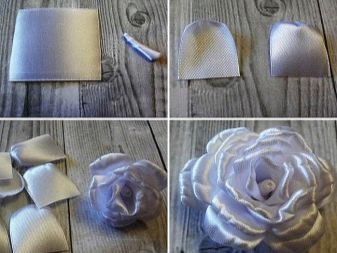
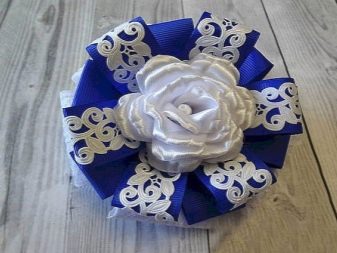
Such a simple technique will allow you to make an interesting kanzashi hair decoration for every day.
Unusual round
Rounded petals are used quite often in the kanzashi technique. To make a flower, you will need pieces of a satin ribbon measuring 5 × 5 cm - the number is determined by the splendor of the product, but usually there are at least 5 of them.
The process of work itself looks like this:
- Singe the prepared atlas squares at the edges, fold in half in the center;
- position the resulting triangle with its top towards you, pull the corners downward so that you get a rhombus;
- bend the corners of the resulting figure on the left and right inside out so that they touch in the center, secure with pins or tweezers;
- fold the workpiece in half with closed corners inward, cut off the lower edge;
- scorch the raw parts with fire, squeeze with tweezers, the petal is ready.
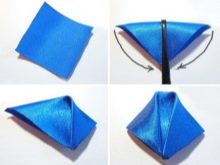
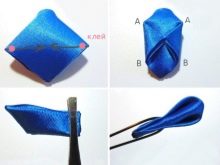
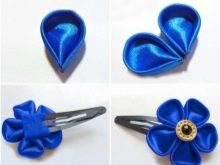
It is easy to assemble a decorative flower from such details using the kanzashi technique, decorating its center with an original center.
Miniature
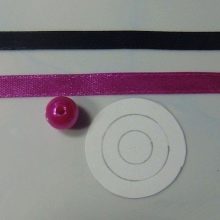
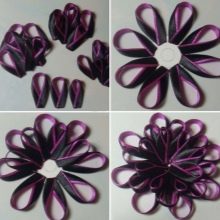
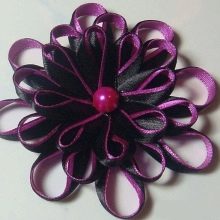
The simplest and most graceful bows are obtained from a narrow ribbon 0.5 cm wide. The use of blanks in contrasting colors - white and pink, red and blue, yellow and green - will add decorativeness to the product. 8 pieces of 80 mm, 8 pieces of 70 mm, 8 pieces of 60 mm are cut from ribbons of each shade. Sections of the same size are stacked together, soldered at the ends, in contrasting combinations, it is better to place the darker one at the bottom. The connection takes place in loops, one edge is overlapped on the other, processed by fire, burned.
All petals are made using this technique. The assembly is carried out directly on the felt base in tiers, from longer to shorter. A bead is glued into the center.
Other
New Year's children's snowflake bows using the kanzashi technique will decorate the festive outfit of any young princess. They can be pinned in the form of a brooch, made with an elastic band or hair clip. For the manufacture of the original product, the following materials are required:
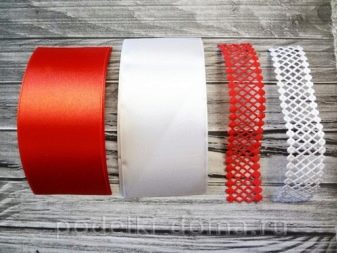
- satin ribbon 1.2 × 12 cm milky, 5 × 10.5 cm white and red - 2 pieces each;
- decorative mesh 2.5 × 10.5 cm - 2 pcs. each color;
- green atlas - 21 blanks measuring 5 × 5 cm;
- gold brocade - 14 squares 2.5 × 2.5 cm;
- a path of green translucent lace 16 cm long and 2 cm wide;
- themed New Year's cabochon - snowman, Santa Claus, snowflake.
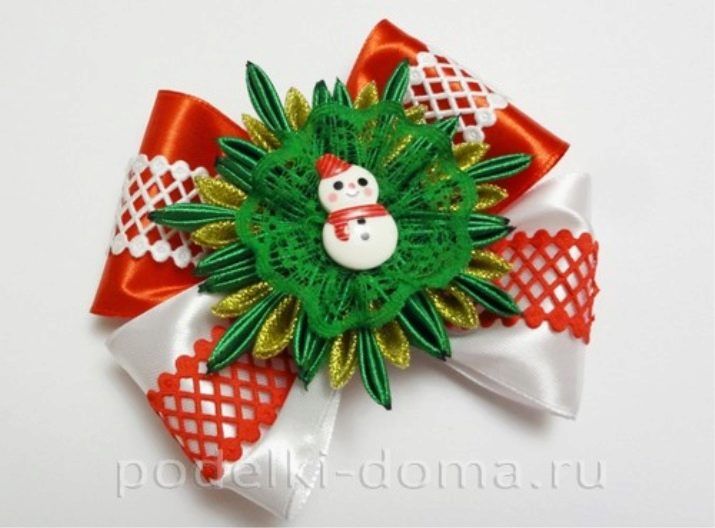
Such bows, although they require some experience, look very elegant, they should definitely be made for a matinee in kindergarten or for a school tree. The combination of smooth and textured materials gives the structure volume and splendor. The products are of medium size, keep their shape well.
Step-by-step instructions for making bows consist of several steps.
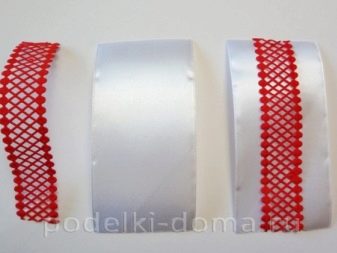
- To create the base of the bow, you need to combine wide satin ribbons 5 × 10 cm with a decorative mesh in a contrasting color. Narrower material is centered. The ends of the tapes are combined, bending in half with the front side outward, fixed by burning with fire. The action is repeated for all 4 parts. You should get 2 red volumetric loops with white lace and 2 contrasting ones.
- A glue gun is used for assembly. The edges of the bow parts, folded with the singed side to the center, are fastened. Enough for 2 drops of hot melt glue for each part. You can also use a needle and thread.
- At the junction in the center, a narrow white tape in several turns is fixed with glue, each layer is fixed separately. It will hide the singed edges and become the basis for fixing the felt base, decorative cabochon. You need to rewind so that the trim of the edge of the ribbon turns out to be from the inside of the product.
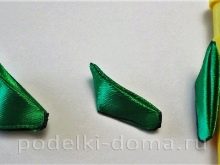
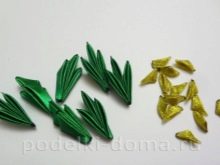
- The green satin squares are folded diagonally 2 times. In the resulting blanks, the ends are connected at a wide base, and they are singed. Then the lower part is cut off, getting a "petal-boat", equally wide along the entire length. Blanks in the amount of 21 pcs. connect in twigs of 3. Fix with fire at the base.
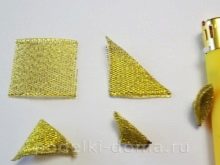
- Brocade squares are turned into blanks using the same technique as green satin. The resulting elements must be glued into the gaps of the green "twigs", between them. Then collect all the details into a "snowflake".
- On the seamy side of the bow, a felt circle is glued to a thin satin ribbon. You need to use a thermal gun. A green snowflake is attached on top of the front side.
- A "cloud" is formed from green lace by gathering together - a rounded underlay for a cabochon. A New Year's symbol is glued onto it. All that remains is to fix it on top of an elegant snowflake and choose a mount with a base for an elastic band or a clip.
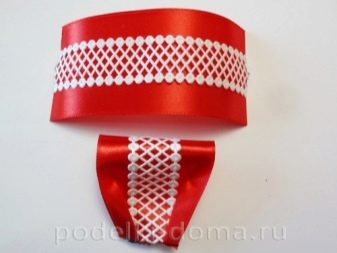
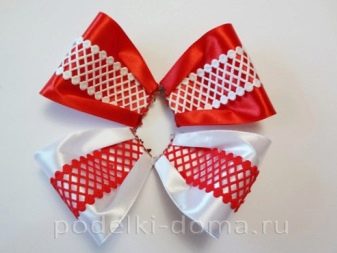
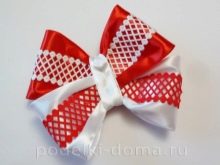
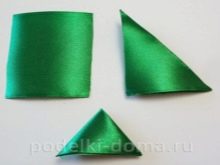
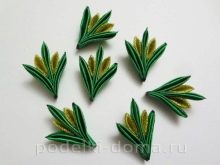
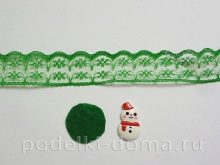
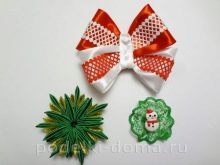
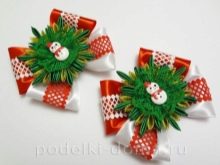
When choosing other colors, you can make a bright kanzashi bow by March 8 or any other holiday.
How to attach to the base?
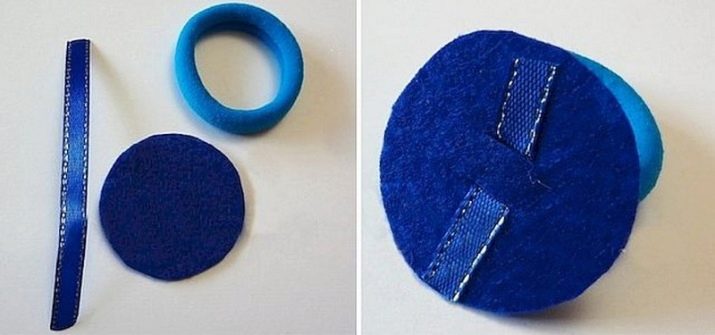
In order to secure the finished kanzashi bow to the base, you can use different techniques. First you have to make a felt circle - this material is sold in A4 sheets. Depending on the size of the bow, the diameter of the circle should be between 20 and 40 mm. The same circle is fixed on the back of the product itself after it is assembled.
In the center of the prepared part, 2 slots 7 mm long are created. A narrow satin or rep ribbon is passed through them so that a small loop remains outside. If the product is attached to an elastic band, it is threaded inside in advance, and the cuts are placed parallel every 0.5 cm. Then the edges of the tape are removed from the back of the circle, the elastic is glued to the felt for greater reliability. The edges of the satin stripes are trimmed to fit the diameter of the circle and fixed with a heat gun.
If you need to make a multifunctional mounting option, use a combination of a felt mug and a rectangle. It is considered versatile, suitable for making fancy clips, elastic bands. In this case, the felt rectangle is first fixed on the fastener itself with an adhesive method. Then it is applied to the circle and the edges are "soldered" with a thermal gun. Excess material is trimmed to the edge.
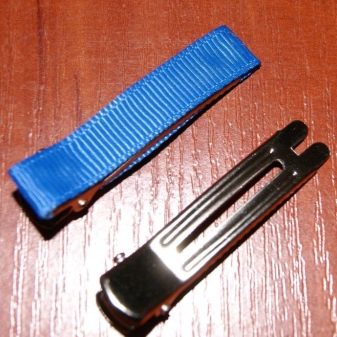
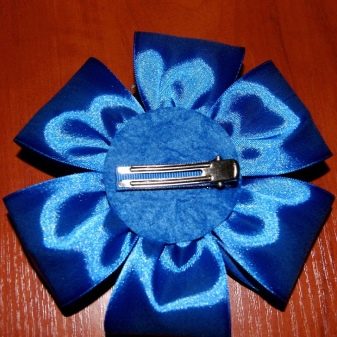
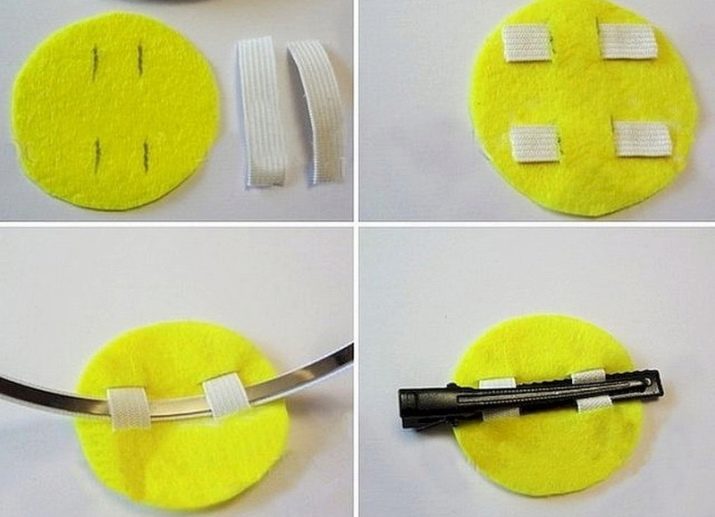
If you want the mount to fit both the headband and the clip, use a different locking method. For him you will need a regular linen elastic band and a felt circle. At the base, 4 slots are made - in pairs on each side. Pieces of elastic are inserted into them, its edges are fixed with glue.
Beautiful works
Here are some examples of using the kanzashi technique to decorate bows.
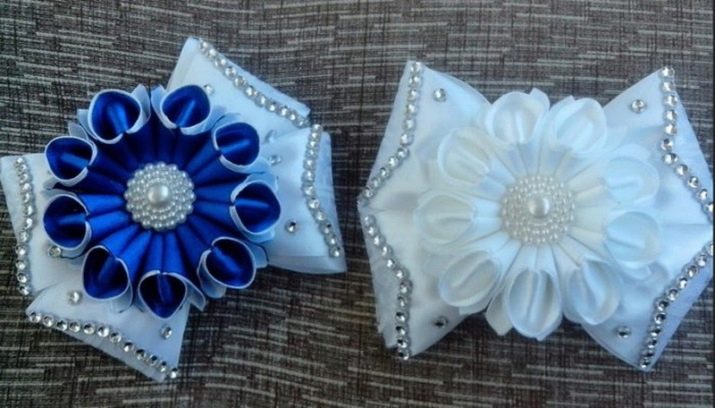
- Original bows for school - you can make an elegant snow-white or contrasting option for everyday use.
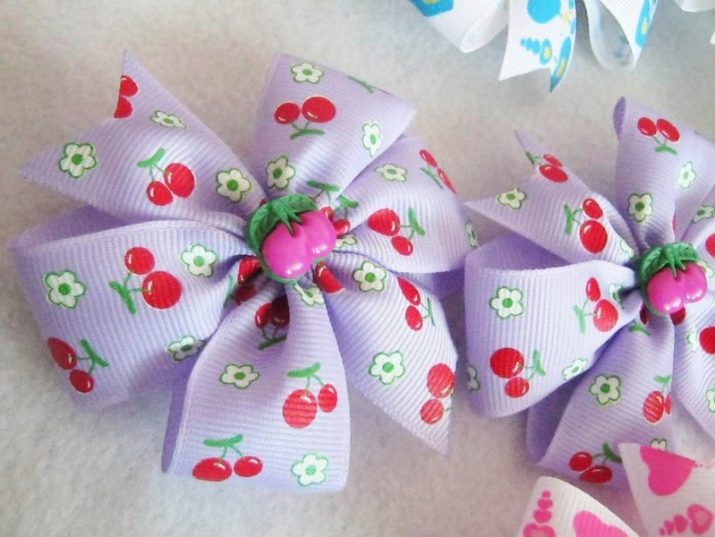
- Simple rep ribbon bows for preschool girls. Cabochons repeat the print of the base, this fruit and berry solution is perfect for the summer season.
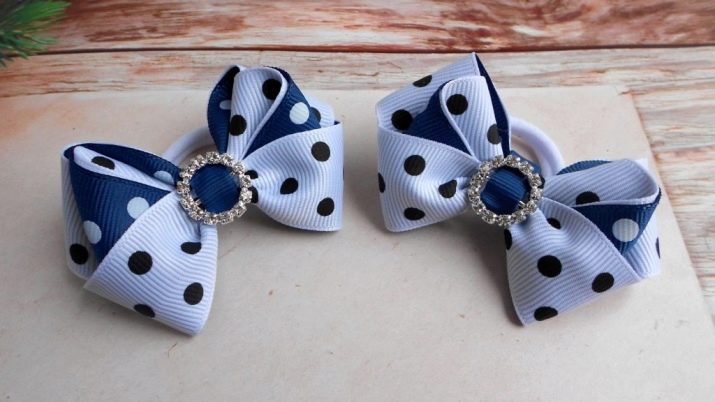
- Classic blue and white polka-dot bows with elastic. They are made of rep tape, keep their shape well, look neat and stylish. The original middle-buckle serves as an additional decoration, gives the composition a harmonious and finished look.
For information on how to make a bow using the kanzashi technique, see the next video.


