All about making petals using the kanzashi technique
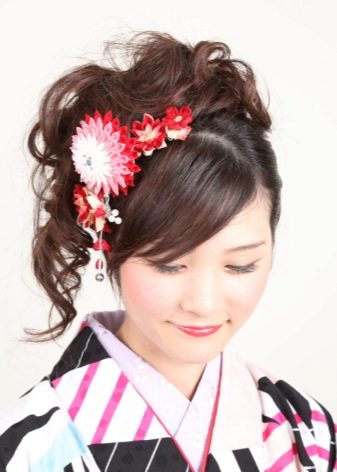
Kanzashi technique - a special art originally from Japan. Using this technique, they create unique petals that decorate hairpins, headbands or an interior. This article will talk about the features of art, the types of petals, as well as the methods of manufacturing.
Peculiarities
The technique of creating kanzashi petals appeared in Japan about a hundred years ago. Translated from the native language, "kanzashi" means "stuck in curls"... Women created jewelry by hand, collected flowers from them and decorated combs, hairpins and hairpins. At that time, materials such as tortoiseshell, metal, bone, wood and silk were used for decoration. The petals could be of various shapes and sizes.
The art of kanzashi has not lost its popularity in the modern world. Today there are many types of technology. One of the most popular types is khana-kanzashi. Leaves are created from silk ribbon cuts. The manufacturing principle is similar to the origami technique. Each element is manufactured separately. At the end, a beautiful flower is collected from the petals. Compositions can consist of 10-100 petals, depending on the type of flower.
Beads, beads, rhinestones and other decorative elements are used to decorate the finished product.
Views
Kanzashi leaves are divided into two main categories: sharp and round. However, with a lot of imagination, you can create unusual multilayer products of various shapes and volumes.
There are the following petal options:
- simple sharp - this option has several subspecies: double and triple;
- simple round and double;
- from a tape having a width of 2.5 cm;
- rounded products from a tape 5 cm;
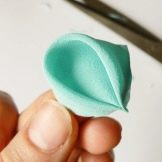
- fancy, original petals with one fold;
- three types of triangular petals from a satin ribbon 5 cm;
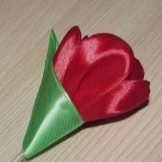
- tulip petal;
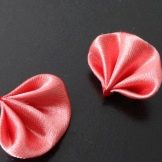
- large flat;
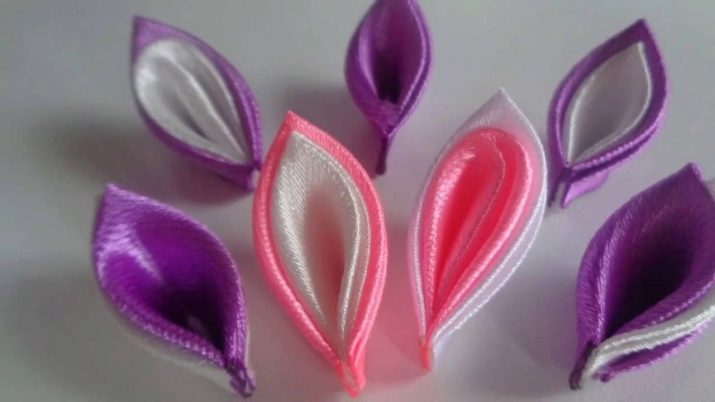
- with curl or ears;
- combined complex - a round petal is located in one sharp one, the accessory can be two-color;
- turned out of sharp and rounded options;
- made according to the pattern of a lush camellia or star;
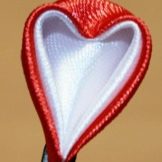
- heart-shaped;
- spiral, twisted;
- voluminous with a wrapped tube.
Tools and materials
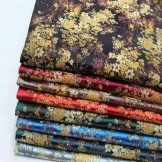
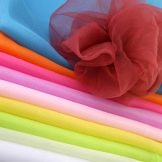
Kanzashi leaves are made from cuts of various materials: brocade, organza, silk, satin. Needlewomen with experience prefer to create products from one fabric.
As a rule, petals are made from satin material or silks... The density of the fabric must also be taken into account. The dense material is malleable in work, and the finished product keeps its shape perfectly.
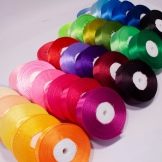
The most common material for kanzashi is satin ribbon. The finished composition of the tape does not deform and retains its shape. For various petals, use a tape 1–5 cm wide. For beginner craftswomen, it is recommended to use a 5 cm wide segment. This material is easier to work with.
Before starting the process of creating leaflets, you need to prepare a place for work. The creation of products should be carried out on a flat surface. If the work takes place at the table, its surface must be protected with a wooden board or large tiles.
This is done so that during gluing the glue does not get on the surface of the countertop.

To make the petals, you will need the following tools and materials:
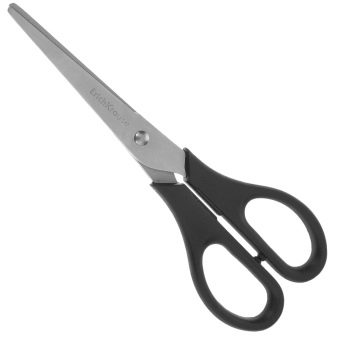
- sharp scissors with long blades;
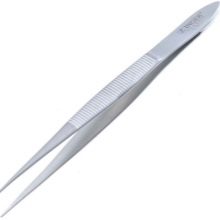
- tweezers for holding products when folding and firing;
- a ruler for measuring fabric - some needlewomen use ready-made templates in the form of squares, which have the required size for a petal, apply the square to the material and cut it out;
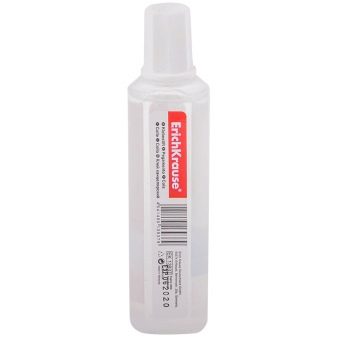
- transparent glue - Moment glue or glue gun is suitable for compositions;
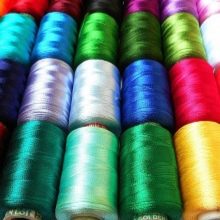
- the thread should be of the same color as the ribbon - it is recommended to use silk threads, as they are stronger and thinner;
- thin needle;
- chalk or pencil for marking on templates;
- a candle is necessary to burn the edges of the petals, you can use a lighter, but this is inconvenient - when burning with a candle, both hands remain free, while when using a lighter, only one of them remains free.
Execution technique
Making kanzashi requires maximum attentiveness and perseverance... For each version of the petal, there is its own scheme. You should consider ways to create all types of petals with your own hands step by step.
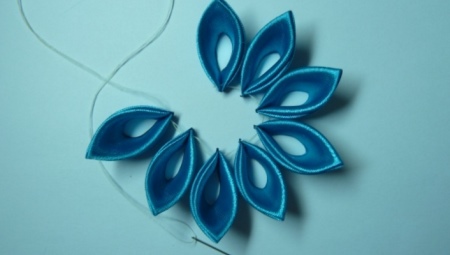
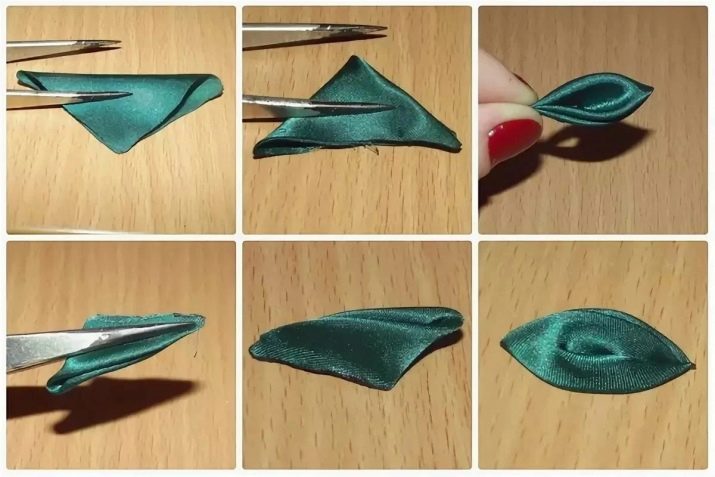
Spicy
The first master class will tell you how to make a simple sharp petal.
- For manufacturing, you need a piece of satin ribbon 5 cm wide. The edges must be melted.
- A piece of tape must be folded diagonally, while holding it with tweezers.
- Cut off the corner and base of the triangle. Get a petal. Burn the cut line so that the thread does not open.
In this not very tricky way, a double or triple leaf is made. To do this, you must put several petals together before pruning. You can use colored pieces of material. Silk thread is used to fasten several products.
Sharp petals can be used to create crowns or complex patterned compositions.
Volumetric round
The basic details of the technique are round products. They are made voluminous to create beautiful, lush flowers. Folding a round leaf is considered the simplest technique that even novice craftswomen can handle.
- Fold tape squares diagonally. Bend the corners.
- Hold the product with tweezers so that it does not creep.
- The lower edge is cut and fired.
- The side corners must be folded back and secured. The round petal is ready.
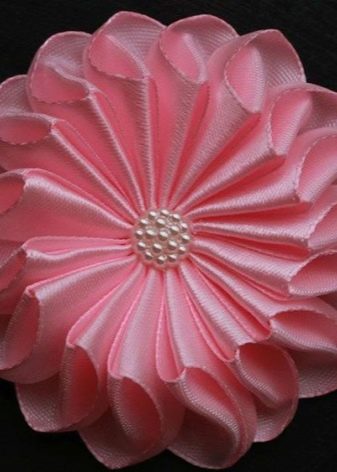
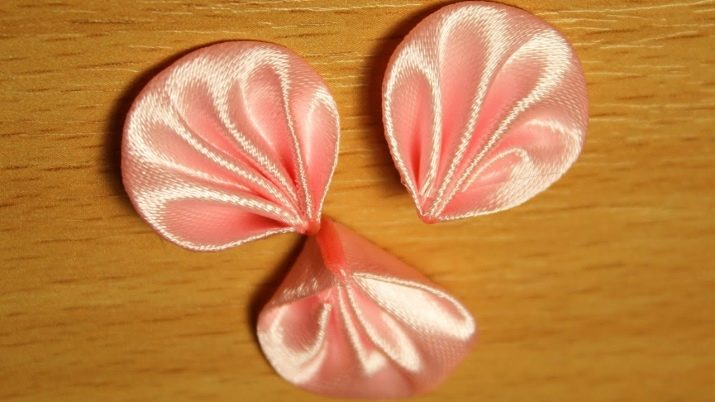
Round flat
Such a sheet is needed to create voluminous compositions. The volume of the finished product depends on the number of flat petals.
There are two main ways to make a product. First the option involves cutting out a part of the required shape according to a template. In second option, the petals are made from a wide piece of tape. Squares are cut out of it. The workpiece is folded diagonally so that the right angle is at the bottom. Then you need to bend the sharp corners and connect, after which the petal is formed. The excess is cut off, the edges are treated with fire. Additionally, you can give the product an interesting shape.
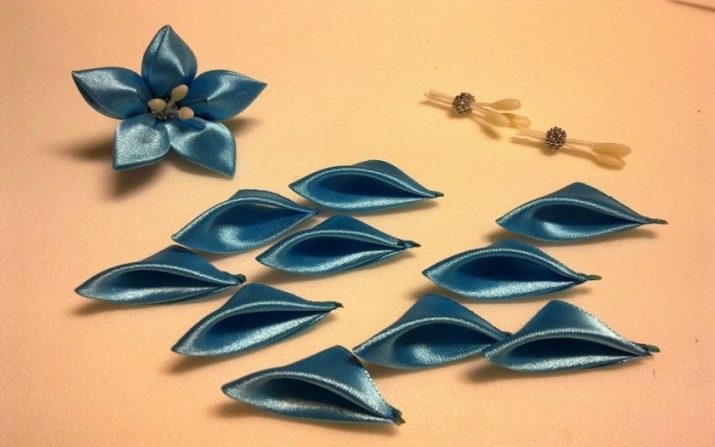
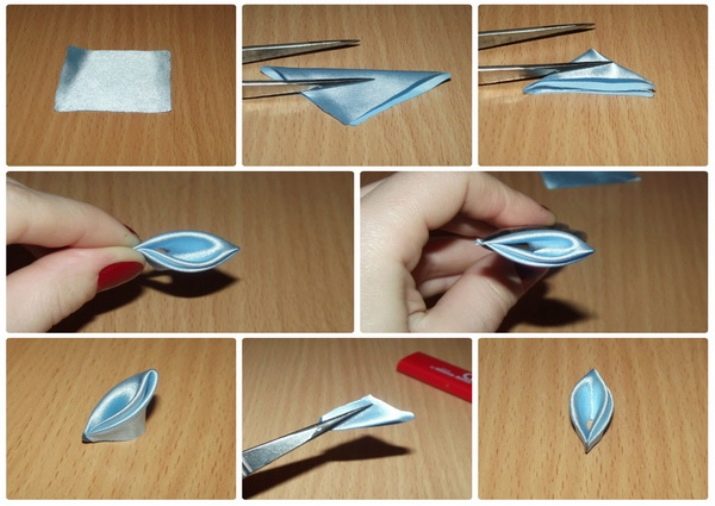
Complex with a fold
- Take a piece of tape 5 cm wide, roll it diagonally, bend the corners.
- The bottom of the resulting square is cut off. The remaining edges are compressed at the sides.
- It turns out a sheet of paper with a fold.
- The excess is cut off.
- The edges are singed and the finished petal is fastened with a thread.

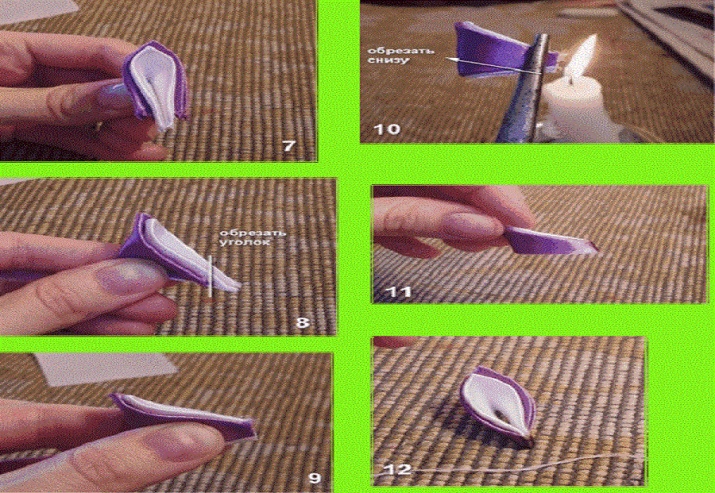
For the bud
- You will need pieces of narrow tape. The length of the segments should be twice the width.
- Turn the tape inside out, bend and fix the corners.
- The front side will look like a semi-circular blank. Sharp corners of the part must be bent inward on the sides. Then sew with small stitches.
- Pull off the edge while pulling the thread.
If the petal is made correctly, then burning the edges is not required.
Leaves
To work, you need a green tape 2.5 cm wide. Workpieces up to 10 cm long are cut from the material. The elements are folded in half and cut diagonally. Products can be cut with a soldering iron. The tool will process the edges immediately. You will get several blanks. One looks like a bag. It is used as a leaf or piece to fix rosebuds.
The second blank is used to make a rounded leaf. The upper part of the part is cut in the shape of a semicircle. The edges are fired and stretched.
This is done to give the leaf a wavy shape. The bottom is gathered with a thread.
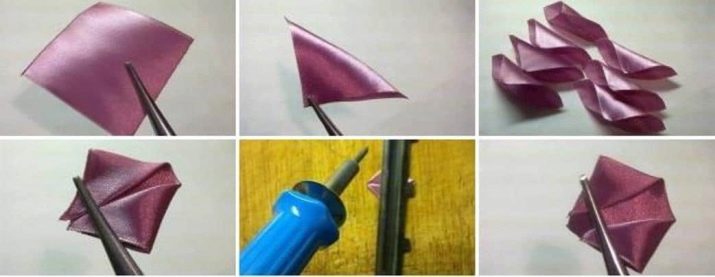
Spiral twisted
- Take two pieces of tape 5x5 cm and lay on top of each other.
- Clamp three ribbons with tweezers. Leave the first one and twist it into a spiral. For secure fixation, you can walk along it with glue or pierce it with a needle.
- Flatten the edges of the ribbon into a sharp petal.
- Trim off excess and burn edges.
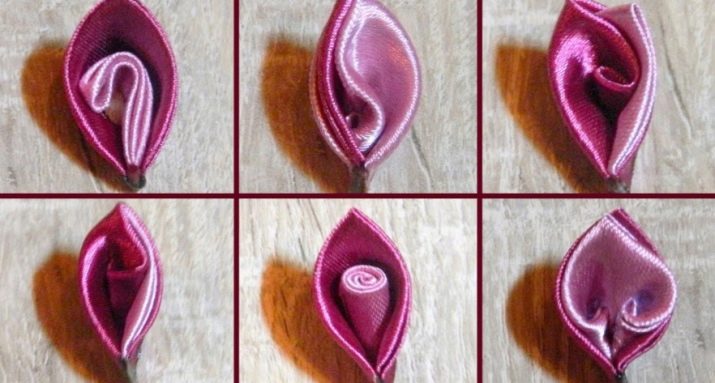
With a spiral
- You will need a couple of pieces of tape 5x5 cm. The tapes are glued on the right edge to securely fix the spiral.
- Grab the edge with tweezers and twist to the middle.
- Cut off and burn the edge.
- Cut off the excess from the bottom, but do not burn yet.
- Create a two-color sharp petal and glue a blank with a spiral into it.
- Wrap folded triangles around the twist piece and glue it down.
- Cut off the lower part of the petal together with the twisted one and singe.
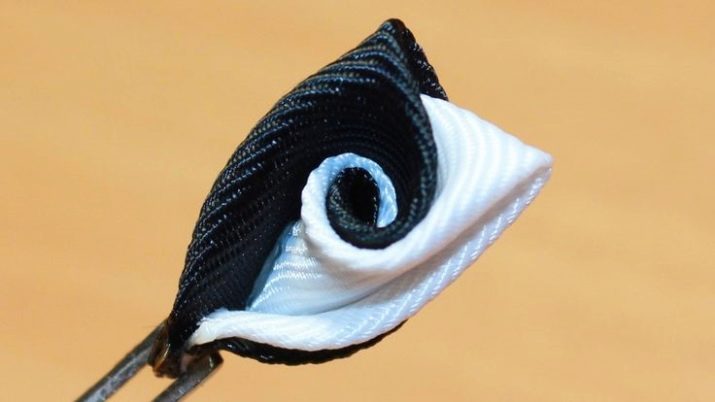
With curl
Like the two previous options, the curled product consists of several pieces of 5x5 cm fabric. You can use fabrics of different colors, for example, blue and pink. To create a new product, you need to fold the pieces of fabric diagonally. We wrap the right side of the blue with a pinkish cut. Using tweezers, wrap the right edge in a tube. You only need to make a few turns. Fix with glue. Bend the right edge with the tube back and turn towards you. Cut off the excess and burn the product.
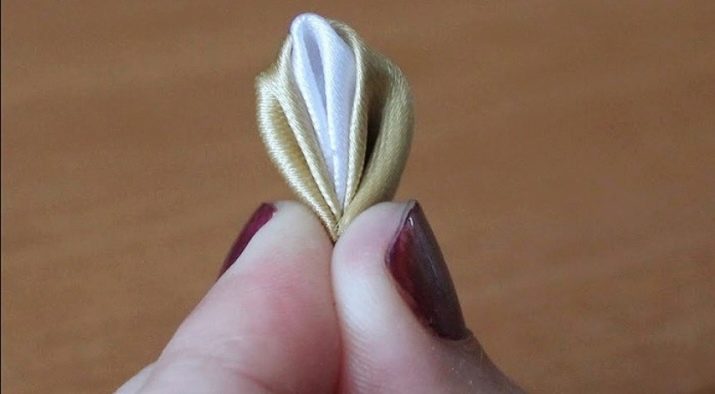
Made of two-tone material
It takes two squares of tape of different colors... Each piece of fabric is folded into a triangle. Products are superimposed on each other with a slight indentation. Products are glued according to the scheme for creating a sharp petal.
Making kanzashi leaves is an interesting and exciting process. Some manufacturing methods are so simple that even a novice needlewoman can handle them.
For information on how to make petals using the kanzashi technique, see the following video:


