How to make marshmallows using the kanzashi technique?
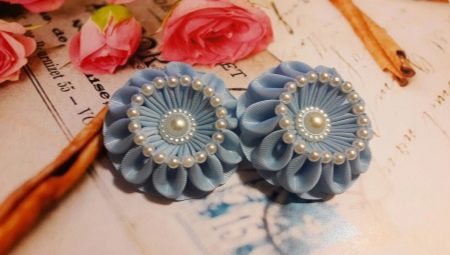
An amazing needlework technique called "kanzashi" came to us from the Land of the Rising Sun. With its help, you can make beautiful and stylish fakes. The technique is easy to use and suitable for novice craftswomen. To start studying it, you need to prepare the materials at hand and follow the instructions exactly.
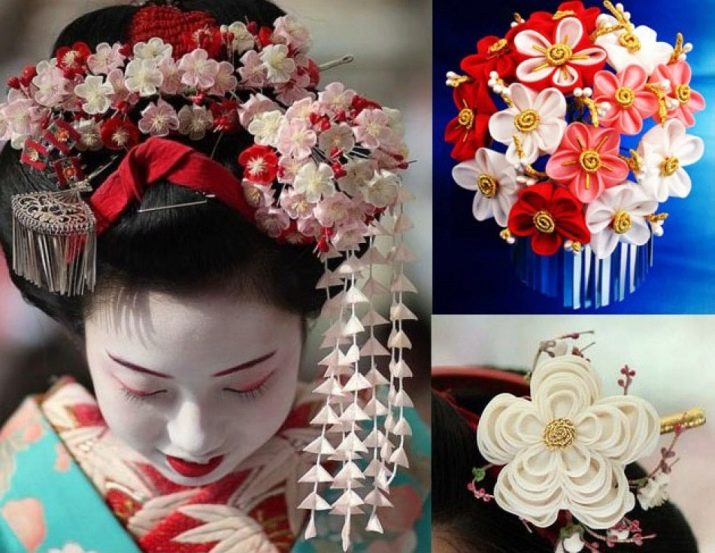
Peculiarities
When making original crafts in Japanese style, natural material is used, as a rule, it is silk. But to save money, you can use another option, such as an atlas. Pieces or ribbons of this shiny and dense material are perfect for the embodiment of the most extraordinary creative ideas.
Satin ribbon products can be used as follows:
- decoration of clothes;
- creation of accessories for hair and other jewelry (bows, hairpins, elastic bands);
- decorating boxes;
- use of products to complement the interior.
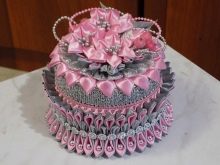
One of the features of this technique is the mandatory processing of the edges of the fabric. This is done with a blowtorch, candle or any other open flame source. If this is not done, the craft will have a sloppy appearance due to protruding threads.
To make the product look more expressive, it can be diversified with additional decorative elements: beads, beads, stones, sequins, etc. The main thing is to use jewelry wisely. Excessive number of elements will turn a stylish accessory into bad taste.

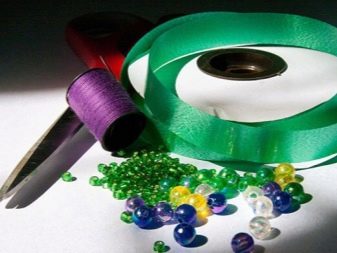
Flowers are often made using oriental techniques, but today we will look at a master class on making marshmallows. The finished product can be used as a basis for creating an original decoration.
Materials and tools
Before starting work, you need to prepare the following:
- base material (cloth or cloth tapes);
- sewing needles;
- strong threads;
- ruler or sewing meter;
- a candle, lighter, gas torch or blowtorch (choose any tool at hand);
- glue (a glue gun works best, but if you don't have one, you can use a universal compound);
- decorative elements (beads, stones, rhinestones).

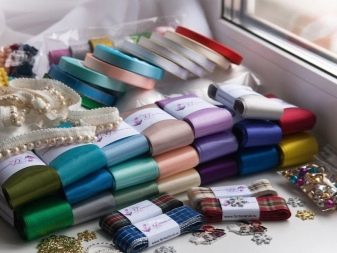
Master classes
To make a colorful marshmallow, check out the tutorial below for beginners. The finished craft is perfect as a souvenir for February 14th.
Making an original craft with your own hands is not difficult. Prepare the following materials.
- Pieces of satin: 20 red elements - 2.5x6 centimeters; 8 square elements - 2.5x2.5 centimeters.
- Voluminous and expressive lace. The average length varies from 30 to 40 centimeters. The longer the lace ribbon, the more magnificent the finished product will be.
- Colorful core. In our case, a plastic scarlet heart is used, but you can take any other element.
- To decorate the marshmallow, you will need 20 mother-of-pearl beads. One element for each bead. The approximate diameter is 0.7 centimeters.
- Felt circles. You will need several pieces of different sizes - 3 centimeters in diameter, and 2 elements 4 centimeters in diameter.
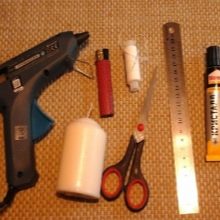
- Also, do not forget the tools necessary for work: scissors, threads, glue, candle, needles, etc.


Step-by-step execution of the product.
- First you need to make petals that resemble triangles. To do this, you need to prepare a red ribbon. Cut the material 2.5 cm wide into 6 cm pieces. Requires 20 elements. Finished strips must be processed along the edge. The satin ribbons should be folded along the edges as shown in the image. We seal the edges of the tape and get a piece with four corners.
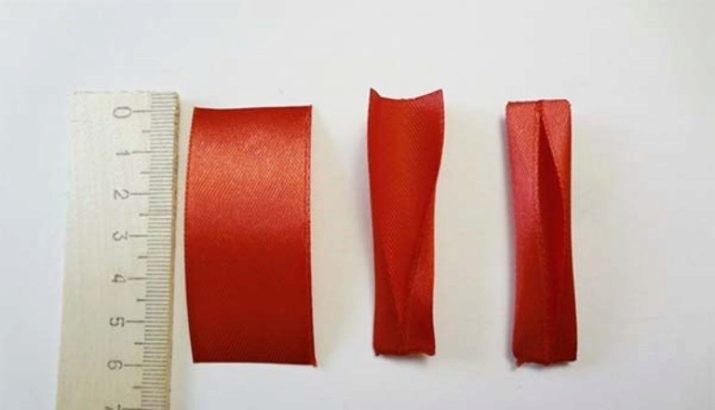
- The element must be folded in half again and the ends must be soldered using a candle, torch or other tool. If done correctly, you will have a two-layer loop like the one shown in the photo. The petal is ready.
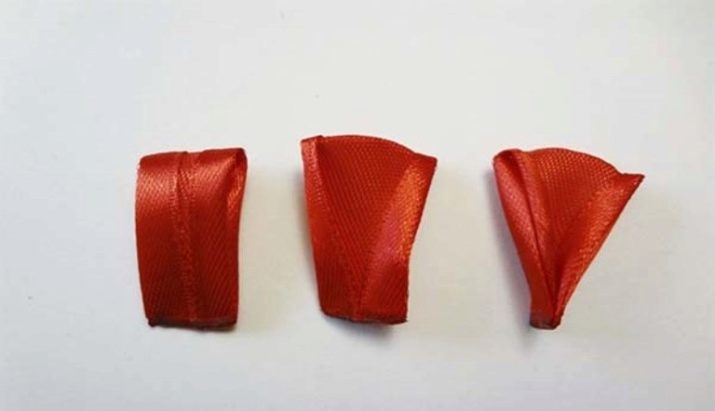
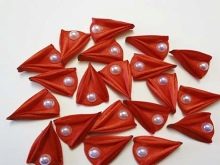
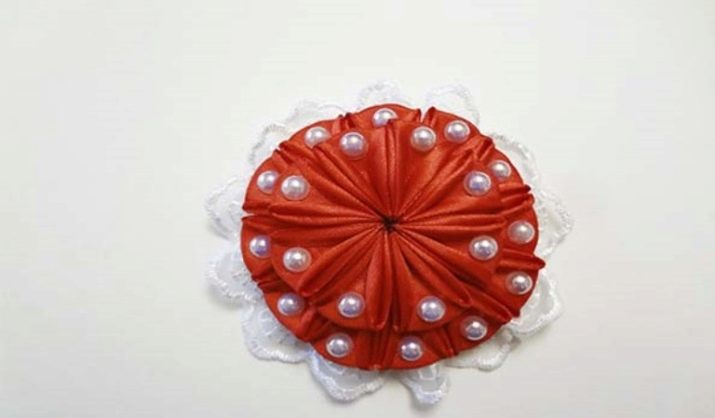
- According to a similar scheme, you need to make 8 parts. We will assemble the upper tier from them. Next, we make 12 more scarlet petals for the next tier of marshmallows and move on to decorating. We carefully attach a bead to each part. Here's what you should get.
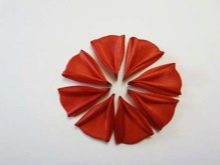
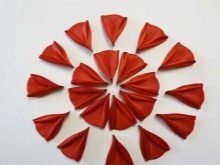
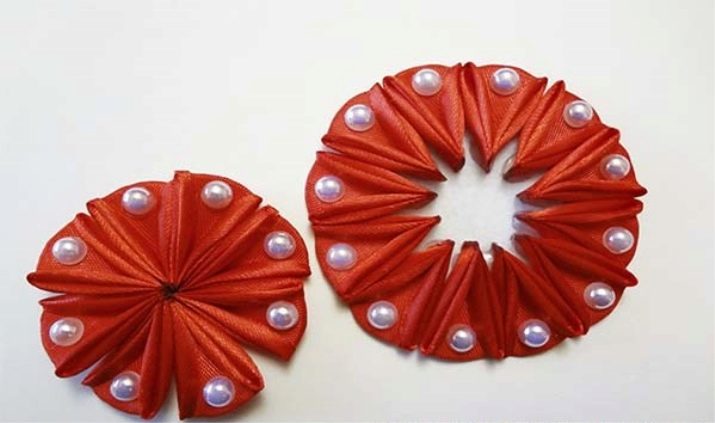
- Now we start assembling the product. We use a felt circle (diameter 4 centimeters) as a basis for 12 petals, folding them with sharp ends in the center. Immediately assemble a circle of 8 petals, using a felt circle with a diameter of 3 centimeters as a base. These are the 2 elements you get as a result.
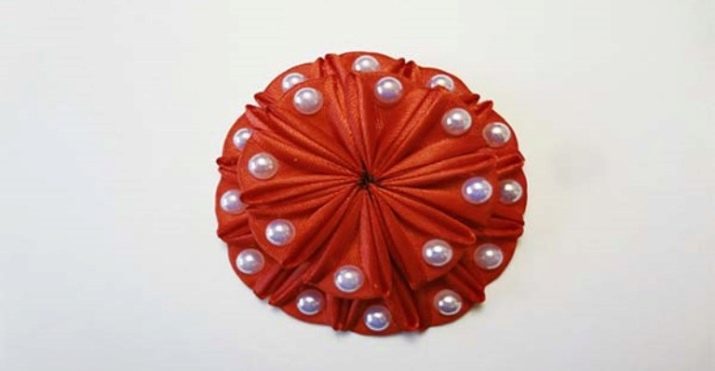
- We connect 2 circles, superimposing small on large
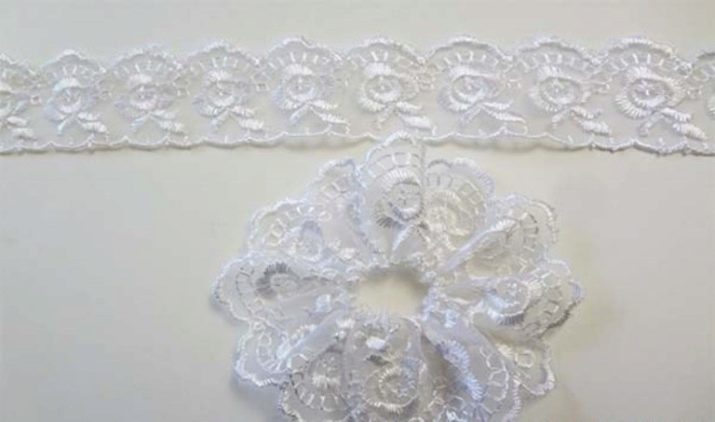
- Moving on to lace. We collect it in a circle and fix it with threads. It turns out here is such an openwork element.
- We fasten the lace under the scarlet circles, with the front side up.
- To make the craft look complete, we will decorate it with a core and a snow-white flower. From pieces of squares of white satin (2.5x2.5 centimeters), you need to make 8 white petals. A simple manufacturing scheme is shown in the photo.
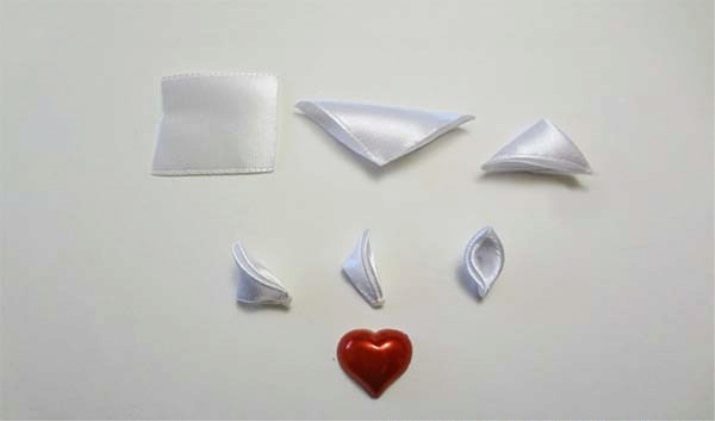
- Collect the white petals and you have a neat flower.

- Place the flower in the center of the craft and glue it. The final element is a red heart, which also needs to be attached in the middle. Here is such a wonderful craft as a result.
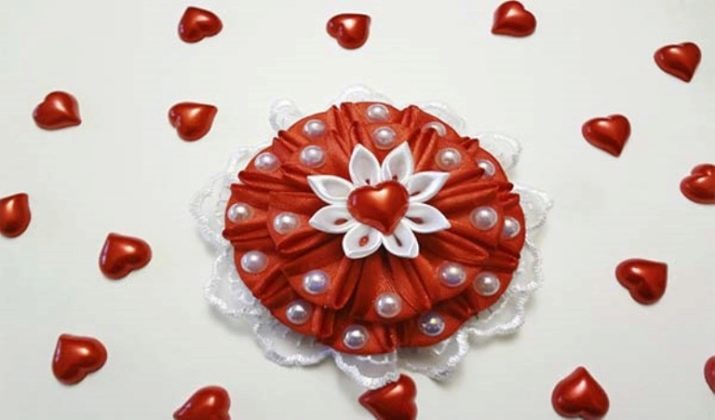
In the same way, you can make a craft from a rep ribbon.
Solid tape product
Prepare the following materials and tools:
- scissors;
- threads and needles;
- blowtorch, candle or lighter;
- satin ribbon in two colors, width - 2.5 centimeters.
Note: for craftswomen who have just begun to study this technique, you must use 2 segments, the length of which varies from 1 to 1.5 m.When using a wider tape (width 5 cm), you will need a segment with a length of 2 to 2.5 m to work ...


The process of doing crafts.
- The first step is to solder two tapes from the inside out. The photo clearly demonstrates how to do it correctly.
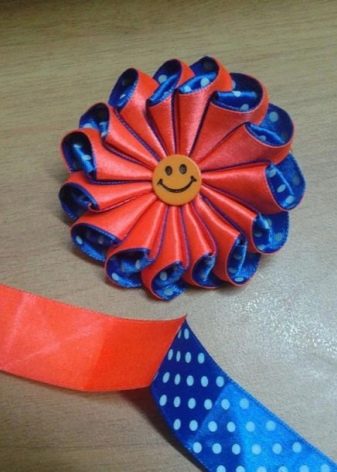
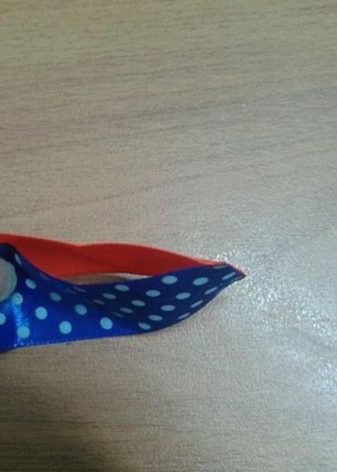
- Place the fabric element with the weld to the right side.
If you chose 2.5 centimeters wide, step back about 5.5 centimeters from the edge. If the width is greater, you need to measure 10.5 centimeters.
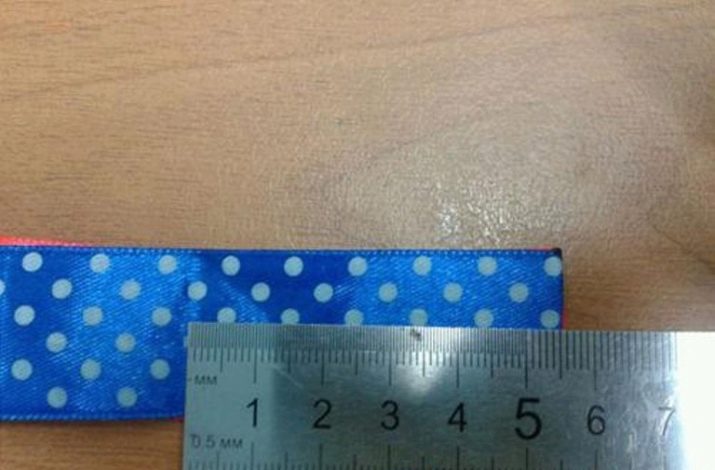
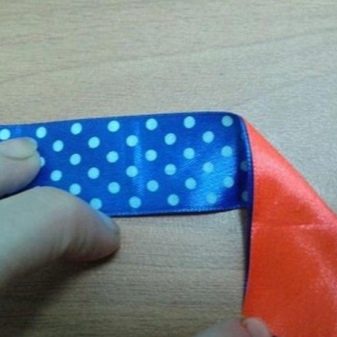
- Fold the fabric at a 90 ° angle as shown in the picture. The corner you have obtained needs to be folded again (from right to left). As a result, an even triangle will come out, as in the image below.
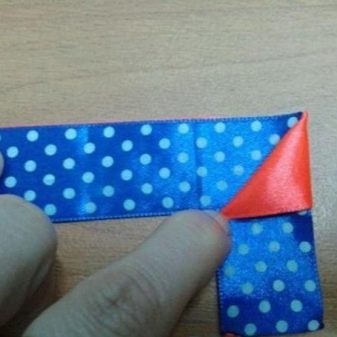
- Tuck the edges of the tape back. The upper right corner must be fixed together with the edge (tail) of the tape using a needle and thread.
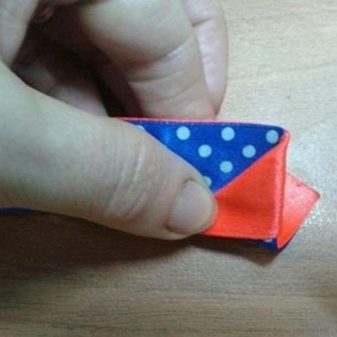
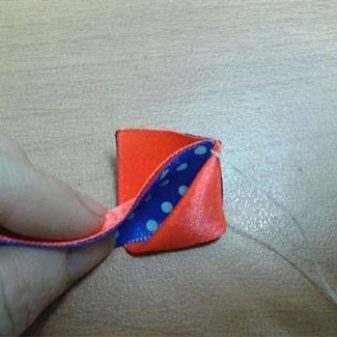
- Take the resulting element and bend it down again, at an angle of 90 °.
Remember that the bulk of the fabric will always be on the left side.
We turn the tape up. As a result, the lower part will become equal.
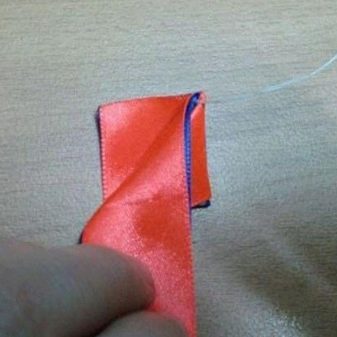
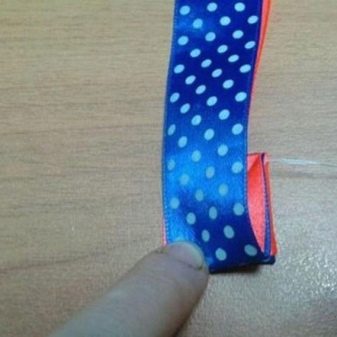
- Now fold the tape from left to right, also at a 90 ° angle. This is what it looks like.
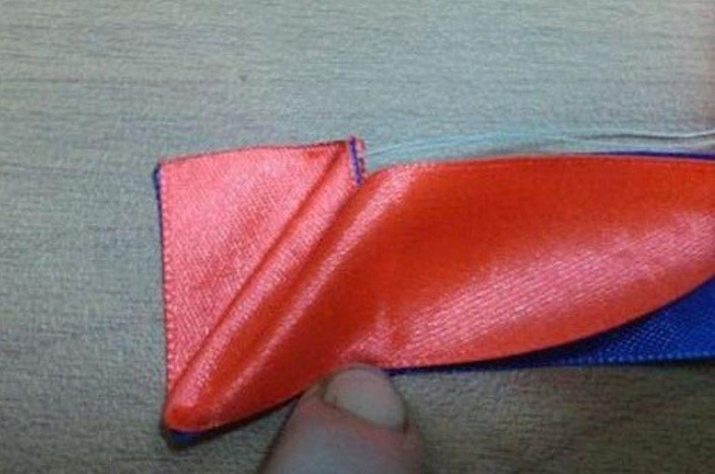
- In order for the next petal to acquire a complete appearance, you need to form an isosceles triangle again. It is necessary to fold the main part of the tape again from right to left, passing the fabric between the already finished petals. This is what the result should look like when viewed from the side. We fix the triangle with threads.
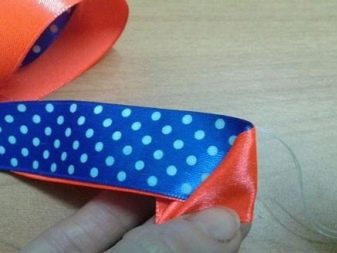
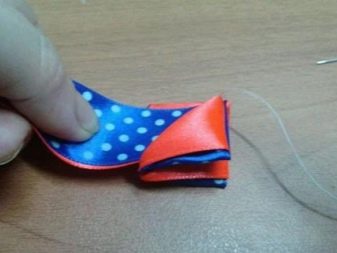
- We continue to work. Bend the left side of the main ribbon again, at the same angle as we did earlier. We make a fold up (as in the photo).
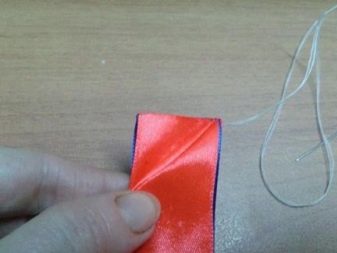
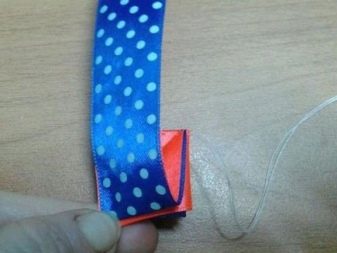
- We rotate the fabric element so that the main part is again on the right side. To create another triangle, you need to wrap the working part of the tape so that it is again between the two triangular petals. We sew the resulting result again so that the tape holds well.
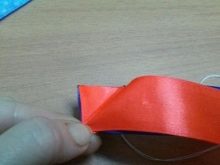
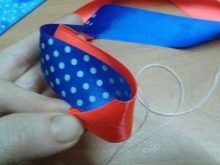
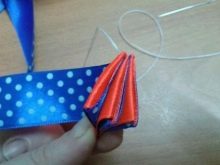
- Now, adhering to the scheme described above, you need to perform this manipulation about 15 times when using a narrow tape, or 20 times if you chose a wide tape.
As soon as the marshmallow is collected, you need to cut off the excess tape and burn the edges.
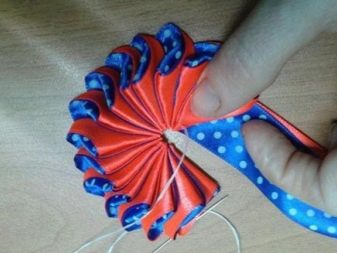
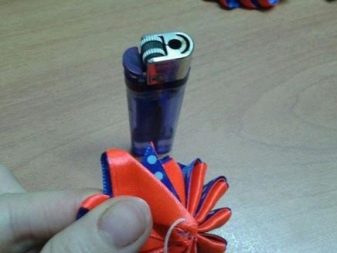
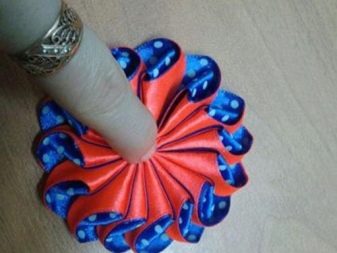
- Pull all the petals tightly with a thread. The edges of the tape (tail), from which we began to work, must be carefully glued into the last obtained petal. Flip the resulting bow right side up and straighten the petals.
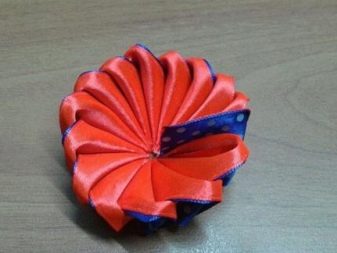
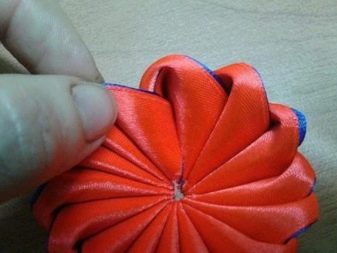
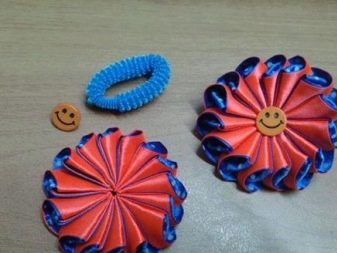
- Place any decorative element in the center of the product, in our case it is a plastic smiley. The double ribbon craft is ready.
To make a bright decoration, you need a hair tie. Attach it to the back of the bow.
Beautiful examples
Multicolored marshmallows in Japanese technique, which were used to make hair accessories.
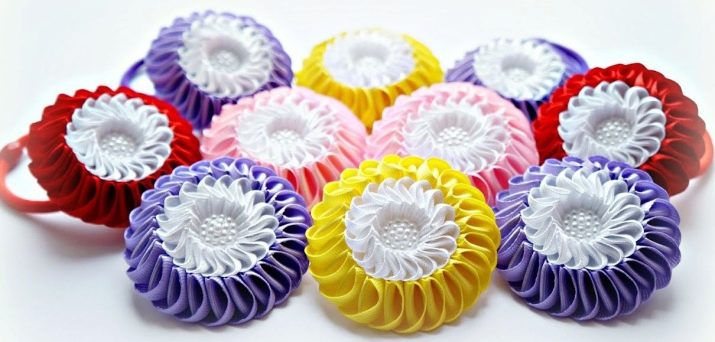
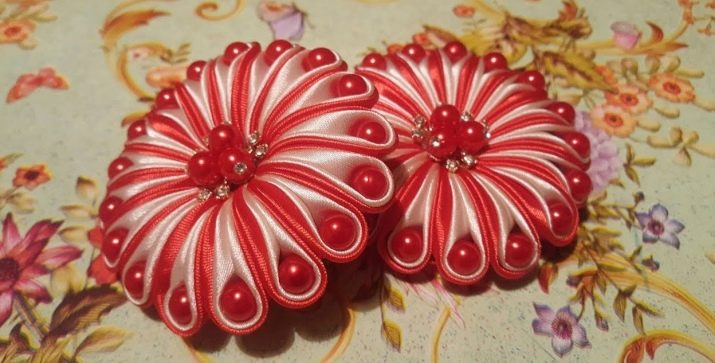
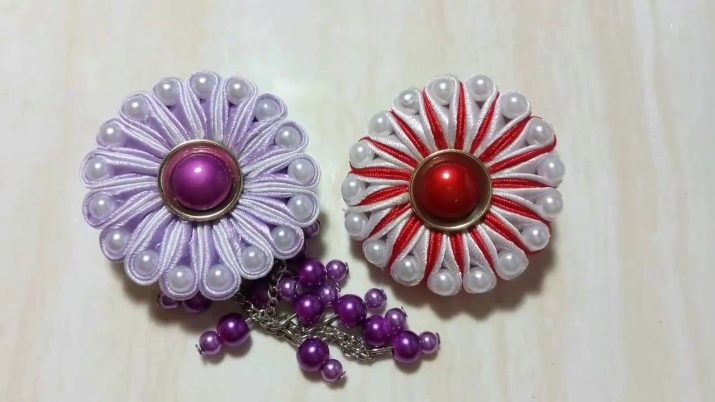
Colorful crafts decorated with red beads.
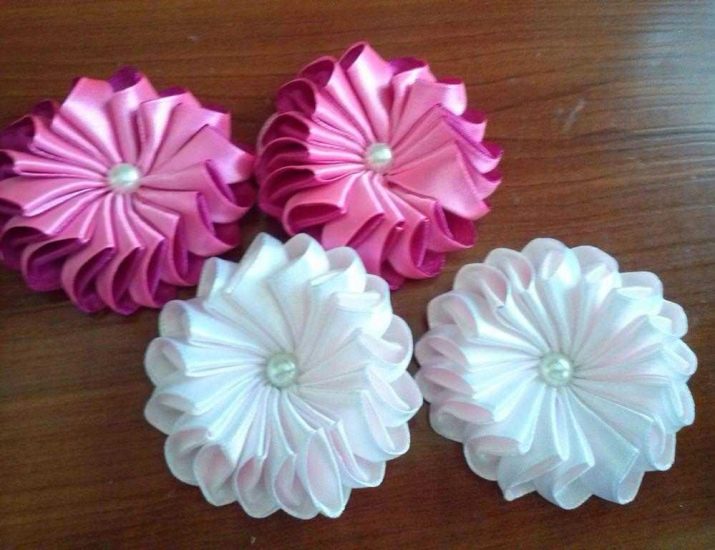
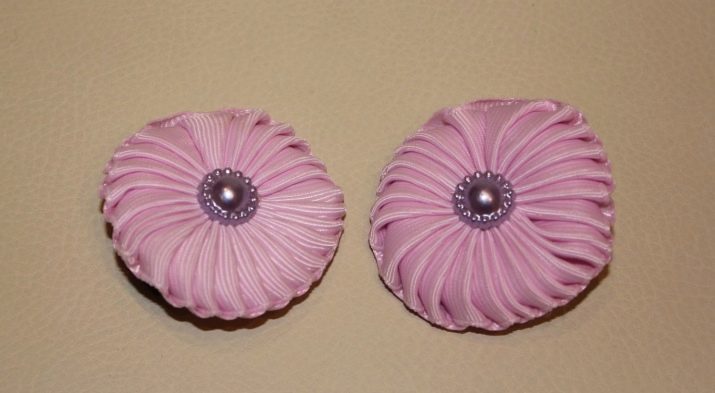
Delicate white and pink crafts. The core is decorated with a mother-of-pearl bead.
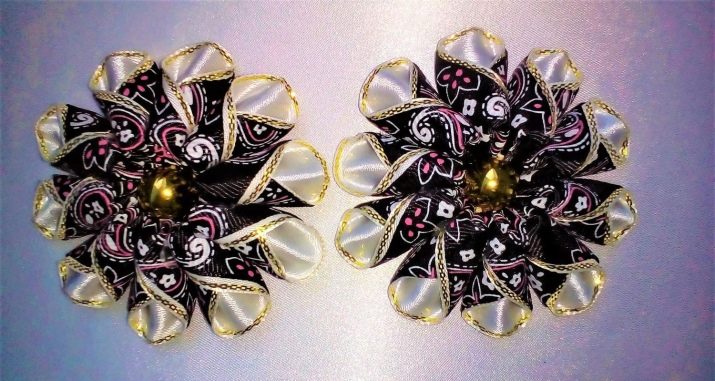
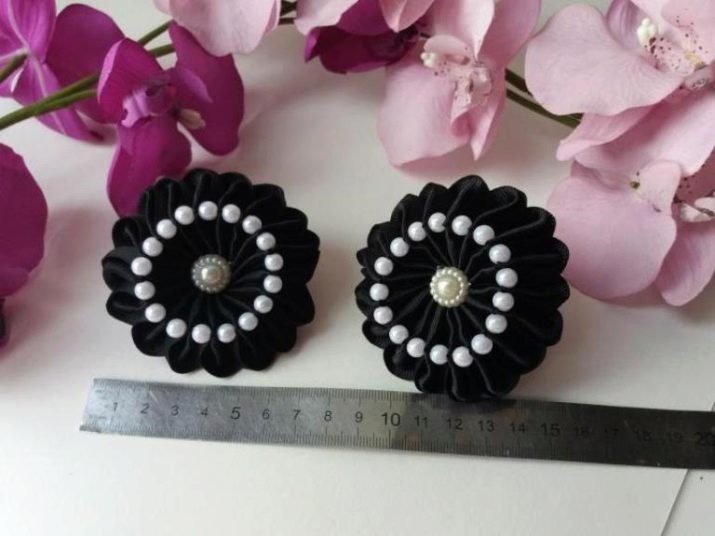
Original crafts in dark colors. The craftswoman chose a patterned fabric.
Colorful marshmallow in deep purple color.

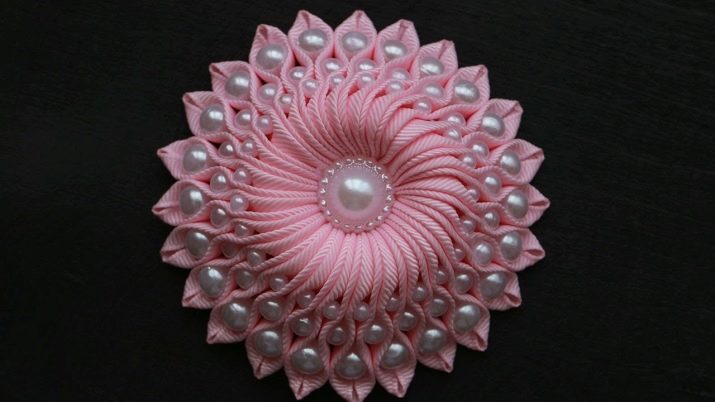
Volumetric craft made of delicate pink fabric. A large number of beads of different sizes were used for decoration.
In this case, using the product using the kanzashi technique, they decorated the St.George ribbon.
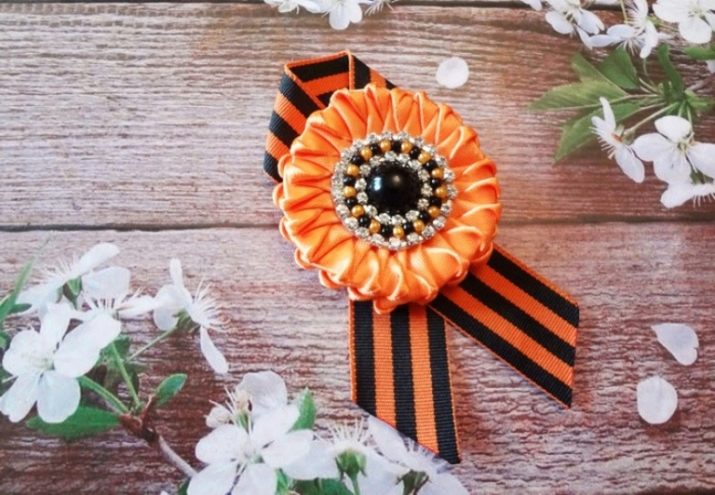
Two-color craft and use of different sizes of beads.
One-color craft from a solid ribbon. A neat and simple product.
Stylish and elegant marshmallows. Due to the contrasting combination of colors, the product looks expressive.
How to make marshmallows using the kanzashi technique, see below.


