How and how to decorate the mirror?
You can change the mirror so that not a trace remains of the previous piece of furniture. Guests will definitely congratulate on their purchase, while those at home will only smile slyly. There are many ways to turn an ordinary mirror into an almost designer object.
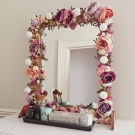
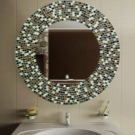

Decor methods
To begin with, a mirror is a frame and glass. And you can transform one thing, focusing on it. Sometimes a mirror does not have a frame as such, and updating the object, its decor helps to create this frame.

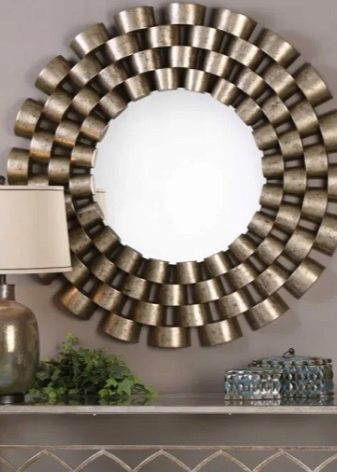
By frame
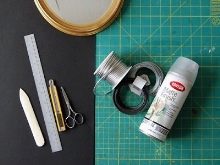
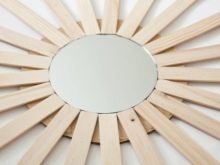
A frame update is a change to the outline of the mirror. The mirror sheet itself remains unchanged.
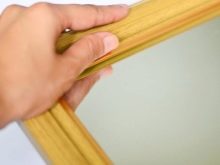
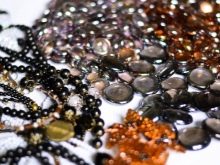
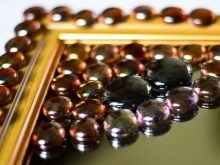
Among the ways to transform the frame: mosaic, decoration with cloth, coins, paper flowers, beads, buttons, beads and much more. You can completely retain the outlines of the previous path, or you can create a new one.
Dismantling the previous one depends on the need for such a manipulation: sometimes you cannot do without it, but more often the new decor is done on top of the old one.
Glass
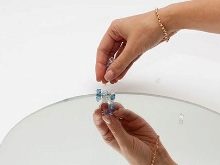
There is an option for such a transformation of the mirror, when its working surface does not necessarily remain 100% functional. Lintels, stripes, decorative traces may appear on the canvas, which visually transform the mirror, turning it, to a greater extent, into an interior decor.
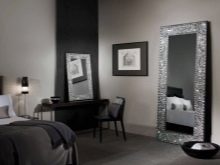
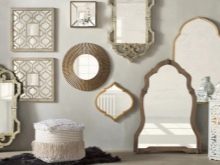

The utilitarian function of the mirror is somewhat lost. This can be done with an object that is idle, does not serve in the house, but it is a pity to throw it away. And as a means of visually expanding space, an extra mirror can hardly be compared with anything.
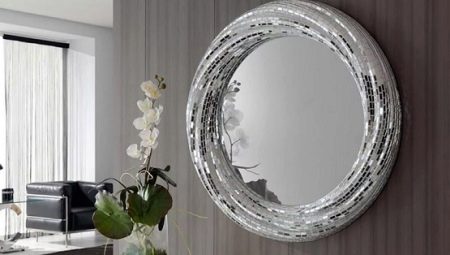
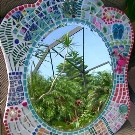
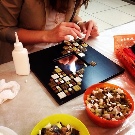
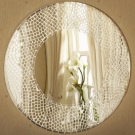
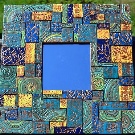
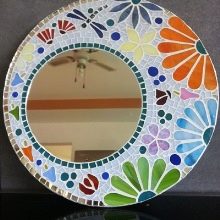
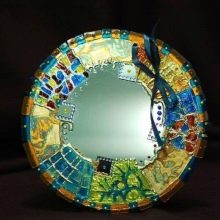
How to decorate a mirror with mosaics?
The described option is almost ideal for those who want to update the bathroom mirror. The operation will take place "live": the mirror will be immediately attached to the wall and immediately decorated. It is great if the wall is painted, if there is a tile or other covering, it is better to take a plywood sheet as a base. And already a mirror will be attached to it.
How does a new mirror form?
- The back surface of the mirror is degreased with alcohol. This is done to make it easier to stick.
- With mounting glue, the mirror is glued to the surface (either a wall or a plywood sheet).
- Pencil markings are made around the perimeter of the mirror. It forms the desired thickness of the future mosaic frame.
- If the mirror is attached directly to the wall, it will have to be fixed with beams (using a screwdriver) for at least half a day, waiting for it to dry completely. If the mosaic is mounted vertically, the lower beam must also be fixed, otherwise the tile will "float".
- Pieces of new mosaic are laid on top of the tape so that the rough side is at the top.
- There are 4 strips to be made, and then cut in half lengthwise. Grease each tile with glue, then turn the strip over and glue it to the base.
- The mosaic is laid around the mirror, the protective paper is removed from the tile.
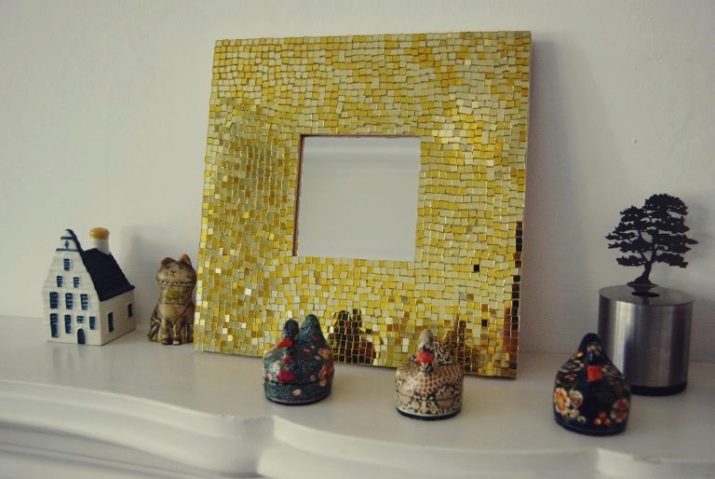
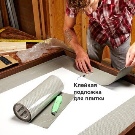
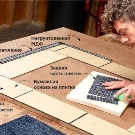
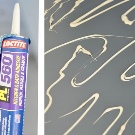
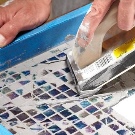
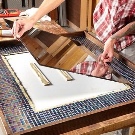
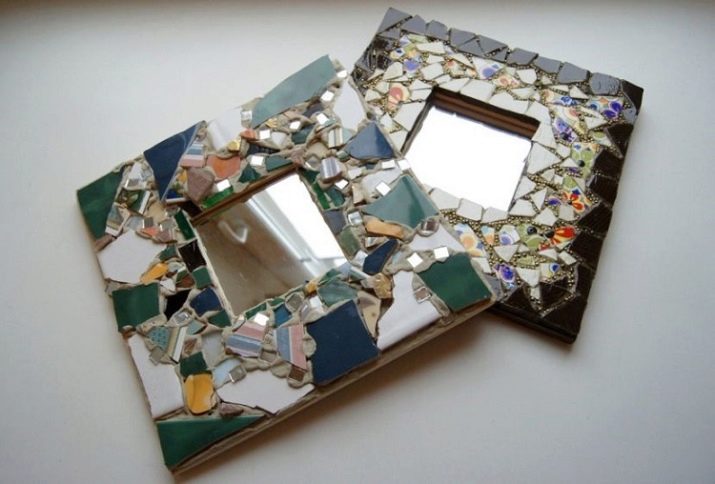
Ready! A similar story can happen at home if you use broken ceramics. Such a mirror can also be hung in the hallway.
We use fabric
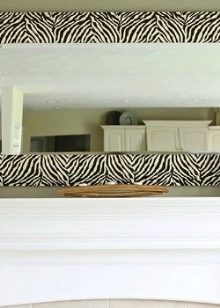
You can consider how to crank this design experiment at the next master class. The animal print frame makes the interior very lively. For work you will need: the mirror itself with a wooden frame, zebra-like fabric for fitting, scissors, glue, masking tape, paper to protect the glass.
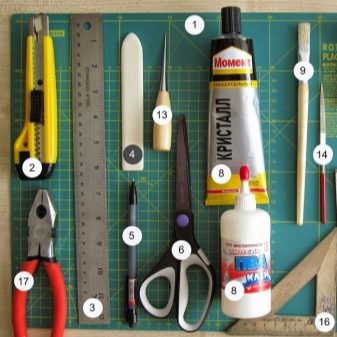
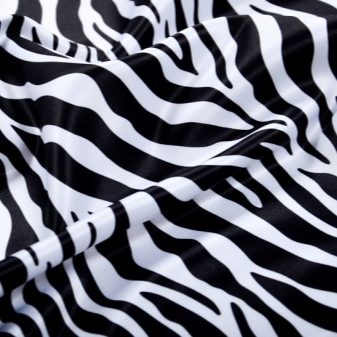
The algorithm of actions is as follows.
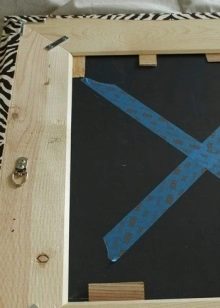
- The mirror will have to be sealed with paper and masking tape, this is done so that the mirror sheet does not spoil the glue.
- To decorate the frame, you need 4 fabric strips - they are cut to the required length and width, do not forget about the gaps for the hem.
- With folded edges, the fabric is neatly glued to the frame.
So, in 3 simple steps, a fundamentally new mirror appears in the interior. This is a good makeover for an old object, the frame of which is already worn out and needs restoration.

Decor light bulbs
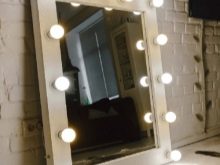
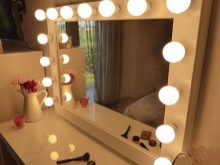
Such a makeup mirror is being made, its second name is the make-up room. To decorate this object with your own hands, you need to follow the universal instructions.
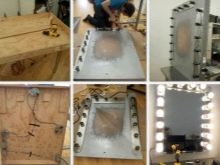
- The base frame is assembled, all the constituent elements will be included in it. The frame width should be 60 mm (this is the average width, you can change it). For the installation of cartridges, exactly 60 mm is enough.
- Now you need to cut the end pieces, keeping an angle of 45 degrees. Then they are connected with corners, glue and self-tapping screws.
- You need to put overlays (decorative) on the frame, and then make holes for the wires.
- The ends of the cable are led out into the drilled holes so that the sockets can be connected. They must be attached to the frame with screws and a screwdriver.
- The wires are connected in series, fed to the switch connected to the plug.
- You can install the lamps and then test the mirror to see if it works or not. If the lamps function, glass is placed inside the frame and fixed.
Of course, such mirrors are sometimes installed in the wall, in the dressing table, even in the closet door, but the option described above is the most convenient.
We use materials at hand
And there is also a whole list of, at first glance, unexpected materials that become a worthy decoration for ordinary rectangular, and square, and small, and large mirrors. Such can appear in the corridor, and in the nursery, and in the bedroom.
Traffic jams
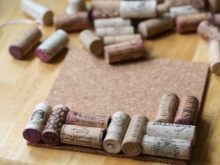
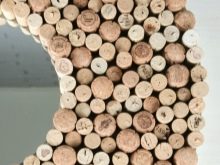
Framing a mirror with wine corks is one of the easiest ways to transform, and you can decorate the canvas in different ways. For example, do not change anything, do not cut off a centimeter from the plugs, but simply glue it to the ends of the mirror with hot glue. Decorating a round object would, of course, be a better option.
It is possible to stack the corks in several rows, deliberately making the frame larger than the glass itself. You can cut some of the corks, lay them one by one: a long original, then cut off, again a long one, etc.

Flowers
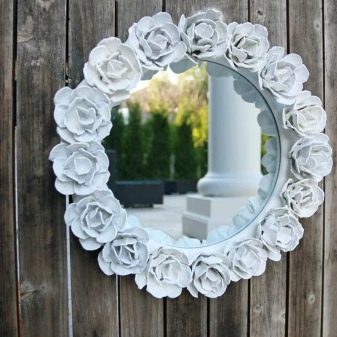
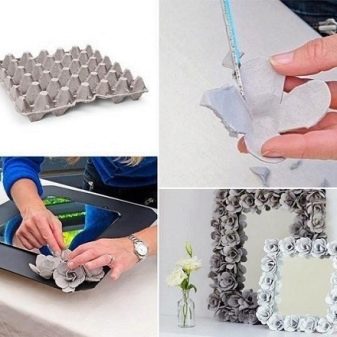
Paper flowers made from corrugated paper, for example, are a good option. It is not necessary to fasten them around the entire perimeter, you can along the edges or even only in one corner. You can make deliberately large flowers so that they accentuate the mirror in the interior.
Flowers can also be made of fabric, burlap and jute, foamiran. For such work, it is better to make sketches in advance, because many small details are difficult to lay impromptu, if not a technological map, then a sketch is needed.
Spoons
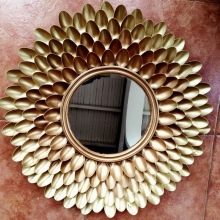
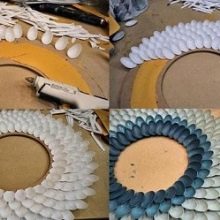
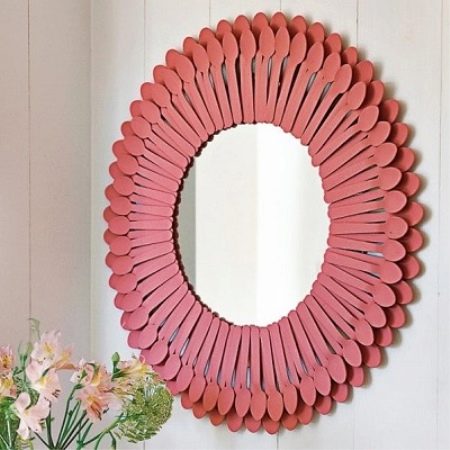
Such an object will look more than original. You can use plastic spoons or metal ones. Of the plastic ones, only a wide part is usually left, which is attached around the mirror sheet, possibly in several rows. Only first, it is better to fix the mirror on plywood or even thick cardboard so that there is something to attach the spoons to. They can then be painted from a spray can, having previously protected the glass with masking tape.
With round and oval mirrors, this experiment is more successful.

Paper rolls
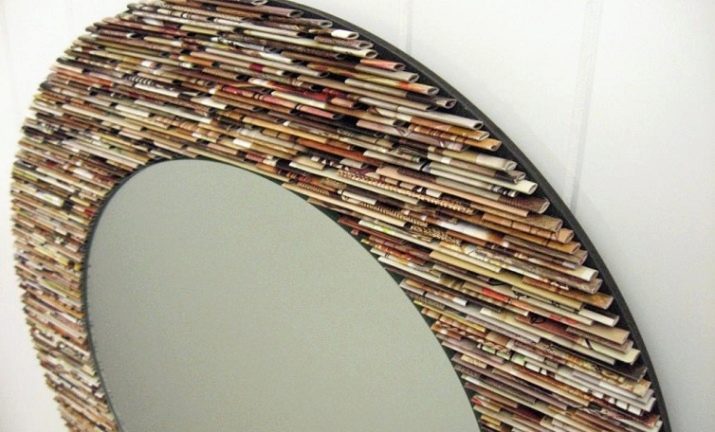
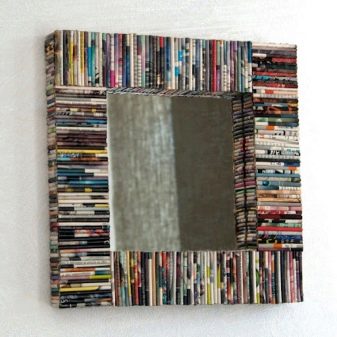
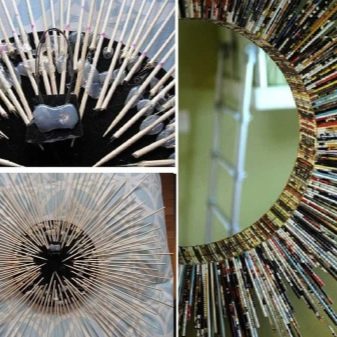
A tube is a newspaper that is cut into many equal lengths, which are then rolled up in a uniform manner. You need to glue the tubes to the frame. They can be pre-painted from a spray can. Or you can use magazine tubes, you don't have to paint them. They can be round, flattened, short or long. Frames for photos are designed in the same way.
Plastic rings
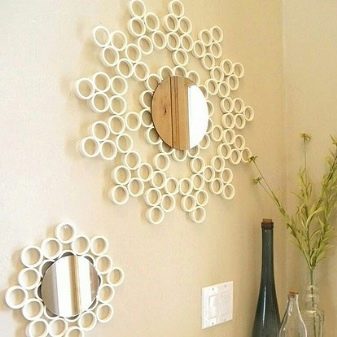
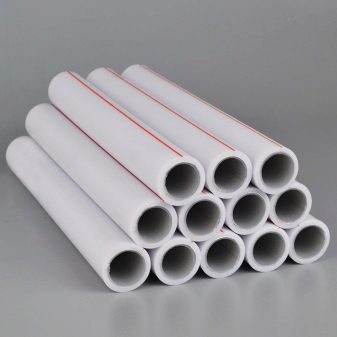
A pair of PVC pipes is required for such a mirror. You also need a round mirror, plastic glue, glue gun, hacksaw, jigsaw, sandpaper, ruler, pencil. The PVC pipe is marked into segments of the same thickness (for example, 2 cm). The tubes are cut into rings with a saw.
To trim the edges, they are sanded. The rings are then laid out on the work surface to form a circle with a hole in the center. The circles are glued with the sides to make a drawing. The glue dries. And then the frame is glued to the back of the mirror. The glue dries and the mirror can be fixed to the wall.
Rope
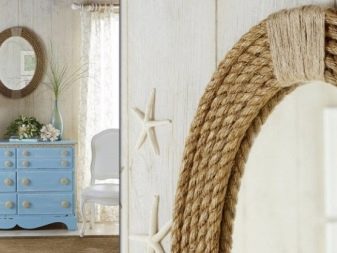
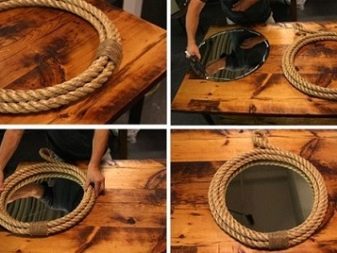
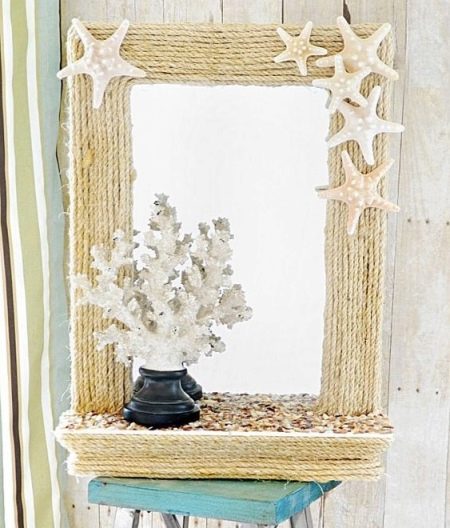
Plywood or dense plastic is taken as the basis, and the frame is made of rope or a thick cord, rope. The mirror is glued right in the center, along the edge you need to start laying out the cord, glue it to the base. The cord can be laid out in a spiral, you can cut the end of each turn. When the whole base is laid out with a cord, another turn is started along the edge. The glue should dry, and a loop should be attached to the back of the mirror.
Painting
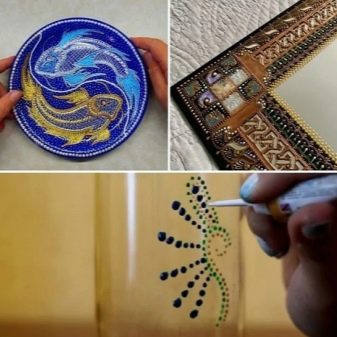
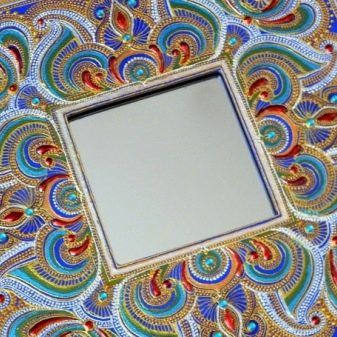
Acrylic paints, a sketch, a sketch on the mirror itself - and it can be renewed with the help of fine art. But if drawing is not within the scope of competence, you can use a simpler, but quite technologically advanced point painting. A ruler may also be useful for her.
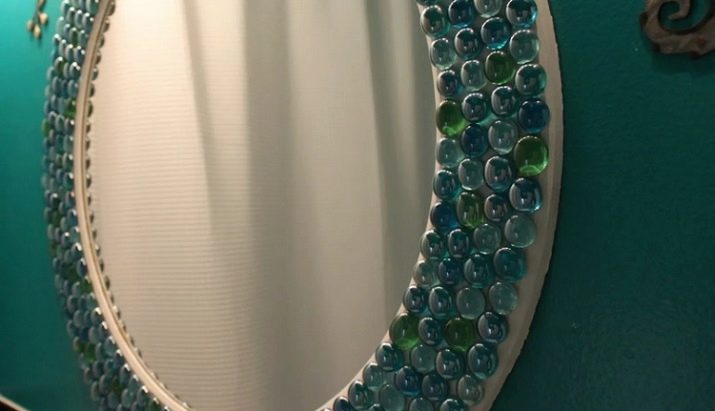
Transparent stones
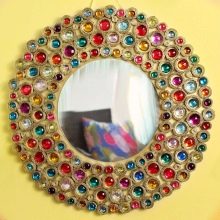
These are sold in sets at the store at the same price. They adhere well to hot glue and look really cool as a mirror frame. If the mirror is in the room on a sunny side, the stones will shimmer beautifully under the ultraviolet rays.
The same option is rhinestones and beads. Beads are also used, but you will have to seriously tinker with them.
Beads
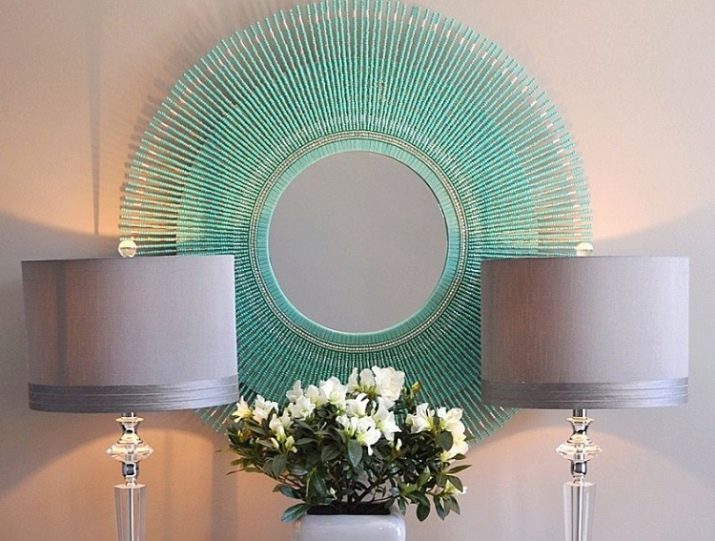
It is too small, you need to have a lot of experience to lay out the frame with beads without preliminary preparation. For the rest, either beads of the same color are used, without creating a pattern, or there is a clear layout scheme in front of the eyes, which cannot be strayed from. You can also glue with hot glue, but this is not very convenient. Sometimes it is easier to weave beaded strips and glue whole strips directly onto the canvas.
Other
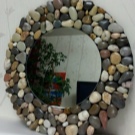
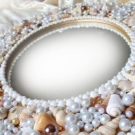
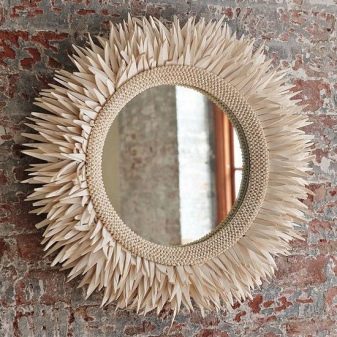
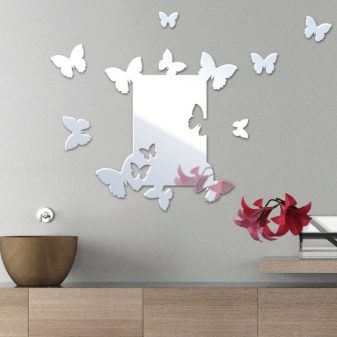
What else to use for framing the mirror: seashells (a great nautical-style object), as well as sea pebbles. You can buy interior stickers and just get by with them. Or you can cut out a lot of butterflies from designer colored paper according to templates and lay out the frame with them. Foil, moss, twine, jute, and even eggshells are also used.
New Year options
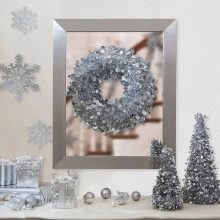
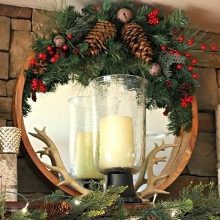
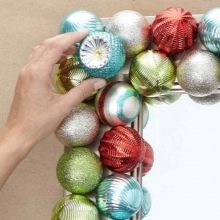
The mirror does not always need a stationary transformation. Perhaps it should change temporarily, on New Year's, for example. How to decorate a mirror before the New Year:
- use knitted snowflakes, which are stitched into one garland on a typewriter, covered with artificial snow, and attached to the mirror in any convenient way (you can also use double-sided tape);
- spruce branches (tucked behind a mirror), also decorated with artificial snow and toys;
- a garland of cones and dried citrus fruits;
- a garland of cut paper snowflakes or paper Christmas trees;
- a large paper zhorzhina fixed on a string along the upper edge of the mirror and going down;
- artificial moss dusted with "snow";
- Christmas tree tinsel, etc.
It is important to take into account the general style of New Year's decoration of the house in order to match it.
Beautiful examples
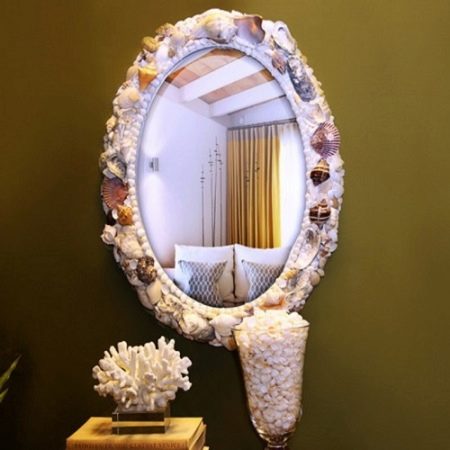
- Large seashells are beautiful in themselves. But the frame made with their help will turn even the simplest mirror into an exquisite art object.
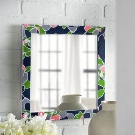
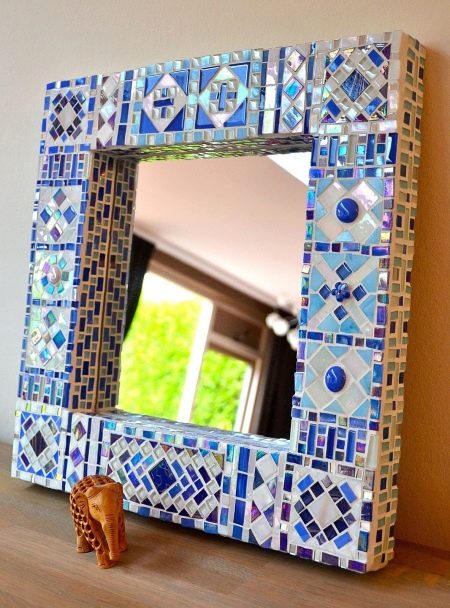
- This is how the mosaic tile becomes a heavy and very stylish frame for a small interior mirror. A good way to freshen up the environment, as well as to play along with some details in the room in the same color scheme.
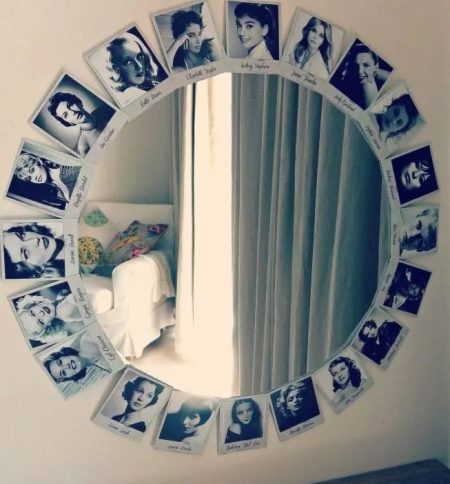
- The stars of the era, or rather, their photographs can also become a mirror frame. Not a bad option for a boudoir, very feminine and romantic.
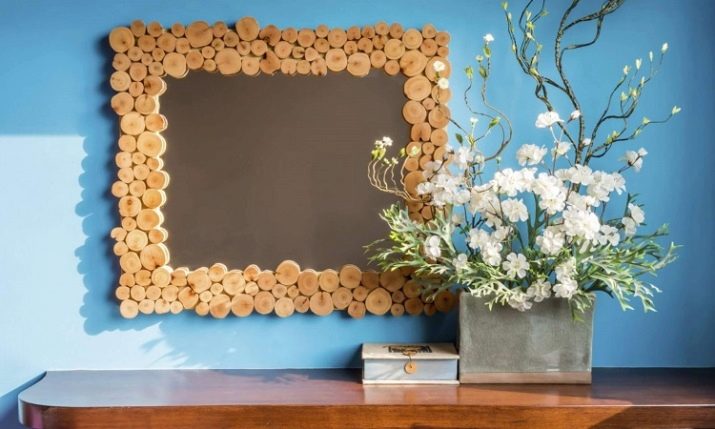
- And here are the small round cuts, one of the most popular eco-friendly options for decorating mirrors. It is in tune with virtually any interior, looks elegant and charming, does not require additional decoration.
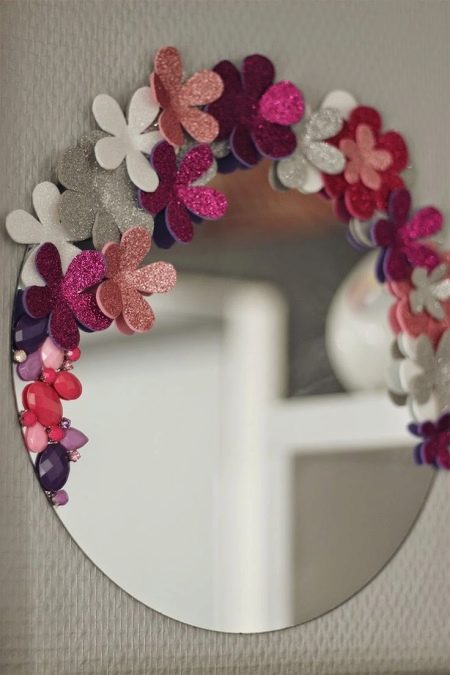
- Artificial leather or foamiran is quite suitable for cutting out such flowers, which are then fixed on the mirror with hot glue. Not a bad option for a girl's room.
- Here it is, a rope rope along the contour of the glass, and on it are several starfish. Those who do not cease to miss the sea will love this idea.
- You will not immediately understand that ordinary spoons have become the frame of a round mirror. Just plastic, painted in one rich tone, but it seems that a stylish interior element has appeared above the chest of drawers.
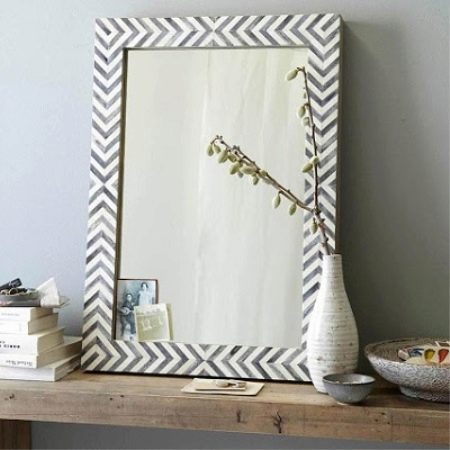
- Here, just the frame at the mirror can be "native", but repainted using a stencil. Sometimes drastic steps are not needed for framing.
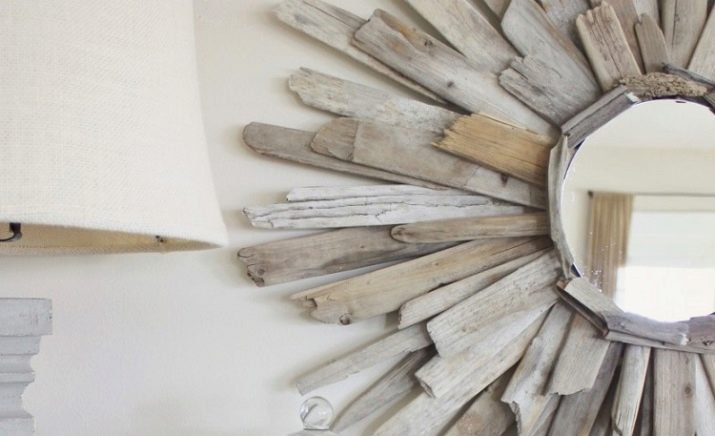
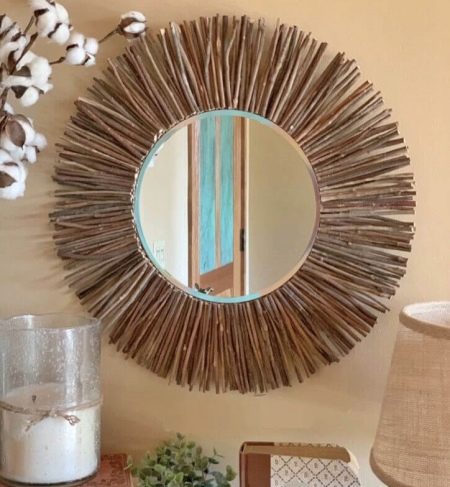
- Exactly "trimmed" branches in a modern, popular eco-decor is one of the main hits. And it is difficult to deny such a subject in its natural charm.
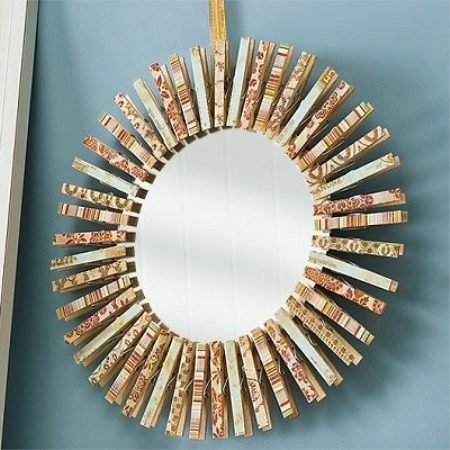
- Well, this is an option for the laziest - just decorative clothespins are fixed around the perimeter of the mirror. No glue needed. And it looks very cool.
