DIY illuminated makeup mirror
An illuminated make-up mirror is the dream of most women. It not only contributes to the creation of perfect makeup, but also helps to feel like a movie star. The only drawback of such mirrors is the rather high price, but the features allow you to make it yourself at home.
Features and types
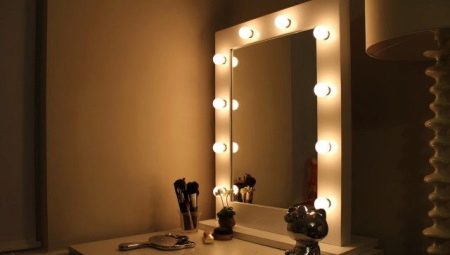
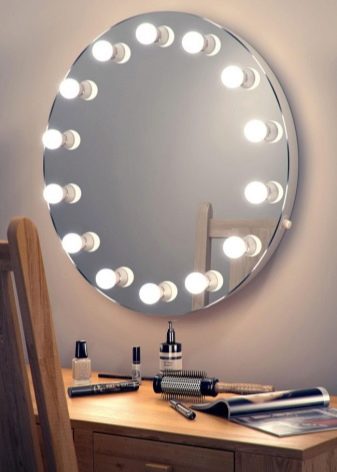
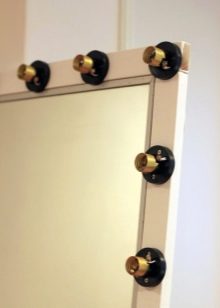
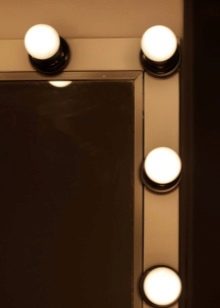
Make-up mirror with light bulbs around the perimeter, it is also sometimes called Hollywood or make-up, helps to create high-quality makeup and appreciate the whole image. Other features include:
- unusual and attractive appearance;
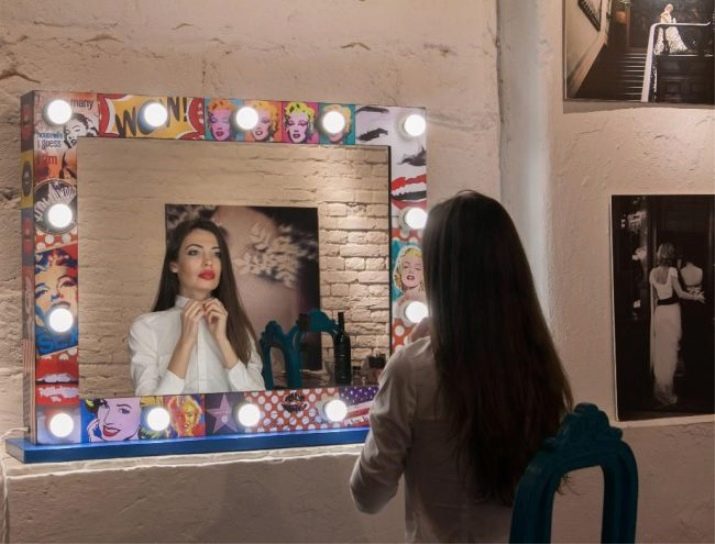
- versatility. Initially, such mirrors were supposed only in the artists' dressing room, but now they are often used in apartments. Moreover, this item can be selected for any interior;
- mobility. Today, such mirrors can be used separately from the dressing table and transferred from one place to another;
- a variety of colors and types will allow you to find your mistress for the mirror.
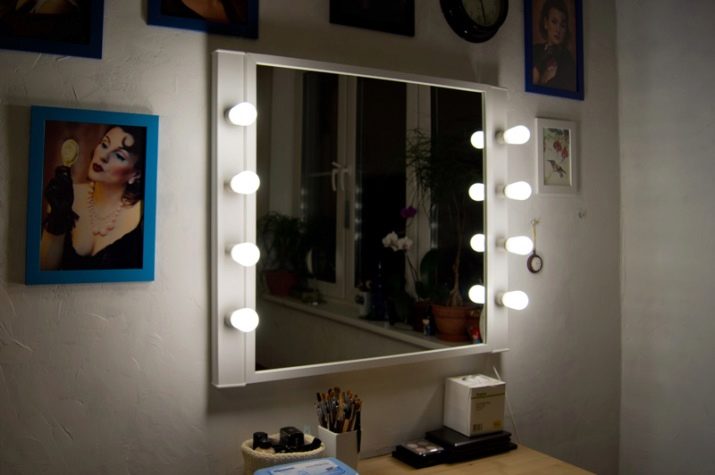
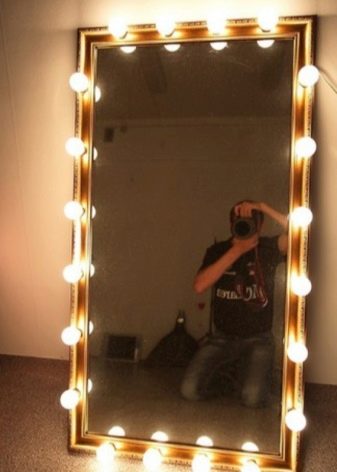
The main types are considered to be rectangular, square, round mirrors, and a special place is occupied by a floor mirror. The classic option is considered to be a rectangular or square makeup mirror measuring 50x50 cm. If the dimensions of the room allow, then you can choose a mirror of a larger size.
It is important not to overdo the size selection. Otherwise, from a harmonious and compact object, it can turn into an absurd room accessory.
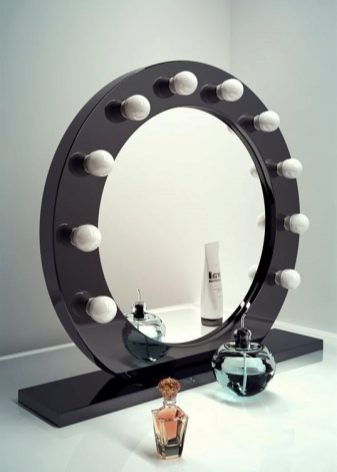
Despite the classically adopted form, oval or round mirrors are increasingly chosen in apartments. They will create coziness and look more aesthetically pleasing. Such models will look harmoniously in any interior.
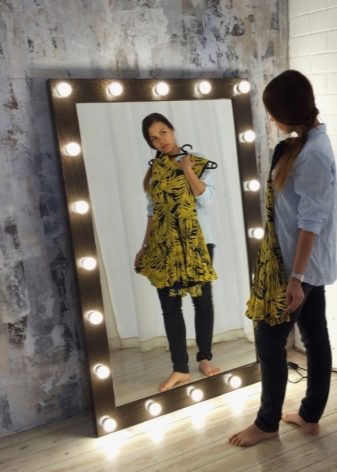
A floor-to-ceiling mirror helps you to carefully examine the whole image from head to toe. Backlighting will reveal imperfections in the image that cannot be seen under normal lighting. Such a model will find its place in the apartment. high-tech style, loft, minimalism. Especially if the frame is in black, white or steel colors.
These models can be found in retail or online stores, but their prices are often high. Then you can create a do-it-yourself makeup mirror.
Stages of creation
There are not many tools required to make a Hollywood mirror, which can be easily found both at home and in the store:
- directly the mirror itself of the desired size;
- wooden beams to create a frame;
- drill, pliers, screwdriver, bolts;
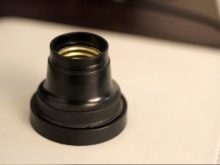
- light bulbs and sockets for them;
- dye;
- sandpaper, measuring tape and industrial double-sided tape;
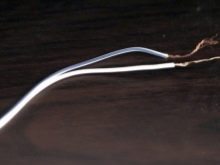
- copper wire and plug for wire.
When making a reflective masterpiece, you must follow the safety rules, in particular, the selected shoes and clothing. It is better to choose clothes without unnecessary parts, locks, zippers, and shoes with rubber soles, since you have to work with electricity.
After the necessary materials have been collected and the wishes for safe clothing have been taken into account, you can start the process itself:
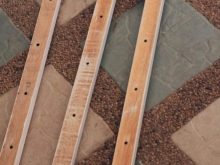
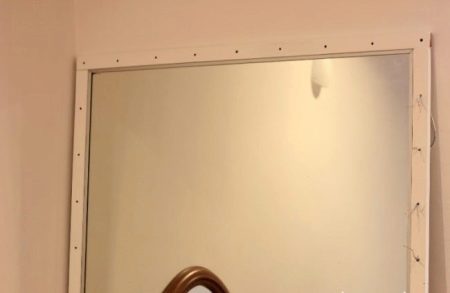
- Making a mirror frame for visage. You will need two blocks of wood (you can choose another material, but wood is more reliable and easy to install and dismantle), which are cut to the size of the mirror. It is necessary to saw the bars so that their ends are 45 degrees. The resulting parts should be carefully sanded with sandpaper so that their surface becomes smooth. For reliability, the mirror can be fixed in the frame using industrial tape.
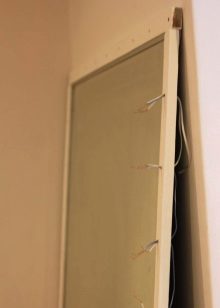
- Create holes for light bulbs. In the frame made, we make marks for future bulbs at the same distance. A measuring tape and a drill will help in this matter.
- Frame painting. After the surface has found perfect smoothness and the necessary holes, you can start the creative process. Traditionally, it is customary to paint the frame in monochromatic classic tones: white, black, gray. Depending on the preferences of the owner and the interior of the room, the frame can be painted in various shades. After the paint has dried, it is necessary to varnish the frame to consolidate the effect.
- Lighting creation. You will need to divide the wiring into equal sections - about 15 cm, and separate the white wire from the blue one. Pull them out into the holes so that you end up with 2 blue and white wires in one hole. Next, you should take the sockets for the light bulbs and connect them to the wiring, observing the color and the required side of the socket screw. After that, you can fasten the cartridges to the frame using bolts.
- Connecting the plug of the wire. In this case, it is important to observe the color matching of the wires. You will need to connect one end of the wire to the holder of the first lamp, and connect the other end to the plug.
After that, the mirror is considered ready, and it should be used in action.
Recommendations
.Before you start working on a mirror surface, you should take into account some rules and tips, to make the product perfect:
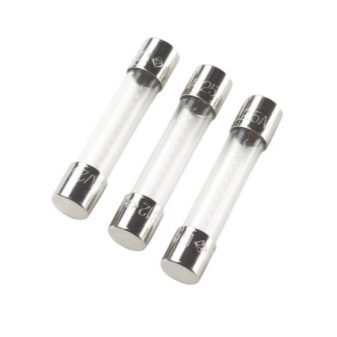
- it is better to use multiple fuses in the lighting manufacturing process. This will significantly extend the life of the lighting fixtures;
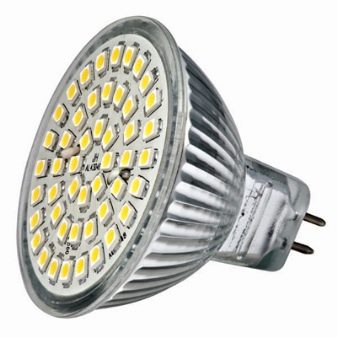
- give preference to LED lamps, since ordinary lamps begin to heat up during long-term operation. Professional make-up artists and make-up artists work with just such lamps to create high-quality makeup;
- not the best option is to use fluorescent lamps. As their light distorts the makeup, making it flawless. Under normal lighting, all the flaws and shortcomings of makeup made in the light of such lamps will be revealed;
- Before buying lamps, you should carefully consider their color.Cold light bulbs highlight all skin irregularities and imperfections, which is necessary for better masking. Warm lighting, on the contrary, dampens irregularities, and is more pleasant and comfortable for vision;
- the choice of the number of bulbs is individual, but it is worth remembering that two lamps should be located at face level. This will allow you to better examine your image;
- when positioning the mirror, a comfortable distance should be created between it and the person.
You don't have to buy a backlit make-up mirror, you can create it at home. At the same time, you will get an individual and unique product, created according to your own design and presentation.
For a good example of how to make a make-up mirror with your own hands, see the next video.


