How to strengthen nails with biogel?
Today, the "nail" industry is so developed that even the masters of their craft do not have time to understand all the materials that are on the market. But everyone knows that there are such products that not only have a decorative purpose, but also have a caring effect. Biogel can be attributed to them. This product is suitable for everyone and does not cause allergies.
Peculiarities
The biogel contains vitamins A and E. It also contains proteins, minerals, teak resin.
This material activates nail growth. Choosing biogel as the main coating, you can not only improve the structure of the nail, but also level its surface, improve the color. The nutrients contained in the gel nourish the cuticles.
Advantages and disadvantages
Strengthening nails with biogel has a number of advantages. Although there are some disadvantages that should be considered when choosing this tool for the job.
Pros:
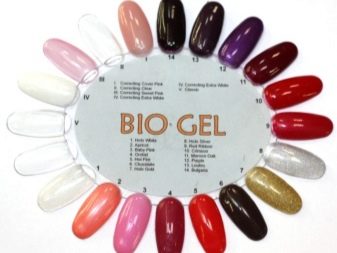
- the material has a completely different color palette;
- ease of use;
- they can not only strengthen nails, but also build up;
- the composition does not contain acetone, benzene or pesticides, which makes it non-toxic;
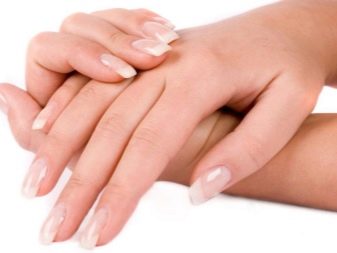
- has a beneficial effect on the skin;
- lasts a long time and is well absorbed;
- does not have a pungent odor;
- does not collect dust when removed.

Minuses:
- manicure can be damaged by prolonged exposure to water;
- when in contact with alkalis, ethyl alcohol, acetone or acids, the wearing period is also reduced;
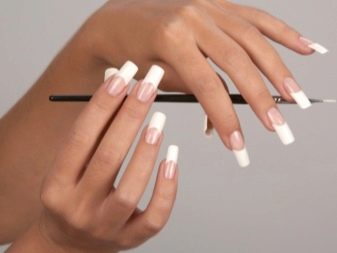
- not suitable for long nail extensions.
Views
There are several varieties of biogel, which have their own characteristics.
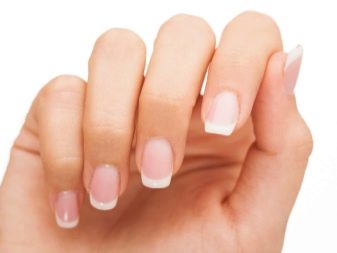
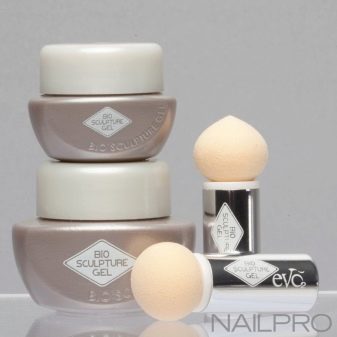
- Sculptural. It contains silk extract, which has a firming and moisturizing effect. This type of gel will help make the nail plate elastic and strong. Opaque. Such biogel is found more in beige tones. They usually have the free edge of the nail formed. The structure of the gel allows the nail to "breathe" and does not interfere with the natural biological process during nail growth.
- Transparent. It is usually used as a base coat. It will polymerize in a couple of minutes. It is used as a strengthening agent to treat small cracks. Choosing this type of biogel, you should not count on a breathtaking shine. To do this, it is better to cover it with ordinary transparent varnish or a top-end rubber agent.
- Color. It does not need a base and top-end coverage, like other types, which makes it undoubtedly better. Apply it in two coats and your manicure is ready! Of course, unlike transparent, it dries longer due to impurities and a thicker consistency, but it lasts several times longer. There is an opportunity to fantasize and come up with different designs. For those who have just started doing manicure, the choice of this biogel will be the best solution.
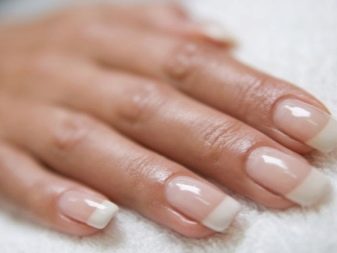
- Royal Sealer. Its bluish tint will help hide imperfections on the nails: a shade of yellow and gray on the plates. This product has whitening properties. It is used as a top (last) layer, giving a beautiful shine. There are various colors in its color scheme, including transparent ones. Royal Sealer is also used for french designs.

- UV biogel. It is clear from the name that it is dyed to eliminate the harmful effects of ultraviolet (UV) rays. Due to this property of the material, it is more often used in the summer, since the sun's rays fall more on open parts of the body, as well as on nails at this particular time of the year. This biogel dries very quickly - within one minute. Naturally, he, like everyone else, moisturizes the nail and cuticle.
- S-cover. The hardest and toughest biogel. He is chosen for building long nails, since he will cope with this much better than other types of this material. Due to its durability, the extended nail can be made thin, which will give it a natural look. And in order for it to stick well to natural nails, no fixing agents are needed. This is the only type of biogel that allows you to lengthen your nails to the desired length. Other types of gel do not provide this opportunity, since they have a soft structure. Lacking sufficient strength, they can break at any time, regardless of the length of time they are worn.
Many reviews have been written on different types of biogel, and most of them are positive.
Application technology
As it turned out, biogel differs from gel in that it does less harm to nails. It is also easy to apply. Unlike gel polish, before using biogel, you do not need to cover the surface of the nail with the base agent. And the main positive difference from many types of gel is that its composition does not require cutting down when removing the coating.
So, getting to work, you should prepare the necessary tools and manicure tools:
- base - a transparent base gel polish or just a varnish;
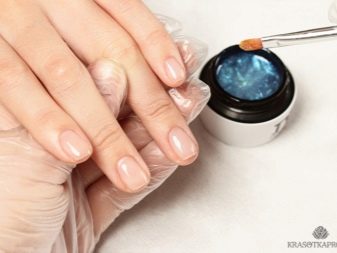
- biogel, the type of which depends on which design you decide to choose;
- primer for treating clean surfaces;
- lint-free napkins;
- means for disinfecting and degreasing nails;
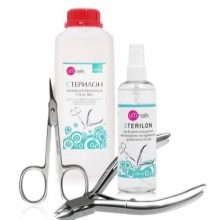
- tool for processing tools;
- liquid to remove the sticky layer;
- top - means for the final stage;
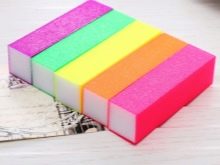
- file for shaping;
- buff for nails (fine-grained);
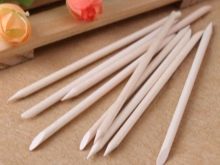
- an orange wood stick or metal pusher;
- small flat brush;
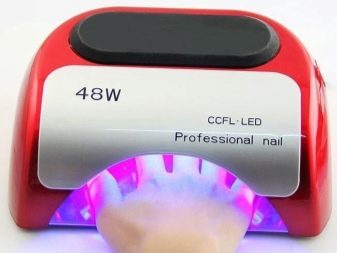
- ultraviolet lamp;
- cuticle softener.
There is nothing complicated in the procedure for working with biogel, and any girl who wants to strengthen her nails can do it at home, following the step-by-step instructions below. In this case, it is important to do everything in stages, otherwise there is a risk of damaging the surface of the nail and getting an unattractive manicure.
The first stage is preparation
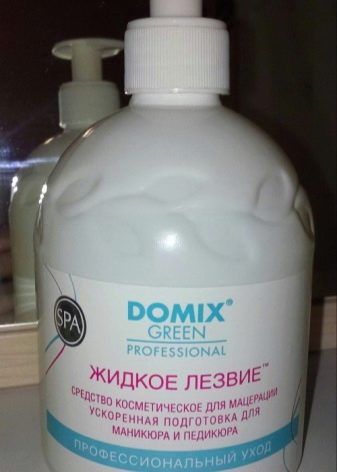
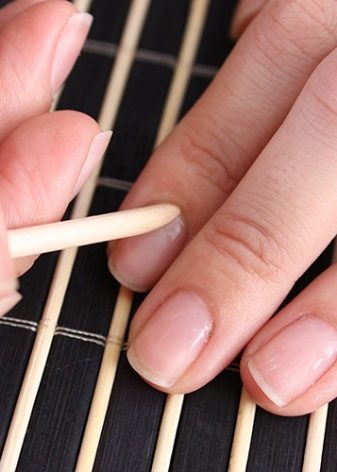
We disinfect our hands with a special tool. Regular rubbing alcohol is also suitable for this purpose. Apply a softening agent to the cuticle surface. You can use a cosmetic product called Liquid Blade. We are waiting for about one minute until the applied composition works and the cuticle is ready for further processing. Next, you need to gently push the skin at the base of the nail. For a safer and more painless work, especially if you are new to this business, it is better to use orange sticks. Professional cuticle pushers also often use a metal pusher to get the job done faster.
If you are doing a manicure at home, then cutting off the cuticle is not necessary to avoid injury and inflammation. In addition, it has been proven in practice that if you cut the cuticle, it will grow even more. Although in the professional field there is a hardware and trim manicure, which implies the complete removal of this part of the skin.
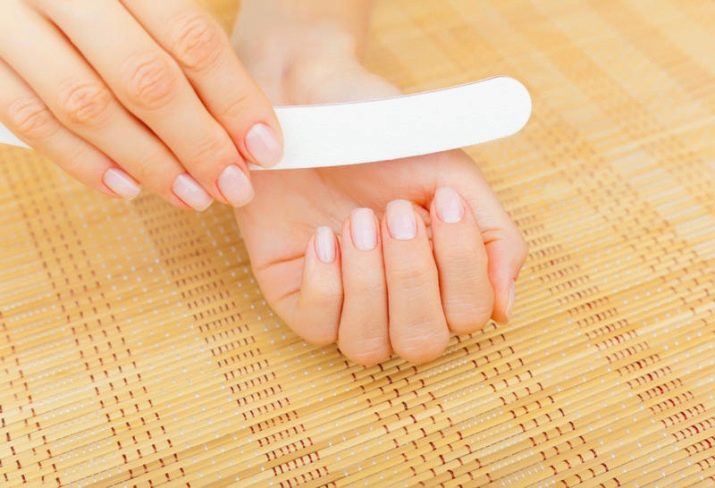
At the end of the preparatory stage, you need to cut the free edge of the nails to the desired length and shape them.
The second stage is degreasing
In order for the biogel to be applied evenly, last longer and look neat, you need to degrease the nail with a special tool that will also help simultaneously neutralize small cracks and remove particles after cutting. Such liquids are sold in those departments of the store where professional cosmetics are present.
It should be borne in mind that this remedy often causes allergies in those representativesthat do not tolerate the propanol contained in the degreaser. You can solve this problem by replacing this tool with regular medical alcohol.
It is important that the alcohol is 70%, otherwise it will either dry for a long time, interfering with work, or evaporate instantly without having time to affect the surface of the nail.

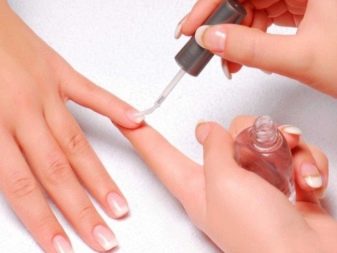
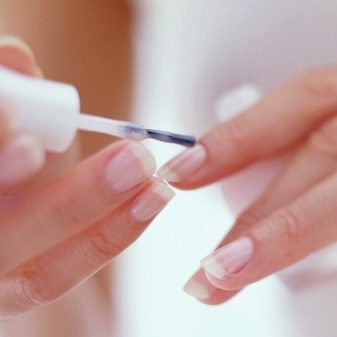
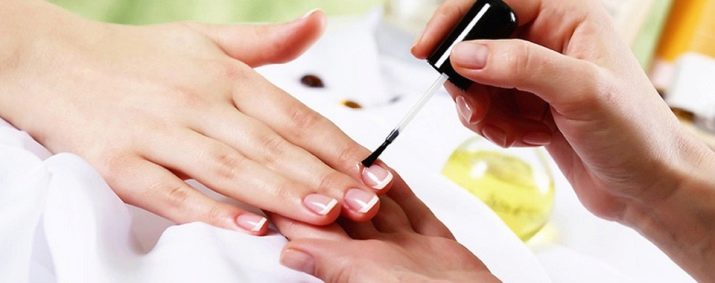
The third stage is the application of the base
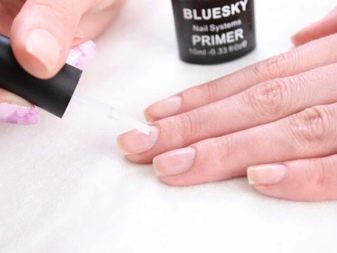
Before applying the base, be sure to treat the nail plate with a primer. It serves as a kind of primer that will help the base coat to adhere to the natural nail.
As it was already written earlier, this stage of applying the base product is not needed for all types of biogel. For example, a colored or transparent biogel containing only natural substances does not need this stage. But for others, it is a must.
So, after applying the primer, we apply a base coat if the material with which we plan to work involves its application. In addition, it is of no small importance that when using the base, there can be no talk of any improvement of the nail, since nutrients simply cannot affect the nail through this tool.
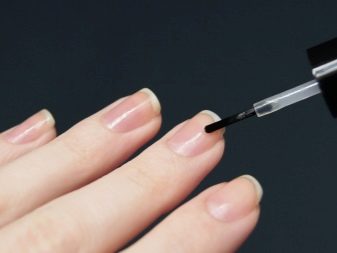
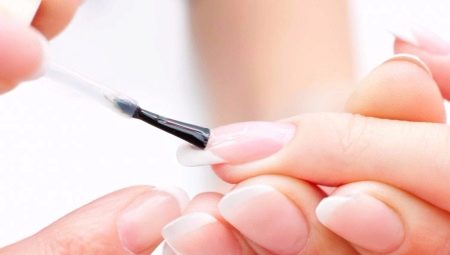
In the case when the goal is precisely to strengthen the nail, it is necessary to apply biogel in a very thin layer on the surface treated with a primer. To do this, you need to take quite a bit of biogel and apply it with a brush, rubbing in. Dry for 30-60 seconds in a lamp.
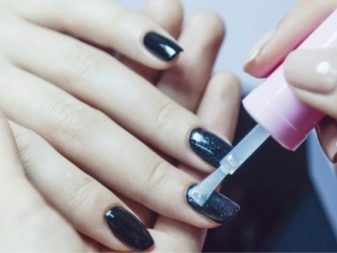
The fourth stage is the application of the main layer
After the base layer has cured, you need to remove the sticky layer with a lint-free cloth soaked in alcohol or the agent that you have chosen for degreasing.
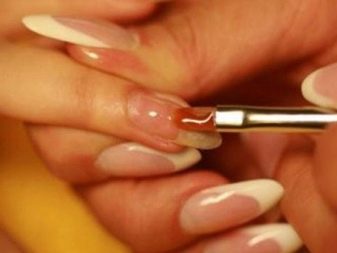
Then the main layer of biogel is applied, which will help to strengthen and form a perfectly flat surface. The gel must be applied carefully, without touching the cuticles. Care should be taken to ensure that no uncovered area remains on the nail.If the product is applied unevenly, the surface of the nail plate can be deformed, which greatly spoils the appearance of the manicure.
When applying the base coat, as with the base coat, be sure to brush along the free edges of the nail. This will make it possible to hold out the manicure longer.
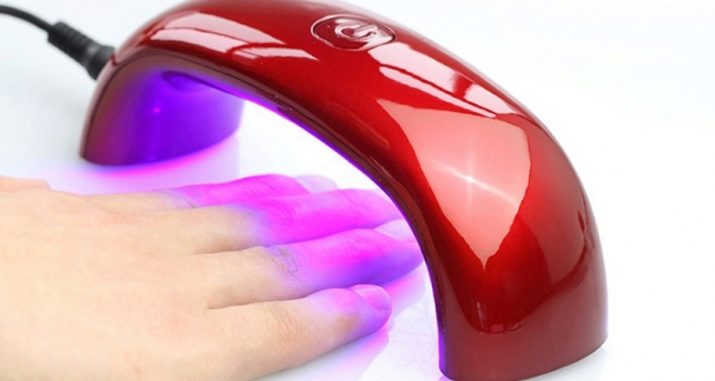
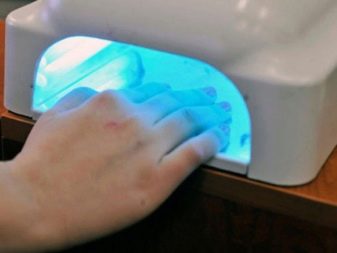
Next, dry well in an ultraviolet lamp. The duration of polymerization at this stage depends on the type of lamp and the type of biogel. Usually the manufacturer of biogel indicates the duration of this process on the packaging of the material.
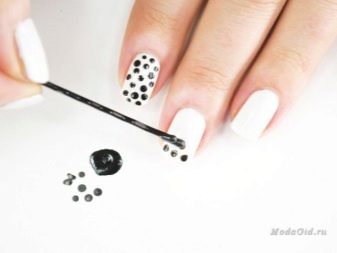
Fifth stage - design
At this stage, the decor of the nails is performed. Here you can show your imagination and depict various patterns on the nail, glue stickers and everyone's favorite rhinestones. But it should be borne in mind that a lot is not always good and your chosen design should be in harmony with your style and lifestyle.

Sixth step - applying the last layer
At the end, a top is applied - the so-called finishing layer. Cover the entire nail and seal the open edges with a thin layer of transparent biogel or "top", dry under a UV lamp for 1-2 minutes and remove the sticky layer.
Recommendation: if you wait a little after drying the last layer, cool the nail and only then remove the sticky layer - there will be more gloss on the nails than after removing it immediately after polymerization.
An interesting fact: with biogel you can also correct the shape of the nail!
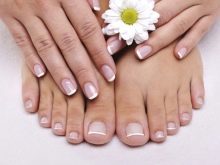
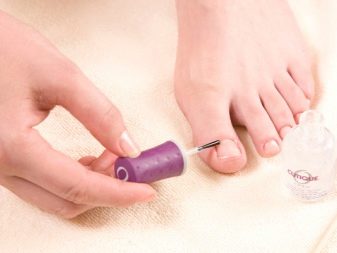
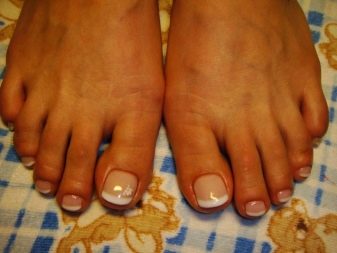
Sometimes there are deformed, cracked or ingrown nails, but with prolonged use of biogel, they grow together and acquire the correct shape. Most often, "sick" nails are found on the feet, here, of course, only biogel can benefit. They can do not only a manicure, but also a pedicure. It will last longer and have a positive effect on the nail bed.
How to remove the cover?
As already mentioned in this article, it is much easier to remove the biogel coating than the usual gel polish or gel for building up: it has a porous structure, which allows not only to "breathe" the nails, but also to easily penetrate various chemicals and destroy its composition.
HThere are two ways to remove the cover.
The first way is with a biogel remover. You can also use a gel polish remover.
As a last resort, in the absence of the listed funds, an acetone-containing liquid is also suitable for removing ordinary varnish.
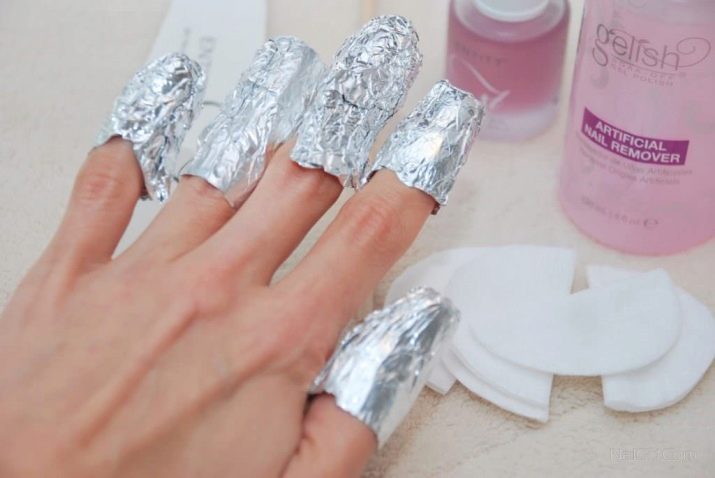
- Remove the top layer. In order for the biogel to be impregnated with the chemical composition, it is more convenient and faster to leave, it is worth removing the top layer using a nail file or a special apparatus.
- Moisten cotton wool with biogel remover (gel polish), apply on the nail and wrap with foil. Foil should be used with the glossy side inward for greater thermal effect. Wait 5 minutes.
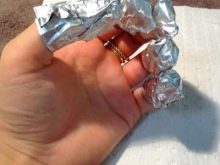
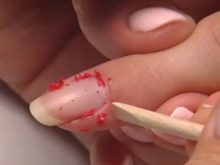
- Pick up the edge with an orange stick or a metal pusher and carefully remove the biogel, taking care not to damage the natural surface of the nail.
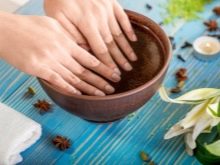
- After removal, it is advisable to make a bath to nourish the nails and give them a "rest".
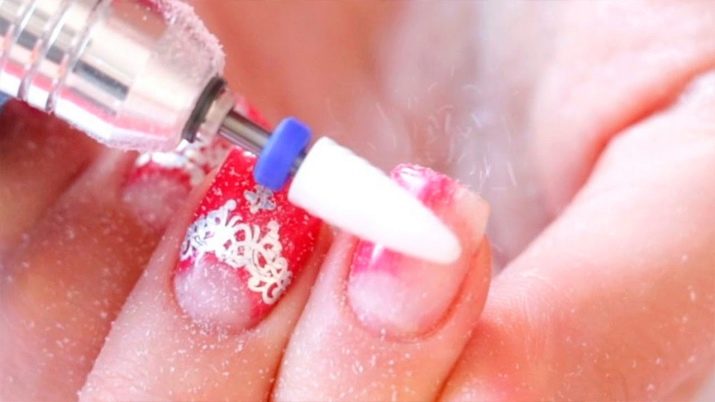
The second way is with a special manicure machine. This stripping method is much faster but is more suitable for professional manicurists. Using the device, of course, you need to be more careful, as they can touch and damage the surface of the nails. Inappropriate work can easily cause pain, as the nozzle used can be very hot.
It is necessary to carry out smooth movements up and down the coating, removing layer by layer. Working with an electric apparatus also requires a face mask and a special vacuum cleaner, since small particles of the gel, flying in different directions, can get into the eyes and respiratory system.
How to strengthen nails with biogel, see the next video.


