How to make a bar counter for the kitchen with your own hands?
At one time, bar counters were used exclusively for their intended purpose - to divide the space of a drinking establishment into 2 functional zones (an area for customers and an area for a bartender). Subsequently, such designs moved to modern kitchens and firmly settled there. The stand turned out to be quite a convenient item, moreover, it underwent a fair amount of transformations.
Today's bar counter can be different, and its modifications can differ in style and structure, and the functionality can also vary.
How to choose the type of construction and dimensions?
The choice of the type of bar counter will entirely depend on the conditions that are presented to it. Let's analyze the basic options for racks that you can do yourself.
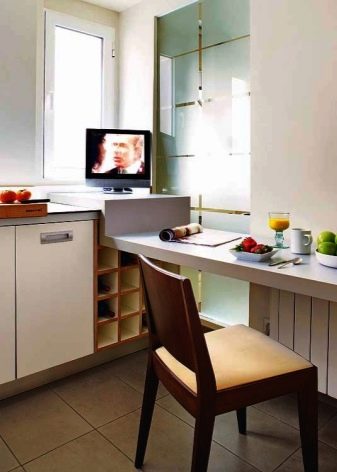
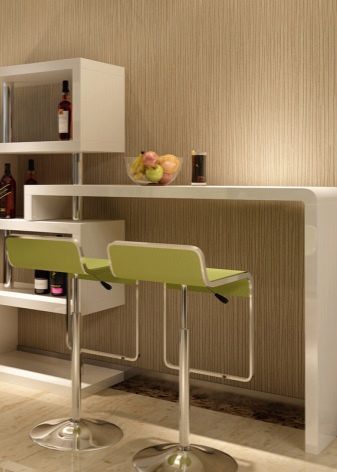
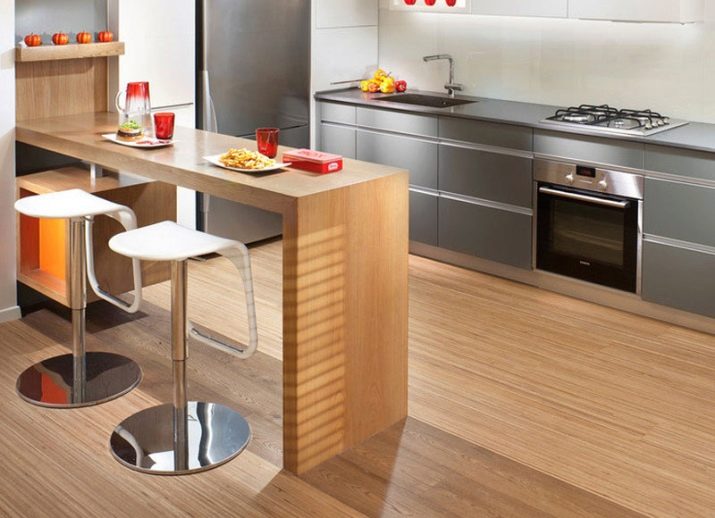
- Wall construction... The table top (table top) is mounted along the length of the wall, under which shelves are arranged for all sorts of little things. This type of rack saves space and is practiced in a dining table format.
The wall-mounted rack is used in small kitchens.
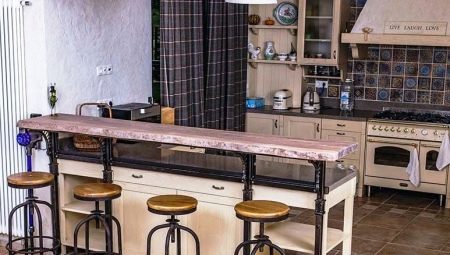
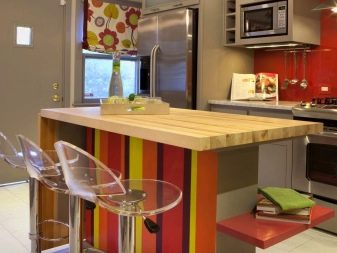
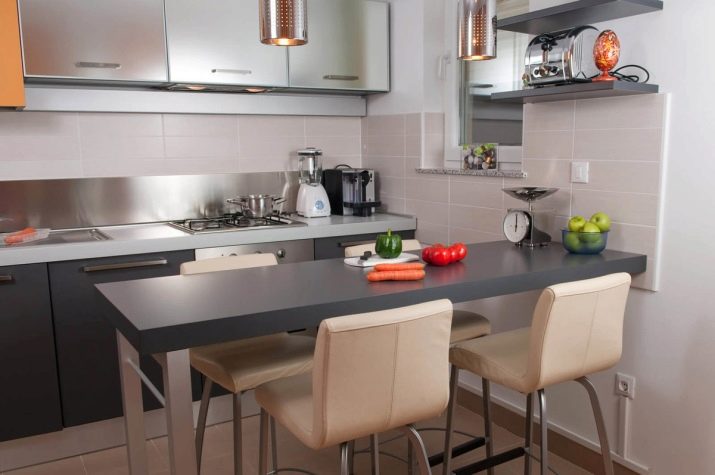
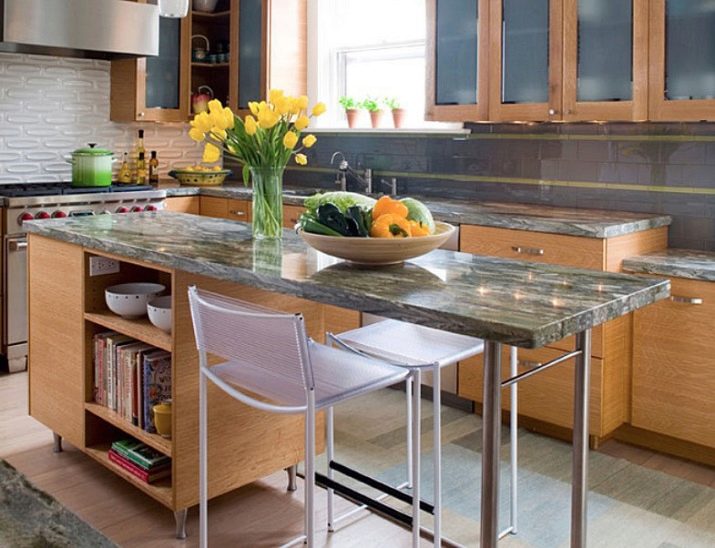
- Island version... Fully self-contained racks that are not fixed to the wall. The lid is installed in the center of the kitchen. It can be used as a working or dining area. The project is constructive exclusively for large kitchens.
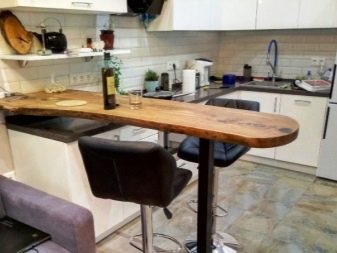
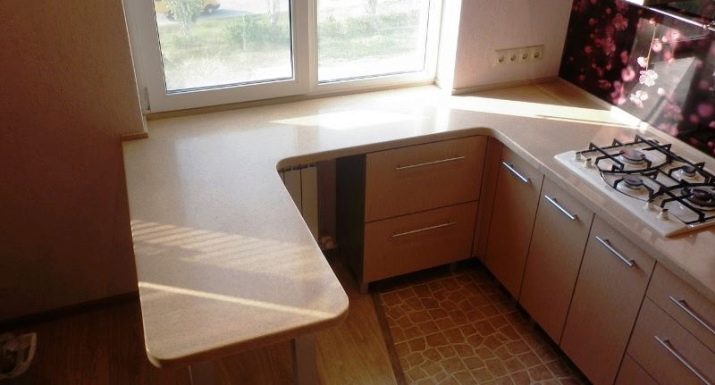
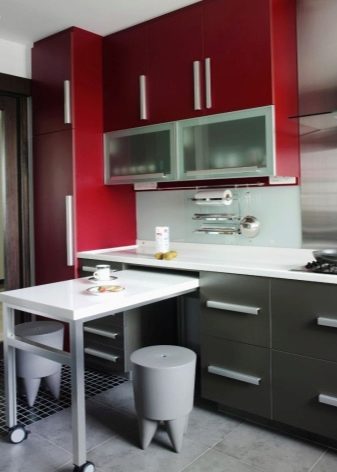
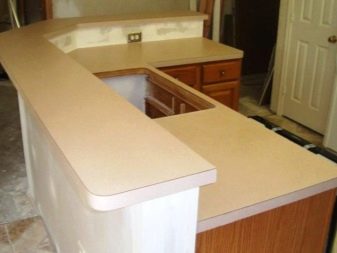
- Combined (peninsula). This stand is an L-shaped (sometimes U-shaped) countertop, one of its sides adjoins the wall and is used as a working surface. The remaining area can be used as a buffet or dining table.
- Mobile type... This is more likely not a bar counter in the usual view, but an elongated table on wheels that can be localized anywhere, and later removed so as not to get in the way. Similar designs are used in small kitchens, replacing the table.
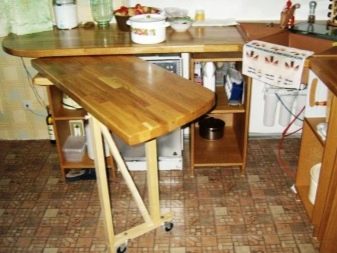
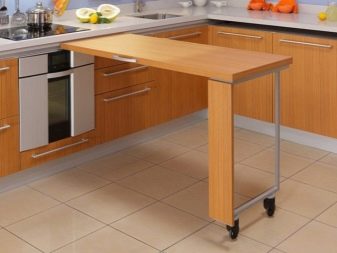
- Folding, folding, retractable varieties. When the kitchen is very scanty, and nevertheless you want to use the bar counter, you should think about making a swivel, folding, retractable or folding structure. In the form of an additional place where you can have a snack, they will be just right, and if necessary, they will serve as a work surface.

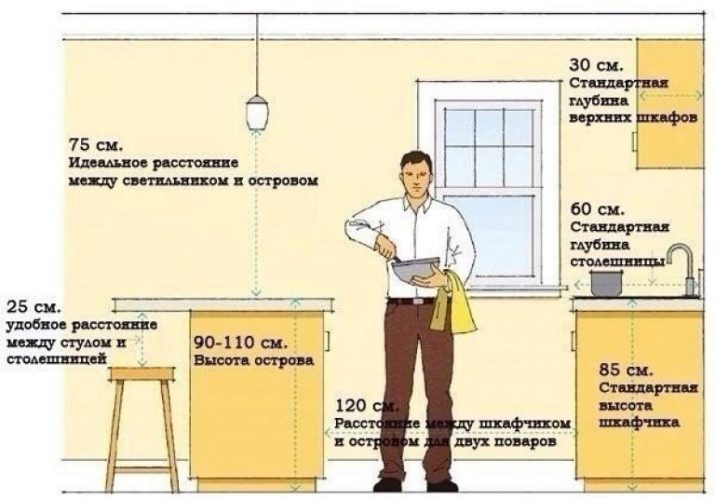
The number of legs at the bar can be different. Here everything is determined by the dimensions of the table top in length and width. For short racks, one leg will be enough. There are no strict standards in the choice of dimensions. But there are some recommendations, non-compliance with which adversely affects the final result.
According to the recommendations, the optimal height of the rack is considered to be the distance between the tabletop and the floor of 110-120 centimeters. The smallest tabletop width is 30 centimeters, the ideal size is 50-60 centimeters. It is necessary to calculate in advance the length, number and configuration of the legs. There are no standards in size.
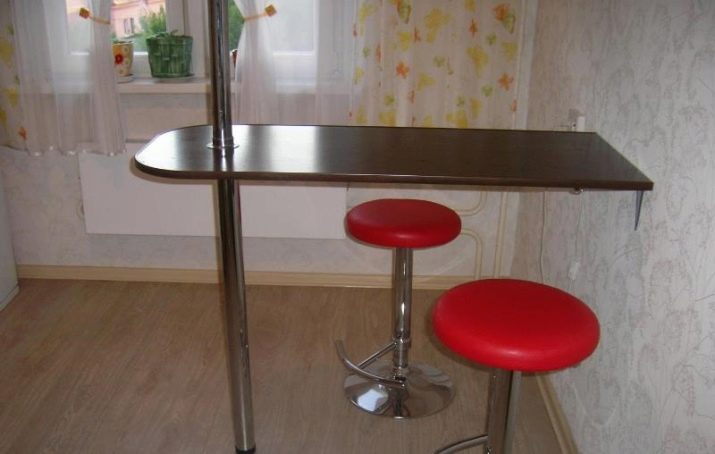
Classic bar counters in the kitchen involve the installation of countertops on bedside tables, but ordinary structures in which the countertops are fixed to a long pipe placed from floor to ceiling are most in demand. In the classical form, the stand is almost never practiced. Owners today mainly prefer multifunctional counterparts with various bedside tables and cabinets.
Materials and tools
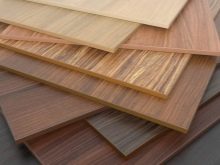
In order for a bar counter to appear in your kitchen, you need to decide on the choice of material for its creation. For these purposes, you can use: wood, glass, chipboards, natural or artificial stone, metal and a combination of these materials. Corin oak, which is quite durable and available in a wide range of colors, is used in most cases for finishing the slab for the table. From it, you can easily create the desired configuration, suitable for your kitchen.
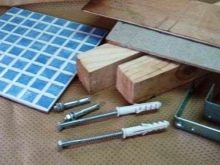

When preparing the rack for use, the space above it should be used correctly and attractively. Shelves and awnings for glasses, fruit baskets, napkin holders can be located here. Having built such a functional "tree", you use free space and decorate the room beautifully. So, for work, you need to prepare the following materials and tools:
- level;
- electric hammer drill;
- metal profiles;
- gypsum plasterboard sheet or other material from which the rack will be constructed;
- dowels;
- self-tapping screws;
- screwdriver;
- putty;
- a grater for leveling putty;
- putty knife;
- paint;
- knife;
- cutter;
- sealant;
- electric iron (gluing edging material);
- roller, brush and paint tray.


Manufacturing instruction
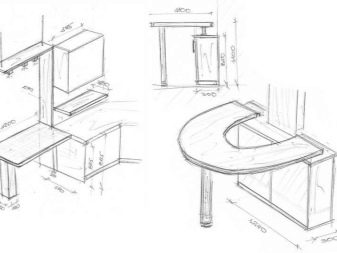
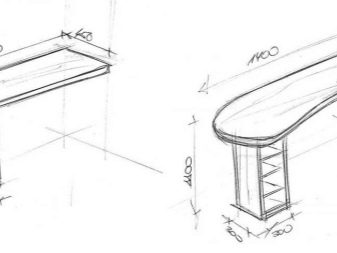
Having decided on the type and having completed the necessary measurements, the future structure must be sketched on paper in the form of a sketch or drawing. It should contain the layout of the premises (in our case, the kitchen, where the bar will be located). The fulfillment of these conditions will make it possible to correctly calculate the size of the furniture. Moreover, the drawing will visually show to what extent the rack fits harmoniously into the overall design.
Let's analyze several possibilities of creating a bar counter from different materials with our own hands.
Countertop stand
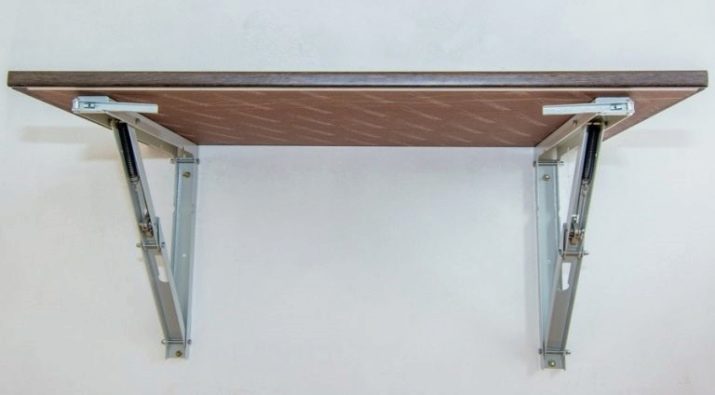
This method is the most unpretentious, within the power of everyone. To work, you will need a piece of the lid from the table, 2 brackets for cantilever fastening to the wall and an iron support for the free end of the lid. Installation work is carried out in stages. The fixing points of the fasteners for the table plate are marked on the wall.In height, they must coincide with the height of the metal support, otherwise the surface will come out non-horizontal.
The free end of the table top is cut off in the shape of an ellipse (or the corners are rounded off). A self-adhesive furniture edge is glued to the end, the edges are processed with fine-grained sandpaper. The iron support is mounted to the table top. Then the table cover is fixed on the wall, the support aligned to the building level or plumb line is fixed to the floor surface. Ultimately, the result is a cantilever dining table, however, this design has its advantages - it seems light, does not clutter up the kitchen space.
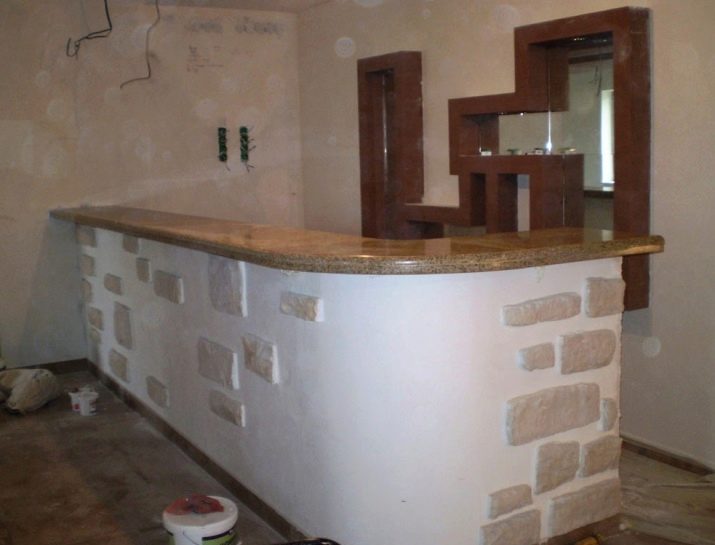
Plasterboard construction
This building material has its own set of parts, making it possible to obtain a supporting structure of almost any level of complexity. Possible soft curved lines or non-orthogonal versions of the rack. In this plan the material is very promising and makes it possible to construct ingenious structures at your discretion.
At the same time, only metal guides can be used, and the constructed structure can be revetted with other materials, for example, fiberboard. This choice makes it possible to sheathe curved planes without "steps".
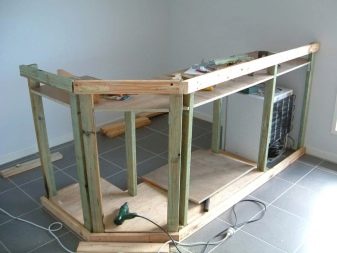
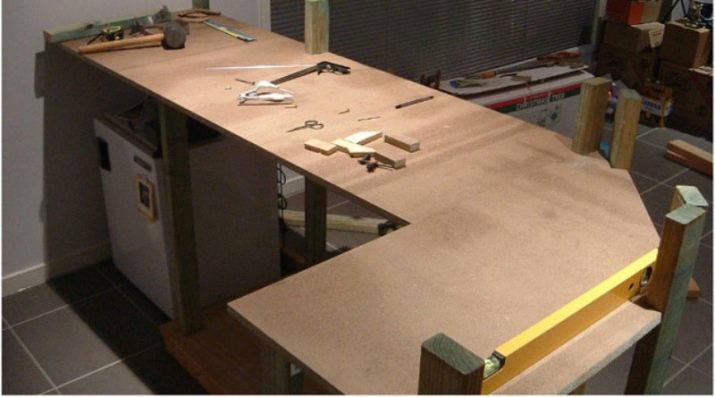
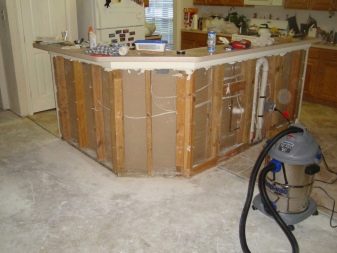
The frame is erected in accordance with the project and assembled according to the rules for working with guides for drywall sheets... To increase the speed of work, all elements of the supporting structure are pre-cut to size. Its assembly is carried out on self-tapping screws. The assembled structure is placed on the floor and attached to it and to the wall. If the configuration of the rack is complex, then sometimes it is more comfortable to first sheathe the crate inside, then put it in place, fix it, and then perform the sheathing on the outside.

On the side of the kitchen, as a rule, an open-type shelf or a bedside table closed with doors is erected. If you don't want to fiddle with hinges or lining the inner part, then you can create a closed a blind pedestal, performing only the duties of the basis for the table top.
If necessary, a visor or cornice is included in the package. A stand with a visor looks more collected, interesting and is a common solution. All kinds of accessories for hanging glasses, lighting, and other mounted components are mounted on it.
The visor is fixed in a cantilever way to the wall, and the free edge is based on a bar tube rack mounted on the table top. For the installation of the bar pipe, specialized fasteners are used, which are purchased together with it. The diameter of the pipe is selected independently, in accordance with the proportions of the rack. The finished frame is sheathed with plasterboard.
The corners are reinforced with a specialized metal corner with perforation or a nylon fiber mesh, which are subsequently hidden under a cover of putty. The entire surface is cleaned, at first with coarse-grained, after fine-grained sandpaper, everything is painted over or covered with wallpaper with shades of the same color as the walls of the room. The table top is mounted at the end of the process (before installing the canopy). It is fixed from the inside of the bedside table to the corners or screwed on with self-tapping screws.
Wooden bar counter
The manufacture of a bar from wood is carried out in several stages.
- Assembling the curbstone. To do this, you need to assemble, according to the existing drawing, a supporting structure from a bar, then cover it from the outside with plywood, chipboard, boards, clapboard or other materials.
- The curbstone, assembled from panels according to the principle of mounting interior doors, looks effective, only this requires a large number of wood processing machines, which is not available to everyone.
- Facing. The most common way is finishing with a strip, planed boards or clapboard.For fixing, thin carpentry nails, specialized brackets made of stainless or galvanized steel for lining, thin self-tapping screws are used.
- Cabinet finishing. For this, varnish, stain and paint or other facing materials are used. The optimal material is water-dispersion parquet varnish. It is durable, odorless, dries quickly and effectively protects the cabinet from environmental influences.
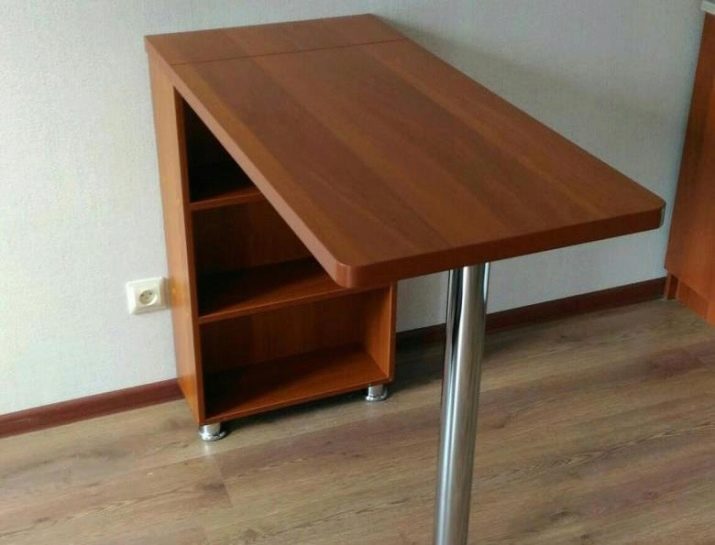
Rack made of laminated chipboard (chipboard)
The use of a laminated board for the manufacture of the support bedside table greatly simplifies the finishing and does not need to create a support structure, since the entire rack is self-supporting. For the construction, you will need the following.
- Cut the laminated board into assembly elements according to the project.
- Glue the furniture edge. This is most easily accomplished with an iron set at slightly above average temperature. The edging is required with a pre-applied layer of glue. After gluing, all excess is carefully cut off with a knife, the corner is slightly sanded with fine-grained sandpaper so as not to scratch the outer surface of the chipboard.
- The assembly of the curbstone is carried out on euroscrews, furniture ties or corners. The selection of fastening material depends on the availability of tools and experience with laminated particle board. The most unsophisticated way of joining is corners, the most difficult is furniture ties.
- Installation of the finished cabinet can be performed without fixing to the wall, only to the floor. Because the curbstone itself is quite stable, it is not necessary to fix it to the wall, however, it all depends on the dimensions. A high, but not having a great depth, the rack will require as much strong fixation as possible, which allows mounting on the wall.
- The installation of the visor is carried out in this order: the bottom (cover) is cut out according to the shape of the cover. Further, side elements are fixed on it, visually adding the thickness of the cornice and covering the electrical wire from the backlight. Holes are drilled for the lamps. The fasteners are attached for mounting on the wall.
- The table plate is fastened to the corners inside the bedside table. The visor is fixed to the wall and rests on a support from a bar pipe installed on specialized fasteners. The backlight wiring can be run along the wall or in the back of the pipe support.
Accommodation guidelines
There are several ways to place the rack in the kitchen.
- It can be practiced for zoning rooms, usually when talking about studio apartments or kitchen-living rooms. The tall design is a good functional and visual divider that delimits the cooking and resting space.
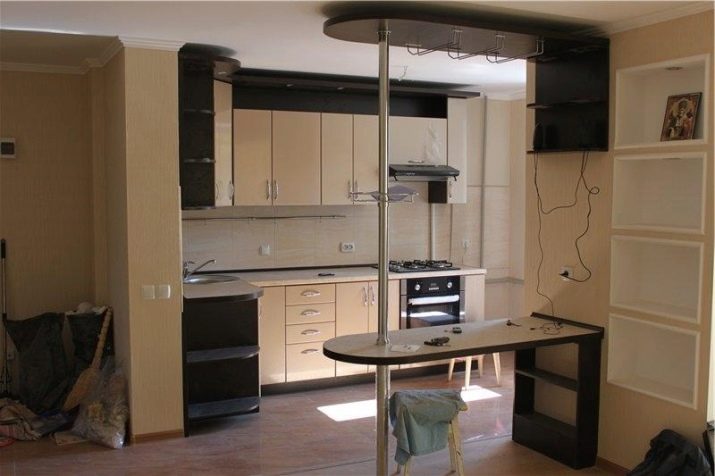
- If the kitchen area is small, then use this technique: place the stand autonomously in the center of the kitchen in the form of an "island". This will create a bright accent in the room that will attract everyone's attention.
- Use a very popular way to place the counter in the kitchen - extending the headset. So, it can be the original end of a kitchen unit or stay in its center.
For small kitchens that connect to the dining room or living room, the first method is practiced to divide the space.
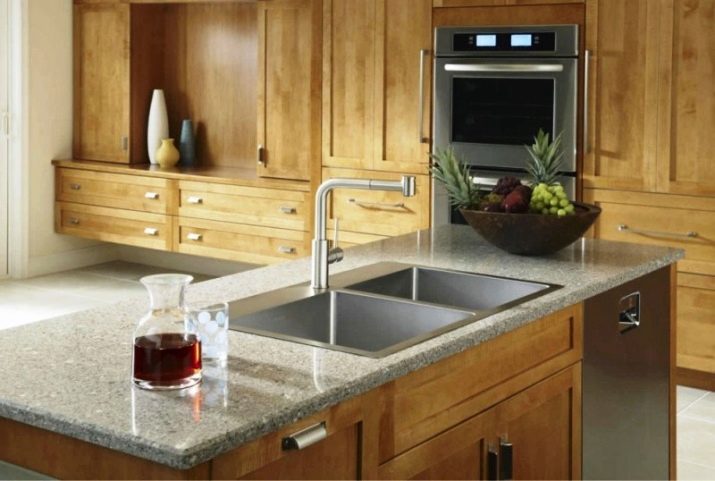
- For large kitchens, you can use an unusual way of placing the counter - something like a kitchen island. Place a hob or sink on it.
For information on how to make a bar counter for the kitchen with your own hands, see the next video.


