LED strip for the kitchen under cabinets: tips for selection and installation
LED lighting is not only an element of beauty in kitchen design, but also practicality. In addition to decorative lighting, the power of modern LEDs makes it possible to illuminate a chef's workplace no worse, and sometimes even better than fluorescent lamps. With the same wattage from LED strips and floodlights, you will receive up to 5 times more light than from similar incandescent bulbs.
How to choose?
The criteria for choosing an LED strip are as follows.
- Waterproof. An LED strip that does not have effective protection against splashing water, in the event of drops, can cause a short circuit and cause a fire. The degree of protection against water vapor and splash is indicated by numbers after the letters IP. The rating scale against water splashes is from 0 to 99: IP33 - the tape has no protection against water, IP65 - partial protection from the side of LEDs and current-carrying paths, IP67 and IP68 - protection from moisture on both sides.
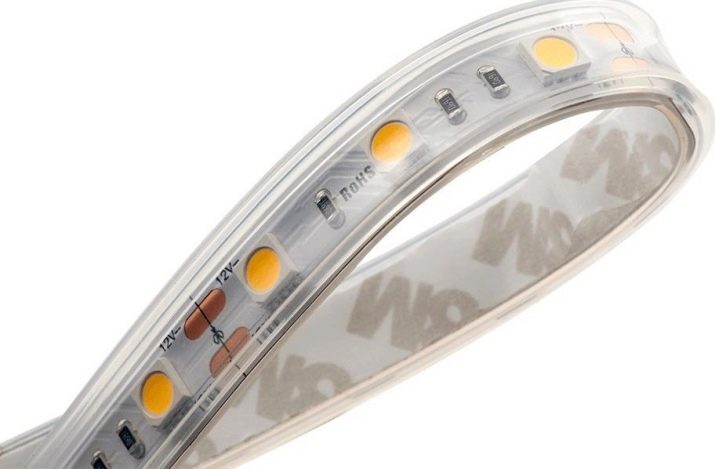
The unprotected type IP33 requires a special shade, box, transparent hose or silicone coating that wraps around the entire tape.
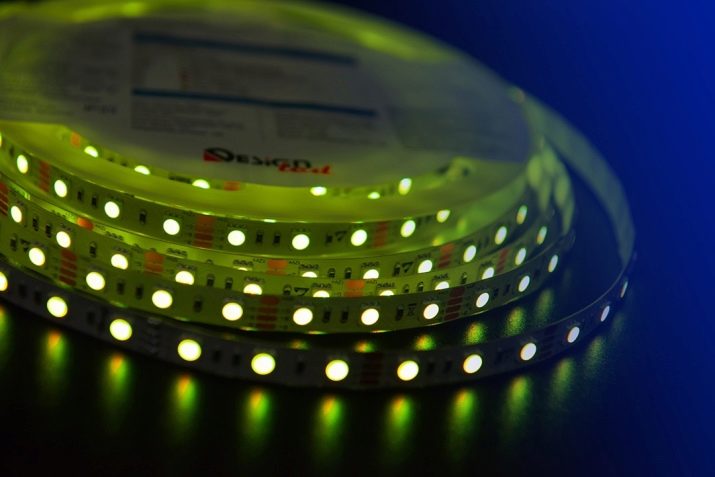
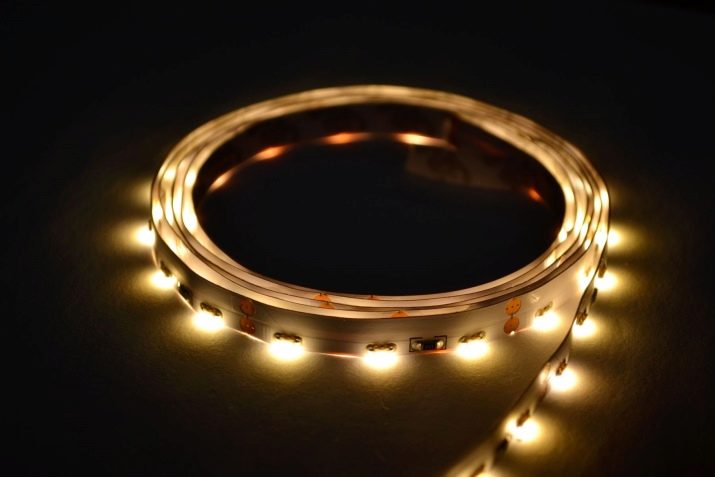
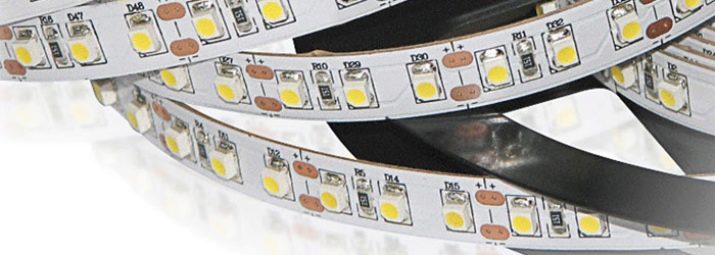
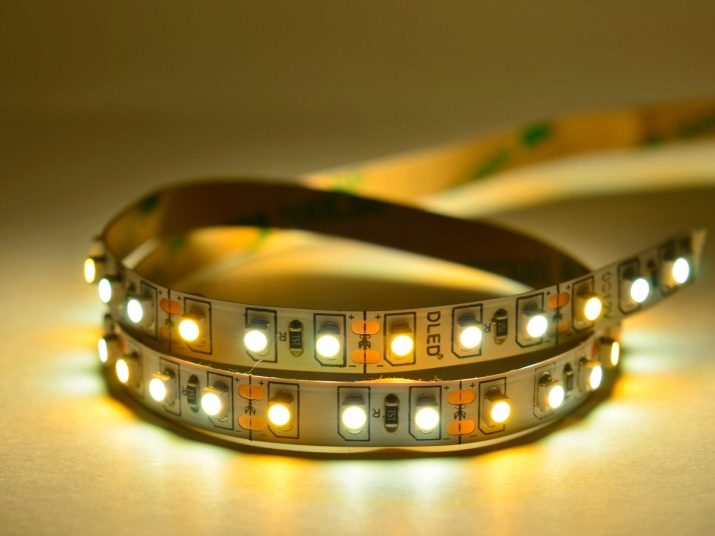
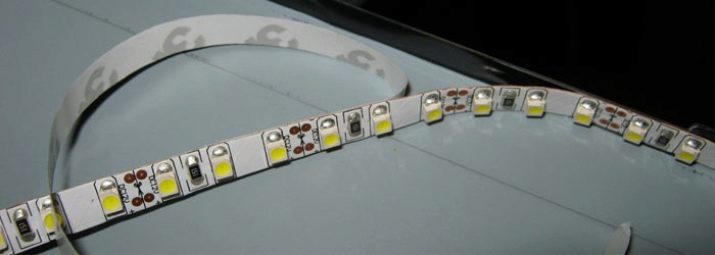
- The number of LEDs per meter of tape. The tape is produced in the form of small clusters of 3 LEDs connected in series, but the clusters themselves are connected in parallel using a common bus. There are strips with the number of 30, 60, 120 and 240 LEDs per linear meter. The more there are, the greater the output brightness and the total power consumption of each meter. To illuminate a kitchen or a room, 30 or 60 pieces are enough for each meter; full (working) lighting requires 120 or 240 LEDs.
- Glow angle. Work lighting most often requires an angle of 30-90 degrees - for example, to illuminate a table under kitchen cabinets. Decorative, visible to everyone who enters the kitchen, may require an angle of 120 degrees.
Power consumption by different tapes
| LED marking | LEDs per meter | Take-up power, W / m |
| SMD-3528 (3.5 * 2.8mm) | 60 | 4,8 |
| 120 | 9,6 | |
| 240 | 19,2 | |
| SMD-5050 (5 * 5mm) | 30 | 7,2 |
| 60 | 14,4 | |
| 120 | 28,8 |
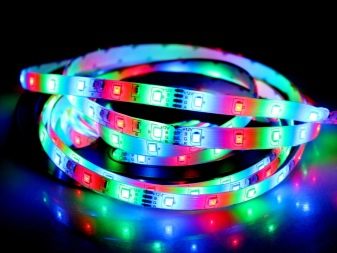
Monochrome tapes have a maximum lumen output. Three-color RGB diodes have a different luminous flux - its value varies depending on the control electronics supplying different supply voltages to the corresponding elements.
Decorative light is also used as an emergency lighting at night.
Matching by color
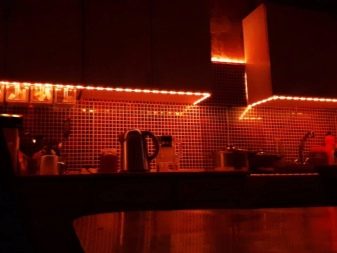
If you are looking for a specific color, LEDs are available in all seven primary colors of the rainbow today. Choosing, for example, blue, you will make sure that the meat layers of the ham or sausage are colored in black-violet shades, and in red light they will appear whitish, and not a bright red hue.
In white diodes, ultraviolet radiation is blocked by a thin-film phosphor coating, causing the latter to glow in UV rays with a white tint. The principle of operation of fluorescent lamps is also based on this.
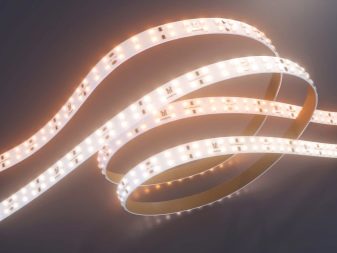
Colour temperature
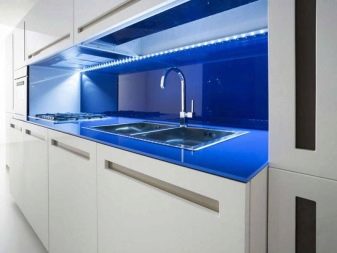
Shades close to white are labeled based on the color temperature. They can be from yellow-orange (2500 K) to blue (7000 K). The chosen shade depends on the interior of the room: you are unlikely to choose white light with an admixture of violet or blue for furniture kept in warm shades. If, on the contrary, the contrast of the design is emphasized or you want to change the shades of furniture and walls, you will do the opposite: light beige furniture in a bluish light can turn light turquoise.

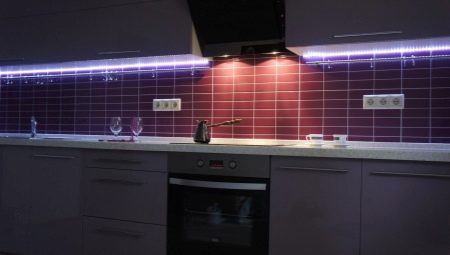
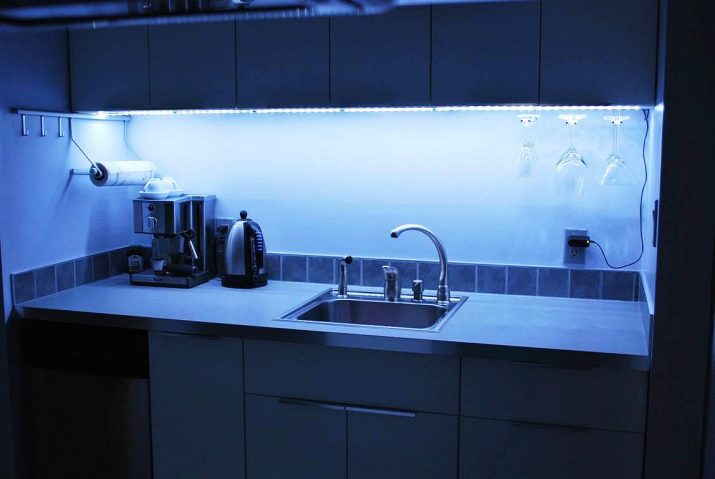
Where to place which tapes?
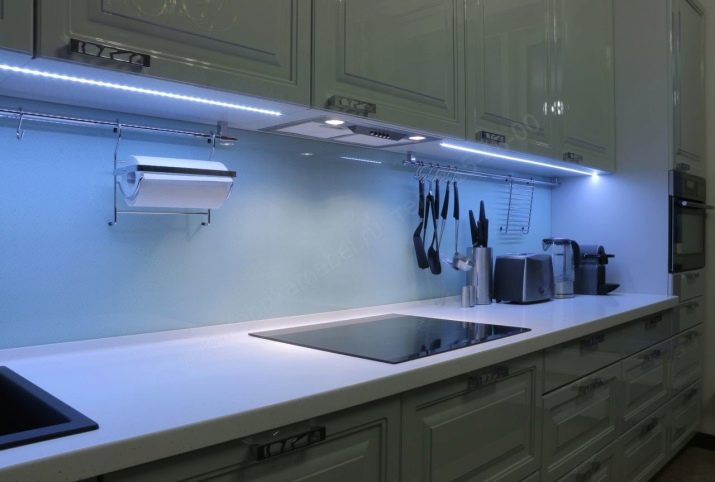
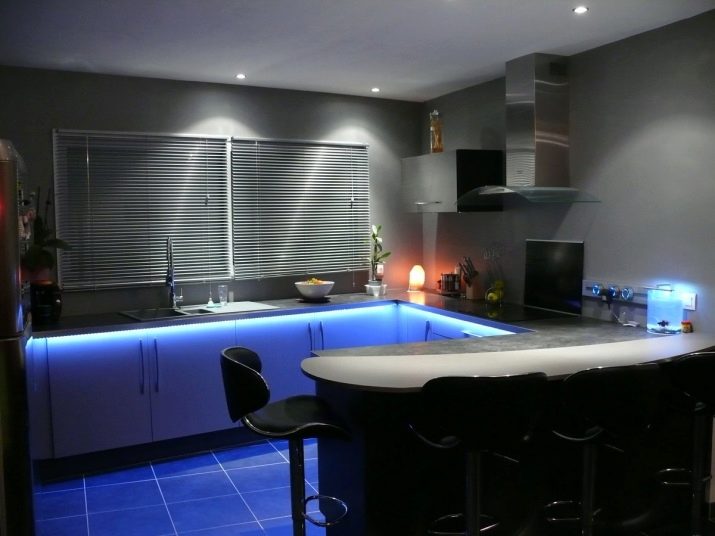
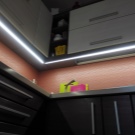
White stripes are positioned above the work area either as a general (overhead) light on the ceiling or just below it.
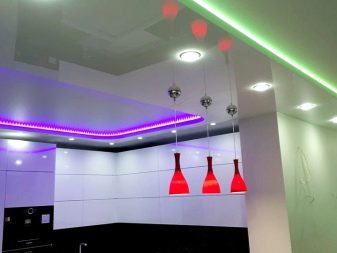
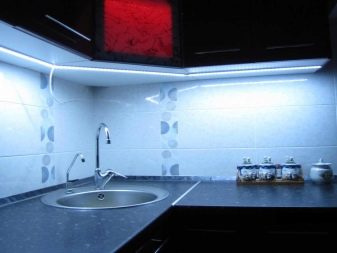
Decorative - around the perimeter of furniture, for example, when you need to highlight the kitchen cabinet itself or the lower cabinets, table and sink. In some cases, decorative tape illuminates the floor around the perimeter - such tapes are placed at the bottom of the kitchen unit.
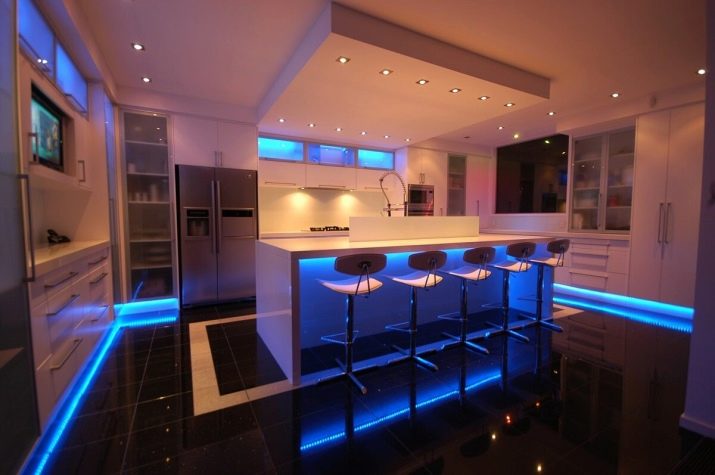
A shiny (porcelain stoneware, tile) floor reflects such light well, decorating the kitchen with the chosen color of the LED strip.
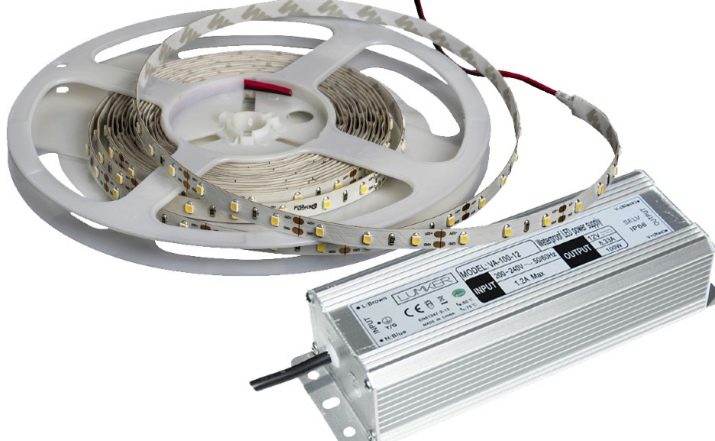
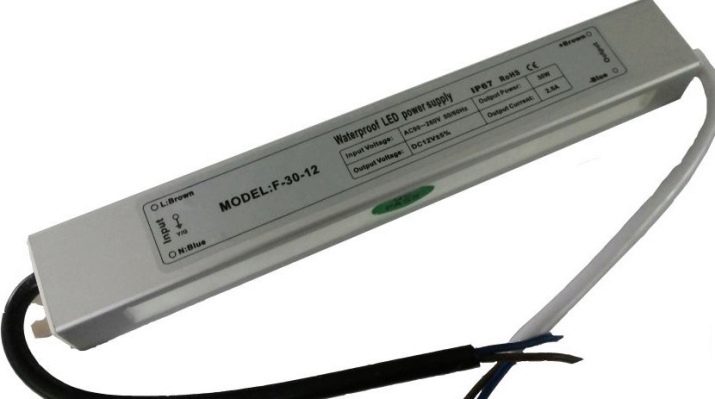
Power supply
The powers of the power supply unit and the LED strip are matched. For example, a 12 Volt power adapter that produces (as described) a current of 2 Amperes, which corresponds to the declared power of 24 Watts, must power 5 m of SMD-3528 LED strip (3.5 * 2.8 mm) with 60 diodes each PCS. / m. Exceeding the calculated power by at least 1.5 times will lead to the fact that the light from the worker will become decorative. And although lowering the maximum operating brightness to moderate indicators will extend the life of the LED strip by up to 20 times, overloading the power supply will soon fail due to constant overheating. To extend its service life, they take power with a 20-25% margin - for example, for the same 5-meter tape, the adapter power is chosen at least by 30 W.
It is unacceptable to plug the LED strip directly into a 220 V household outlet - the strip will immediately burn out. It is undesirable to feed the tape with an alternating voltage of 50 Hertz from a step-down transformer without a rectifier diode bridge - the flicker is noticeable out of the corner of the eye and will be annoying.
What's the best power supply?
For the kitchen, like the LED strip itself, the power supply is chosen to be waterproof. The best solution is a power adapter with a case in the form of an aluminum radiator. In the circuit of a high-quality adapter, a stabilizer (driver) works, which prevents the tape from overloading from power surges in the network.
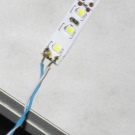
Connection diagrams
Do not connect two 12V LED strips to a common 24V adapter, or 4 to a 48V adapter, 20 directly to an outlet. When one of them breaks down, the rest will take on a voltage greater than the calculated one - and will also burn out.The whole scheme will fail, like a collapsed house of cards.
The fact is that two different LEDs, even from the same batch, in terms of the exact optimal value of the supply voltage, always differ from each other by hundredths and thousandths of a Volt... In order for several LEDs from one cluster to work for the declared years (in hours), the responsible manufacturer uses a tolerance for the ohmic resistance of the damping resistor that is slightly higher than its real (calculated) value. And he does not always guess: in tapes, although rarely, individual clusters fail.
In order for several tapes to work optimally, a current amplifier is connected to each of them, which maintains a single mode for all tapes receiving voltage from one power supply.
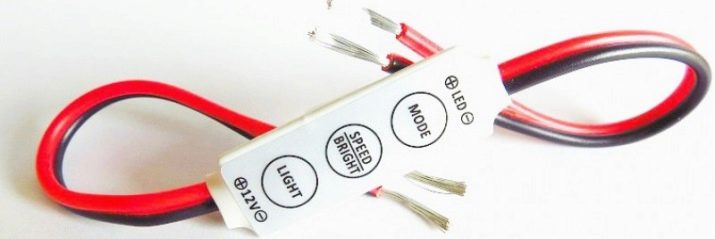
For a time-varying luminescence mode, a dimmer is used - an additional driver that smoothly regulates the luminous flux of each of the tapes. It is based on pulse-width control boards (PWM controllers), which set the optimal width of current pulses - the LEDs work with them without overloading. RGB strips have 4 pins: one is common, three others are for each of the colors. They are connected to a microcontroller that regulates the luminous flux of each color.
Several tapes longer than 5 m are connected in parallel. If the power of one power supply unit is not enough for all devices, and the circuit provides for controllers, then a separate power supply unit is used to power them.
Recommendations
- Do not connect the tape "back to front" - it requires strict polarity.
- The maximum length of the connecting line between the power supply and the tape is 10 m. Otherwise, wires with a cross section of more than 1 mm may be required, or the brightness of the light will drop due to current losses in the connecting line.
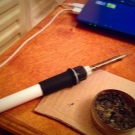
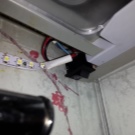
- Do not bend or twist the tape. A sharp bend is done by soldering with pieces of the same wire that comes from the power supply.
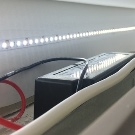
- It is advisable to hide a tape of high power in an aluminum box.
- The power supply unit is placed in a well-ventilated place - then it will not overheat.
- To exclude possible overheating of the LEDs, the tape is placed on a special heat-conducting substrate. An aluminum box is the best solution.
- Place narrow-beam LEDs farther from the wall - to avoid an uneven border between the illuminated and shadowed areas.
- If the lighting is set up as a working one, it is advisable to abandon the matte lid on the box: it not only scatters light, but also absorbs part of it, which will negatively affect the efficiency and will require high costs for such lighting.
Installation sequence
In addition to LED strips, a profile (or box), a power supply, wires and possibly a controller, amplifier and dimmer, you will need the following tools and consumables:
- jigsaw for cutting out slots for profiles;
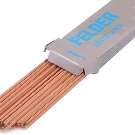
- soldering iron and rosin, solder, flux;
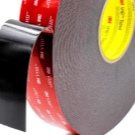
- double-sided tape and electrical tape;
- scissors.

Having prepared the necessary tools, do the following:
- if a tape of low power with an adhesive layer on the back (invoice) - stick it directly on the cabinet, before that degreasing this section of its surface with alcohol or simply washing and drying the cabinet before installation;
- lead the cable to the connection point, removing it from prying eyes as much as possible, using for this the boundaries of the transitions between the cabinet and the wall, or leading it from inside the cabinet;
- to mask the tape, hide it with a profile or box, similar in color to the cabinet;
- mount the power supply (and other electronic components, if needed);
- lay a separate box for the cable that matches the color of the wall;
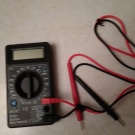
- connect all the wires, use a tester to check the circuit for a short circuit, then turn on the assembled system.
If all devices are in good working order, the lighting will work.
For the installation of LED strip in the kitchen under the cabinets, see the video below.


