How to make a cake mold with your own hands?
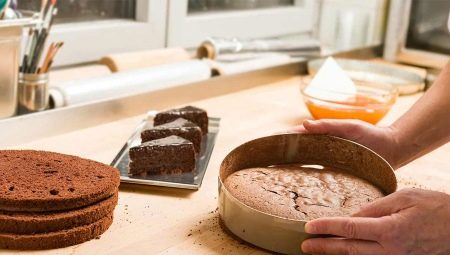
Not every housewife regularly prepares cakes with her own hands. Therefore, not every home has special convenient containers for baking. And sometimes the existing ones are not quite suitable in size for a particular plan. Therefore, having ignited the idea to please loved ones with a sweet masterpiece, many are faced with the problem of how to make a cake mold with their own hands from improvised means. There are various options for solving such a problem at home.

Foil
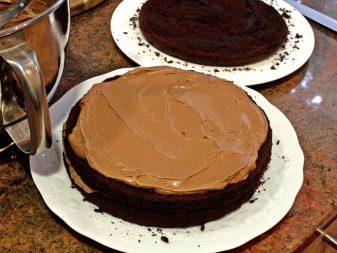
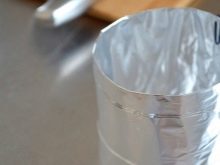
As practice shows, if you wish, you can create a sweet masterpiece without resorting to using special baking accessories. To achieve what you want, you need a little imagination and the most ordinary materials that every cook has at hand. If there is no shape, you can bake a biscuit with the help of foil, which is available in any kitchen. As a basis for creating a suitable container, you will need a saucepan or other kitchen utensils with the required dimensions. Foil is put on it. The walls are sealed and secured with a stapler.
When working, you should handle the foil carefully so as not to accidentally break it. If an impromptu cake maker is to replace a special detachable one, one seam can be left unsealed.
The workpiece must be made of sufficient thickness so that it does not creep under the influence of the mass of the dough while pouring it inside. Pre-grease the baking dish with oil.
Parchment
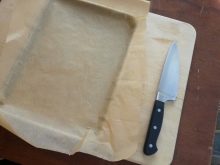
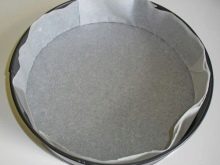
As in the case of foil, a rigid base will be required to give the desired look to the parchment container-cake maker. Wet baking paper is applied on it in several layers, carefully pressed and compacted.Then the resulting structure is placed in a warm place to dry completely. When this happens, the paper can be detached from the pot or jar that is being used. Thus, a disposable cake mold is obtained.

Plastic bottles
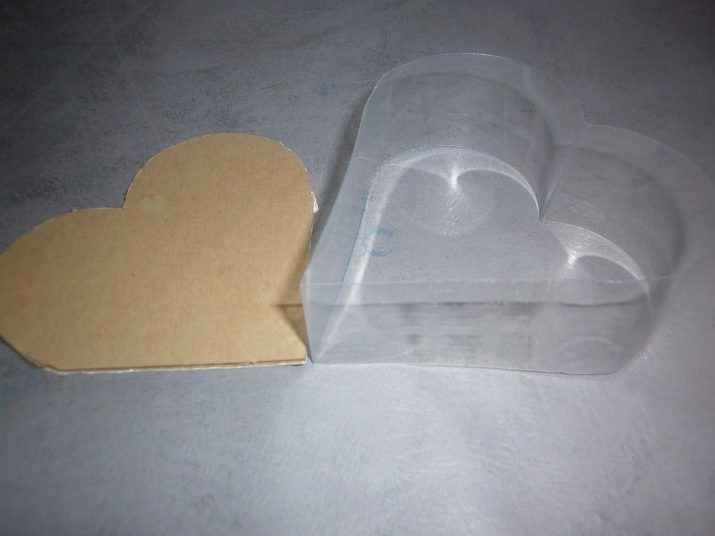
To make a heart-shaped cake, you can use plastic bottles with a volume of 1.5-2 liters. You will need 2 identical bottles. From them you need to separate the bottom and upper parts with a neck. After cutting each bottle along the length, 2 rectangles are obtained. They are fastened with a stapler in such a way that a heart shape is formed. However, nothing prevents you from making an ordinary circle, which is set on a baking sheet.
Cans
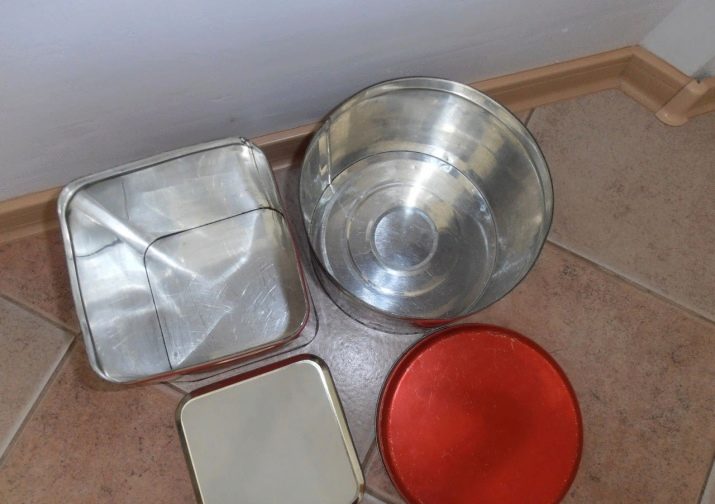
This material can be used to create a reusable form. For work you will need:
- tin (aluminum) cans;
- scissors for metal;
- pliers;
- ruler.
The bottom and top of the cans should be cut off with scissors. Cut the workpieces vertically and straighten them.
Give them the desired height and connect them so that a circle of the required diameter is obtained. The edges of the plates are fastened very carefully so that the finished cakes can be easily removed.
Cardboard
To create a container you need to use:
- cardboard and paper;
- stapler;
- scissors.
A rectangular bottom is cut out of cardboard for the future cake. The walls are prepared from paper. The resulting paper strips are fastened together and to the bottom. Place parchment inside the container before baking.
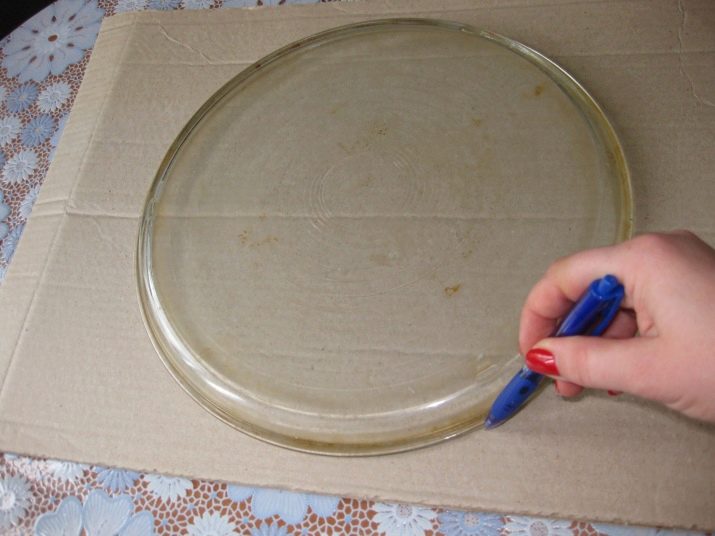
You can use any thick cardboard and scotch tape instead of a factory baking container. It is not even necessary to make the bottom of the cake dish, as in the previous case. This can be done with a regular baking sheet.
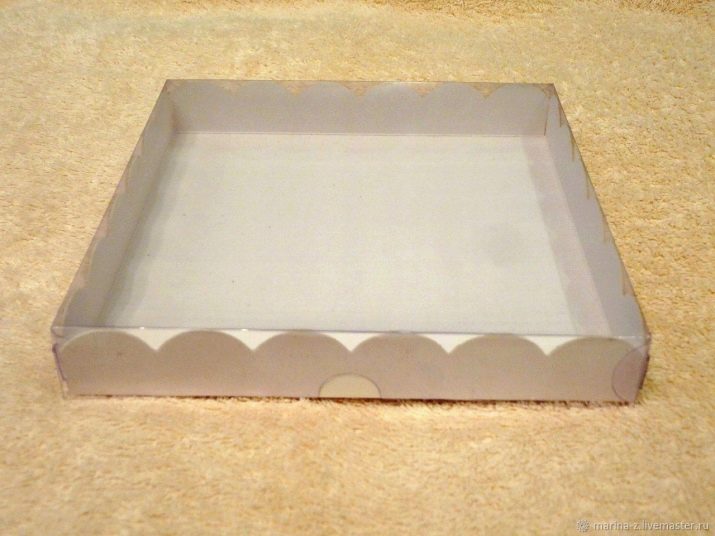
With this approach, walls are built up with the help of cardboard, allowing baking cakes of the desired height. Four rectangular pieces without a bottom are connected with tape. To prepare the cake without contact of the dough with the materials of the impromptu cake maker, it is previously recommended to tighten it with cling film.
Plastic folders
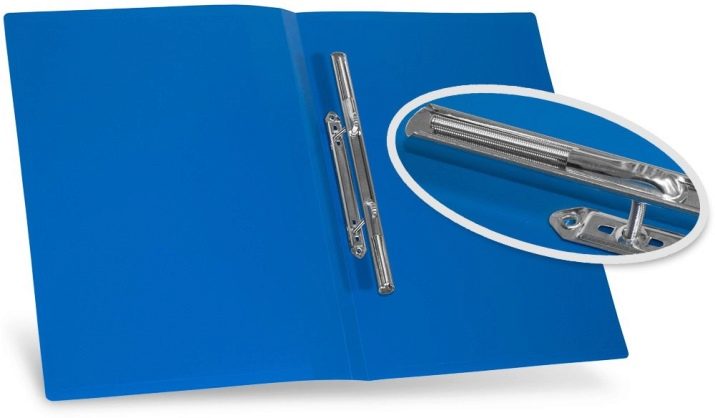
Stationery works well when assembling a cake. A middle with a fastening part is cut out of the folder used, with which the paper is fixed inside. On one side, the plastic sheets are stapled together. On the other hand, they can be secured with tape. This will make the form detachable. It will be easy to remove after the formation of a ready-to-eat dessert.
How to make a cake mold out of the box, see below.


