What is quilling and how to make crafts?
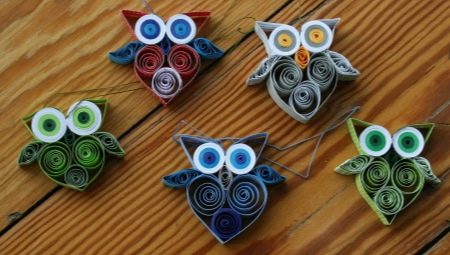
Quilling - paper rolling. Thanks to this technique, beautiful compositions appear. To facilitate the wrapping process, there are special tools and forms.
What it is?
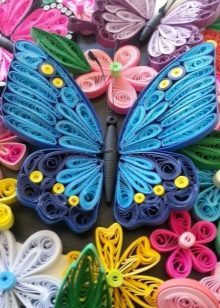
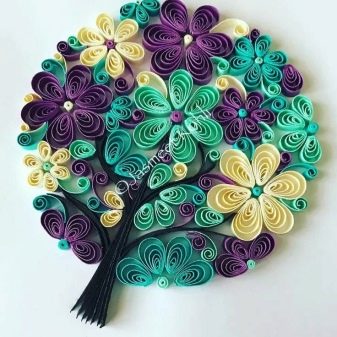
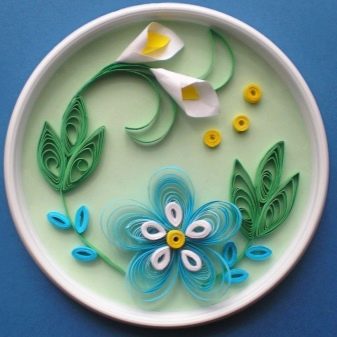
The definition of quilling is a technique for creating flat and three-dimensional shapes from curled paper. They come in various forms, with many ideas (baskets, postcards, trees, flowers).
History of origin
Quilling first appeared in the Middle Ages. From scraps of book sheets, figures were twisted at the end of a bird's feather. That is why the paper twisting technique came into being. Initially, this craft belonged to churches and noble ladies (as a hobby).
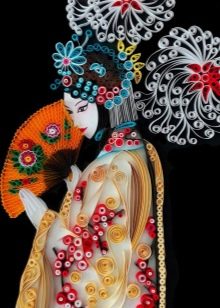
This art is popular in many countries. The compositions have clear differences from each other. In the East, this is the weaving of complex compositions, in Asia - hand weaving without the use of forms. In Russia, they learned about quilling only at the end of the 20th century.

Species overview
Roll paper in the following styles.
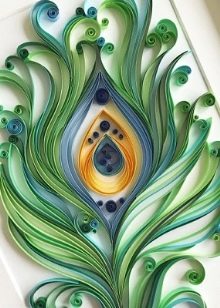
- Hasting - an image on a plane from a mosaic. They decorate postcards, albums, paintings.
- Volumetric and flat figures.
- Corrugated willing - volumetric models from packaging material (from several layers of ordinary cardboard).
- Contour - using strips of paper to create compositions. They are bent to obtain the desired shape by gluing to a plane at right angles.
- Loopback - openwork stripes obtained by wrapping on a comb with sharp needles.
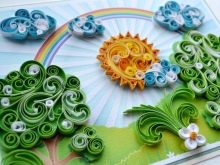
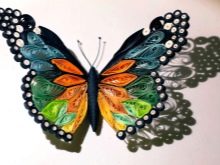
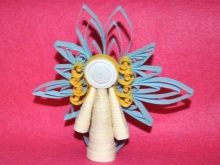
Any of the techniques can create a beautiful composition. Here are just some patterns and figures are made with the help of certain devices, which is why it became necessary to subdivide quilling into types.
Tools and materials
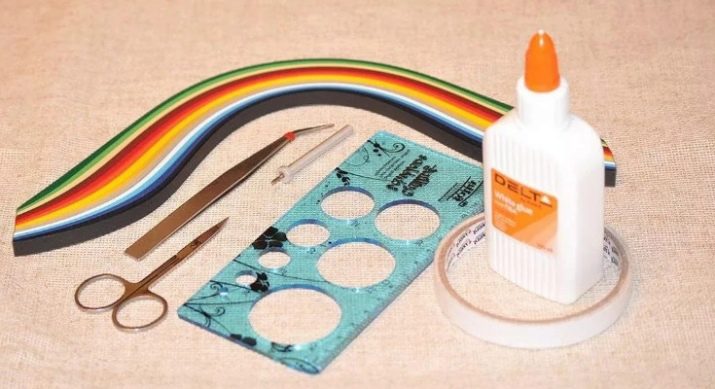
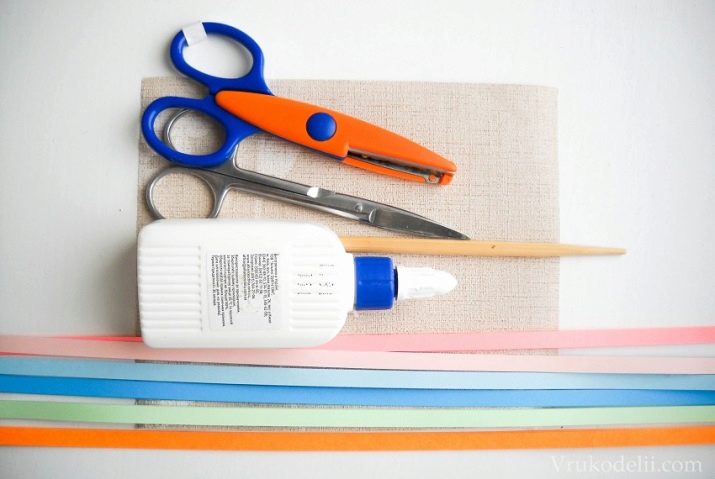
To create volumetric figures, you need to have special devices:
- strips of newspaper and paper sheets;
- cardboard for the base;
- an awl for twisting;
- PVA glue;
- scissors;
- tweezers and sticks to help for better grip;
- ruler stencil;
- pencil for drawing shapes;
- comb - in loop quilling;
- pins for fixing figures on the plane;
- double-sided paper;
- crimper for creating corrugated cardboard shapes.
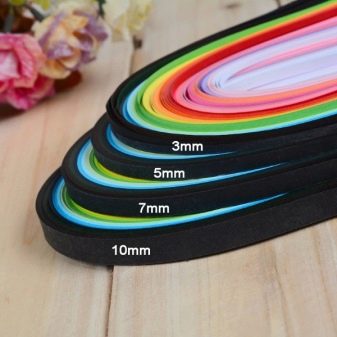
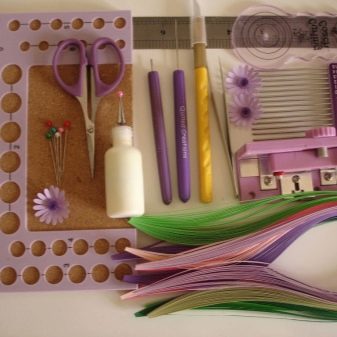
The tools can be purchased individually or as a set. To complete the composition, you may need floss, ribbons, beads.
Main elements
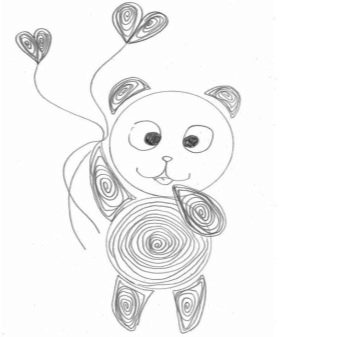
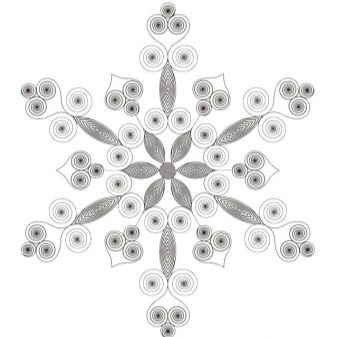
Curling paper assumes basic shapes. They are divided into open (curls, waves), closed (drop, month, tubes) and geometric (various shapes). The finished elements are attached with glue to the base. Stencils and charts help create a clear composition.
Open
The difference between open forms is that the edge is not secured:
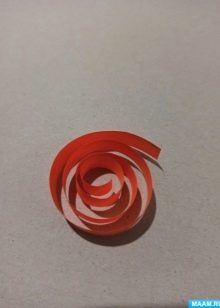
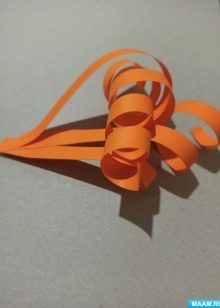
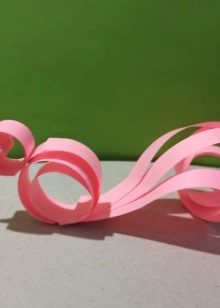
- curl - the paper strip is rolled into a roll, gradually weakening and forming a curl;
- ribbon - twisting on both sides in different directions;
- c-element - plexus in a roll in one direction;
- v-element - folding the paper strips in half, curling tightly outward;
- heart - strips in half, wrapping inward and gluing;
- branch - bending the strips in half, twisting in one or different directions.
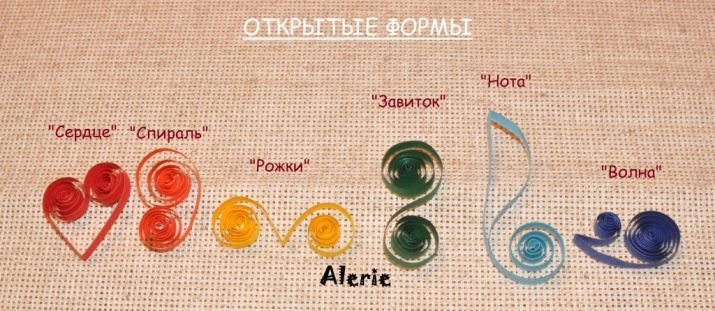
With open elements, you can create an easy composition.
Closed
Private elements:
- tight roll - they are formed using a roll, the strips are wound on the tool and glued;
- bagel - similar to a tight roll (without gluing - a spiral is obtained), when the strips are weakened, a hole is formed, with tweezers it is necessary to hook the ribbon on both sides to the base;
- spiral bagel - similar actions, but in the center the spiral is not fixed, only the outer edge of the figure is coupled;
- oval - twisting the stripes with a pencil, dissolve the resulting shape (donut) a little, pressing into the center with your finger;
- free roll - dissolve the tight roll, gluing the end;
- a drop - slightly stretch the free spiral from the center, and press down on one of the sides; for a curved drop, you need to repeat the same actions, bending one side;
- petal - similarly to a drop, press down one side for roundness, a curved petal is obtained by fixing and bending both edges of two sides;
- eye - bend the free roll on both sides, achieving a sharp edge.
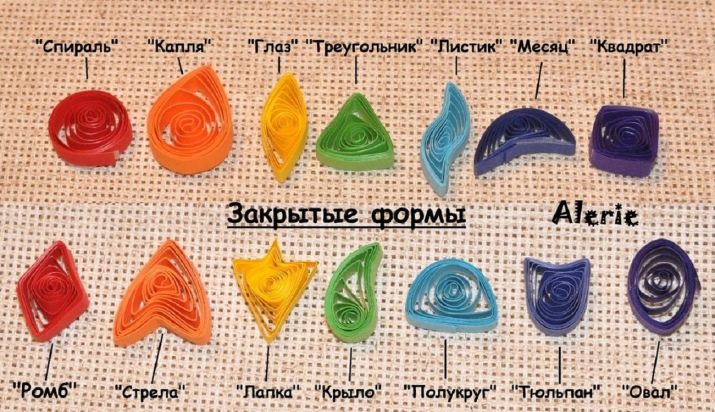
Closed elements allow you to make beautiful compositions: volumetric and flat. This is the quilling base. It is easy to learn how to make closed forms, but skills must be improved.
Geometric
Geometric shapes are part of quilling. They are formed thanks to a free spiral - roll:
- square and rectangle - pressing the figure (tight roll), with uniform pressure, a square is formed, with the effort of pressing on both sides - a rectangle;
- trapezoid - transfer of the edges of the rectangle to opposite sides;
- triangle - compression of the free roll until the desired shape is formed;
- semicircle - one edge of the roll must be aligned by pulling the corners;
- arrow - clicking on the center of the triangle with pulling out the edges.
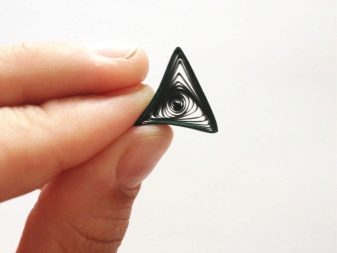
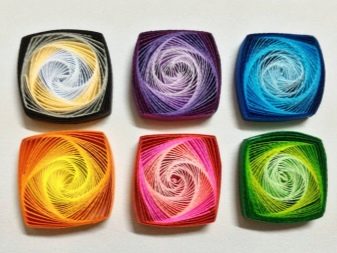
Geometry elements are combined with open and closed. You can experiment to create interesting shapes.
How to make flowers?
The technology for creating flowers is varied. There are easy and difficult ideas.
- the Rose - multi-colored lines, a rod from the handle. Twist a green strip of 30 cm into a convex cone using a rod, delimiting a wavy spiral in a circle. Fix the edge with glue. The core - make a fringe from a wide green ribbon, twist into a roll.


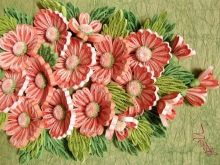
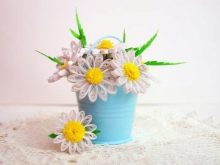
- chamomile - you need white (2 mm), green and yellow (7 mm) lines, glue, scissors, a rod from the handle. White stripes will serve as petals; they need to be twisted into a tight roll, loosening a little at the end. Press down the shape and pull out the middle, pressing, fix the edge with glue (drop). It takes 15 petals. The middle of the flower of yellow and green lines (fringe), cut in half. Glue the stripes one by one, overlapping each other (2 stacks of fringes).Roll two lines of different colors into a tight roll, fix the edge with glue. Bend slightly outward, glue and dry. After drying, fluff the top layer of the fringe. The assembly begins from the core: the petals are glued to it in turn with an acute angle at different levels.
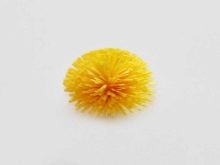
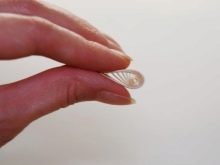
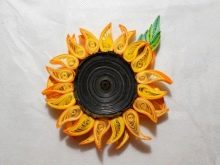
- Sunflower - glue, colored lines, scissors, comb, wire, tubes. Connect 2 yellow stripes with glue, fix on the comb (2 times). You need only 36. For the petals, wrap these blanks with a strip, connecting 2 together - you get 18. A circle with a diameter of 5 cm and a circumference of 1 cm, cut from one side to the middle. Glue the petals from the center of the circle - leaving a distance of 5 mm (you get a cone). Bend the green roll, smearing it with glue. It will be under the petals with a circle. Pass them all through the wire, bend it from above. Wind 10 green petals, attach to a green roll. Twist the brown lines into a roll (4 cm), bend and glue in place of the core.
Hide the wire with a straw.
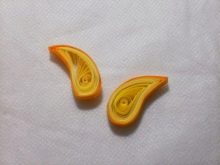
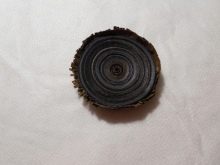
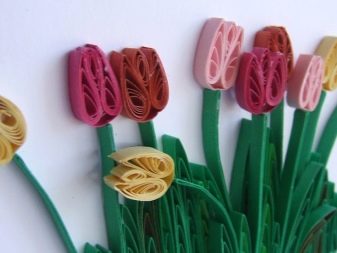
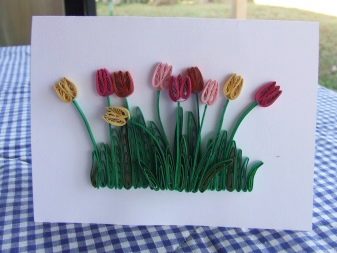
- Tulip - cardboard, toothpick, glue, scissors, colored lines. Roll up the rolls from the lines by gluing the edges. You should get a drop. For a flower you need 3. Green stripe in a plait - a stem. Leaves - a green strip in half, cutting off the bottom and fixing it with glue. Assemble the composition by gluing together.
- Pansies - multi-colored ribbons, toothpick, glue. The process begins with a flower outline. The petals will have the shape of an eye, but of different diameters (1.5; 15 and 30 cm). 5 different petals come out: 1 (2 curved drops, 9 eyes, 2 drops), 2-3 (7 eyes, 2 semicircles), 4-5 (5 eyes, 2 semicircles, 1 crescent). They are wrapped with loose tape, gluing along the edge. Assembling from petals 4-5, then 2-3, last 1. Between them you can put a tight roll for volume. Attach everything with glue.

- Orchids - colored ribbons, glue, scissors, awl, comb. Bud - a hemisphere of a pink ribbon 1.8 cm and green 1.9 cm. Flowers - 2 ribbons of different shades of pink, 3 mm each, twist tightly, loosening up to 30 mm. As a result, it turns out 2 crescents, glue together. Similar actions - 4 crescents, only 32 mm each. Twist a roll of 3 white and 3 pink, 3 mm each, dissolve to 35 mm. It turns out 2 crescents when glued. Glue the petals together.
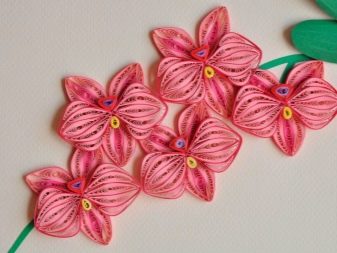
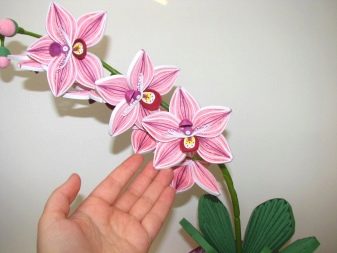
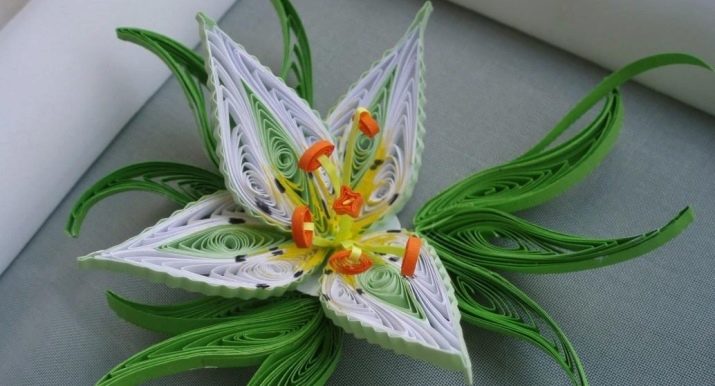
- Lilies - you need to make 4 semicircles (2.3 and 2.7 cm), connect the elements with a free tape. Repeat steps. Then make an eye from a diameter of 2.3, from a larger semicircle (2), connect with a ribbon. Repeat twice. At the base there is a tight roll of 60 cm. Glue the petals alternately to it, starting with small ones. In the center, we attach the stamens from a semicircle to a white ribbon. One flower - 6.
- Poppies - red and black tape, comb, glue. The core is made of a black tight roll, wrapped in a fringe. Petals - wind the tape on the comb, adding a prong with each overlap, glue it together. 4 teeth are enough, fold in half and glue.
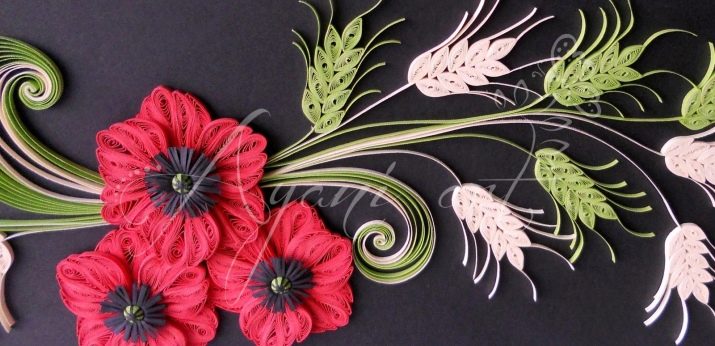
- Peonies - Twist 10 ribbons into a roll, glue the end. You need 10 per flower. Assembly in 2 rows: 5 in the first and 5 in the second. In the middle of the hole, fill it with fringe (roll into a 3 mm roll). Glue the elements together.
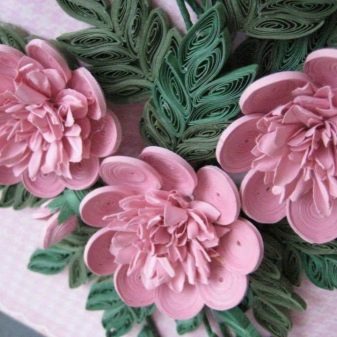
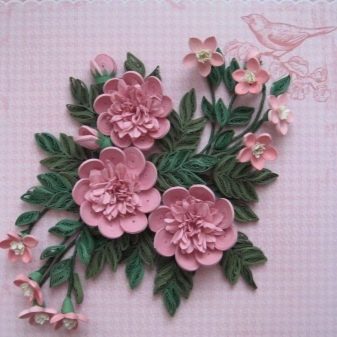
- Sakura - tapes, cardboard, glue, scissors, tweezers, toothpick. Glue pink (25 cm) and white (5 cm). Fold the rolls so that the white ends. Fold out the middle until you get an oval. The core is a fringe of 1 and 6 cm of fringe. Glue the petals first, then the middle.
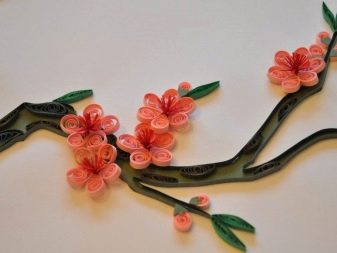
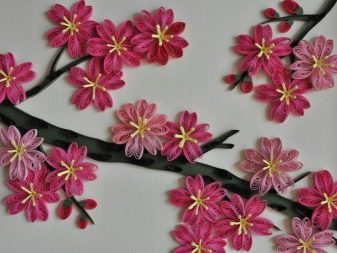
Flowers are included in various compositions, they look equally beautiful in any of them.
Making other crafts
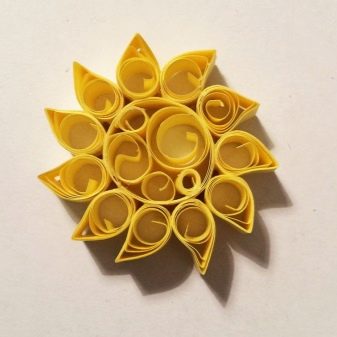
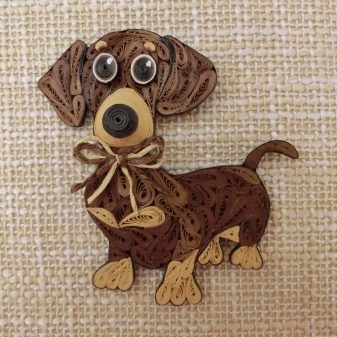
Making light patterns with your own hands does not require special skills. You need to know the diagrams and basic elements in order to create a composition from paper ribbons. It can be as an applique for Christmas, New Year, in a kindergarten (simple work) or for adults (complex compositions). Master classes will help you make crafts with high quality, the main thing is to follow the instructions step by step. Seemingly simple ideas are embodied in voluminous applications: a heavenly motive (stars, moon, moon, sun), nature (lilac, leaves, tree), insects (ant, dragonfly, grasshopper), animals (cat, dog, tiger), birds (sparrow , magpie, swallow), numbers and letters.
Owl
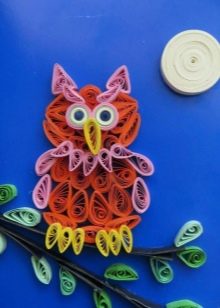
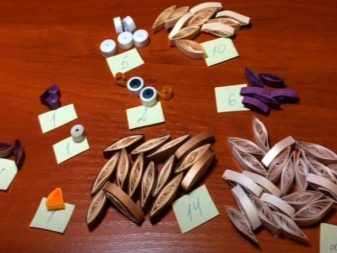
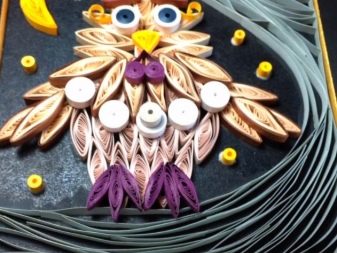
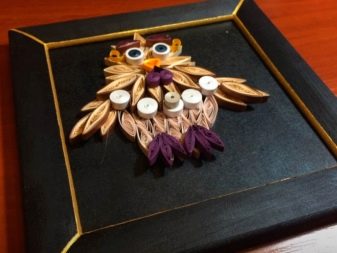
The creation of an owl requires special training - materials and tools:
- beige leaves - 20;
- purple leaves - 6;
- cream leaves - 10;
- brown leaves - 14;
- light rolls - 5;
- gray rolls - 1;
- 2 eyes - rolls blue in white;
- yellow triangle - 1;
- crescent red - 2;
- purple heart - 1.
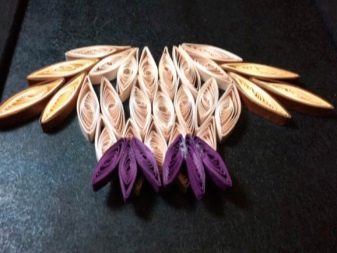
According to the scheme: on a solid base, the elements of the body (rolls) are fixed, then the paws and wings (gluing the leaves), in the last turn the head, chest and eyes. In addition to the month, the stars.
Casket
Required materials to create the box:
- multi-colored paper;
- scissors;
- glue;
- brush;
- pencil;
- lid.
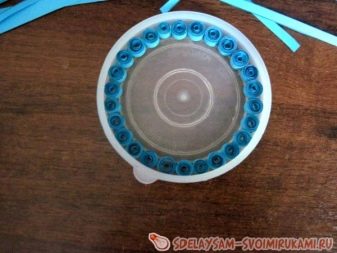
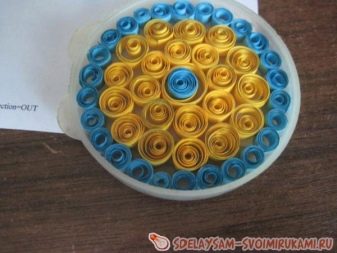
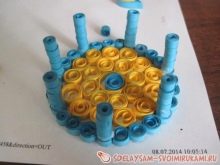
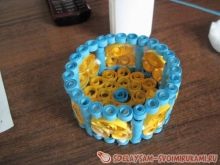
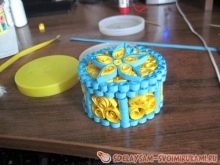
For the base, 26 spirals are required. They should be glued together. Lay out according to the shape of the lid. For the box: arrange the spirals in two larger rows. In the middle - 2 free spirals. This is the bottom of the box. Make the lid in the same way. For the walls of the box, glue the columns of free spirals - you will need 35. Lay out the spirals in the shape of the box, interlocking with each other. For tightness, glue the product and dry. To decorate the box, you can make a flower or leaves from spirals.
Bird
The quilling technique has similar elements. You can make any composition: volumetric figures, paintings or panels. Additionally, you can use branches, trees, flowers. Birds are diverse: titmouse, raven, hummingbird.
It is better for novice craftsmen to make simple applications, and complex ones - for those who can.
snowman
Materials for creating a snowman:
- white and blue stripes - different widths (13 and 7 mm);
- white, blue and orange stripes - 3 mm each;
- pink and brown stripes - 1.5 mm each;
- eye strips - 8 mm each.
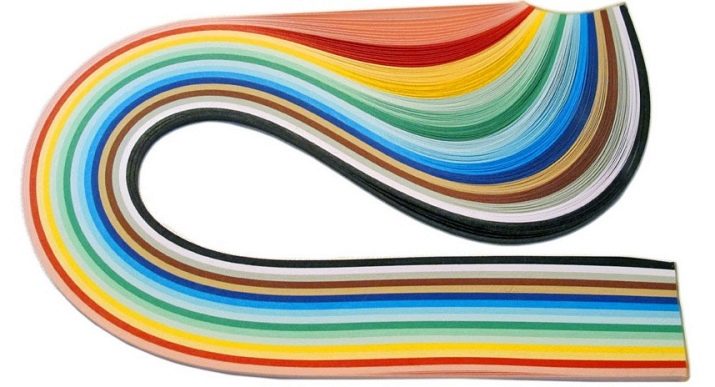
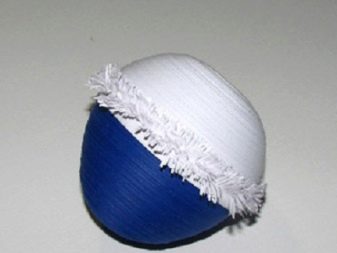
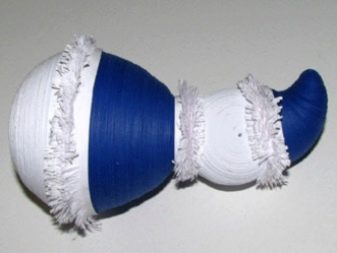
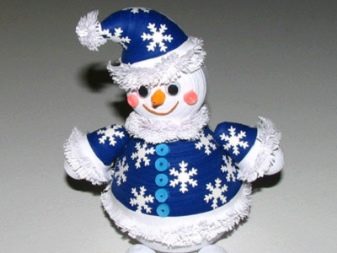
Twist the blue stripes (7 mm) into one roll. As a result, a cone with a height of 4.8 cm is obtained. Fill the figure inside with glue and dry it. Make a fringe out of white stripes (13 mm), fixing it on the cone. Twist the white stripes (7 mm) into a spiral, laying out a hemisphere. Apply glue inside. Form 2 rolls from white stripes (7 mm), of different diameters 4.1 and 4.2 cm. Press a little on the form until a hemisphere is formed, glue into a ball. Twist the blue stripes (7 mm) into a spiral of 3.5 cm, you should get a cone.
For hitching - glue on both sides with a fringe. Wrap a fringe around the junction of the head and body. Twist the fringed ribbons into a roll, loosening a little. Twist the blue stripes (7 mm) into spirals of 2.1 cm. Shape the details into a cone. Twist the white stripes (7 mm) into rolls of 2 cm each, connect the formed hemispheres with the cone - hands. Orange stripes when rolling - carrots, pink - cheeks, blue - buttons, brown - mouth. Assemble the structure with glue.
Wood
Materials:
- white stripes - 5 mm;
- 50 regular and curved leaves of different colors;
- marker.
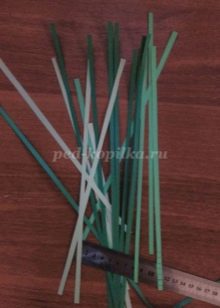
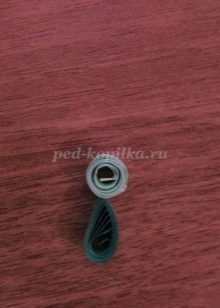
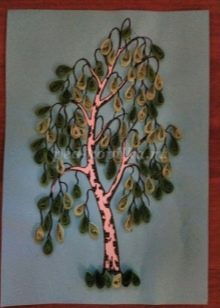
To create a birch, you need to put the white stripes in a pile and glue them together. Glue one side by connecting it with cardboard. Glue the individual strips together with glue. Leaves are randomly glued. Mark the stripes with a marker on the barrel.
Portrait
Materials and tools:
- paper stripes of different shades;
- thick cardboard;
- PVA glue;
- pencil or toothpick;
- scissors;
- tweezers;
- ruler;
- finished drawing.
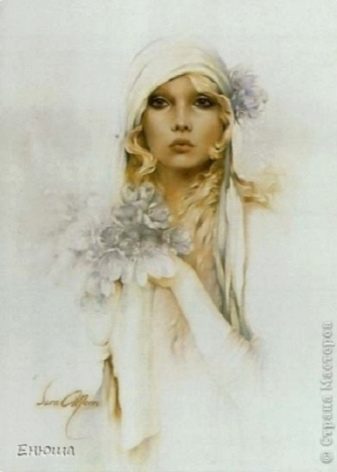
You can take the finished image. Prepare the base. For contour quilling, you need to apply a drawing with thin lines on cardboard, draw a base. For a silhouette, you can apply a template or stencil. Cut and paste the finished images. For a profile, it is enough to give the stripes a shape according to the drawing (with a stick or a brush). Place it on your hand, roll it over it for shape. The intensity of the bending depends on the pressure.
Application involves twisting spirals. To understand the number of patterns, it is important to schematically depict them in the picture. Then prepare the elements and connect them with glue. For volume, glue the individual parts from above.
Completion: decorate the frame, add small details to the background.
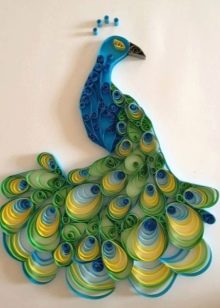
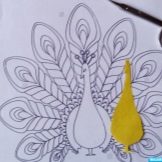
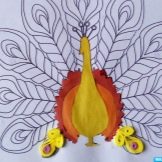
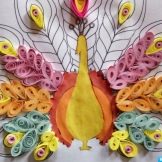
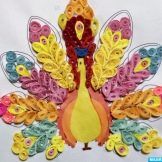
Peacock
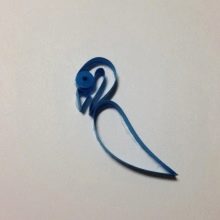
Sketch a peacock on a cardboard (base). Apply glue along the contour, over the entire area of the strip of colored paper.
- head - roll the blue strip into a circle, loosening it a little, and stick it on the base;
- neck - put a white strip on the glue;
- beak - triangle in shape;
- feather - Twist drops, stripes into curls (wings);
- tail - twist the colored stripes (blue, blue and yellow) sequentially, glue the yellow line folded in half with a circle until a drop forms, on top of it a gold strip, remove unnecessary elements after the glue dries, glue the feathers to the base.
You can decorate the applique with a colored background or additional details (branches, flowers).


Postcards
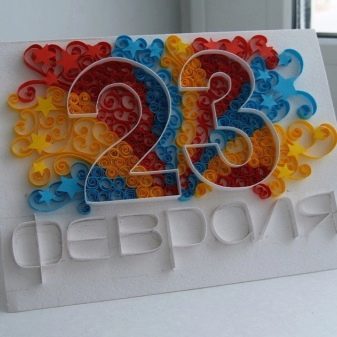
Quilling applications are of particular importance. They are easy to do. They are relevant for the holidays: 8 March, birthday, 9 May, New Year, 23 February. The decor includes letters, numbers, flowers, Christmas tree decorations.

Bullfinches
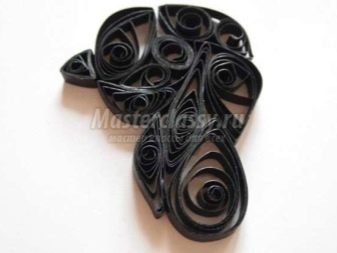
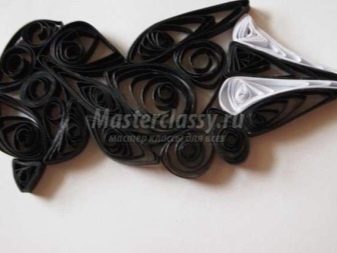
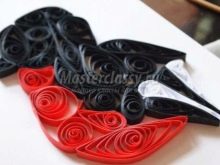
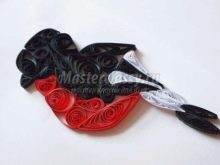
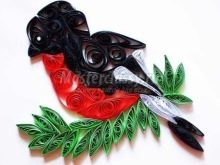
To make a composition, a drawing scheme is required. Each element of the bird has a different shape:
- beak - twist the black roll, gluing the free edge, with a slight pressure in the center, form a triangle;
- head - similar actions, only the shape of a crescent, a drop, a round drop, an oval, a sheet is needed, connect all the elements with glue on the base;
- body - twist one-sided curl, give the shape of a crescent;
- wings - the shape of the sheet;
- abdomen - drop, leaf, curl;
- breast - convex round roll;
- tail - Twist 3 white stripes into a roll, forming a sheet, connect with glue.
Assembling the figure: glue all the elements into place (drawn). May be completed with a branch (20 round rolls relax by gluing the edges).
Firebird
Make a sketch. Yellow and orange lines - head, beak, torso according to the pattern. According to the scheme, cut the feathers, fold in half, glue the fringe to the sketch. Also feathers, wings and tail. Assemble the bird on the cardboard. First, the body, wings, feathers, tail, tuft (fringed).
Christmas decorations
Necessary materials:
- stripes of different shades;
- pencil;
- PVA glue;
- scissors;
- cardboard.
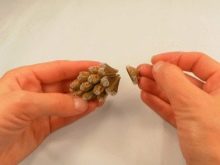
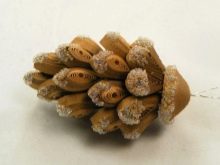
Roll the strips into loose rolls. Not less than 18 pieces. Blue and light blue spirals - no changes. First form a drop from pink rolls, and from it three corners (similar to a tulip). Make a heart from yellow rolls (a drop with two corners in a round part). Collect the prepared parts. Coat the edges of the products with glue. Connect the hearts into a flower. Between them there are “tulips”. In the free space, glue the blue and blue spirals in turn. For the rim, glue the ball with a white strip, about 3.
Glue the thread spiral on top.
Vase
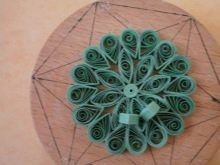
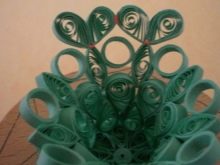
It will take: pencil, glue, green tapes, stencil and cardboard. The formation of the figure is alternate, the forms are light. The base and the second row are identical - a tight roll, 8 eyes, 16 drops in half. Third row - 8 eyes and rings (wrap the tape around the pencil, fixing the edge). Lay out the eyes first, and after the ring. The fourth row - 16 drops, fastened together. The fifth and sixth rows are identical - glue 2 eyes with a drop, leaving the spiral not fixed. All you need is 16.

Rat
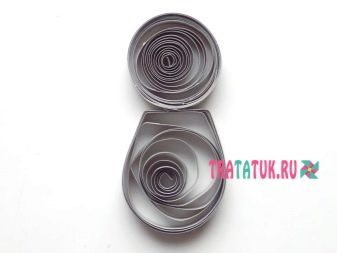
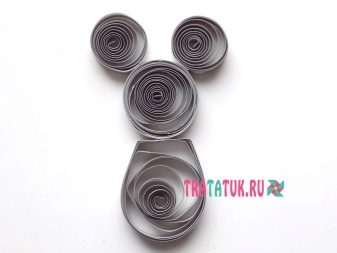
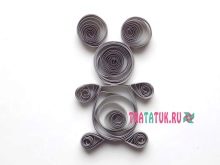
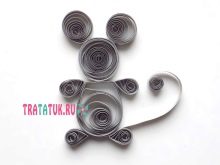
It will take: multi-colored lines, glue, pencil, stencil, scissors. The base is gray stripes. For the body - twist the roll from 2 lines, fasten the edge, slightly bending the figure. Head - twist the roll from 3 lines, gluing the end. Fasten the body and head. The ears are round. Paws - roll in the form of drops, only 2 lower and 2 upper. The tail is half a line. Nose and eyes can be decorative. Connect all elements with glue.
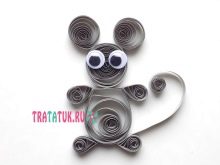
Swan
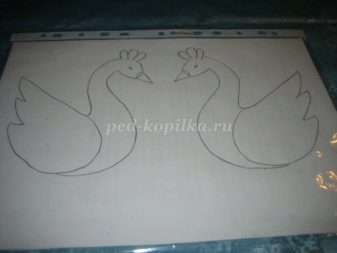
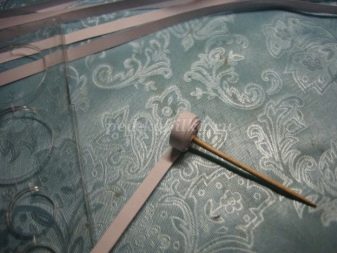
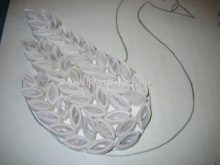
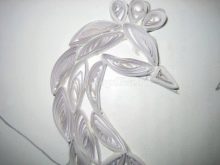
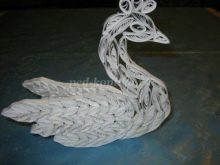
Will need: colorful paper, ruler, scissors, glue, pencil. Work begins with a sketch of a swan. Twist the roll into a petal, in total you need 50. Wings - glue the line along the contour, wrap with the remaining edge. Make enough 2 wings. Neck and body - roll in a semicircle (22). The beak (triangle) and the tuft are a drop. Glue the elements together. Eyes - roll in the form of a drop. Glue all the details.
Deer
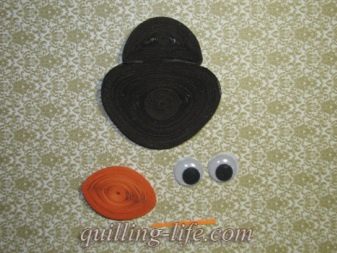
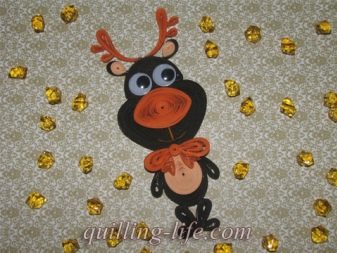
It will take: colored lines, scissors, glue, pencil. We need to prepare the details. Head - 2 lines in the shape of a crescent and an oval. The nose is an oval shape. Eyes are drops. The mouth is a small piece of tape. Ears are drops. Horns and paws are drops. Body - horseshoe, arrow, heart (connect together). Glue all the details.
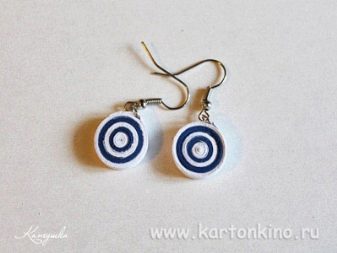
Original earrings
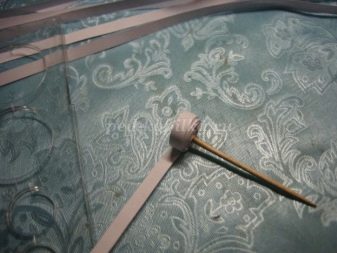
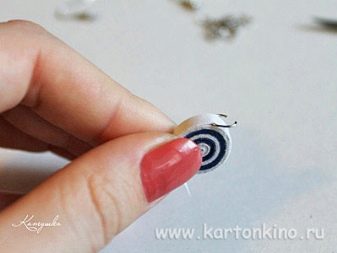
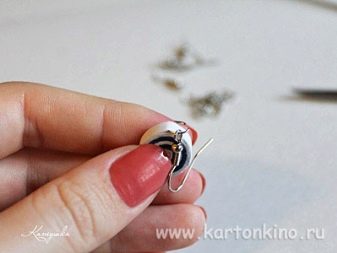
It will take: lines, awl, glue, scissors, rings and clasp. Roll white stripes, wind blue stripes to them, then alternate again. The diameter of the roll depends on the size of the earrings. Let the rings into the roll in advance - just twist it several times. Next, the fastener and other decor are attached.
Master class "Nominal letter" for beginners in the quilling technique, see the next video.


