Quilling ideas and schemes for children of different ages
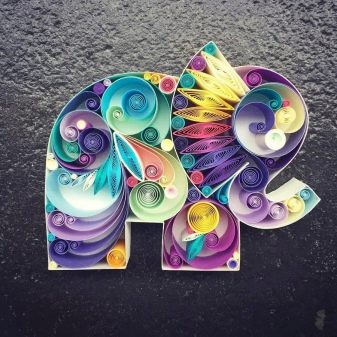
Quilling called the creation of artistic compositions from colored paper strips. Adults and children, people with art education and those who last painted and pasted in elementary school are fond of it. Quilling has been known since ancient times, only in the 20th century it experienced several waves of popularity. Today this type of creativity is in demand more than ever.
What is it and how is it useful?
The name of the artistic direction comes from the word quill, which means "bird feather". Also, this type of creativity is called paper filigree or paper rolling. The strips are twisted into different shapes, and whole works are created from them.
Quilling for children is not only the pleasure of creativity, but also development.
Find out what technology develops.
- Fine motor skills... The nerve endings in the child's fingers are stimulated by simple actions with paper. But finger motor skills are associated with the child's speech function. About a third of the area of the GM cortex is occupied by the projection of the hand, and it is located next to the speech area.
- Speech if the child has speech therapy problems... Paper construction can be combined with speech therapy exercises. So it is more interesting for the baby to work on the development of speech and articulation, and at the same time he creates. And doing two things at the same time is super exercise for the development of the brain.
- Perseverance, attention, concentration... The work requires accuracy and attentiveness, concentration and the ability to predict the result of immediate actions.
Finally, the technique develops the child's eye, imagination, and creative thinking.
It is important to start doing different crafts with your baby on time with your own hands in order to stimulate the development of intellectual functions and fine motor skills in time. Quilling is perfect for this.
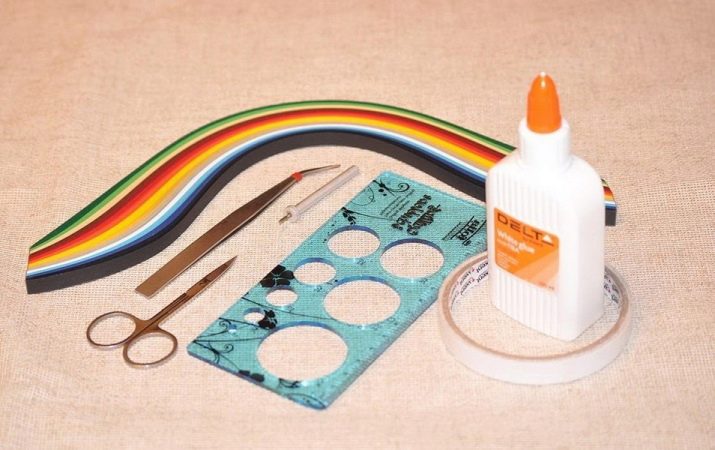
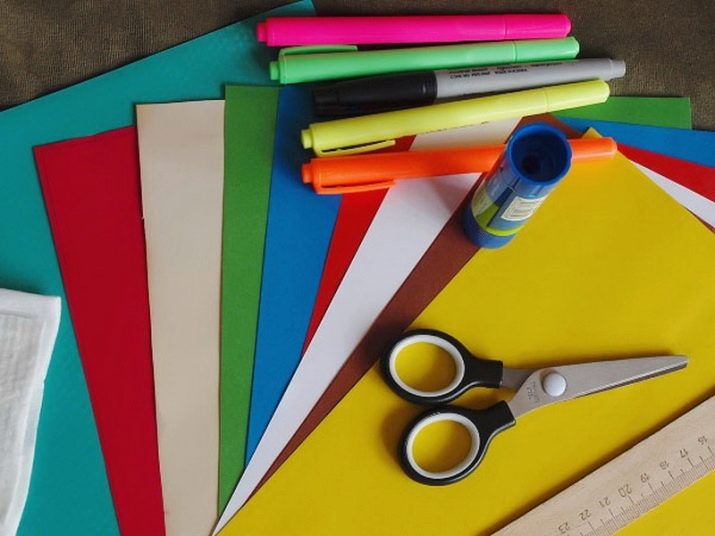
Preparation of tools and materials
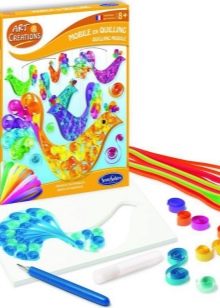
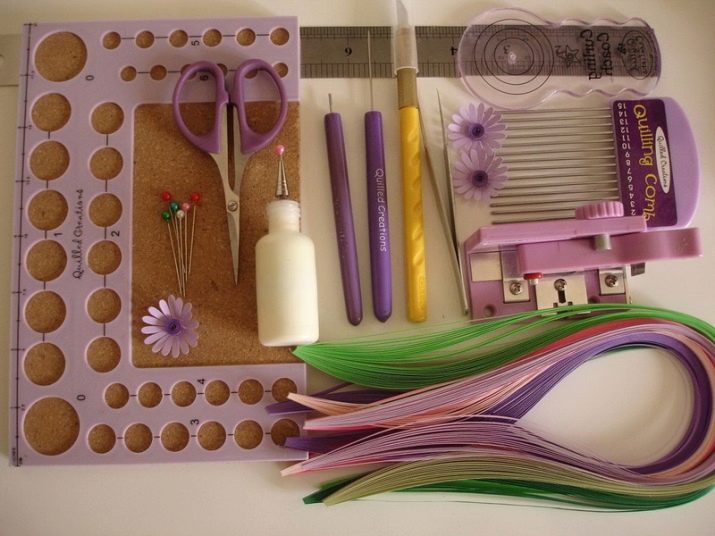
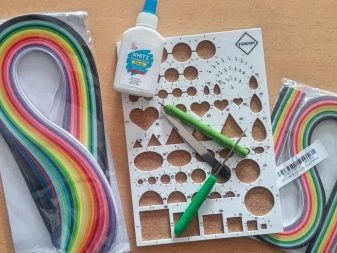
You won't need a long list. Very often in stores of goods for creativity are sold ready-made children's setscontaining paper (different in color and texture), scissors and glue, toothpicks. There may be a special ruler and a few sheets corrugated board... If there is no such set, you can buy everything yourself.


What you need for creative activities:
- narrow long strips of colored paper;
- a tool to help you make spirals (from a professional to a simple ruler or pencil);
- scissors;
- glue - PVA with a narrow neck is suitable;
- ruler with circles of different sizes;
- tweezers (for children, it is better to take a plastic one).
For a start, this will be enough. If the child is fond of quilling, the stock of materials can be expanded - use different options for paper: in color, density, texture.
Of course, you need to immediately fix storage system, which will additionally teach the child to order.
Where to begin?
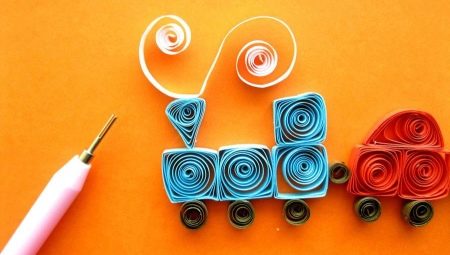
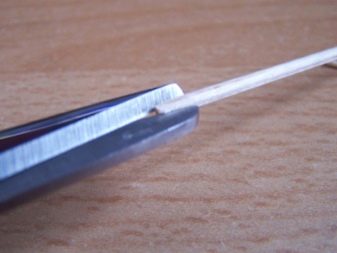
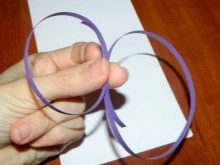
At the first lesson, the child should be taught how to make the simplest workpiece - spiral. The manufacture of different figures is based on it.
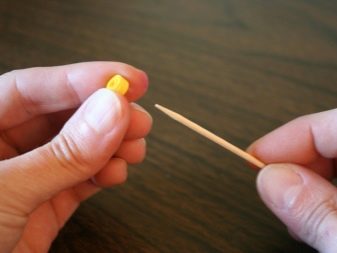
- At the end of an ordinary toothpick, you need to make a small slot - this is what the parent does.
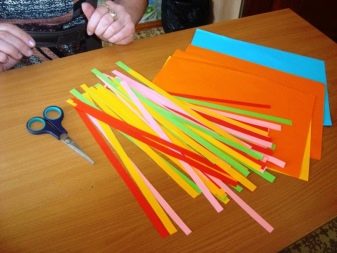
- Cut colored paper into equal strips 3-5 mm wide.
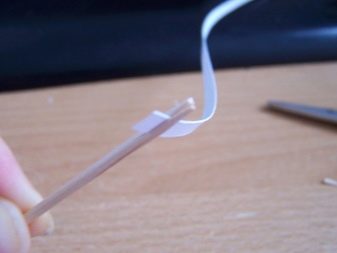
- Insert one end of the finished strip into the cut of the toothpick, fix it there. The rest of the strip needs to be wound around the stick so that the tape takes on the shape of a spiral.
- When the strip ends, a little glue should be applied to its free end and attached to the spiral so that the element cannot unwind.
Perhaps the child will not master a simple skill the first time. Older children do it faster, but even preschoolers are able to cope with the task (not without the help of adults).
In the future, you can practice making parts such as drop, leaf, eye, semicircle, crescent, curl.

DIY schemes for children
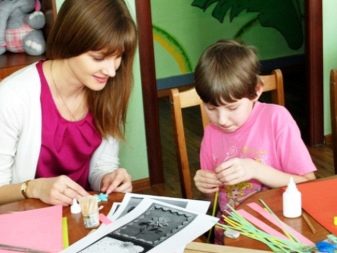
The first paper-rolling master classes are held in the garden. But if you want to get ahead of the educational program or expand it, parents can do quilling at home with their children. The younger the child, the easier the craft theme will be. The simplest can bring the kid no less pleasure than the more complex schemes.
3-5 years
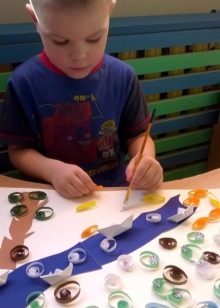
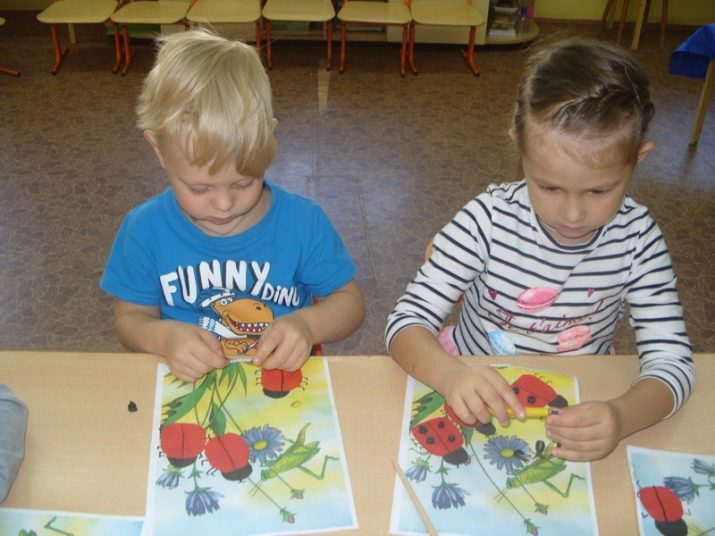
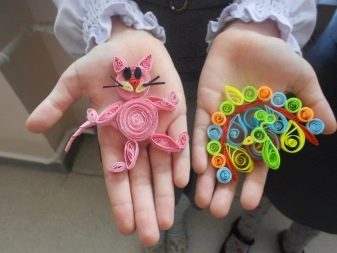
For preschool kids, the lightest plots and applications are selected. For example, at the very beginning of winter, they and their parents can make simple cards with a snowman. Winter motives are interesting for a child, and the feeling of a holiday only fuels creative excitement. If the task is not tied to the season, you can make a butterfly.
- On a piece of paper you need to draw a contour butterfly. An adult can cut out the template, which the child will translate onto the paper. Children at 4 years old can already do this.
- The painted butterfly should be painted as brightly as possible. This business can also be left to the child, the only condition is not to go over the edge. You can help the baby to make the butterfly look neat in color.
- Now, finally, it's time to work with paper. Spirals 1.5 cm wide should be made of blue and red paper.
- Their ends must be fixed with glue, because they will not be "free" spirals.
- Once the glue has dried, the spirals can be glued to the painted butterfly. All the time you need to talk with the baby about the course of action, give hints and monitor the accuracy of the work.


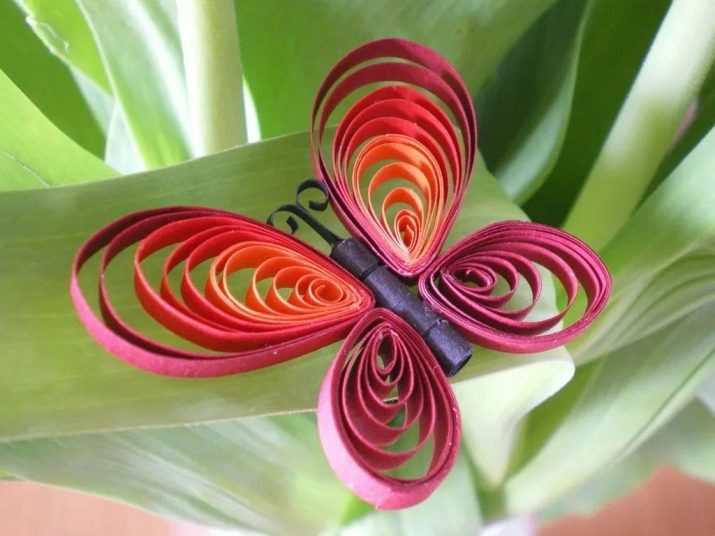
You can do and butterfly pendant, but this will already be a task of increased complexity. Especially an adult needs to "forget" about the antennae of the butterfly so that the kid sees the missing element and himself remembers about its necessity. Already having the first experience in quilling, a preschooler can guess how to make a mustache.
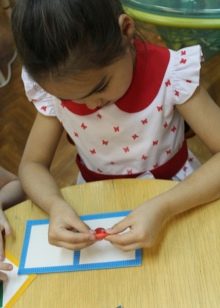
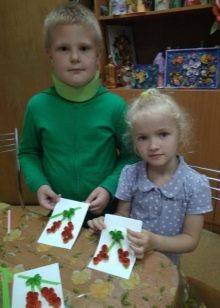
6-7 years old
Children of this age are already capable of voluminous and beautiful products, and they can do most of the work in quilling themselves.

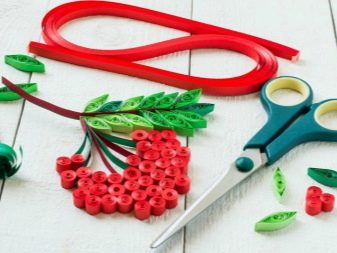
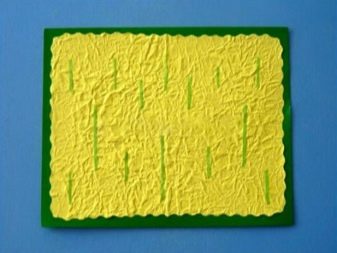
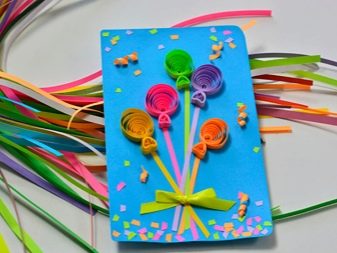
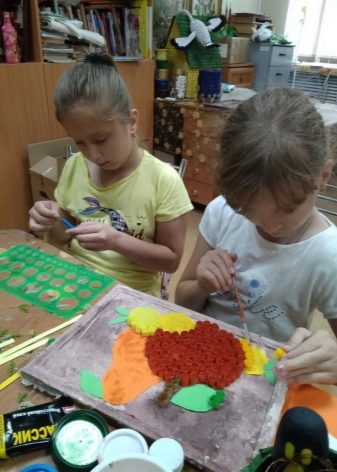
To create a flower meadow you will need:
- colored paper;
- base - thick green cardboard or foamiran, possibly velvet paper;
- pencils / markers;
- PVA glue with a narrow neck;
- tube / round pencil.
The process involves a specific sequence of steps.
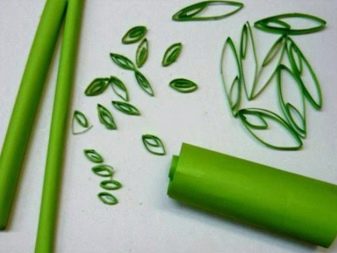
- Colored paper should be cut into strips of 5-7 mm.
- The strips need to be wound one by one on a pencil or tube. A felt-tip pen will work too.
- The resulting spirals need to be sized according to the design of the finished flower shapes.
- The spirals must be connected so that the finished flowers are obtained. There is no need to glue anything - just fold the flowers on the surface without fixing. Stems, petals, leaves must be laid out so that a finished flower is obtained. And only after a preliminary calculation to evaluate where the flowers will eventually be placed on the base sheet.
- Carefully - piece by piece - you need to glue the modules. You can help the child with building a compositional solution, since he can not always arrange all the elements symmetrically and proportionally.

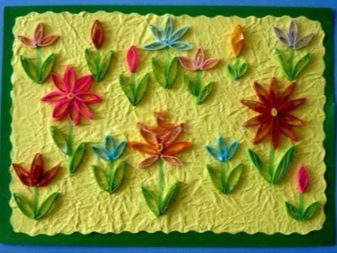
The child is interested not only in doing everything according to the model, but in making the author's composition. Therefore, the execution of colors can be template, but their placement on the working field is at the discretion of the author.
Why else it makes sense to try yourself in quilling with flowers, it is because of the versatility of the techniques used in the formation of petals, leaves, stems and antennae.
8-9 years old
At this age, you can already try more complex schemes. The guys even perform stylization in the style of Gzhel or Khokhloma. If children start copying works in the style of the outstanding Korean quilling, that's not bad either - copying is a great exercise and, interestingly, helps to find their own style.
To create a postcard for March 8 you will need:
- cardboard base 21 x 10.5 cm;
- paper strips 5 mm wide in different colors: pink, lilac, purple and ivory;
- 8 purple rhinestones;
- plain design paper;
- design paper with a picture;
- curly ruler;
- scissors;
- tweezers;
- PVA glue.
The process includes 5 steps.
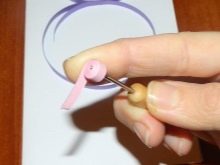
- Twist the purple strip with a figure eight. In the place of the fold, glue is fixed.
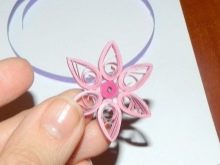
- Now you need to take a 17 cm long pink strip and roll it up. The coils should be slightly loosened, press all layers with your fingers to form a drop. You need to make 5 such elements - you get a tight roll. Now you need to glue the middle and the petals.
- Another flower is made from lilac stripes of the same length. They are also twisted in circles, weakened, but so that the shape is not disturbed. The core of the flower will be pink. Glue everything together.
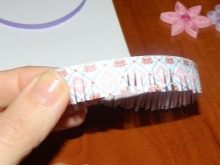
- A strip 2 cm wide and 17 cm long must be cut off from colored design paper. It is necessary to make cuts, not reaching the edge of 0.5 cm. A purple strip must be glued to this edge. Twist with a pencil - a flower with fluffy petals will come out. You also need to twist one more such, and make the next flowers from plain design paper.
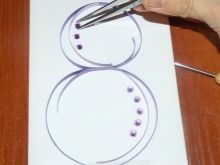
- There will be rhinestones in the cores of the flowers. The figure eight already glued to the base of the postcard must be decorated with two stones fixed in the center. Tweezers are used to properly attach the elements. All flowers are glued in different parts of the postcard.
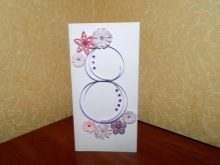
The composition can be supplemented or changed by the author.
Recommendations
And a few more tips to help you quickly get used to a new artistic direction.
- If you want to get rolls of the same size, it makes sense to purchase a template with different sized holes. Even with a simple "officer" line, this issue can be resolved. Although a special quilling ruler may also be sold in a creative goods store.
- If the rolls are made of thin paper, you do not need to hold them in your hands for a long time, otherwise they will quickly unfold.
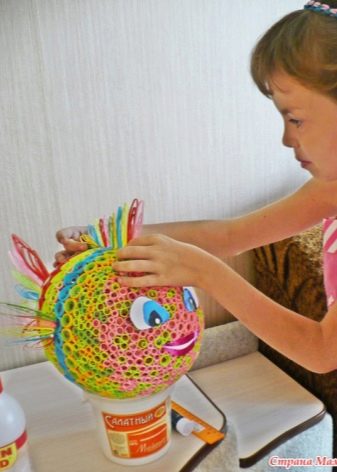
- If you want to get exactly the volumetric figure, you need to make a spiral from a long strip, and then give the roll a conical or domed shape. Then the handles, legs and other elements are fixed on the form with glue.
- When buying special quilling paper, you should always pay attention to its length. It should not be the same length as regular A4 sheets - most likely, this is regular colored paper that is sold as quilling sheets.
- Decorative vases and boxes are very beautiful from paper strips. And the snowflakes come out incredibly delicate, weightless.
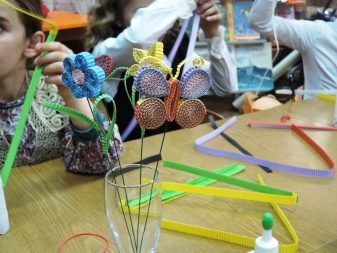
- Kids will get down to business with interest if their parents show them how to make a dragonfly, butterfly, monkey, dinosaur, starfish, palm tree, chickens, flowers from colored stripes.
I have an idea! An older child may even blog about his creative quilling experiments. And this will also be an incentive for further development, and even a small, but educational mission.
Quilling, by the way, can be combined with other creative directions.: origami, modeling, mosaics, and just fine arts.
For the basics of quilling for kids, see the next video.


