Overview and selection of quilling tools
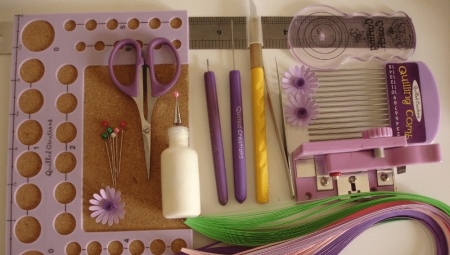
The secret of quilling lies in the special technology of paper rolling, through which beautiful volumetric works are obtained. Handicraft lovers know how important it is to have a set of tools and high-quality consumables near them, so that the result is something special. Today there are different types of quilling devices, each of which has its own function. A few rules will help you quickly find tools for your hobby.
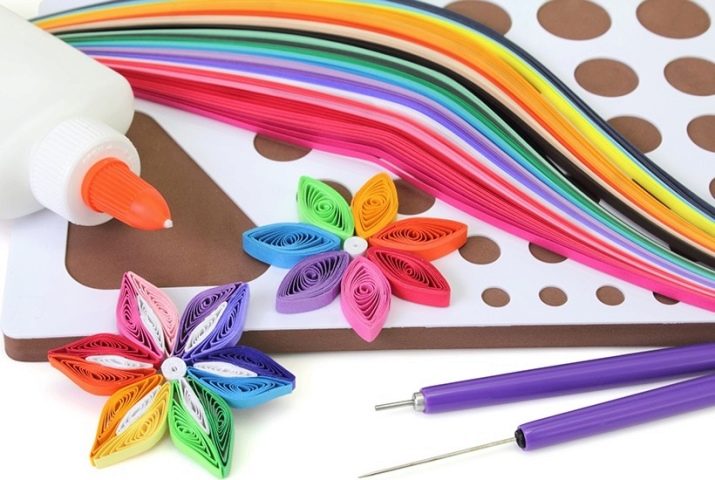
Basic tools
To start quilling, you first need to prepare the equipment. There are many different paper rolling devices on the market, so you should study their differences and purposes. Knowing the functions of each instrument, you can create real masterpieces from such a simple material and enjoy the process.
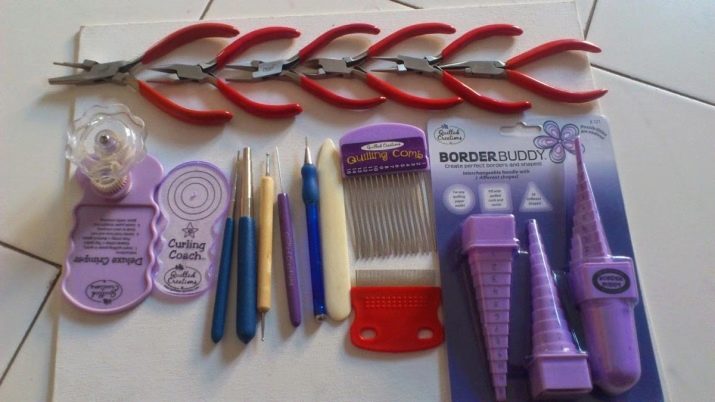
Needles are used for twistingon which the paper is fixed. It is important to do this without jams and without kinking.
If you don't have a needle at hand, you can take a simple toothpick to get the desired effect.
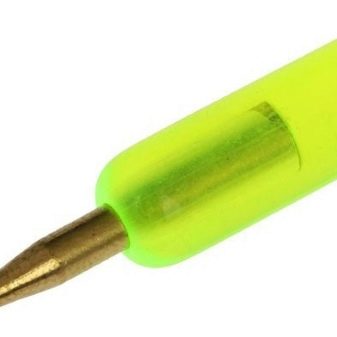
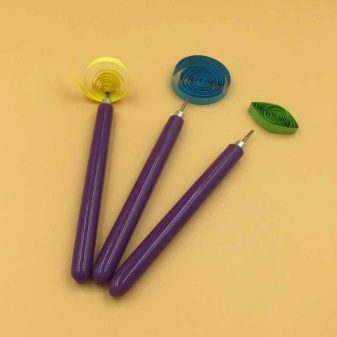
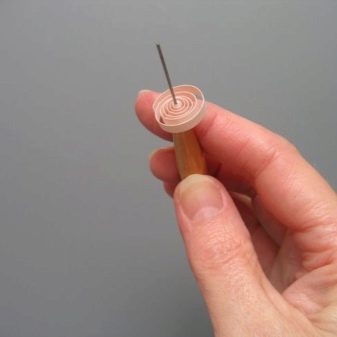
For professional tools, you can purchase an awl, which is presented in the form of a thin metal pin. It has a plastic or wooden handle for a comfortable grip.
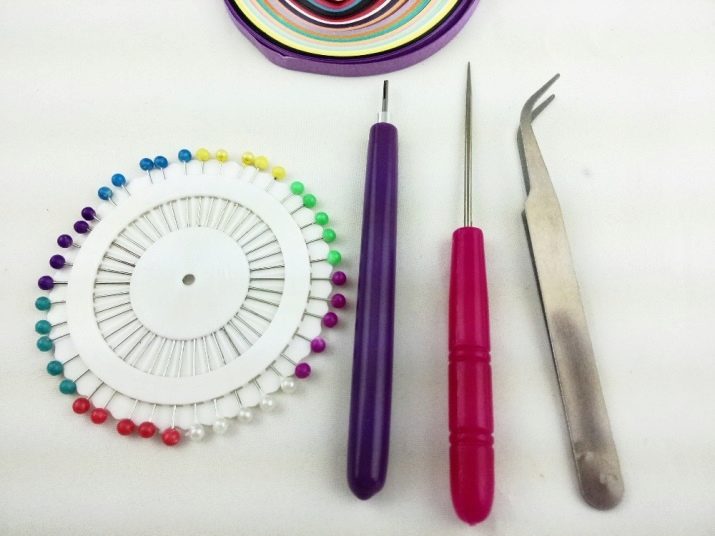
Some of these tools have a slot at the tip where you insert the edge of the paper. The slot comes in different depths, so consider how wide the paper strips will be.
Conveniently screw the consumable onto a tool that has a ball at its tip, so you need to choose based on personal preference.
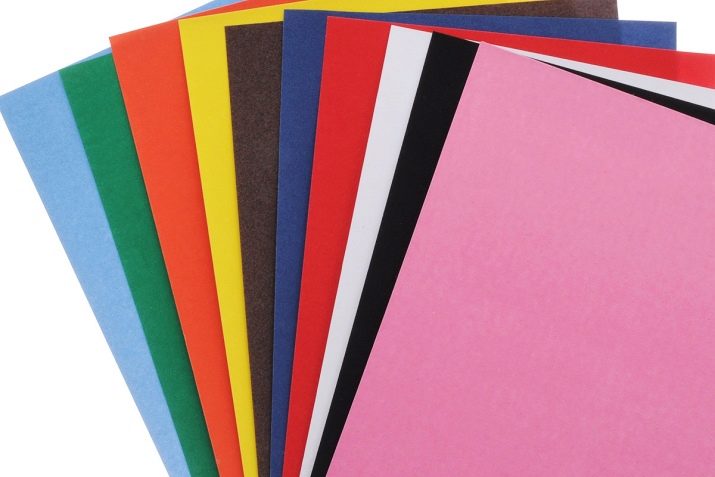
The basis of quilling is the formation of paper blanks of different sizes.They can be made from regular sheets that are sold in every stationery store. but take into account the weight of the paper, as this will affect the quality of the curl.
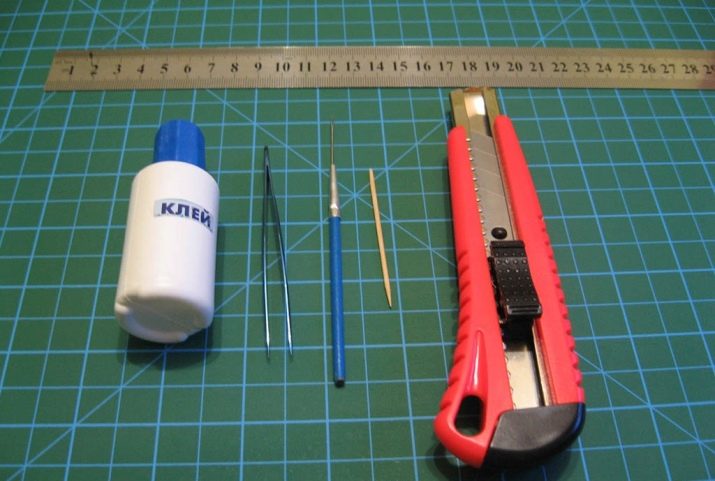
Adhesive is a must-have bonding element. It connects the individual rolls. Even ordinary PVA glue is suitable for this, it has sufficient strength.
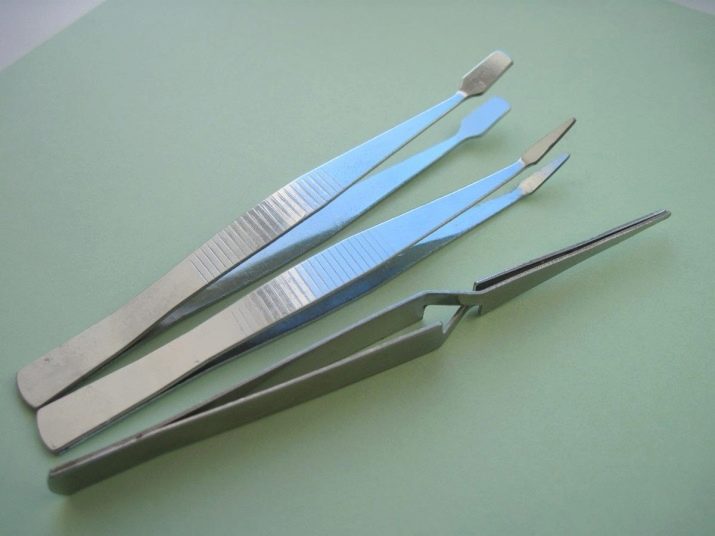
Many quilling professionals prefer a glue gun, but if you are a beginner, you need to practice using the device first.... The elements are quite fragile and often small, so it is difficult to hold them with your fingers without damaging their integrity. It is necessary to prepare tweezers, which are convenient for taking parts., apply glue to them and attach to the rest of the common craft.
It is important to keep the elements the same size so that everything looks harmonious. That's why the ruler should also be among the tools used by the master... You can first prepare templates from durable cardboard for the further formation of paper strips.
A regular stationery knife is used for cutting., in which you can change the blades, which is practical and economical.
Auxiliary devices
Professional quilling tools are available at every craft store. And if you want to do this seriously, you will need to stock up on consumables and accessories, thanks to which the process will go much faster, and the result will be neat and without defects.
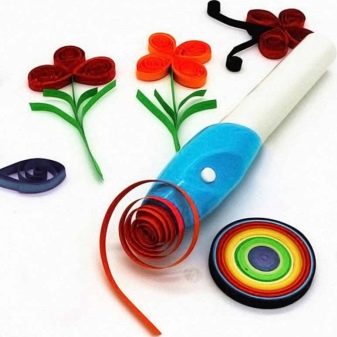
In the quilling technique, the main thing is an instrument with a sharp end... This unit is needed to fold the ends of the paper strips to form spirals. Such products are offered on the market in the form of an awl or a quilling machine. The first is cheaper, besides, they can very quickly learn needlework.
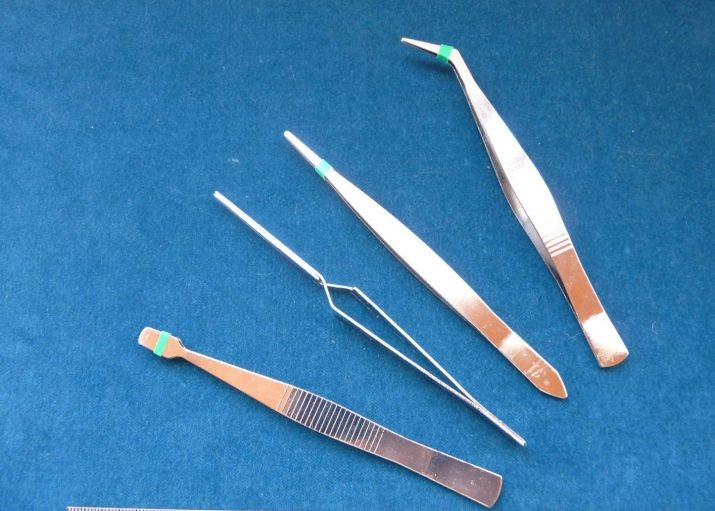
The tweezers should not have wide tips, but sharp ones so that the material does not wrinkle. This device is required for the gluing process; moreover, it is inconvenient to hold the strips with your hands, because these are miniature parts. For tweezers, which are designed for quilling, the end can be either straight or curved. It will be useful to stock up on these two types of tools.
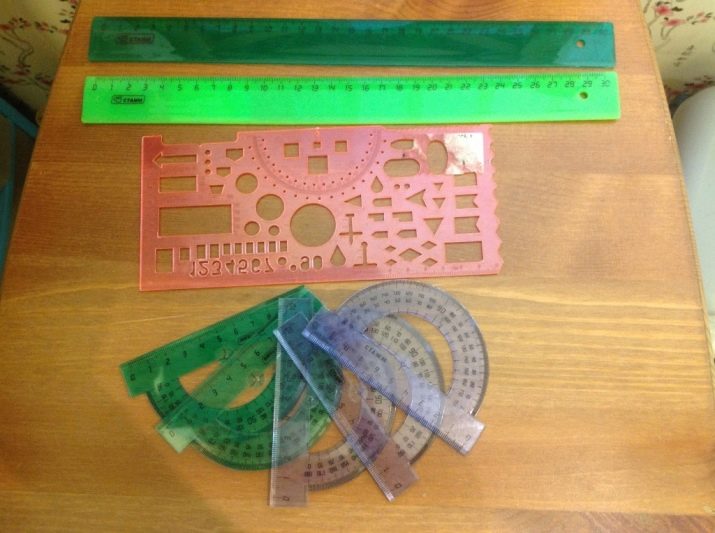
The rulers will be needed in two sizes: one compact, and the second up to 40 cm... It is designed to measure paper strips so that everything is the same.
Quilling specialists often use a protractor, with its help you can get perfectly flat blanks and create original schemes.
Of course, you can't do without scissors., the main thing is that they are quite sharp. But even here one such tool will not be enough - manicure with a sharp tip should be at hand, it is easier to work with small elements with them.
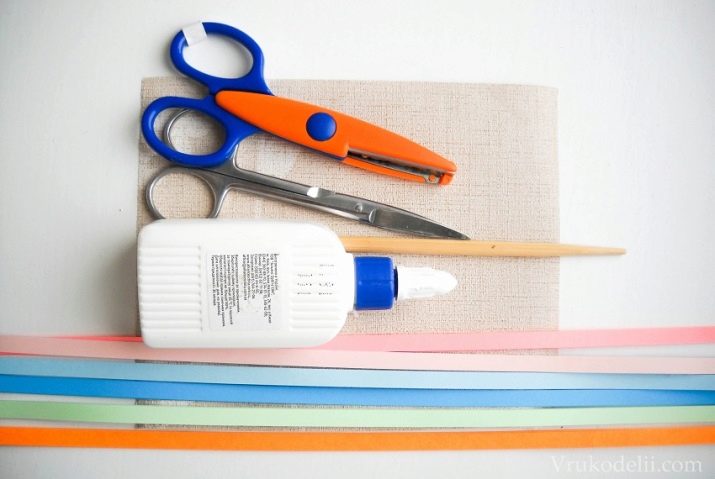
The accuracy of any composition directly depends on the availability of tools that the master has. And in order to achieve an amazing result, to achieve perfection, you first need to stock up on devices, determine the consumption of materials and not miss anything.
How to choose?
Choosing a set of paper for quilling is not so easy, because a wide range of this material is offered in stationery stores. First you need to decide which strips should be: regular or corrugated. The color of the paper, its density and other important characteristics also matter. If you are going to create postcards, ordinary sheets, which are easy to find in any shopping center, will do. But for the manufacture of three-dimensional figures, it is better to choose thick paper with an indicator of 100 g / cm²... The width of the stripes depends on the desired result.
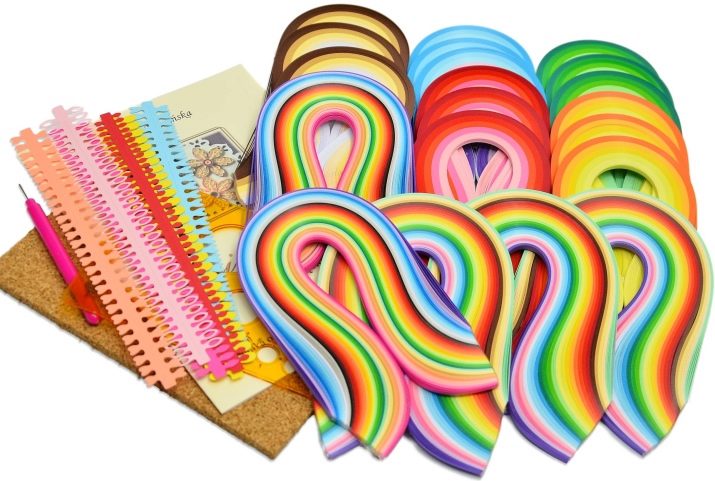
Quilling blanks are often sold ready-made, that is, cut-up - you just need to choose the parameters and colors. This has its advantages, since often the strips are much longer than ordinary sheets, they are dense and are offered in a variety of shades. On the cut line, the color is the same, so the final picture will look bright.
How to do it yourself?
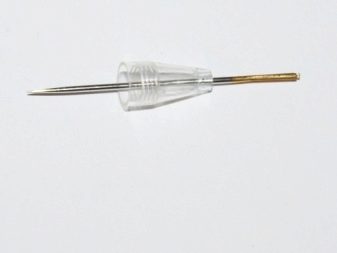
There are some simple tips to follow. you can make a handle for quilling yourself... To do this, you can take the case of helium pens, a glue gun, pliers and ordinary needles. The eye of the needle must be “bitten off”, then inserted into the lower part of the cap, filled with hot glue and quickly tightened until the substance has cooled down. Such a quilling tool will be practical and convenient during needlework, with which many craftsmen will agree.
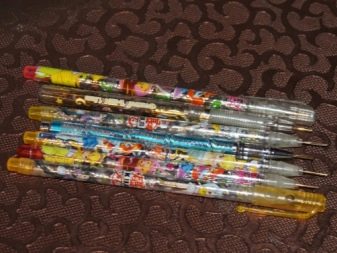
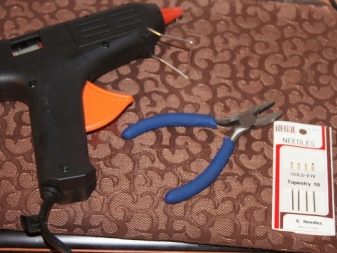

If you decide to make the blank yourself, you will need to make the same layout of the sheet, so that you can then cut it into strips... Since curling is considered the basis of quilling, it is necessary to master this simple technique. The ribbon is wrapped around an awl or fixture that you made yourself. Then the next one is carefully glued to the strip, and the process is repeated until the size is the same as required by the sketch.
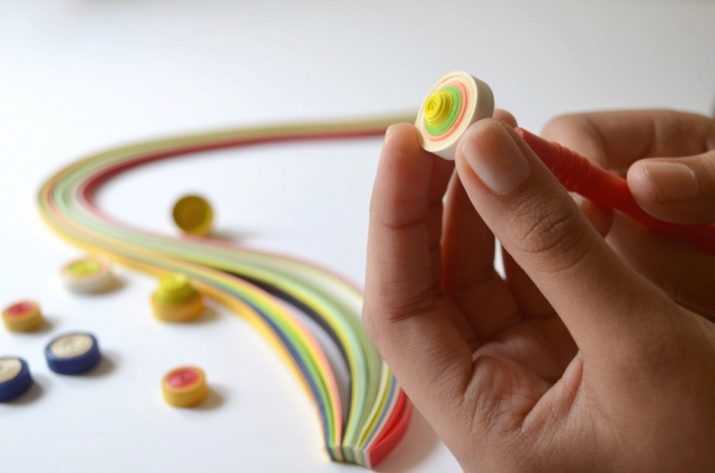
From such paper rolls, you can create triangles, spirals, ovals, tears, arrows, etc. Of course, this work requires painstaking and patience, but the result will be amazing. The individual parts are connected with a pin, after which a glue gun or ordinary PVA is used.
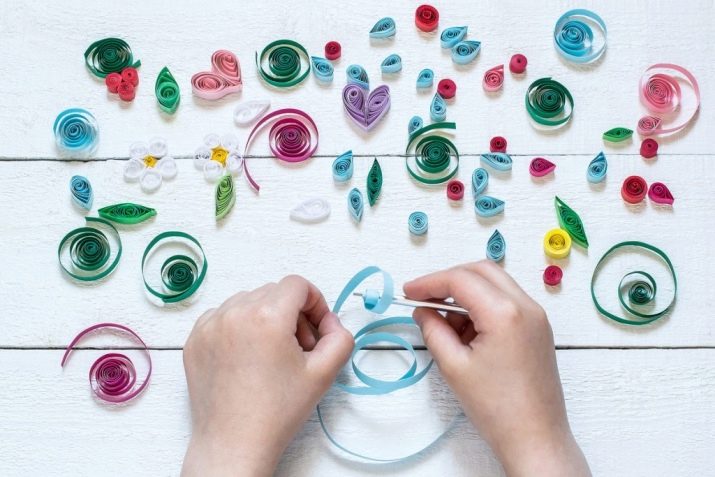
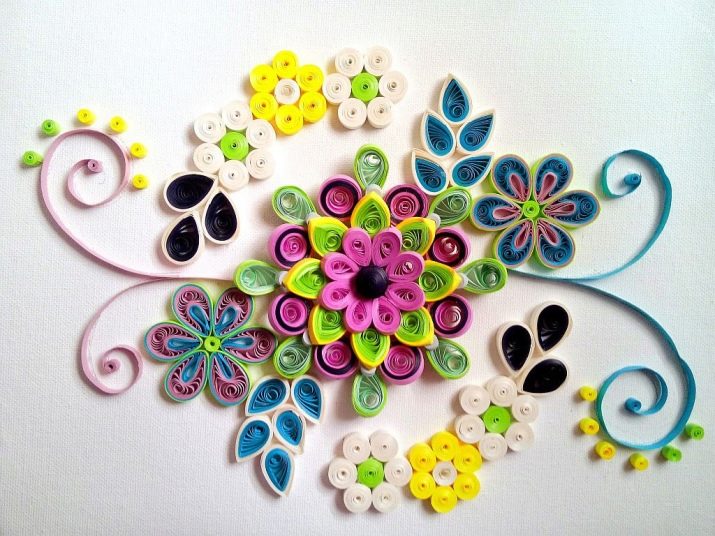
Thanks to quilling, you can make a wonderful craft, decorate a book cover, create a postcard or decorate a wall in a room. As you can see, the consumption of materials is small, the set of tools is minimal, and skills can be acquired in a short time - it all depends on training and patience.
You can start with small postcards and gradually move on to creating a picture that will fit into any interior.
Quilling for beginners - in the next video.


