How to make quilling Easter eggs?
Traditionally, for the holiday of Light Easter, it is customary to bake cakes, paint eggs and give them to relatives, friends, acquaintances. For home decoration or as a gift, you can make a decorative present with your own hands. Such a gift is not only a symbol of the holiday - it is a small work of art. Openwork crafts using the quilling technique will not leave anyone indifferent and will appeal to both adults and children.
What is required?
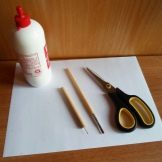
For design and manufacture, prepare:
PVA glue or any other;
brush;
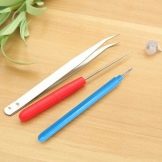
tweezers;
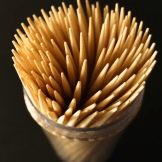
toothpicks, you can use a rod from a ballpoint pen (an incision is made from one edge) or a special tool;
double-sided colored paper, office can be, parchment, a set for quilling;
scissors or a clerical blade;
ruler, stencil with holes;
sewing pins or studs;
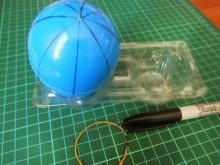
the base in the form of an egg (foam, plastic from toy surprises, the usual large boiled or shell from it);
cling film or ordinary plastic bag.

It is easy to find on sale sets to work in this technique and special tools. Stripes for paper rolls you can make it yourself, experienced craftsmen prefer this method. Thin flexible sheets are suitable as material. The markings are applied with a pencil along a ruler, cut with scissors or on a prepared surface with a blade.
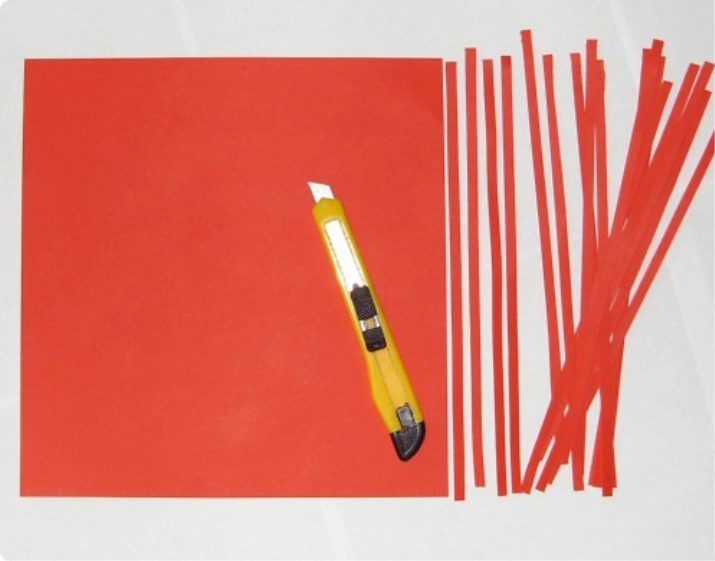
The width of the ribbons can be from 0.2 to 1 cm, the length also varies from 14 to 60 cm - it depends on the type and size of the decor. The winding density can also be different.
How to do it yourself?
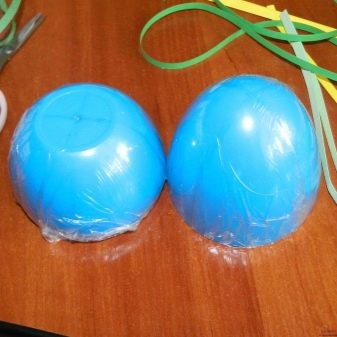
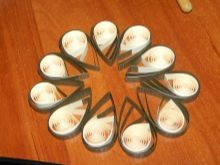
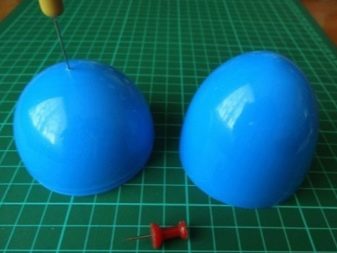
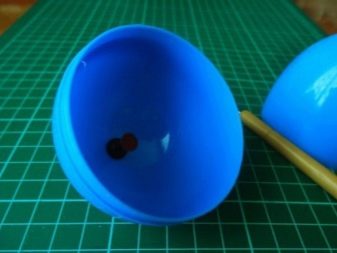
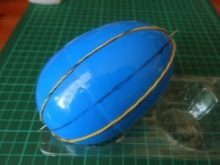
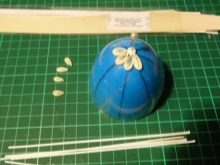
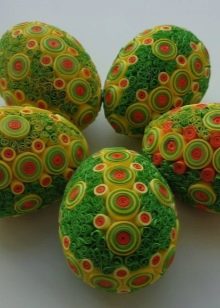
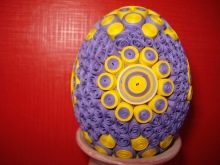
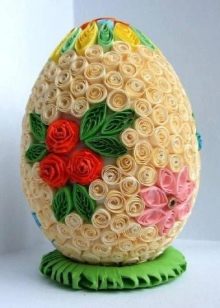
A master class on making a regular Easter egg. Would need plastic egg of two halves. Separate the top from the bottom.We take a film or polyethylene and wrap each half so that there are no bubbles. Next, we need bright yellow paper, sliced 30 cm long, 0.5 wide. We take a toothpick or an awl, if a toothpick, we split the tip, insert a paper ribbon into it and wind it so that the turns fit snugly against one another. We fix the tip with glue. You will need such dense rings 120 pieces or a little more.
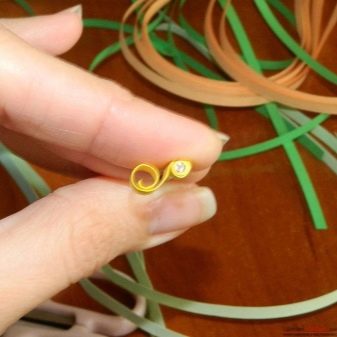
We begin to glue on top, fixing with buttons or tailor's pins, threading through the hole in the middle. Apply the glue carefully to the joints of the rings so that they stick together. We paste over from above and then from below. Convenient to use with tweezers... You can try to combine 2-3 colors. If you twist coils of different sizes, you get a kind of texture. The glue is allowed to dry. From each half, carefully remove the form along with the film, removing the buttons. The two parts are glued together, holding together with elastic bands or threads, until the glue dries. Moving on to stand... Strips 5 mm thick, 60 cm long (consists of two pieces 30 + 30). You can use different colors. We twist the coils, collect in the form of a flower. We glue it on a film or file. We glue to the base.

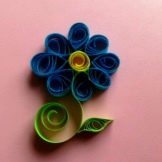
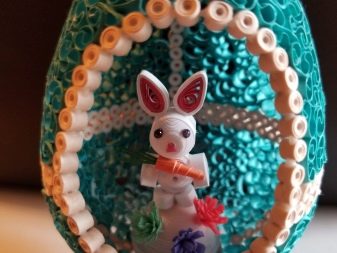
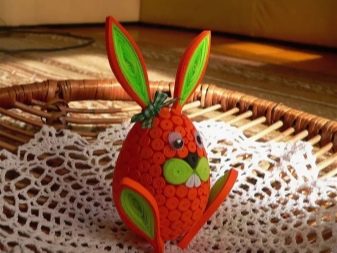
You can stick any pattern on top of such an egg, for example, a flower or a rabbit.

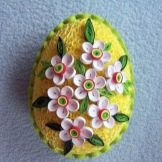
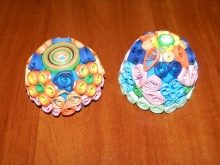
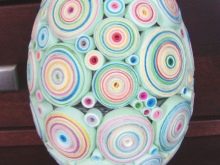
A little harder to make product with a picture. The ornament is thought out in advance. To do this, on the basis of a felt-tip pen, it is necessary to mark the place for each object. Start with large fragments, then fill in the gaps with solid circles.
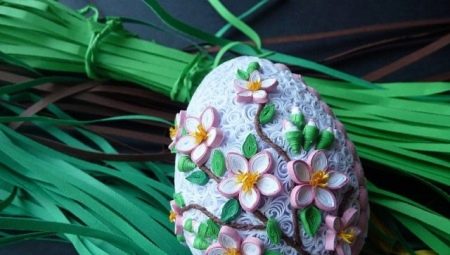
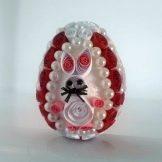
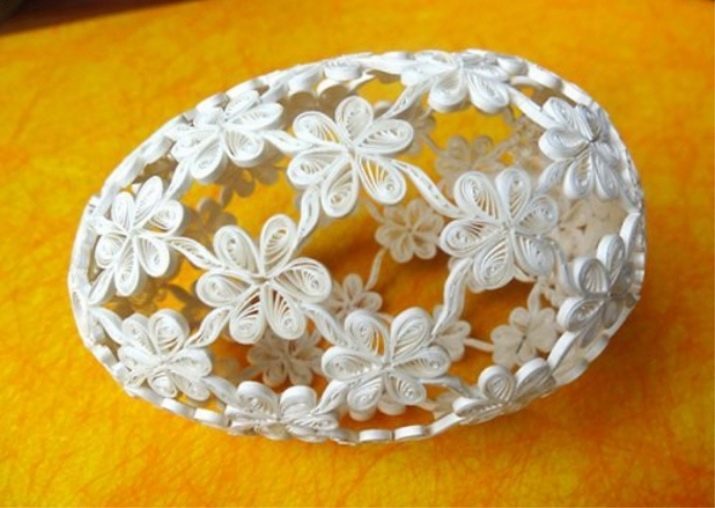
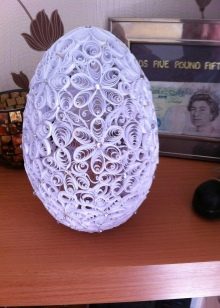
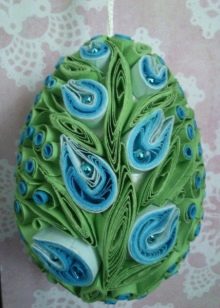
Openwork egg
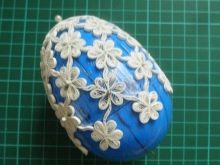
A gift decorated in lace style... Where to start and how to act, our master class will tell you. We advise you to get started if you are already well versed in creating simple souvenirs for Easter.
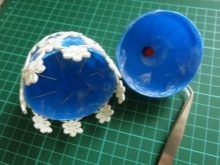
The sequence of actions step by step. In a plastic egg, make a hole at the base of each part. We insert the buttons-nails with the plastic head inside.
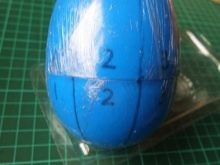
Pull two elastic bands between the tips, divide the surface into 8 lobes. We draw with a marker and number on each half at the top and bottom. We cover with a film without assemblies and layers.
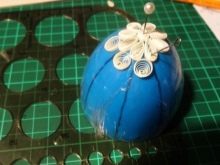
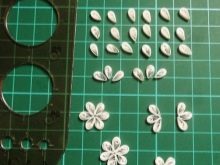
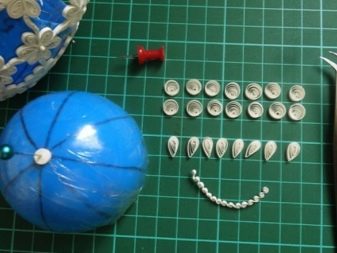
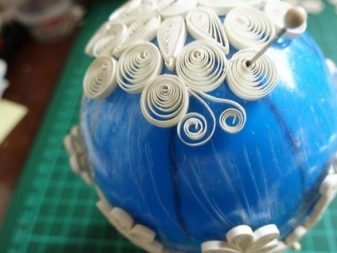
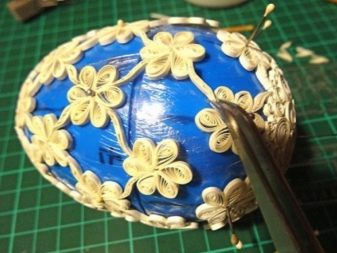
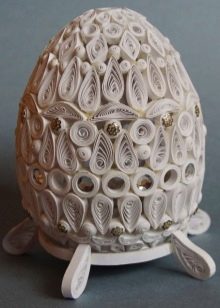
Cut out blanks... We need different sizes: for large flowers on the tops, for finishing the crown (rings and lace braid), for small flowers. You will need paper tape 4–5 mm thick, 30 cm long. We twist it with a toothpick or tool. A total of 8 pieces, pointed on one side. We fix the edge. We place a coil on the top of the cone, securing it with a pin, glue the petals to it and also pin it. Pay attention - the elements are carefully greased with glue at the joints, the excess glue is removed. From strips 15 cm long, we will make 8 round parts - we glue them around the ornament.
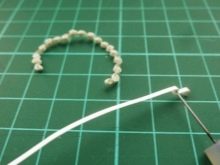
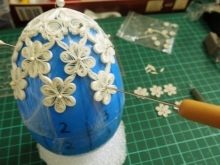
We wind the ribbon of paper along the entire length with an interval of 7 mm - you should get an openwork braid... Apply glue and fix around the edge. Further, there will be five rows of 8 buds each. We twist paper ribbons 10 cm with a roll and form in the form of a drop - 5 mm. We wind the leaves of 7 cm strips, loosen them and give them a curved shape. Flowers are glued together on a smooth surface. After a few minutes, add concavities with tweezers and glue the first row with the leaves upwards, pressing with a pin.


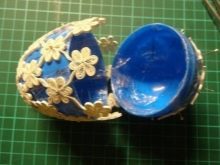
The next stage is done so that the leaves fall between the petals of the upper row - chess chain. In the first half, 3 flower rows will be removed. Place the fourth in the same way, but the diameter of the rings becomes slightly larger - so the craft in the middle is wider. We also make the leaves longer, you can just fold the paper - this is looped way... We open the egg, take out the buttons.
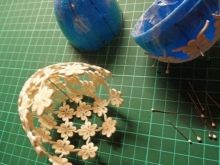
Let's get down to the second half. We will make the top in the same way, but we will decorate it with an ornament from two rows of round parts. We press each new section with needles. We connect the two parts of the form. Twist curls from 7.5 cm strips, apply glue and fill in the gaps between the circles on the second half.Then we apply curls of 30 cm ribbons. Docking row - here you need to be careful: the flowers are glued to the pattern on the crown and fixed. The leaves are looped and tried on: fit or not. Attach only to the flowers that were applied last.

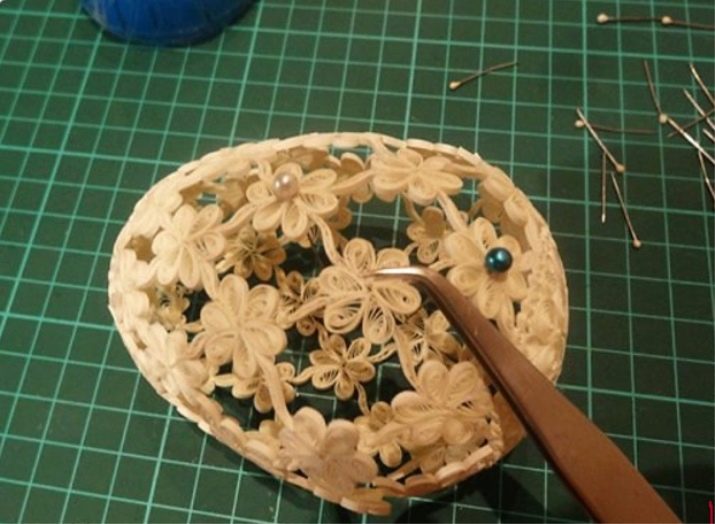
Let the work dry for about 12 hours, separate the halves and, removing the pins, remove the base. Stick a pin at the junction of the 1 and 8 beats in the upper and lower parts - this way you will see how to align the halves evenly. Grease the leaves with glue and press them in the axils of the petals. The craft should dry well.

The egg can be varnished and decorated with beads.
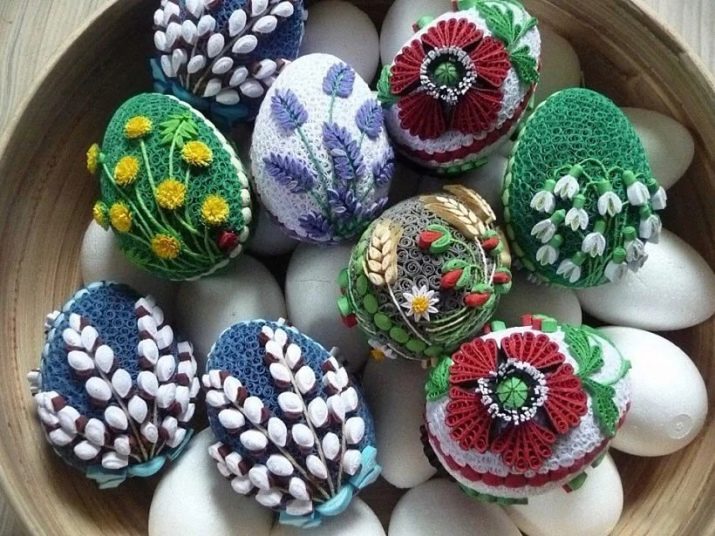
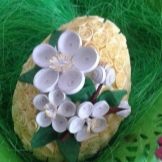
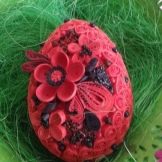
Beautiful examples
You can create many stunning presentations using the quilling technique. Such a souvenir looks unusual, will decorate the celebration and give the feeling of a real holiday.
Examples of awesome artwork for your inspiration:
- monochromatic design;
- with symbols of Easter;
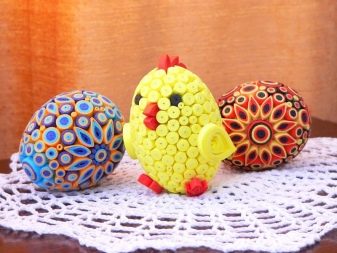
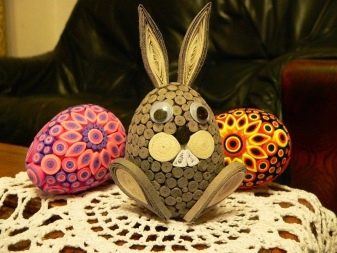
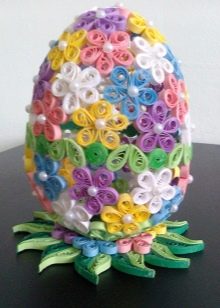
- in different colors;
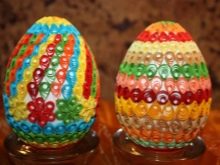
- floral ornaments;
- with applique.


For another interesting master class on creating an Easter egg using the quilling technique, see the next video.


