How to make a heart from quilling?
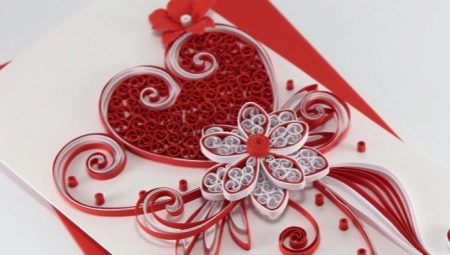
For Valentine's Day, an excellent gift for a loved one will be a composition with the image of a heart, made using the quilling technique. When choosing a fairly simple scheme, even a beginner can create it. Such a gift will look spectacular and contain a particle of warmth.
Peculiarities
Quilling - a spectacular and very simple type of needlework. It does not require rare materials or specific tools. A product made using this technique consists of spirally twisted narrow strips of paper. Otherwise, this type of handicraft is called “paper rolling”. Quilling can be created as flatand volumetric composition. It is easiest to make a flat one, you just need to glue the elements to a sheet of cardboard in the form of a picture. Depending on the nature of the drawing, such a product can easily serve as a postcard for any holiday.
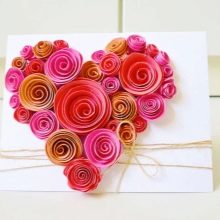

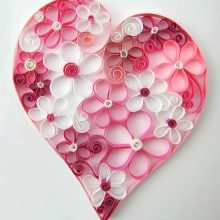
Materials and tools
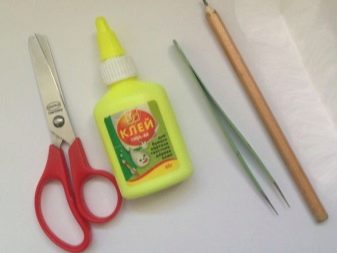
To create a postcard with a heart using the quilling technique, we need:
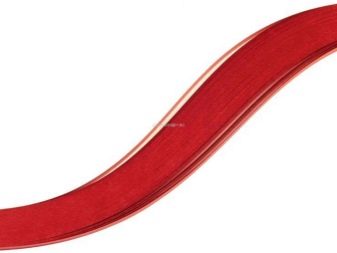
- red double-sided paper (you can buy ready-made strips of paper for quilling);
- a sheet of white or light cardboard (we will glue paper elements on it);
- scissors;
- glue (PVA glue or hot glue - your choice);
- a toothpick, match or awl (an auxiliary tool on which we will wind strips of paper).
Step-by-step execution technique
When the materials are ready, and the mood to create is in full swing, it's time to start creating the composition. The above scheme is very simple and suitable for beginner needlewomen. First you need cut paper into long strips about 1 cm wide.Further strips need twist into spirals. It will be more convenient to do this if you use a toothpick, awl, or the like. To fix the finished spiral, glue the loose end of the paper.
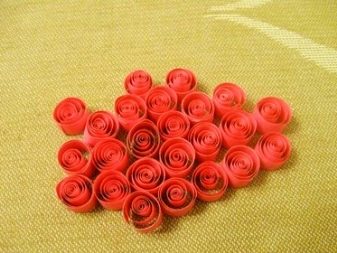
On a clean sheet of cardboard with a simple pencil draw the outline of the heart... Now paper glue the spirals to a sheet of cardboard close to each other (or leaving small spaces). To get it neat, we focus on the outline drawn earlier. At the end of the work, we receive a cute postcard with a voluminous heart - an ideal gift for February 14! A minimum of time was spent on its creation, and it will be very pleasant to receive such a gift, because it is made by hand.
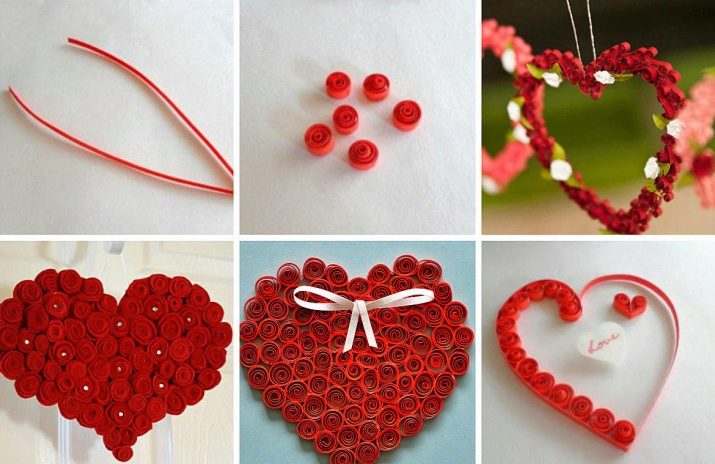
If you think that such a card looks boring, and you want to diversify its design, below are tips and ideas on how to do it.
- You can experiment and make strips of different widths, and then stick them in random order, or, conversely, decreasing or increasing the width from the center to the middle. This will add a volumetric effect to the finished product.
- With that how tight to twist the spirals, you can also experiment... By making some elements tighter and others looser, you can also get an interesting effect in the finale.
- Colour Is another parameter to play with. The easiest way is to make spirals in several shades of red and pink, for example. You can also find paper that has different colors on both sides. Another option is to use a gluing of several shorter strips of paper glued together in one long strip for a spiral.
- Multi-colored elements can glue in random order, but you can do it in the form of some picture or lay out the contour in one color, and fill the heart with another.
- The cardboard base is also a field for imagination. You can use not plain cardboard, but with some kind of pattern. The main thing is that it is not too colorful - your heart will be lost against such a background.

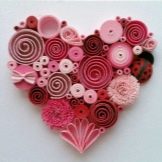
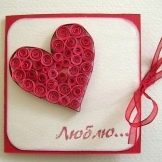
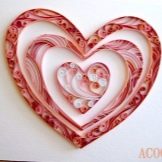
If needlework is not new to you and you are ready to spend a little more time and effort on creating your gift, you can complicate the given scheme.
What if, along the contour of the heart, there are not just round paper elements, but a whole floral branch? It is very easy to bring such an idea to life. First you need to take paper of suitable colors: one or more shades of green for foliage and red and pink (or any other color you like) for flowers.
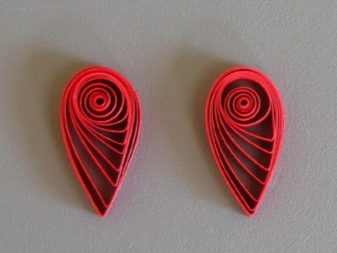
As in the usual scheme, cut the paper and twist the spirals. Now try to squeeze the green elements on both sides so that you get sharp corners... And so we gave them the shape of leaves! We act in a similar way with colored elements, but we make only one corner. The flower petals are ready. It remains only to glue the elements in the form of a branch of flowers with leaves. If you find it difficult to navigate, and you are afraid that it will turn out unevenly, it is better to draw in advance with a simple pencil the approximate arrangement of the elements and the distance between them. As a stem, you can use strips of green paper glued to the sheet with an edge, and if you want to attach cores to the flowers, you can make small spirals from paper of a different color, use sequins or beads.
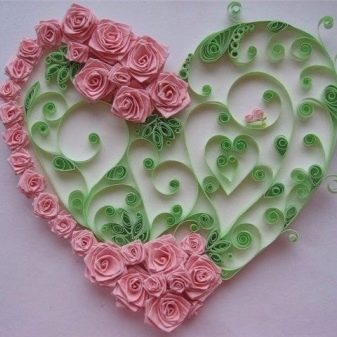
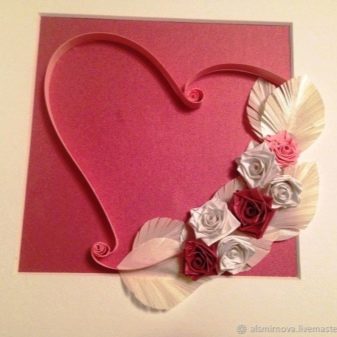
Quilling is an ideal solution for those who want to create a simple and effective composition with their own hands.
It can be a postcard - just decorate it by gluing decorations: sequins, ribbons, beads, and so on. You can make a frame for the composition and also decorate it with small elements - you get a wonderful panel that will revive any interior. And if you cut out cardboard according to the shape of the composition and glue the magnetic strip, you get a cute fridge magnet... Any of the options will be a wonderful gift for your loved one.
How to make a heart using the quilling technique, see the video.


Thank you, we will try.