Quilling paintings
Quilling is not a completely new word in the art of applique, however, the boom in this type of creativity is inherent in the last five-year period. From narrow strips of paper, flat and voluminous crafts, postcards, souvenirs, panels and even paintings are created. And these works are no less impressive than the more familiar, traditional art. And most importantly, quilling is available to an ordinary person without special artistic skills and talents. You can learn to make paintings from scratch that will become the highlight of any interior.
Peculiarities
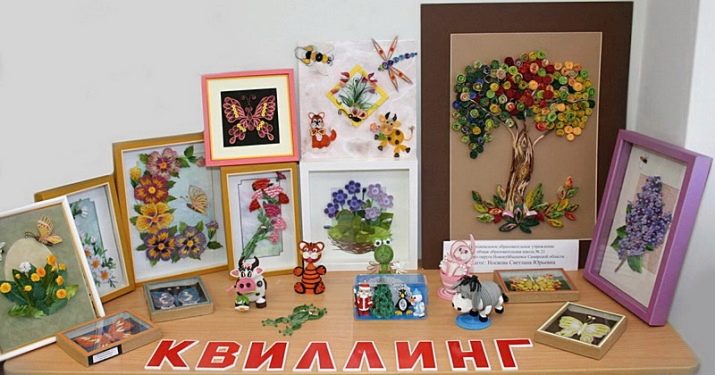
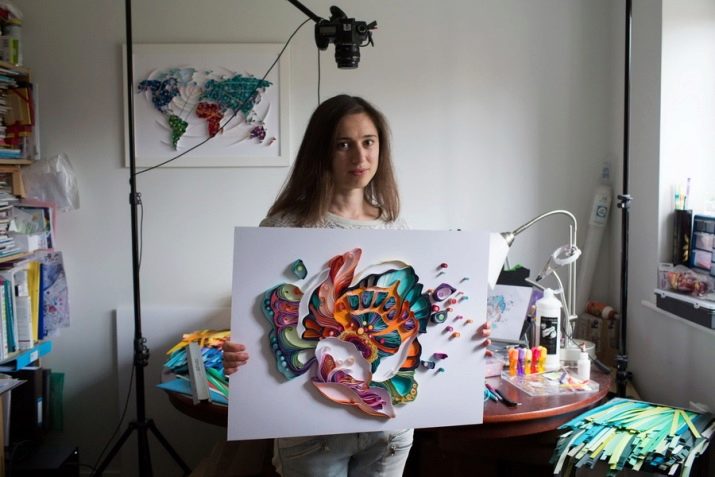
Both children and adults are engaged in this applied art. Quilling circles are opening in kindergartens and schools, adults are increasingly learning paper decorating from video tutorials, drawing ideas on the Internet. Many artisans have started their own business and make money with unique, graceful paintings using the quilling technique, making popular social networks a working platform.
This art originated in the 14th century. and they associate him with monks who had to twist the cut edges of gilded books. In the 20th century art was rethought, and the fashion for it in Europe took on a completely different scale. Like other handicrafts, quilling is sometimes remembered, then forgotten. It is experiencing waves of popularity, and the current wave is definitely very large. And it is paintings and panels in the quilling technique that are in vogue now.

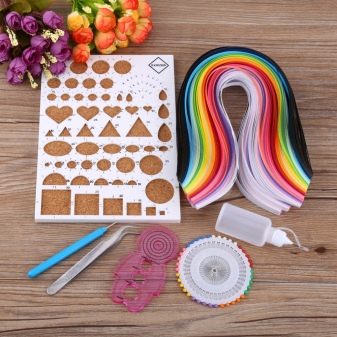
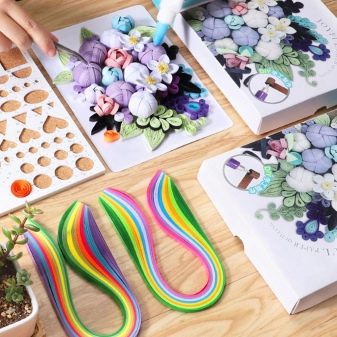
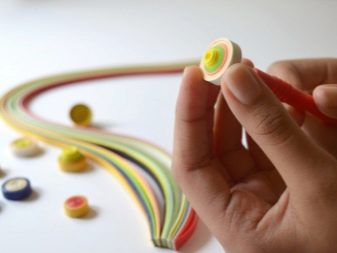
The popularity of this technique is due to the simple, affordable, inexpensive materials that are used to create works.... All you need is paper, glue, scissors and a creative mind.An already experienced craftsman assembles his own set of tools and materials: different types of paper (from thin to corrugated, design), a Q-tip with a slot at the end, rolling the paper, toothpicks for spot application of glue. Sometimes pins are required, but not in every job.
The variety of styles is also pleasing - the picture can be done in the style of minimalism, in vintage aesthetics, techno, etc. The field for creativity is simply huge.
What are they?
Quilling is the general name for several techniques. They are similar to each other, but still have fundamental differences.
- Hasting - this is the name of a mosaic panel laid out on a flat basis. They usually decorate postcards, boxes, albums, create paintings and portraits.
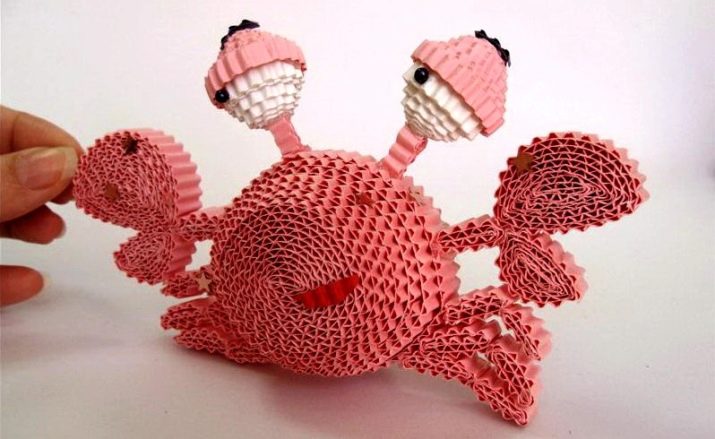
- Volumetric technology - with its help, volumetric figures are created from the simplest elements. Also applies to paintings.
- Corrugated willing Is a very popular offshoot today. This is the name of the type of paper plastic, which is based on work with paper strips that form the contour of the figure and its volume. These stripes do not collapse into closed elements. The master bends them, giving the necessary shape, fixing them on a plane at a right angle.
- Loop technology - in this type of paper twisting, the main element will be openwork loops, which are created by a comb.
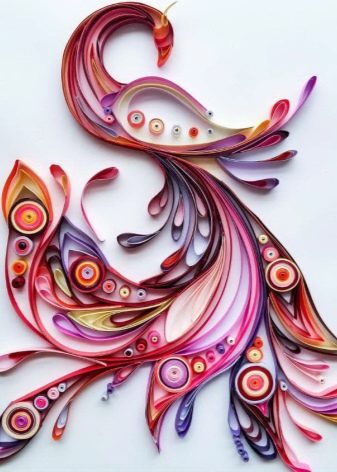
- Korean quilling Is, rather, not a separate technique, but inspiration by the scale of the passion for quilling, which is in Korea. There he is insanely popular, and the grace, filigree, many themes and variations used in the works of Korean masters cannot but impress. This is practically the pinnacle of the art of paper plastic, because Korean paintings have many fans around the world.
- Contouring technique - paper strips are fixed along certain, pre-marked lines. In order for such a picture to acquire maximum effectiveness, it is performed on textured paper of the desired tone.
You can start with any variety. Undoubtedly, the one who has measured his strengths with the tasks set will have a greater forecast of success. But even the simplest paintings look incredibly beautiful, since the very technology of paper filigree is the key to obtaining an unusual openwork result.
Preparation
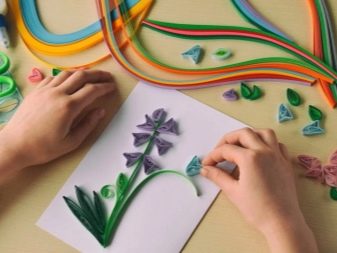
Curled paper can be used to create portrait, landscape, abstraction, unique graphics, and incredible visuals. It makes sense for every beginner first develop a tactile perception of the material: try to work with paper strips outside the base - twist them, wrinkle them, try to fix them in the figure. Automatism gradually develops, with which it is already easier to make real pictures.

Working with paper strips has its own nuances.
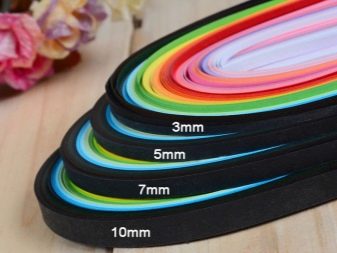
- They differ in the width and density of the sheet. You will have to work with different options, so tactile exercises should be performed with both very narrow and thin stripes and with thick samples.
- Beginners usually start with a ready-made quilling kit, with medium stripes - this is really convenient. In addition, this set contains everything for the first trials.
- The quality of the executed figures is influenced by the plasticity of the paper during folds and twists, the possibility of material deformation, and the delamination of the product.
If you have to work not with a ready-made set, but with paper purchased on your own, it will be useful rifling machine... The trimmer will cut the strips smoothly and quickly. The machines are manual and mechanical.
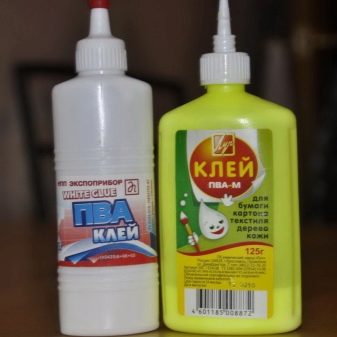
Suitable glue for quilling - any quick-drying dense and dense composition with a dispenser and a small nozzle. Someone is more accustomed to simple PVA, someone is more accustomed to the colorless glue "Moment".

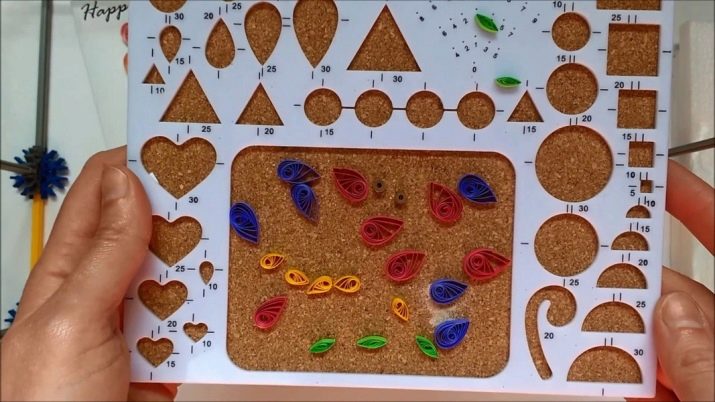
Used as a stencil special ruler for quilling, it has a cork base. This is very convenient, because the workpieces will have to be pinned up. Ruler templates give the paper rolls the desired shape.If there is no such special ruler yet, you can use a mathematical ruler with figured design.
It's great if, before starting work on the painting, the quilling master tries to twist the main figures - from a tight spiral and a bird's foot to a curl and horns. It trains the arm well.
Master classes
Starting with portraits, complex compositions about the war (for example, timed to coincide with May 9) will certainly be a difficult step.... The first works can be with the most simple schemes and templates. For example, a composition of two bright butterflies.
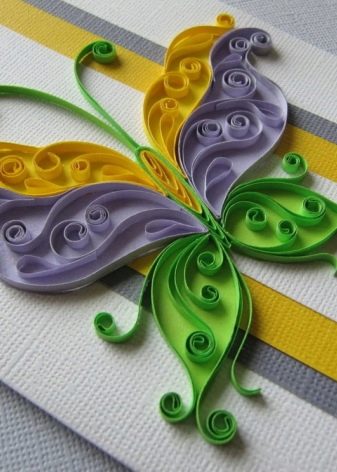
Painting with butterflies for beginners
They will be symmetrically located on the canvas, therefore, it is enough to describe only one butterfly, the second is done in the same way. The work uses a standard set for quilling.
- You need to glue 2 yellow stripes, twist a free roll from them. Make the same second detail. The diameter of the elements is aligned with the template.
- Twist a free spiral out of pink paper, squeeze this blank on both sides and form a "drop". The tip of the resulting figure needs to be slightly bent to the side.
- From two black paper strips glued together, it is necessary to make a free spiral and form a "peephole" from it. A loose black strip roll is twisted separately.
- The finishing element of the butterfly is the antennae. The black strip is bent in half; only the tip needs to be wound on each half.
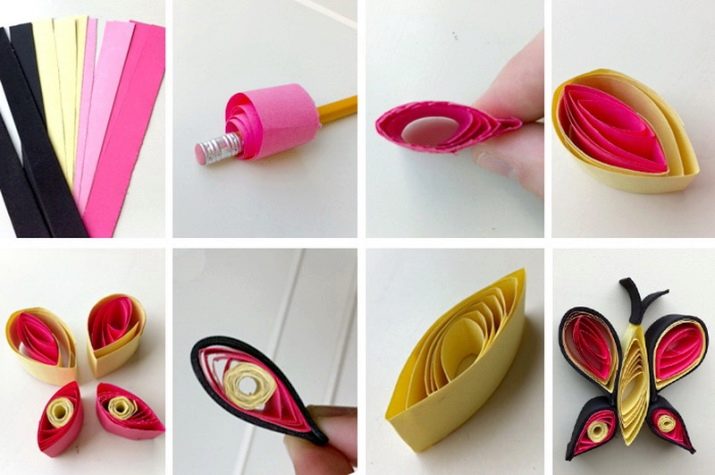
Collecting a butterfly is necessary on a prepared basis. Step by step, a beautiful simple picture on the wall will be made by the child - easily and quickly.
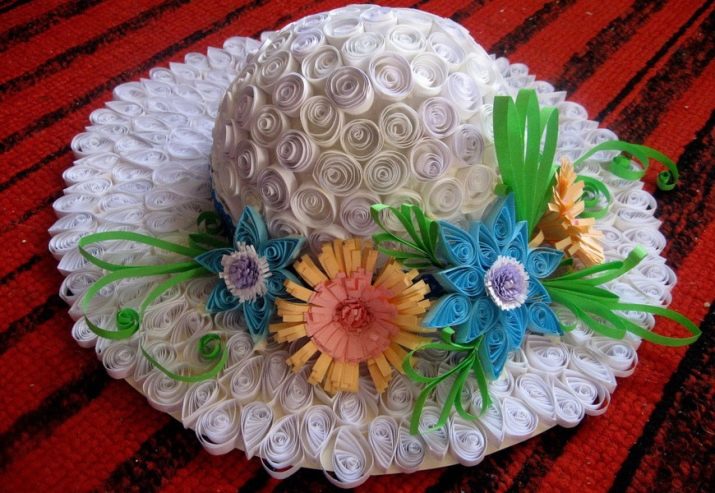
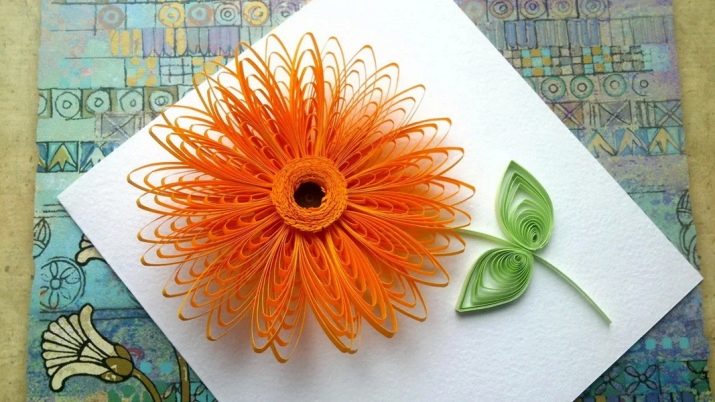
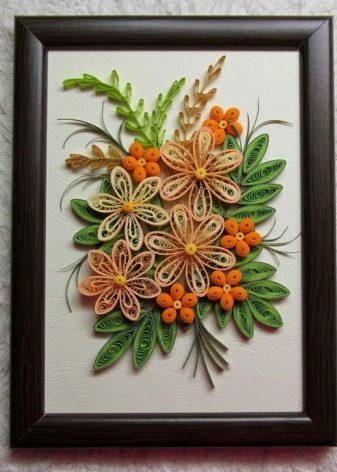
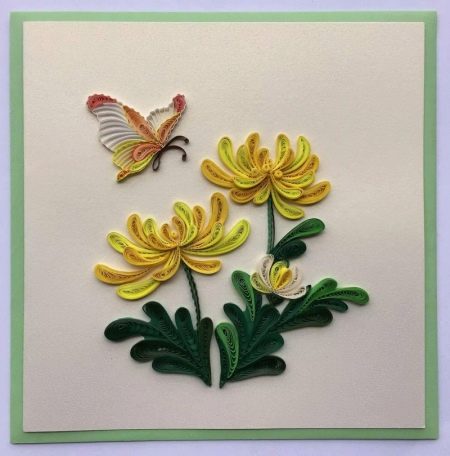
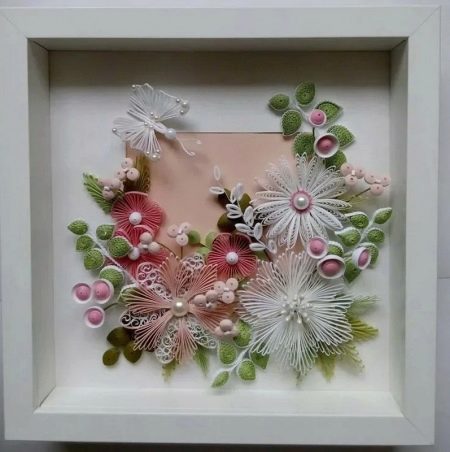
flower composition
For her, you need to take stripes of different colors or shades.
- For the core of the flower, you need to twist a free spiral, glue a strip cut with a fringe to it. Several paper colors are combined in one element.
- The core is immediately glued to a dense base, drop-shaped rolls are placed around it. The chosen colors should be harmoniously combined with each other.
- The completed composition will be made with rolls in the shape of a "heart" and "eye" of green stripes.
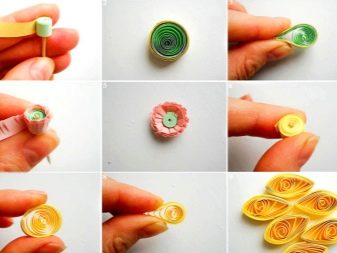
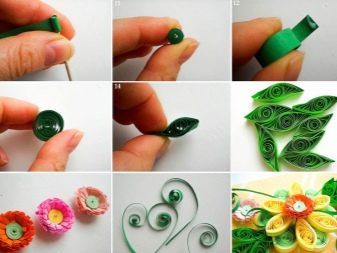
Now it remains only to collect the prepared elements on the basis. Such a picture can be presented to a girl, girl, mother on March 8, etc. These are simple flowers, but they can be supplemented with more complex orchids, daisies, dandelions, etc.
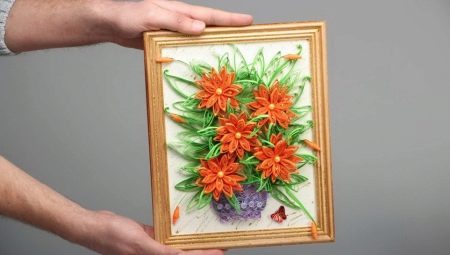
Wood
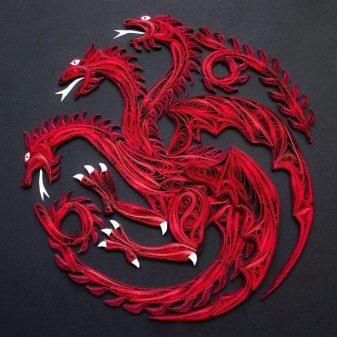
Nature will always be a source of inspiration, and crafts with natural themes look cozy in any interior. This painting will suit any style. For example, working with a dragon requires oriental notes in the interior, a quilling Christmas wreath is a seasonal decor, but birds, dragonflies, flowers and butterflies are universal.

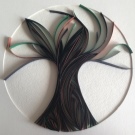
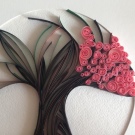
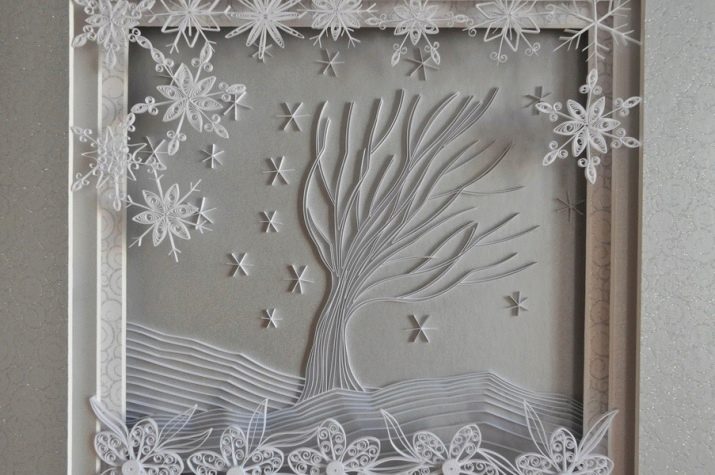
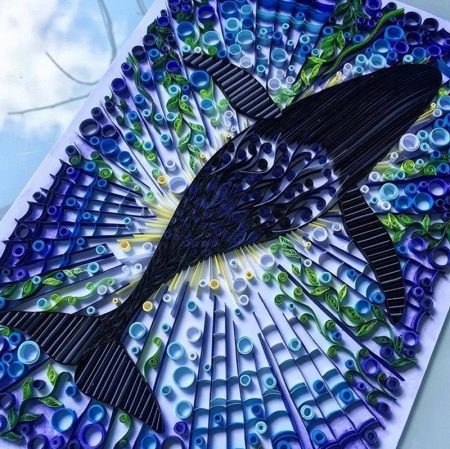
In this example, the main and only element is a tree. It can be winter, it can convey the spirit of autumn, but in a specific case, the flowering period is chosen.
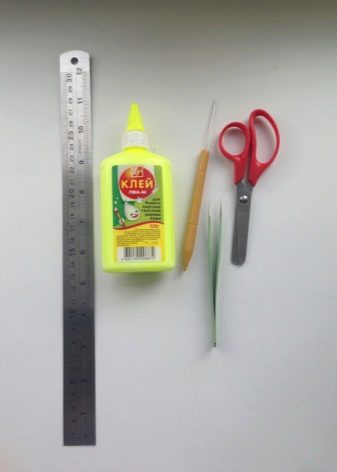
For work you need:
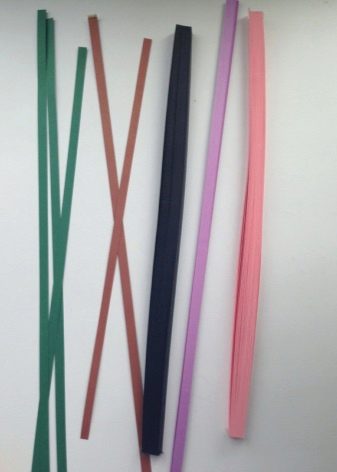
- quilling paper - black, brown, deep green, lilac (purple), pink;
- deep frame;
- awl;
- scissors and PVA glue;
- tweezers;
- Ruler and pencil.
The step-by-step instruction consists of several steps.
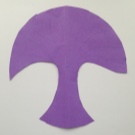
- A stencil is drawn and cut to create the outline of the tree. It will be a tree inscribed in a circle. First, a circle is drawn, then a symmetrical tree, it is also cut along the contour. It is applied to the base of the substrate (cardboard, thick paper or foamiran).
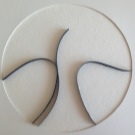
- Now, sequentially, one after another, you need to lay out the ready-made strips. We need to start with the outer boundaries.
- When all the outer boundaries have been marked, you can proceed to filling the inner space of the tree. The strips are fixed in this way - the edge of the strip is coated with glue, but before that the strip has already been given the desired bend or shape. It is easier to glue paper tapes with tweezers.
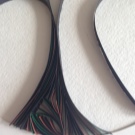
- The author of this master class measured the length of each segment by eye. For the barrel, paper of dark colors was used - brown, black and green. Author's variations are possible.The strips must be laid out closer to each other so that they fill the entire inner space of the trunk and branches.
- Now you can start laying out the flowers. There is only one basic open form used here. This means that the element does not need to be fixed with glue. The ends of the element are simply curled towards each other. But twisted spirals can be of different sizes at different ends. You will have to make a lot of spirals, about 100 pieces.
- The parts themselves are twisted without the use of glue. But the ready-made element for the base of the picture is attached to the glue. It needs a little, otherwise the base will get wet, bend, deform.
- In this case, the color of the crown is pink, but it can be done in any way. There are a few lilac elements here, although you can even form the crown with a multi-colored one. You should think about the color solution in advance. First, all large elements are glued, then small curls fill the voids.
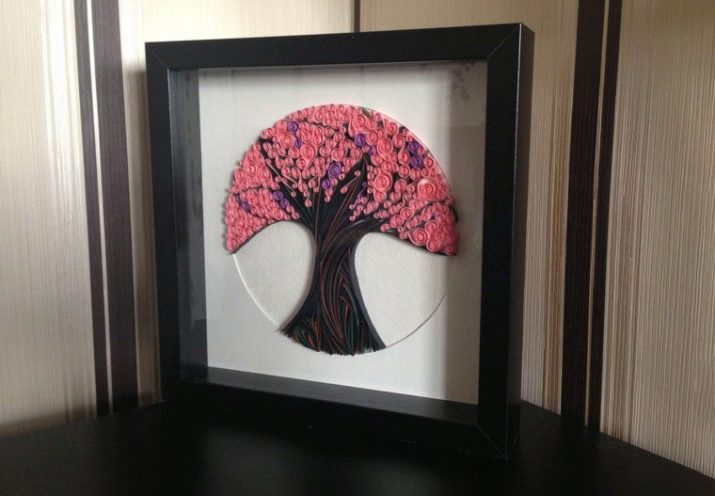
There is no great difficulty here: work requires time, painstaking and perseverance, and not some special skills. In the interior, the picture looks simply gorgeous: it is good if the master guesses with the frame and makes the picture "consonant" with furniture or other decor in the room.
If winter is depicted, the branches will be in the snow, and this can also be an interesting solution.... Near the tree you can plant some animal - a squirrel or a hare, but not necessarily. You can replace curls with looped elements, but this is unlikely to be as effective.
Interesting ideas
And finally, a review of beautiful quilling paintings that will inspire newbies to create.
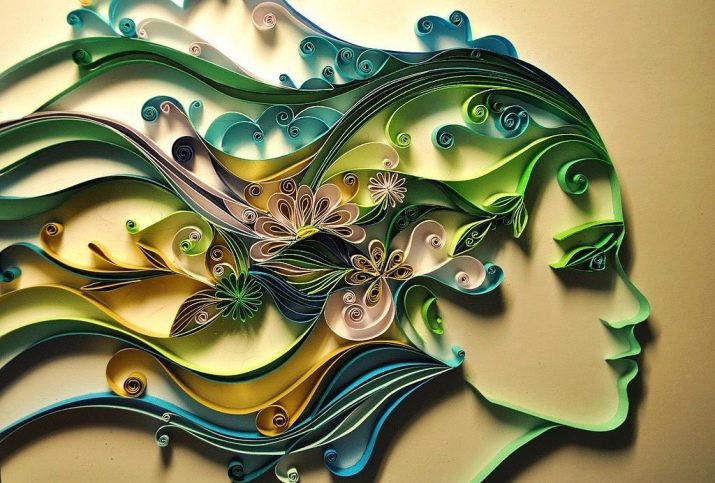
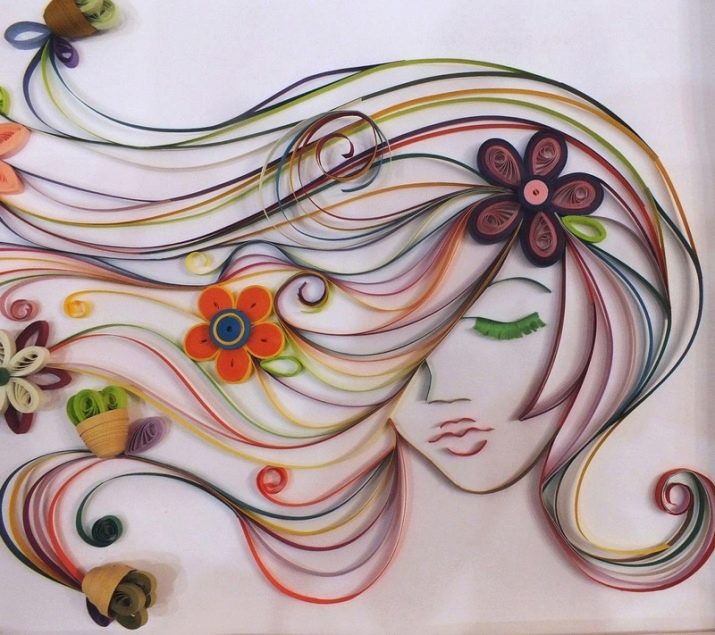
Portrait of a girl - the most beautiful compositions are simple, but if they are performed technically flawlessly, this simplicity will only benefit the work.
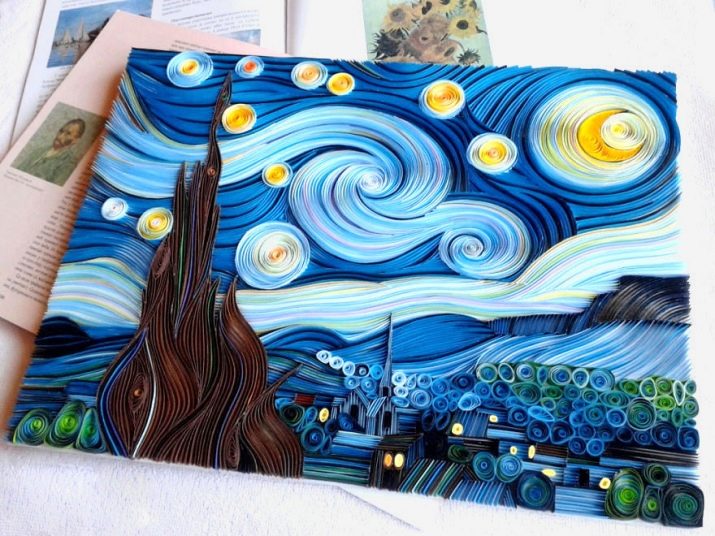
Repeat Van Gogh in quilling Is a great idea for art lovers. The very choice of theme is inspiring, and the result will warm the soul and caress the eye.
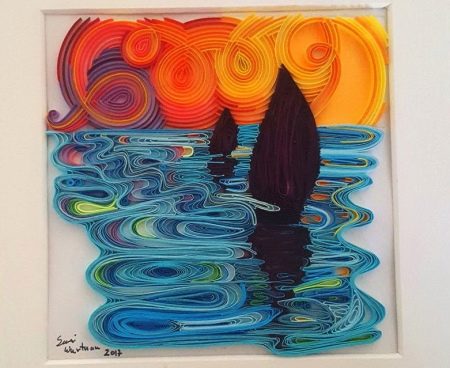
Marine theme and romance always in fashion and always give rise to pleasant associations.
Simple and elegant, the best choice for minimalists.
A mesmerizing image for those who want something unusual.
Another example of man-made beauty that is available to almost everyone. The mood and color presentation are commendable.
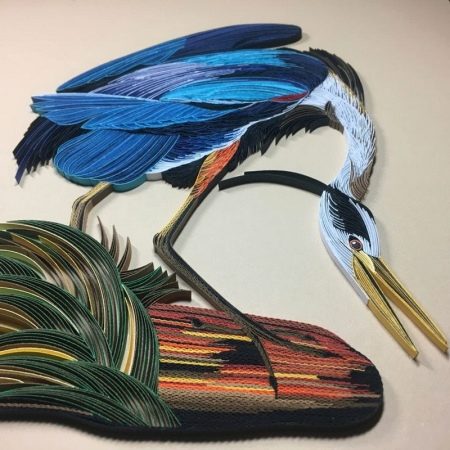
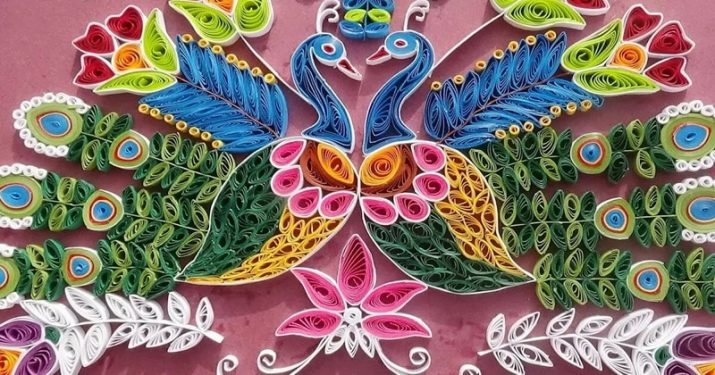
A little ethnicity will not interfere with this technique. Very beautiful, bright and not super complicated.
Unobtrusive and modest. This is what attracts this a little work in soothing colors.
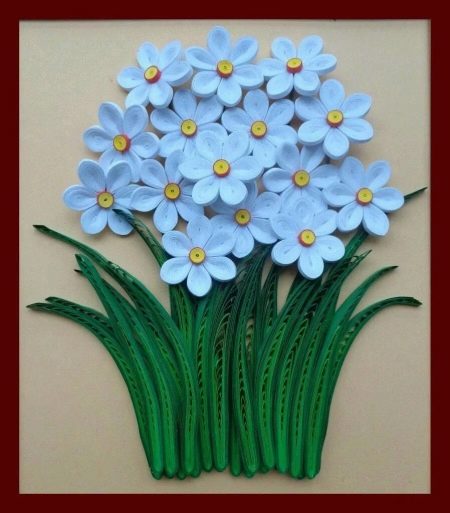
Sweetest forget-me-nots, you can't tell right away that this is also a quilling.
Simple yet tasteful - for a dresser or bedside console ideal for touching decor.

For information on how to create a picture using the quilling technique, see the next video.


