Volumetric quilling: craft ideas
If you use the quilling technique correctly, you can create real works of art from paper. The resulting decorations can become a wonderful interior decoration or an original gift that will definitely pleasantly surprise and amaze a person. In this article, we will learn more about volumetric quilling and analyze current craft ideas.
Peculiarities
Quilling has been gaining popularity in recent years. This interesting art form is often enjoyed by both adults and children. And for the first, and for the second, such an activity turns out to be useful and exciting.
The main thing is that the novice master shows patience and does not rush to construct very complex compositions - it is better to start with simpler crafts, so as not to be disappointed in this matter and then not to abandon it altogether.

Quilling is believed to calm the nervous system of an adult. They help to distract from everyday pressing problems that weigh on many users. The resulting decorations can become striking additions to a wide variety of interiors. Very often, crafts made using the volumetric quilling technique become bright accents of environments, making them more attractive, individual and complete.
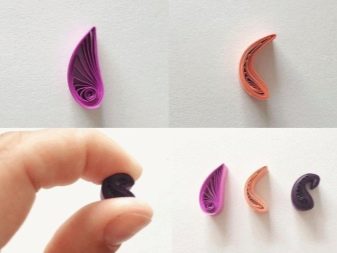
Many people who have mastered this technique well make good money on it, since jewelry in this style is still considered exclusive and very original. At the same time, not so many materials are used to make bright and effective compositions of any type, most of which are affordable. The basic elements of volumetric quilling are quite simple to implement, and usually it is not difficult to master them.

Tools and materials
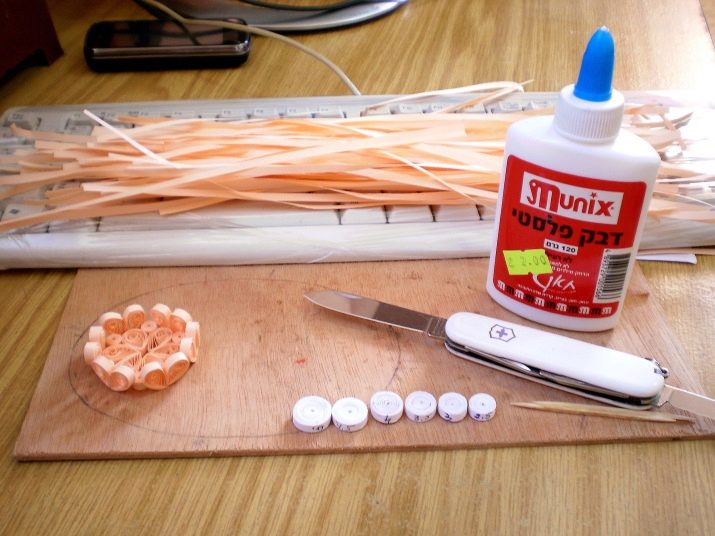
Before starting to make a beautiful composition in the technique under consideration, the master must definitely prepare all the necessary materials and devices. Make a list of the components you need in advance, including:
- scissors;
- glue (most often standard PVA is used);
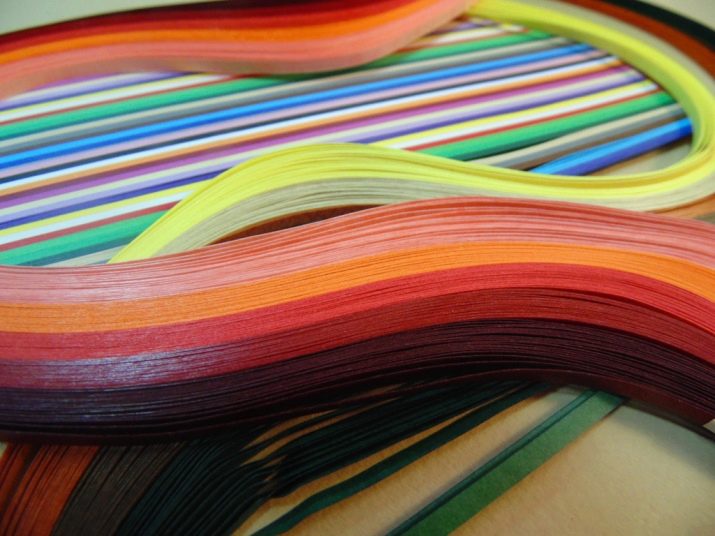
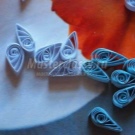
- a set of multi-colored strips for quilling (you can cut them yourself, or you can buy them ready-made in a specialized store where everything for art is sold);
- small scissors;
- tweezers;
- a special tool in which there is a forked metal tip;
- special safety pins;
- metal ruler;
- grid pattern.
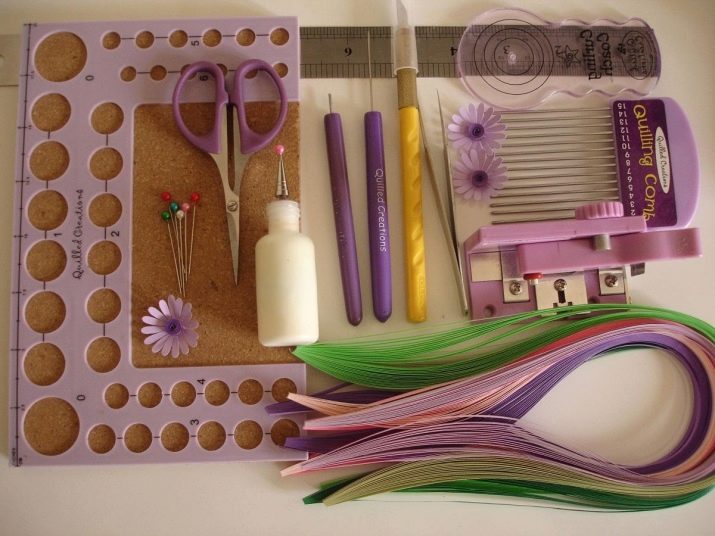
You can buy a ready-made kit in the store (like "quilling for beginners"), which will provide all the components you need. There you will also find the necessary diagrams and blanks. Many craftsmen decide to turn to just such products.
Make sure that the width of the paper strips is from 0.3 to 1.5 cm. It is desirable that their density is 120-140 g / sq. m. Sometimes a denser material is also used - corrugated cardboard (it is also used for another type - corrugated wiring).
Preparation
If you have prepared all the necessary tools for the planned creative work, then you will need to pay due attention to other preparatory stages.
Beforehand, you will need to think carefully about what exactly you want to build from paper parts. There are tons of objects that a craftsman can make using such components. You should not keep all the ideas in mind - it is better to sketch them on a separate sheet of paper. Try to make the drawing as detailed and accurate as possible so that during the work it helps you, does not mislead you more.
It is advisable to calculate how many materials you will need for certain elements of the future composition. Make notes on the diagram / plan of the future craft. It will be much easier to work if you keep everything under control, and it is much easier to avoid unexpected results.
Make sure there is enough free space for yourself and all components. Nothing should bother you. Provide good lighting. In tight quarters and in poor light, the volumetric quilling technique will be especially difficult for you and can even cause irritation. Provide a comfortable workplace.
Prepare all materials and tools. Arrange them so that they are close at hand and you can easily pick up the desired device at a certain stage of the quilling.
Interesting ideas
Let's consider some interesting ideas for making compositions using the described technique.
Snow Maiden
Here is a master class on how to make this New Year's character out of paper.
- Choose a background. Stick shiny sequins on it.
- Sketch the template and prepare, by cutting out the following details from paper: body, mittens, head, hair, boots, kokoshnik.
- Attach to the base in the correct order.
- Finish sketching the face.
- Roll a large number of small rolls (modules) of the corresponding colors. Fill in the composition with them.
Santa Claus can be made in the same way. This is not difficult. Then you can arrange the craft as you like: sparkles, imitation of a snowball, and so on.

snowman
Now we will analyze in stages the scheme for making this unusual figurine.
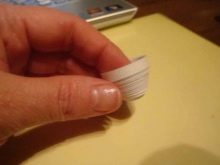
- Take a long white section and roll it up. Glue the edge. You need 4 elements.
- Then squeeze out the rolls (like hats), glue again and leave to lie down.
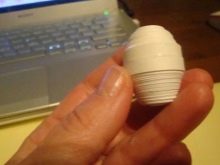
- Bind the 2 halves of the torso and head together.
- Create 4 drop parts (curved for the handles and straight for the legs).
- Push the module out. Treat with glue.
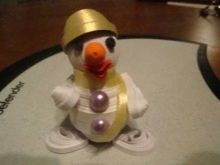
- Attach the limbs to the balls of the snowman's torso. Decorate the belly with beads.
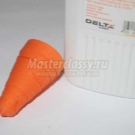
- Add a "carrot" to the head - a nose.
- Make a roll of gold paper larger than the head. Squeeze it inward as well. Coat with glue, dry.
- Stick the hat, all the details to the torso.Finish the face. For the eyes, build tight dark rolls. A satin ribbon is suitable for a scarf.
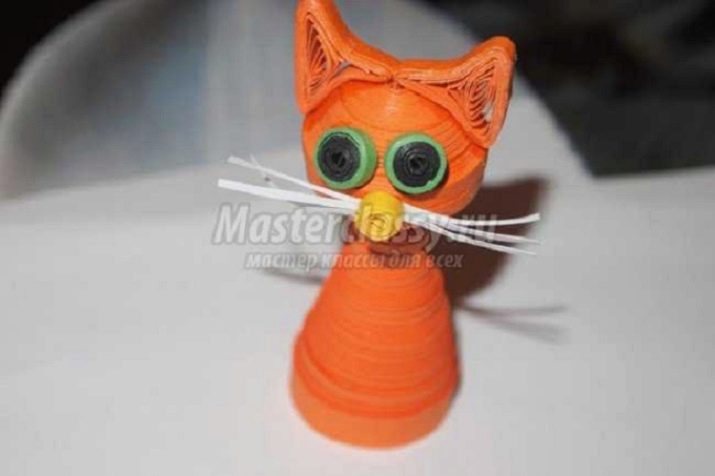
Cat
Having figured out how to make the basic elements, you can try to make a cat using the technique in question.
- We twist 2 rolls of ginger paper. We give them the shape of bowls. We coat the inside with glue. We make them oval.
- Coat the edges with glue, hold tightly. This is the head of the cat.
- Make the eyes and nose with 3mm wide ribbons. Make a yellow nose.
- Glue all the components to the head.
- Make ears from rolls 1 cm in diameter. Stick to your head.
- Twist the orange and white strips, wind on a stick and glue.
- We make the legs from 4 roll-cups. Lubricate them with glue inside.
- Make 4 spirals from orange strips 10 cm long.
- Lubricate the edges, lower them into the tubes. Glue the feet on one side.
- Glue the head to the torso. Wait for it to dry.
- Then glue the legs to the body. Wait until it dries, cover the thing with varnish.
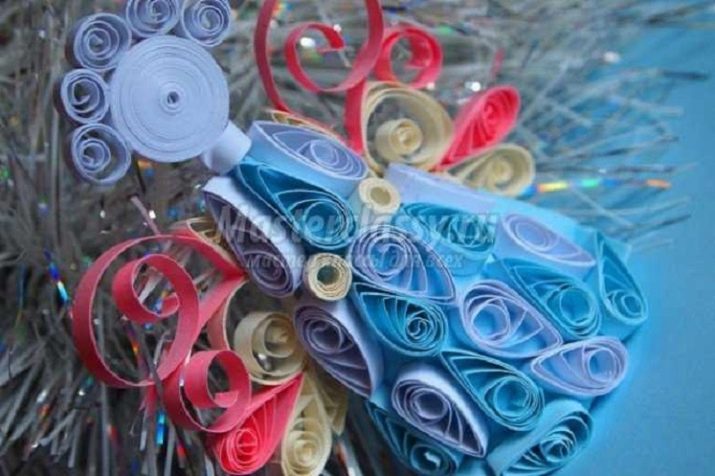
Beautiful works
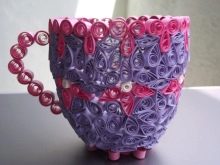
Using the technique of volumetric quilling with your own hands, you can make a huge number of interesting souvenirs and toys of various shapes and sizes. It can be animals, plants, ordinary patterned compositions. Let's take a look at some attractive options.
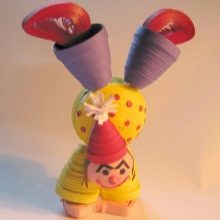
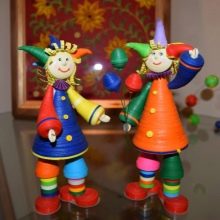
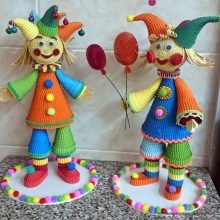
- This technique makes funny buffoons. These can be perky little men in bright and colorful outfits, red boots, standing on their hands. The character can be decorated with a high triangular hat with a snow-white pom-pom. Compositions in which there are several buffoons look good.
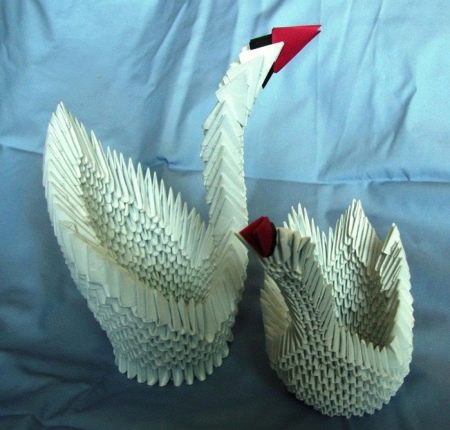
- Large birds can be surprisingly beautiful and spectacular.made in the considered technique. For example, it could be a swan or a pair of swans. To make them, you need paper tubes of only 3 colors: white, red and black.
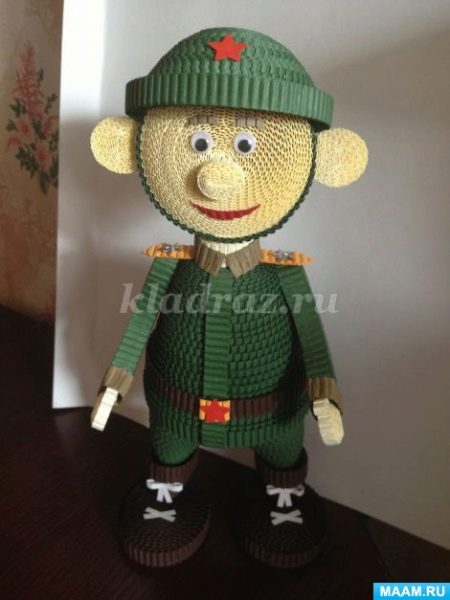
- In the considered technique, you can make a variety of characters. A paper soldier in military uniform with red stars and shoulder straps can turn out to be interesting. In execution, such figures can be quite difficult, so it is better for novice craftsmen to try to do something easier.
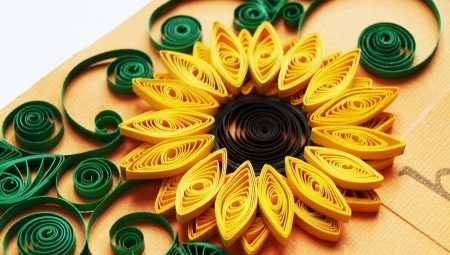
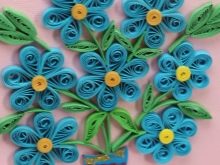
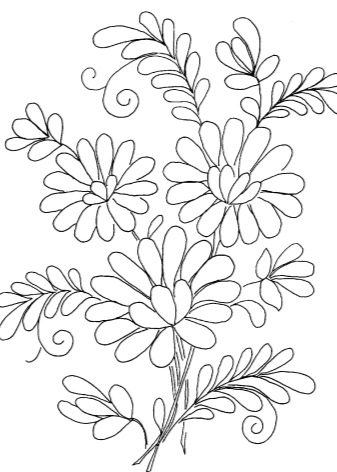
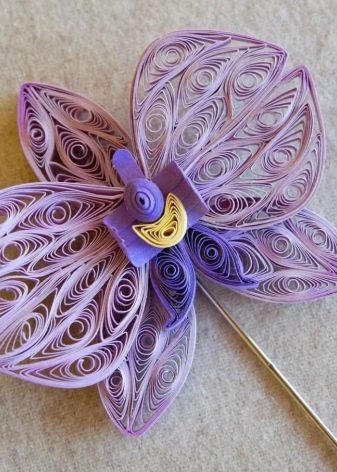
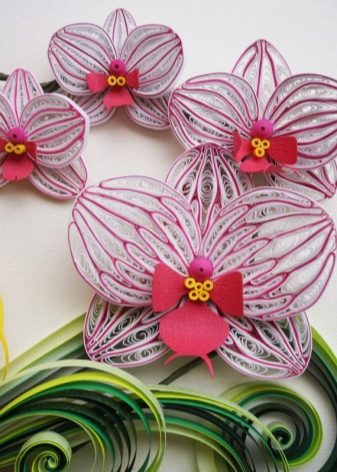
- Using the volumetric quilling technique, you can make very elegant and bright flowers. For example, it can be beautiful orchids with large petals of delicate colors. Such decor will become a chic interior decoration and will definitely not be ignored. For flowers, you can choose a beautiful vase or make it yourself using the quilling technique.
- If you have already mastered the technique discussed, you can try to make a multi-colored carousel with snow-white horses with your own hands... For such a bright and detailed composition, you will need many small rolls, which will need to be as competently and neatly arranged as possible in their places.

How to make a flower using this technique, see below.


