How to make a postcard using the quilling technique?
For each holiday, I would like to present a pleasant surprise to loved ones. Hand-made gifts are especially appreciated. One of these creative solutions will be a postcard using the quilling technique.
Required material
Using the quilling technique, which consists in twisting strips of colored paper and creating pictures from them, you can make any plot for a postcard. Of course, you need to start with the simplest things. As practice shows, you will soon be able to move on to creating real masterpieces.
Before embarking on such an exciting activity, you need to prepare all the necessary tools and materials. These include:
- cardboard: white and colored (options such as double-sided, shiny, corrugated will also be very relevant);
- colored paper (here, too, different variations are possible: matte, glossy, glitter, holographic);
- glue: can be used both in a bottle and a glue stick;
- scissors, paper knife;
- ruler and a simple pencil;
- needle and thin tweezers.

All of these subjects are usually found in every schoolchild or child attending kindergarten. The first training specimens can be made from inexpensive materials. A little later it will be possible to move on to more beautiful and original components.
Step-by-step instruction
Before you start the process of creating a postcard, you may have to watch a master class to understand how to make volumetric paper compositions step by step. It will be useful for beginners to find out what elements in the quilling technique can be made from curled paper.
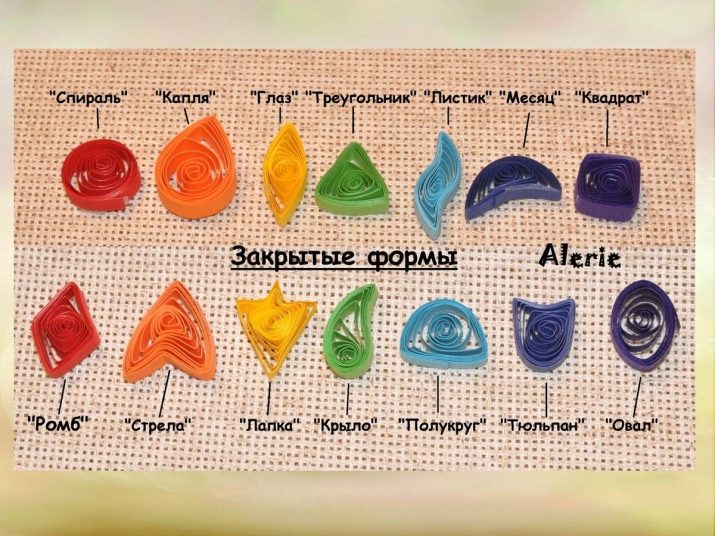
These can be simple options:
- tight circle;
- free circle;
- displaced circle;
- oval;
- cone;
- a drop;
- petal;
- eye;
- crescent;
- triangle;
- heart;
- various spirals.
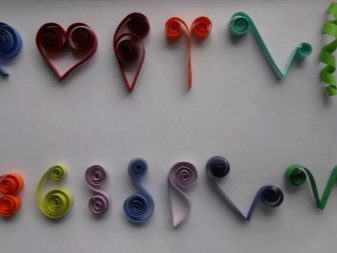
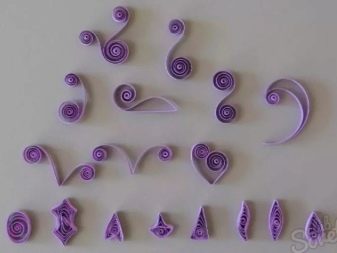
But the limit of imagination does not end there. To make complex and large works with your own hands, you can always come up with other elements. All this will come with experience.
Typically, parts for quilling are made as follows: paper is cut into strips (the width depends on the selected illustration), then each strip is twisted into a spiral. After that, it is slightly relaxed, and then given the desired shape with the help of fingers or a tool.
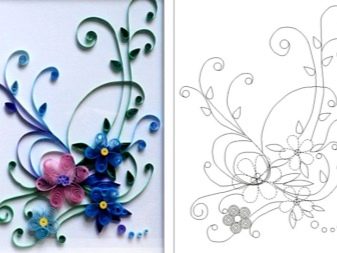
Before creating any specific composition, you should practice making individual details. When they are good, you can start creating a postcard. And, besides, before starting any work, you need to present its final version.
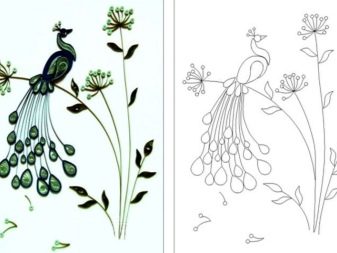
Therefore, first it is better to make a sketch on plain white paper with a simple pencil, and then act according to it.
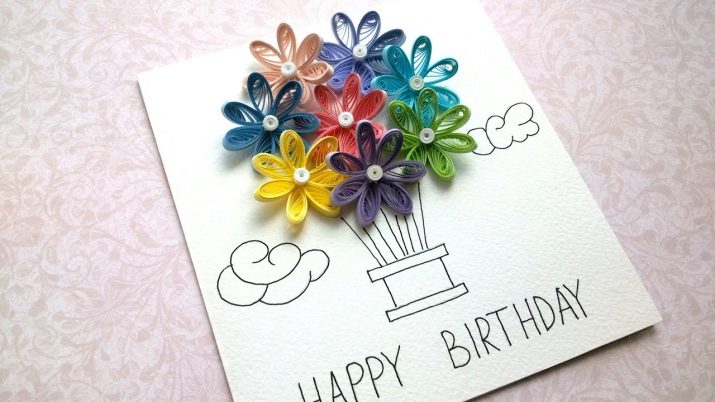
You can start with a postcard "Happy Birthday"... Such a greeting card will be pleasant not only for mom or dad, but also for your beloved girlfriend, teacher. The easiest option is to make flowers as the main element, and then write the congratulation itself.
The step-by-step instructions are as follows.
- First, we prepare the base: it will be a cardboard sheet folded in half; you can stick a textured material or a piece of colored paper of a different color on the cover. Let's say the cardboard is blue, and the paper will be blue, yellow, green.
- Inside, where the congratulation itself will be located, you also need to arrange everything beautifully: glue a piece of paper or cardboard in a bright color so that the text is clearly visible.
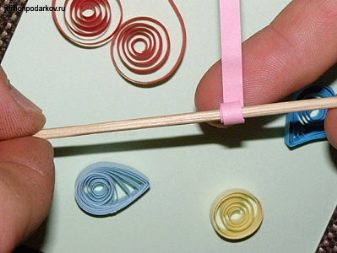
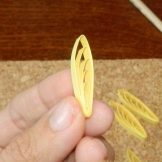
- The next step would be cutting strips and twisting them with a spiral. We fix the end of the strip with glue.
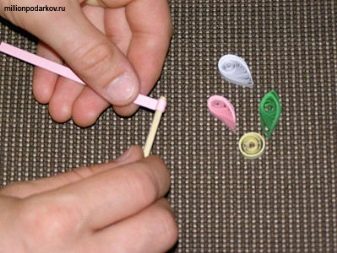
- We make five such details, with the help of light compression we give them the shape of the eye. These are the future petals of the flower.
- Glue the petalsTo make a flower, leave room for the core.
- We make as many petals as we plan to make flowers, we select the colors at our discretion.
- To do center of the flower, We cut a strip of paper in the form of a fringe (making frequent cuts along the entire length), then we twist it.
- Glue flowers, we supplement with cores, we make curls on the card. To do this, simply twist a few strips of paper, then slightly straighten and glue.
- Then in the remaining free space add a signature... You can print it and stick it on.
- Inside on a piece of paper pasted specifically for this we write congratulations with warm words.
- The resulting postcard can be supplemented with beads, rhinestones, sequins... The main thing is that it should be a light, graceful composition in one style.
Using flowers, giving the petals different shapes and choosing delicate or bright shades, you can create beautiful wedding cards, as well as congratulations on March 8th. Such a creative gift, made with soul, and most importantly, carefully and with imagination, will delight any hero of the occasion.

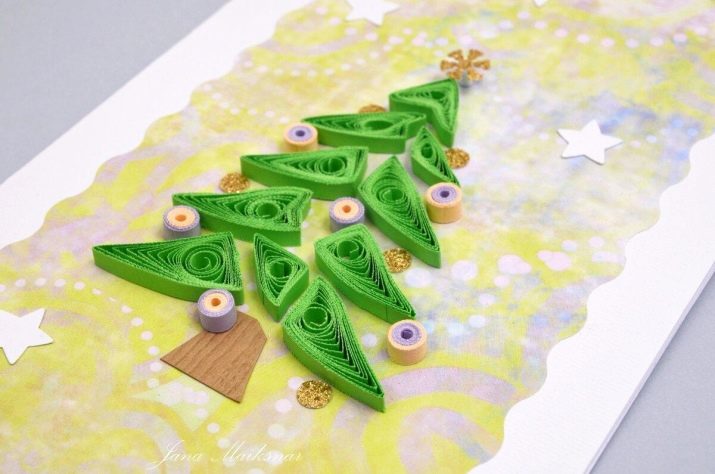
It is not difficult to make a winter postcard dedicated to your favorite holidays, be it New Year's, Christmas or Epiphany model. For the New Year theme, the easiest way is to choose a Christmas tree. To do this, it is enough to twist several green spirals, shape them into droplets, and then stick them: there will be one on top, the second row - two, the third - three. We glue the barrel from a brown spiral. You will get a green beauty. Tightly twisted spirals or beads can be used as balls. You can draw snowflakes, make a signature. An interesting idea would be to make a postcard with Christmas balls, candles, a snowman. But the creation of Santa Claus or Snow Maiden will have to work longer.
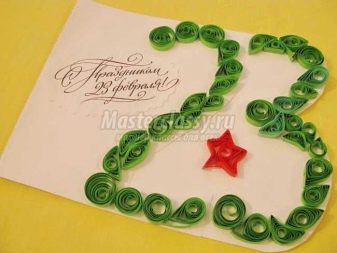
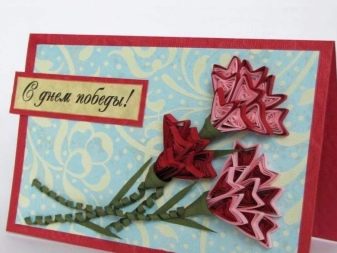
In the same way, you can make postcards for February 23 and May 9... If recreating a tank or an airplane turns out to be difficult, you can always find a way out. For example, it is easy to make three-dimensional figures out of paper, as well as a star or fireworks.
But these are all the easiest options for beginners. These are just the first steps.And then you can experiment and come up with flowers and plants of different shapes, animals, whole pictures and plots. The main thing is not to let your fantasy down. Such an activity will become exciting not only for children.
It is a real pleasure to spend time with your family in this way.
Interesting ideas
If you want to come up with something interesting, then you can see ready-made examples, because the principle of making parts for quilling cards is always the same. In addition, you can use additional details that will decorate the postcard. Now in every handicraft store you can find a lot of interesting things, including buying all the components for quilling.
Here are some noteworthy examples.
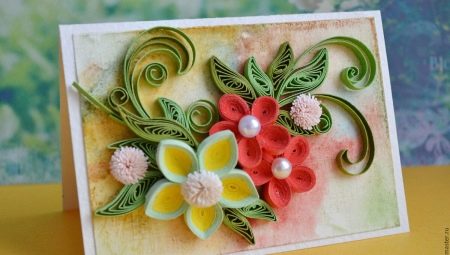
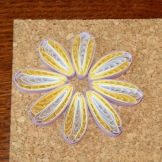
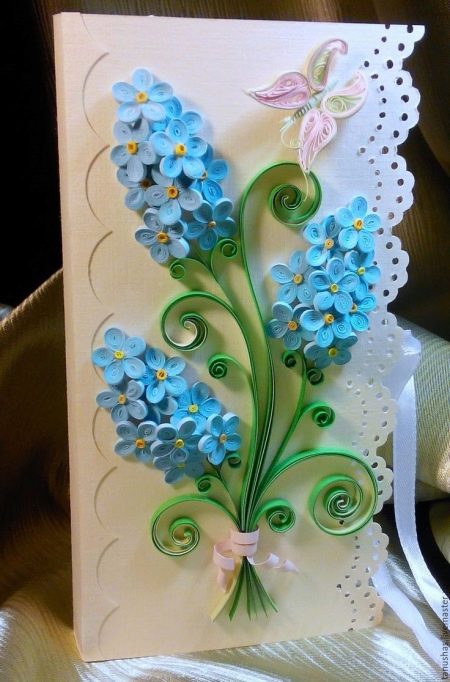
- A bouquet of blue forget-me-nots looks gentle and elegant. You need to be patient and make a lot of small blue petals. The stem will complement the bouquet. The butterfly looks very beautiful, and the openwork edge adds elegance to the overall composition.
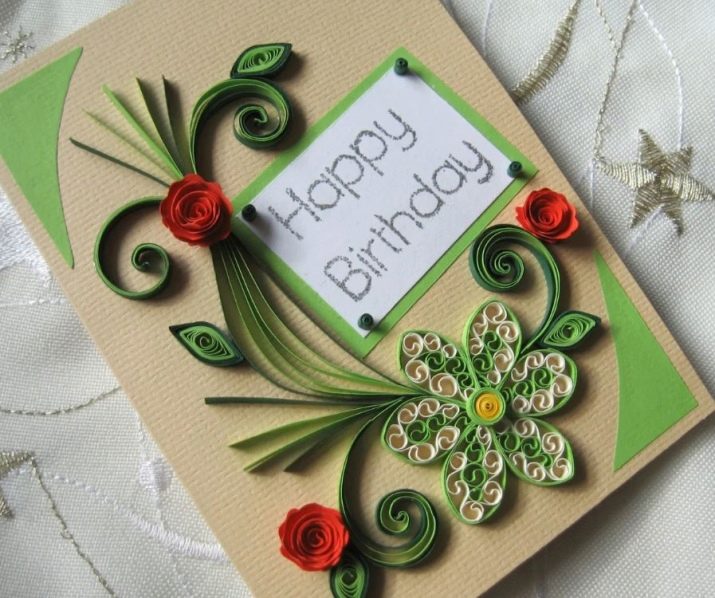
- Everyone will like this birthday card. Here the "highlight" are roses, as well as the central flower, which has original petals. In them we see several spirals, due to which the effect of openwork appears.
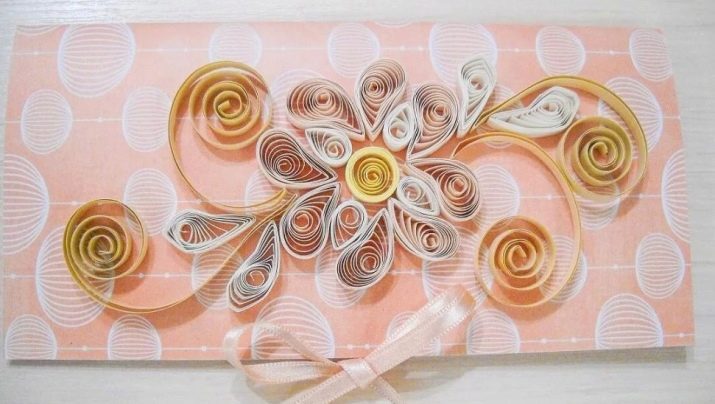
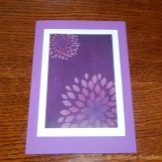
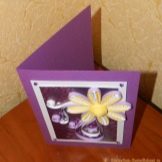
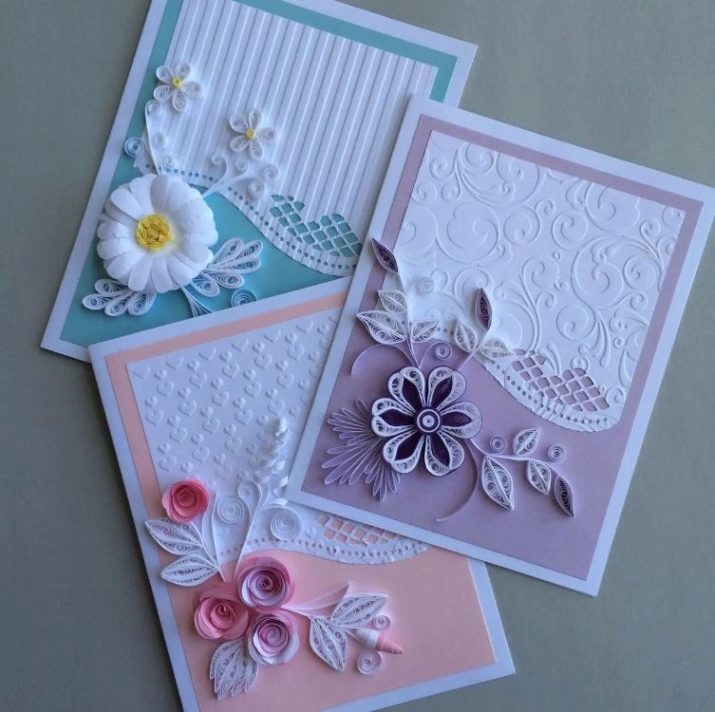
- These pieces also look very sophisticated, here you just need to choose gentle tones and create graceful curls. These cards are suitable for any celebration: wedding, birthday, March 8th.
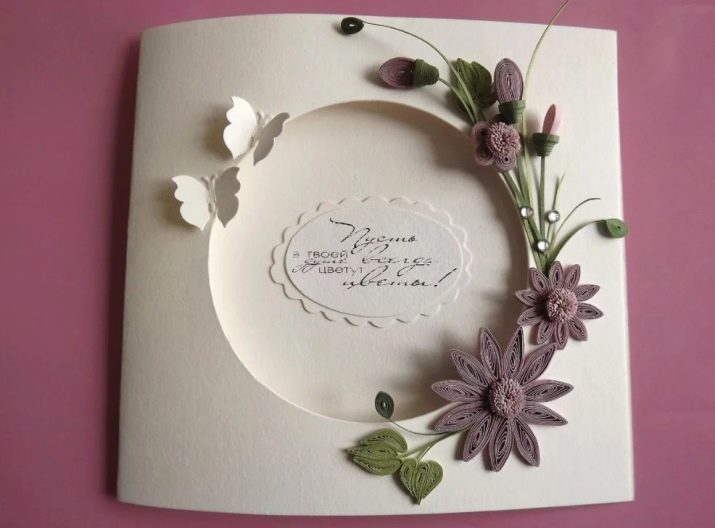
- Original version and double postcard. It looks gorgeous, there is nothing superfluous in it. It is enough to take a sheet of white cardboard, cut out a circle, stick a piece of the same cardboard in the form of a flower inside. The first sheet of the card is decorated with a stylish bouquet and small butterflies.
- For Valentine's Day, you can make such a cute postcard that will tell you about your feelings. The cat and the cat look adorable, and making them is not difficult at all, as are the hearts that complement the composition.

- And such beautiful compositions for the New Year can be created using not only colored paper, but also beads, sparkles and other decorative elements as an addition.

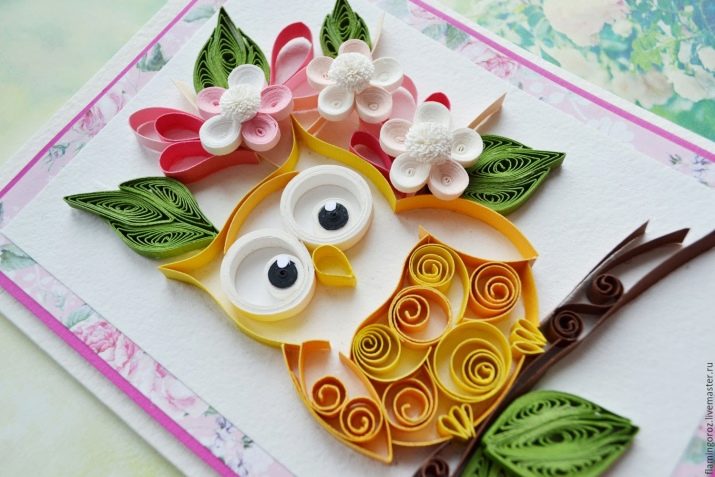
- This work confirms that any plot can be done. In this case, the picture looks very sophisticated and original, and it is not difficult to make it.
It is just important to think over the plot well and draw a sketch on paper beforehand.
Using the quilling technique, you can create not only postcards. You can also decorate envelopes with gift cards or money, gift boxes, notebooks and notebooks. All this will give things a unique look, and giving a gift will become a pleasant and unforgettable moment.
To learn how to decorate a postcard using the quilling technique, see the video.


