How to make a quilling butterfly?
Many are already familiar with the paper-rolling technique called quilling. It is a great way to distract yourself from problems, calm down, relax and enjoy the process of creating real masterpieces from paper. It all depends only on your imagination. In this article, we will take a closer look at how to make a quilling butterfly.
Peculiarities
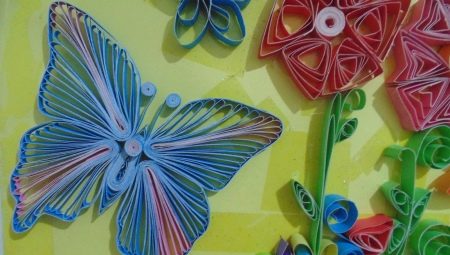
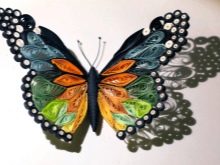
A luxurious butterfly made using the quilling technique will become not only a stylish decoration for your home, but it can also be a handmade souvenir gift. Such a butterfly can play with different colors. With the help of colored paper, you can depict any drawing, because this material is quite convenient to use, it turns easily.
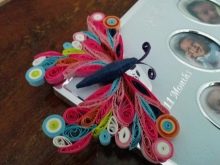
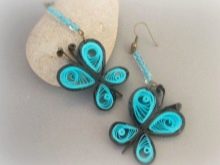
A quilling butterfly will become an exquisite decoration as a decorative element of interior design or decorate earrings, hairpins.

It is worth noting that it will be difficult for novice craftsmen to independently figure out the intricacies of creating a butterfly using the quilling technique. To begin with, you should familiarize yourself in more detail with the step-by-step instructions, as well as the materials and tools necessary for work. Beginners should definitely apply schemes to create a future masterpiece. Explore a few of the most attractive, then stop at one of them. In this case, it is better for beginners to start with simple schemes. Their presence will make it possible not only to simplify the work of paper rolling, but also to delve into this technique, acquire basic skills, and also master several methods in both winding and binding.
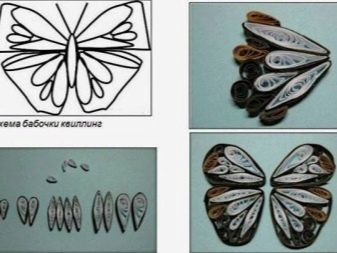
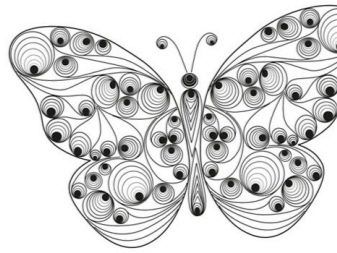
Using a diagram to create a butterfly in the quilling technique is very important, since it is quite difficult to make correct and identical details without seeing a schematic drawing. Of course, the choice of color and pattern is yours, but without using the scheme, you risk making the wings of an irregular shape or size, for example, they can be asymmetrical.
Therefore, experts advise using a ready-made scheme or draw a sketch yourself to create a future masterpiece.
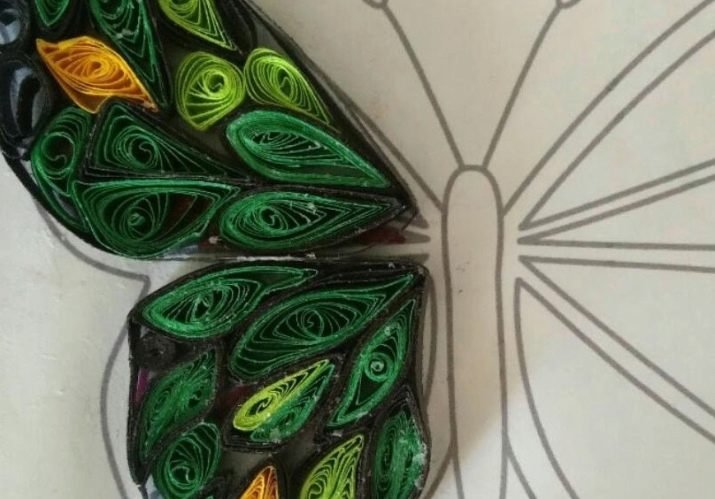
Today, a wide range of ready-made patterns and patterns is presented in stores for working in the quilling style. If you wish, you can draw a butterfly yourself. This will require an A4 sheet. You will be able to choose colors, as well as the shape of the details that will form the butterfly. This process is very interesting, it allows you to additionally enjoy the process of drawing.
Materials and tools
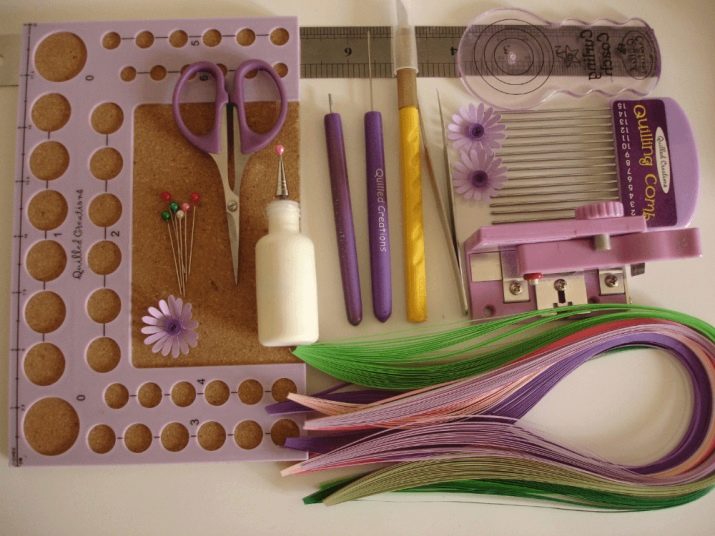
If you decide to make a butterfly out of quilling, then you should initially prepare materials and tools. These include the following:
- colored paper of good density;
- Cork board;
- scissors;
- PVA glue;
- a ruler containing templates for various shapes;
- a tool for curling strips of paper into rolls;
- pins;
- acrylic lacquer;
- diagram-drawing, which, if desired, you can draw yourself.
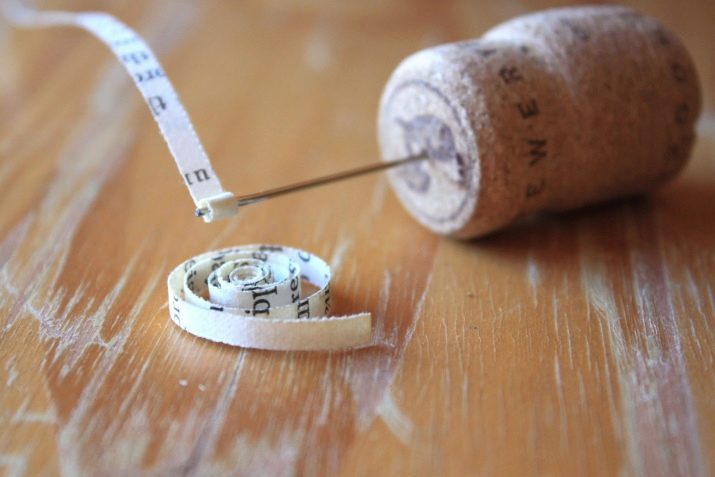
Important! If you don't have a tool for curling paper, you can make one yourself. A needle with a huge eye or two small needles tightly located on a wooden champagne cork can be used as this tool.
Master classes
When all the tools and materials are ready, you can proceed directly to the master class on creating a quilling butterfly.
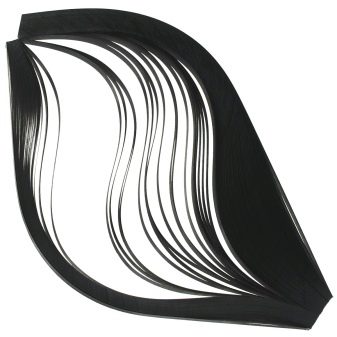
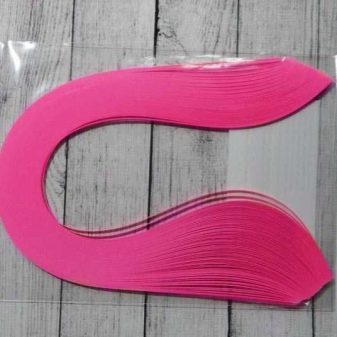
You need to take either ready-made strips of paper for quilling, or cut them yourself. For our butterfly we need pink and black. You need to prepare 4 strips of pink shade measuring 1.5x5 cm, 2 strips 2x20 cm and 6 strips 1x10 cm. Next, take black paper and cut it into small strips.
For beginners, it will be more convenient to purchase ready-made quilling strips at a handicraft or stationery store.
Next, take a tool for twisting paper strips and twist them in turn. As a result, rather dense circles are formed. It is from them that the details will be made to create a butterfly. To get a beautiful drawing, the circles should not be dense, they should be slightly dissolved. A special ruler is used to create a circle of the desired size. With its help, you can conveniently dissolve the circle - it should be enclosed in a template that suits you in diameter. On average, the line comes in three different sizes.
When the mugs become voluminous, you must rather carefully remove it from the template, and then carefully glue the tip of the paper with glue so that it does not bloom in the future. Next, you can proceed to the formation of a circle shape. It is necessary to make the shape of a droplet - you should grab the circle with your thumb and forefinger on one side and make a bend.
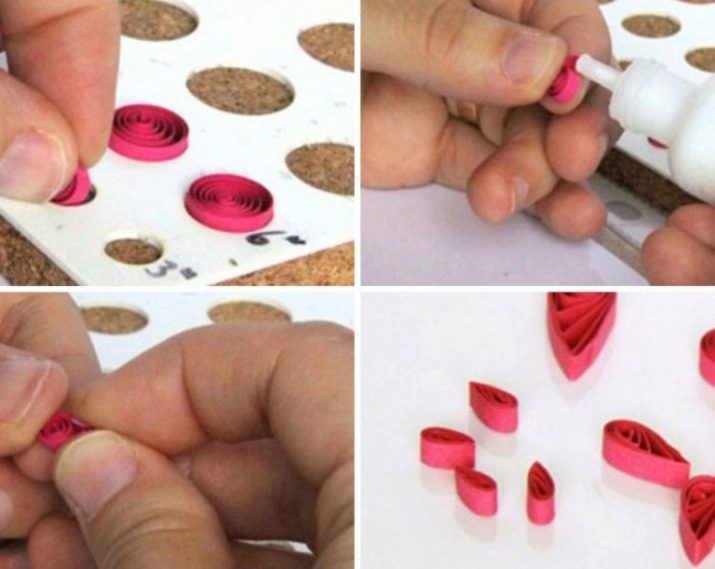
The resulting droplets should be positioned on the diagram so that a quilling butterfly is obtained. They will be close to each other. Next, you need to glue them together in those places where they are adjacent to each other. First, a drop of a larger diameter is taken, two drops of a smaller diameter are glued to it. When gluing the droplets, you should pay attention to the fact that the tail of the droplet located in the middle should protrude in comparison with others. If you do not adhere to this rule, then further you will not be able to glue the resulting parts together.
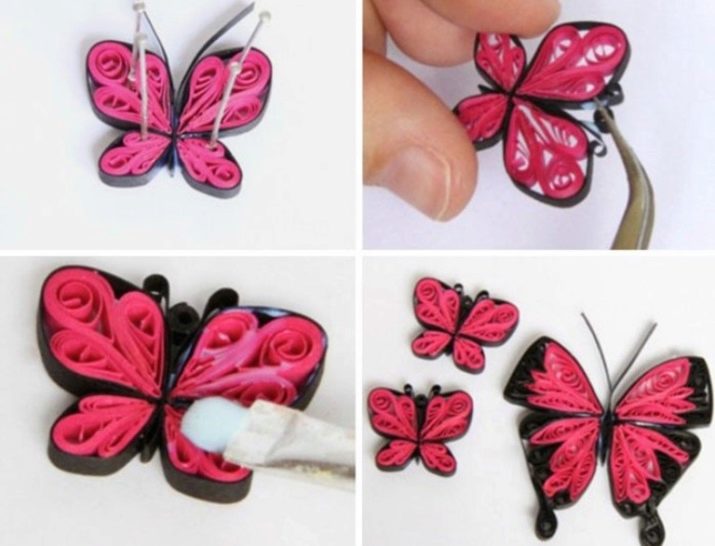
Next, you should take the black stripes. They will be used according to the edging principle. With their help, it will turn out to create a so-called frame. All the resulting parts must be pasted over with black stripes. To make the product reliable, it is worth wrapping the parts several times in a black frame, at least twice.
Then you can already move on to creating the body of the butterfly. You should take one strip of black paper, fold it in half. Half of the created structure needs to be covered with glue and glued, the rest will allow you to create horns. To do this, bend the tips of the paper in different directions. To make the horns as believable as possible, they need to be twisted into circles.

Now we glue all the details - and we get the wings, which we glue to the body of the butterfly. If you want to use a quilling butterfly as a pendant or attach it to other surfaces (for example, on a wall), then you need to form a tight ring, make a hole in it and fix it between the antennae of the butterfly.
Next, you need a cork board. A ready-made butterfly should be fixed on it until it is completely dry. This will also require pins. When the craft is dry, you can carefully remove it from the board.
To reliably protect the quilling butterfly from various kinds of damage, drying out and sticking, you will need to use acrylic varnish. It is advised to apply it in several layers. Before applying a new coat of varnish, the previous one must be completely dry.
A master class on making a butterfly using the quilling technique further.


