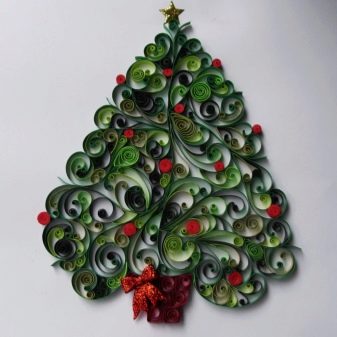
Methods for making a Christmas tree using the quilling technique
Quilling technique suitable even for beginner craftswomen. With its help, having memorized just a few simple instructions, it will be possible to create an elegant decoration for the New Year in the form of a volumetric Christmas trees.
Where to begin?
Before you start making a Christmas tree using the quilling technique, you need to understand what is the essence of this method.
Quilling involves the creation of crafts from pieces of paper curled in a certain way, which are then assembled into a specific shape.
A volumetric composition can become an individual decor item or be used to decorate postcards and other flat surfaces. Schemes for quilling are often not required, but used materials differ in cheapness and availability. The basis for the craft is multicolored paper, both smooth and corrugated.


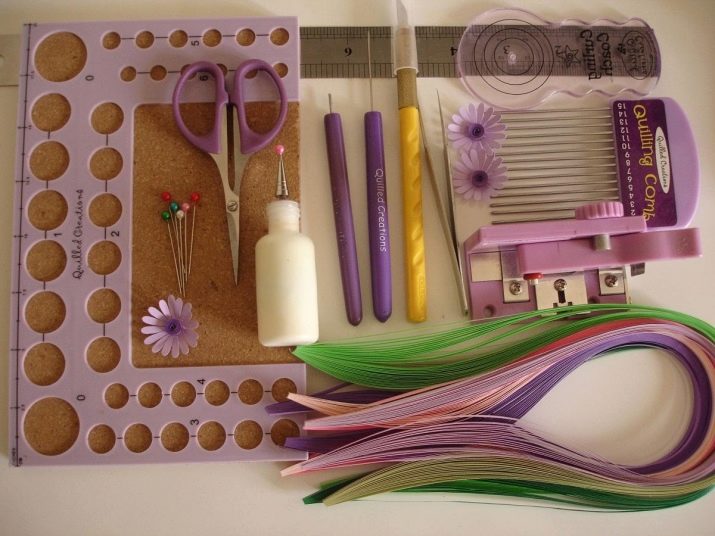
You can cut the blanks yourself or purchase a ready-made set at a craft store. In addition to paper, work requires:
- small scissors;
- glue stick, PVA or glue gun;
- ruler with round holes of different diameters;
- toothpicks, rods, marker and pens.
Most craftsmen also prefer to use special tool for quilling. To decorate a paper figure, it is customary to use beads, rhinestones, ribbons and sequins.
Interesting making ideas
Even a novice craftswoman can make a paper tree for the New Year using the quilling technique with her own hands. Crafts in this style can be created separate elements of decor or on cardboard, which is later transformed into a greeting card.
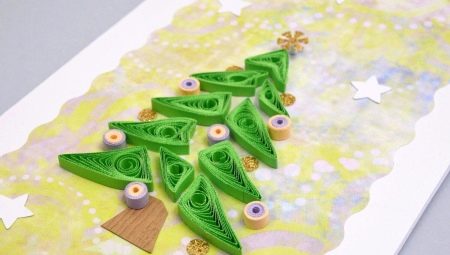
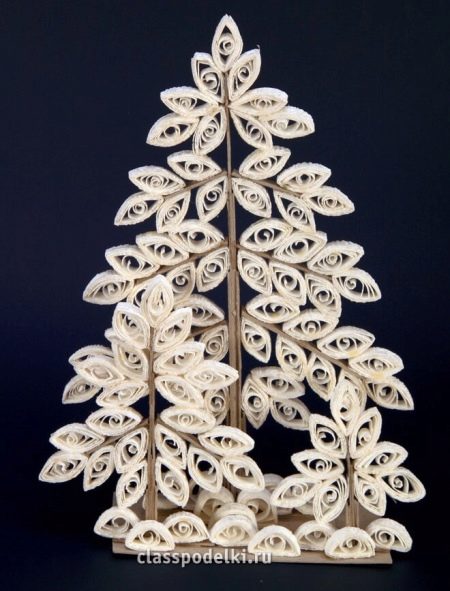
With frost
A fairly simple master class will allow you to independently make a beautiful tree with branches covered with hoarfrost. Following the step-by-step instructions, you first need to cut paper blanks. To create a Christmas tree, you will need: two strips of brown shade with a width of 7 millimeters, as well as 42-43 paper ribbons of green color and the same number of white blanks, the width of which will be 3 millimeters.
Length of stripes is determined depending on the size of the tree, but in principle, you can stop at 20 centimeters. In addition, the work requires glue, a special quilling tool and bright beads for decoration. In order to make the stripes the same, you need a ruler template.
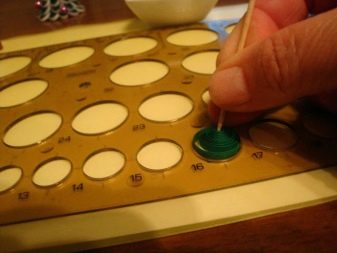
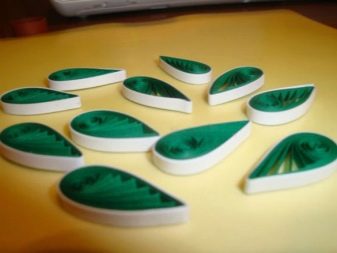
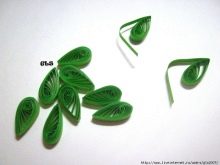
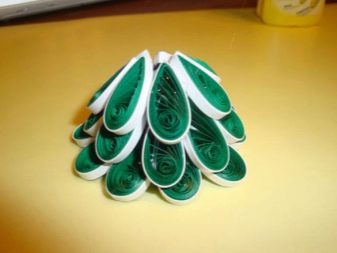
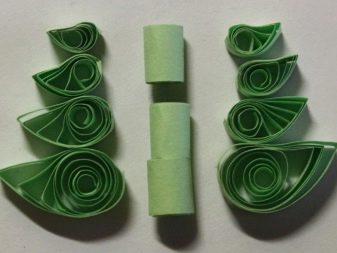
First of all, brown stripes are twisted in rings, and their ends are fixed with glue. It is from them that the tree trunk will be formed. The easiest way to make rings is by twisting them onto a marker. Green papers should be used to form "drops" which will then receive a white frame. To create an unusual shape, after swirling, it is necessary to move the center of the spiral to the edge and fix it in this state.
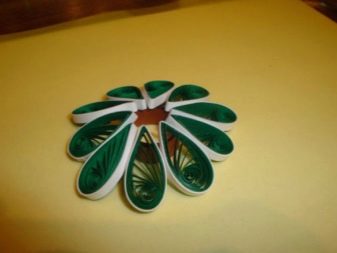
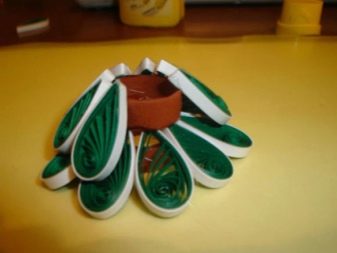
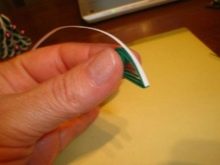
To do this, the resulting roll is compressed on both sides, and one of its ends is fixed. Each "drop" will need to be wrapped twice with a white blank. Having processed the upper part of the "stem" ring with glue, it is necessary to glue the green "drops" of the first row onto it. Then, on the second ring, the lower part should be processed with glue. Having placed it over the first fragment of the trunk, it is necessary to glue the “drops” of the second row. Fragments of the third green row will be glued directly to the objects in the second row.
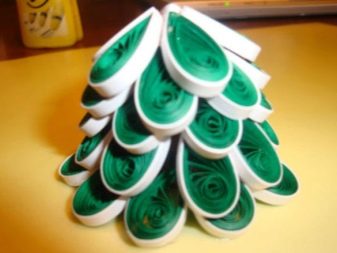
Similarly, you will need to form the fourth and fifth rows. "Drops" of the sixth row should already form the top of the tree, and therefore they will have to be glued almost in a vertical position. In this case, the lower part will be fixed on the main body of the craft, but the upper tips of the "drops" will only be connected to each other. The finished Christmas tree is decorated with beads.
Snowy
The scheme for creating a snow tree using the quilling technique is also not particularly difficult. Of the materials, white stripes are required, the width of which is 7 millimeters or corrugated cardboard with similar parameters. In addition, you will have to use the usual cardboard light brown shade. As a standard, you will need PVA glue, scissors and a tool used to create quilling rolls for work. The first step for the Christmas tree is created frame blanks: 11 strips of cardboard with a length equal to 20 centimeters and a width not exceeding 7 millimeters.

All strips needed connect with glue, applied at the bottom and extending to almost half of the entire length. Next, the outermost paper strips are folded down so as to form an acute angle. On the next strips on both sides, measure 4 centimeters from the fold and cut them off. Third pair of stripes bends down again, but after 4 centimeters from the cut of the previous ones. The last tier of spruce paws is formed in a similar way.
If everything is done correctly, then only one strip will remain in the middle, imitating the top of a tree.
At the bottom of the tree, you can add a strip on each sidebent at right angles for added stability. When the tree frame is ready, you can move on to creating the “leaves” using strips of white paper. The resulting "drops" are fixed with glue on the barrel.
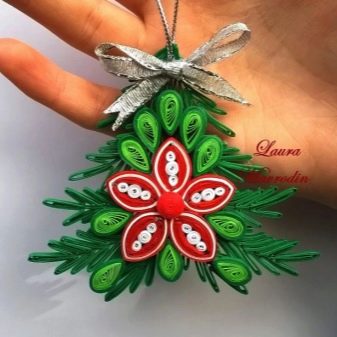
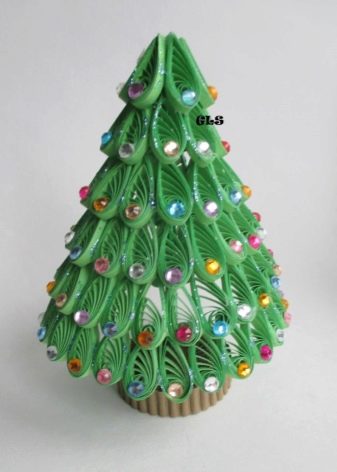
With a star
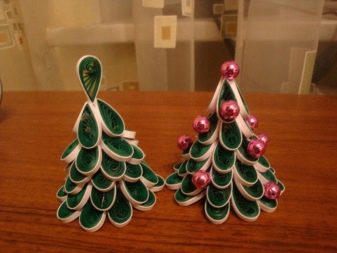
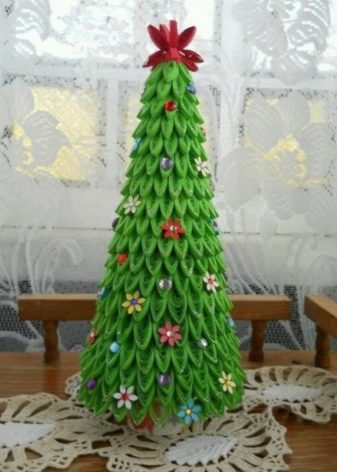
Making a Christmas tree from quilling with a star is suitable for needlewomen of all levels. From materials will be required green and red paper strips, white or green cardboard, medium-sized multi-colored beads and a glue gun.It is important to remember right away that the finished tree should have two tiers of 7 "petals" each, two tiers of 6 "petals" each, two tiers of 5 "petals" and one upper tier with 4 "petals". For the direct creation of quilling elements, either toothpicks or a special tool are useful.

The work begins with the fact that several circles are cut out of cardboard with different diameters. On each a small incision is created, allowing to bend the workpiece with a cone. The ends the mug must be fixed with glue. Green stripes are used to twist rolls using the appropriate tool and a template ruler. "Leaves" of spirals are created by pinching opposite ends.

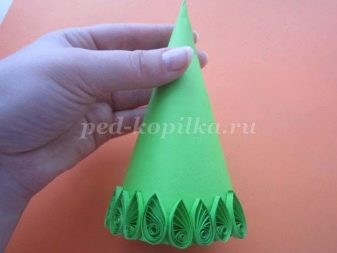
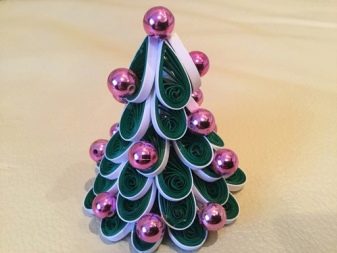
On the cone with the maximum diameter, 7 "leaves" are glued in a circle. Each element should be immediately decorated with a bead attached using a glue gun. To fix the second tier on the first, the cone must be smeared with glue from the inside and fixed on top. When gluing "petals" to the tier, it is worth adhering to the checkerboard order. Other levels of the herringbone are collected in the same way. The crown is formed from four "leaves" glued along the edges, and one inverted "drop" fixed in the middle.
Two stars are created from red paper blanks... The quilling technique involves the formation of free rolls, from which the corners-rays are then plucked five times. Finished stars are glued on both sides of a vertically standing drop. We must not forget about the decoration of the upper tier with beads.
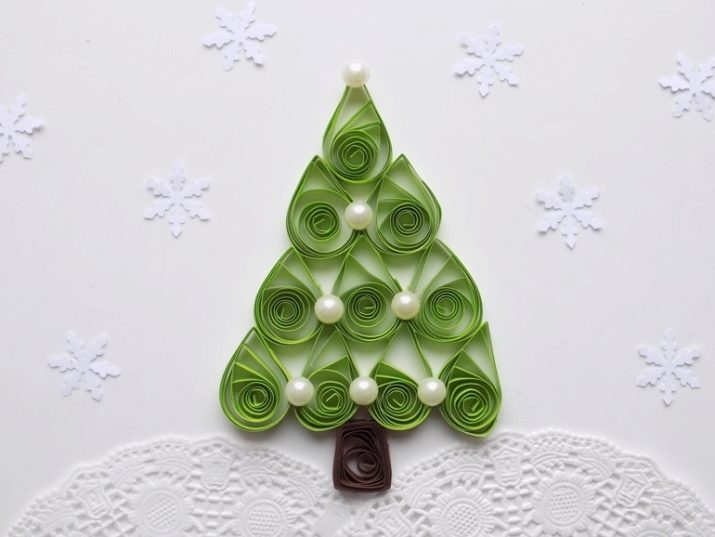
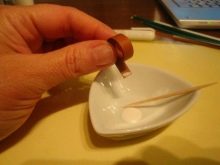
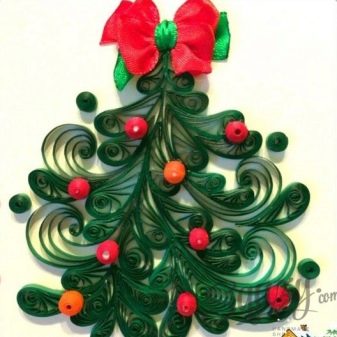
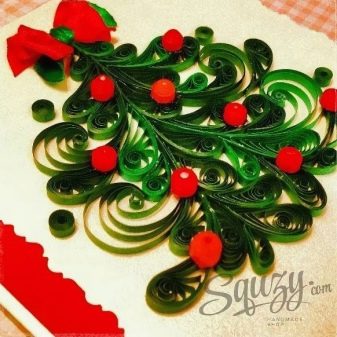
When it comes to creating a greeting card, you need slightly different tools to get the job done. Be sure to prepare an awl, glue and sharp scissors, as well as a blank for an A6 postcard and green paper for rolling the rolls. Stained glass paints and satin ribbons are useful for decorating a gift. To form "drops", you must first twist the quilling roll, then dissolve it to a diameter of 15 millimeters and fix it with glue. Having squeezed one end with your fingers, the workpiece must be shaped into a curved drop.
You can fix the elements on a postcard blank using ordinary PVA. To give the tree fluffiness, the "leaves" can be alternated with curls. You can make the latter if you glue four green strips and twist them slightly on one side. You should definitely decorate the finished Christmas tree, for example, with a satin ribbon bow.
Recommendations
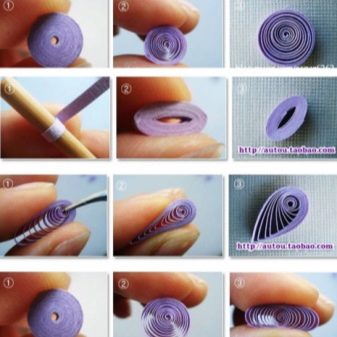
Beginner quilling masters should remember that to get a tight roll, you must first wind the tape tightly, and then immediately fix the end with glue. However, if you first wind the tape tightly, and then loosen it slightly, you get a loose roll, which is also used in the work. To shape the workpiece drops or half-bomb you will need to flatten the part with your fingers. To create eye shape, the round workpiece must be squeezed on both sides at the same time. Square shape it is obtained from a blank in the form of "eyes", which then unfolds vertically and squeezes again on the sides.

Rhombus shape can be obtained from a slightly flattened "square" shape. Triangle shape is formed from a standard “drop”, the base of which is flattened. To create arrow shape, you must first construct a "triangle", and then press the middle of the short side inward with your index finger. Crescent shape it is done in almost the same way as the "eye", but the corners of which are plucked with a slight shift, creating a bend. All of the above quilling elements can be used when creating a Christmas tree, for example, for decorating it.
How to make a quilling herringbone, see the video.


