We make animals using the quilling technique
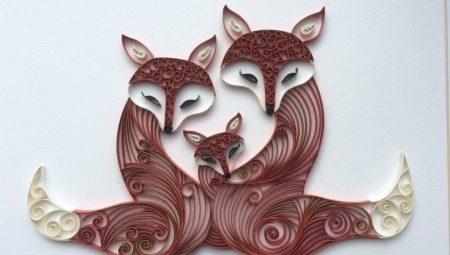
Quilling - paper rolling, the art of rolling strips of paper, the art of performing various works on a sheet of paper, plants, patterns, animals and painting paintings. Suitable for those who like to do handicrafts. In the Middle Ages, quilling was considered a noble deed of ladies and aristocrats. This activity emphasized the beautiful, tender dignity of any woman.
The art of quilling makes it possible to embody almost any incredible idea with the help of paper strips. Animals occupy a special place in this technique. The diversity of the animal world allows you to create real masterpieces. Crafts are quite simple and do not require special skills, which is why they are so popular.
Peculiarities
Quilling is very useful in childhood. It not only develops fine motor skills in a child, but also develops agility, stability and patience. In addition, quilling has a positive effect on:
- development of fantasy, imagination;
- stimulation of visual memory;
- strengthening of imaginative thinking;
- development of a sense of taste;
- development of children's fingers for small and painstaking work.
Quilling is great for the formation of creative abilities in preschool children, because this technique develops creative talent, improves the child's memory and increases his intelligence.
How accurate does it need to be when depicting animals on a piece of paper? It is important that all areas of the image are selected. This is a very interesting activity that requires patience and imagination.
However, not only children, but also adults are engaged in quilling. It calms the nervous system and is an excellent source of additional income, and also allows you to create original jewelry, envelopes and cards as a gift to close friends.We can say that quilling for adults is a hobby. Such a creative activity does not require large expenditures on materials.
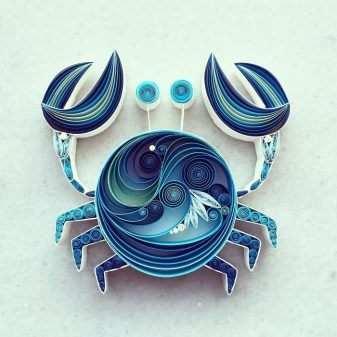
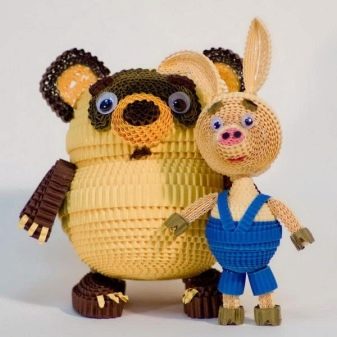
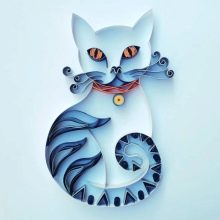
There are two types of work in quilling: haasting and volumetric technique. Hasting means flat appliqué with a lot of small details. This technique is used to create paintings, postcards and portraits.
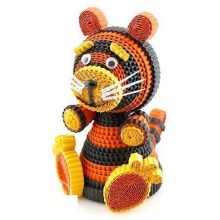
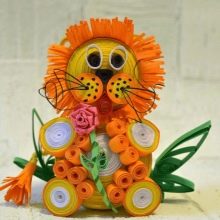
The volumetric technique is much more complicated, but it allows you to create various toys in the form of animals and birds.
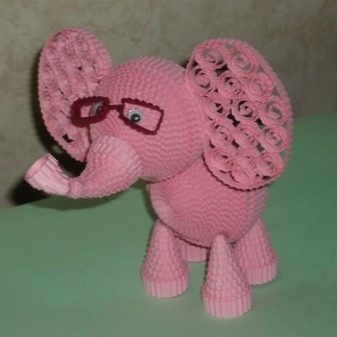
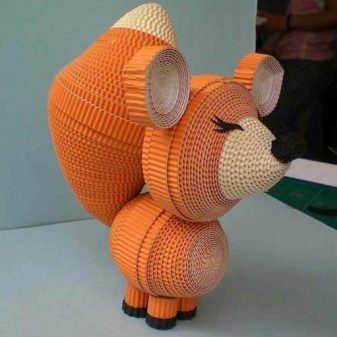
Tools and materials
The background of the image is very important. Your painting can be on any background you prefer. You might want to depict a hummingbird fluttering in the sky. Accordingly, you need to take blue paper, cardboard or other base.
Materials that will be needed for work:
- double-sided colored paper;
- design cardboard;
- plain, already used paper: pages from newspapers, magazines, books or leaflets;
- special paper designed for quilling.
It is advisable to choose easily bendable paper: it will easily retain its shape and stick.
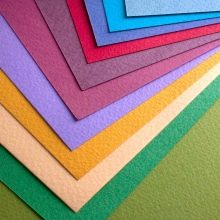
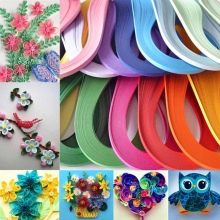
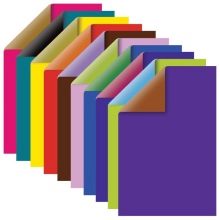
First you need to prepare the material itself - cut paper strips of different thicknesses, but the same length. For this you will need:
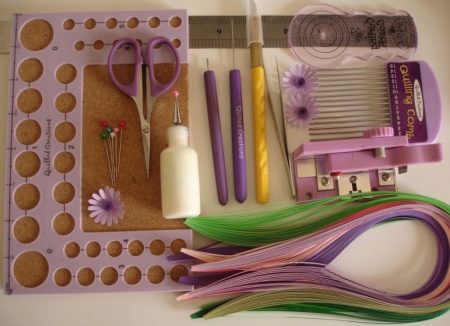
- scissors with thin blades;
- a toothpick (can help wrap paper strips);
- tweezers (for convenient and precise gluing of parts);
- PVA glue;
- brush (for applying glue to the pieces);
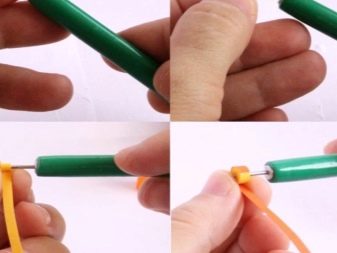
- the awl, which is included in the quilling kit, is an excellent device for twisting; there are, as it were, two antennae on the head, which help to fix the ribbon of paper;
- ruler.
Execution technique
Before starting work, you need to decide on the image that you want to superimpose on the background. And then choose the required material.
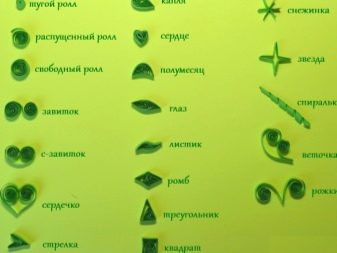
You can start with the simplest foundations of such unique creative work. For example, with the twisting of spirals of different sizes. To do this, you need a toothpick or a special awl. After twisting, the end of the ribbon must be greased with glue so that the spiral does not unwind with further use. Spirals can be sculpted in various suitable shapes (heart, droplet, square, bead, rhombus, semicircle, asterisk, oval). Most often they are used in flat applique to create the body of the animal and its face. Children prefer to make a nose for cats and tiger cubs in the shape of a heart, and tails - with the help of droplets.
For children who have just decided to try themselves in creating animals using this technique, you can conduct a step-by-step master class.
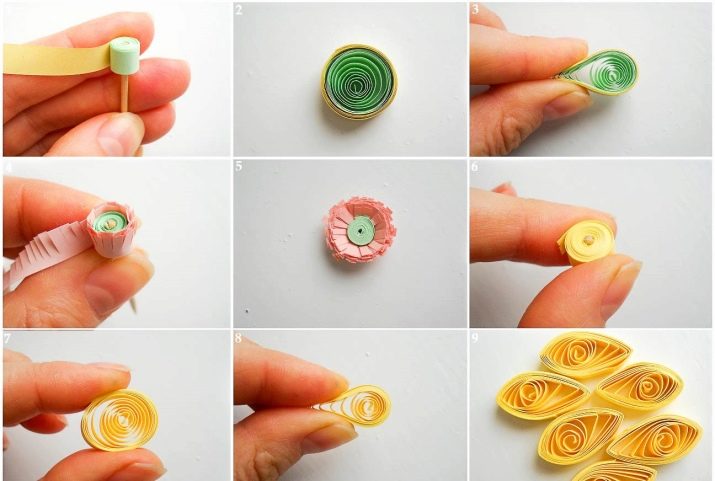
Its task is to familiarize children with the type of creativity and show how to make the simplest application or voluminous work.
For beginners, it is better to choose a light appliqué, which will not have a lot of small details. Small pictures can be used as a gift or postcard to parents and friends.
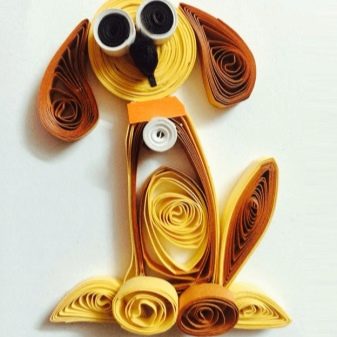
First of all, it is necessary to decide on the scheme according to which the work will be carried out. It is best to choose a picture from a children's coloring book and print it on a sheet of colored paper. If the child draws well, then you can sketch the outline of the animal with a pencil. After that, we proceed to the process itself - filling the contour with spirals of different shapes. They must be glued to the glue with a brush. The resulting masterpieces with animals will look great in the children's room.
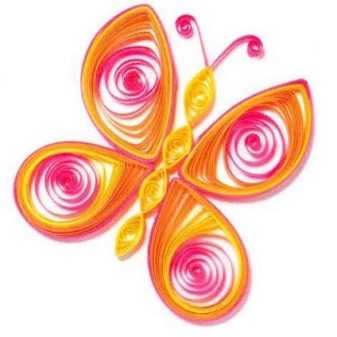
When some experience appears, you can try more complex work in this technique. They contain smaller elements that are difficult for beginners to perform. Birds and hamsters - small in size but with unusual details - are mainly medium-level works. They also require careful handling of the modules and dense filling of the space. Here you can try to combine colors - to show shadows and penumbraes on appliqués, adding paper of a darker color. This is most often done in the depressions (ears and nose) and under the animal.
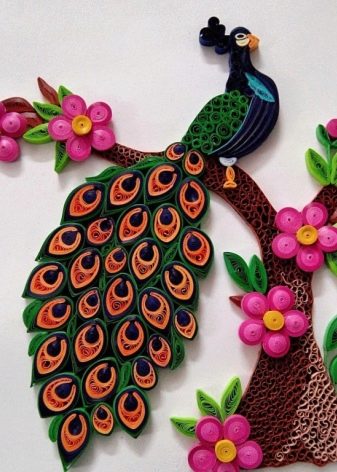
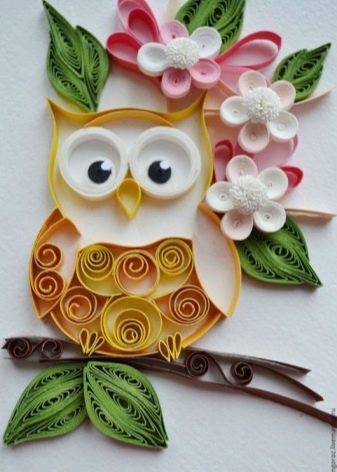
The next step in learning this technique is filling the space with paints. Here, it is better to draw the outline on white paper, and then give the work volume and originality by making the background watercolors or gouache.
The more skills, the more difficult the job can be done. There are many techniques that can be combined in one masterpiece.
In addition to flat figures, you can make wonderful volumetric animals. Such crafts will attract the attention of absolutely all guests. It will be more difficult for beginners, but the result will definitely please.
How to make an owl using the quilling technique, watching in the video.


