All about thermal varnishes for nails
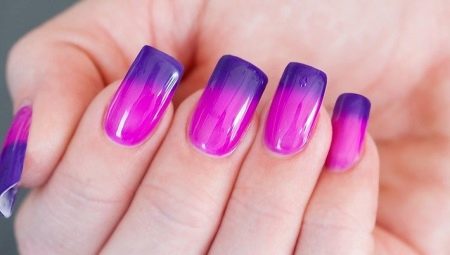
For many women, a beautiful manicure allows you to complete the look. The modern industry provides a wide range of products: varnishes of various colors, shades, textures, a huge number of design options. However, repainting your nails every day is quite problematic. The desired variety will allow you to obtain a thermovarnish.
What it is?
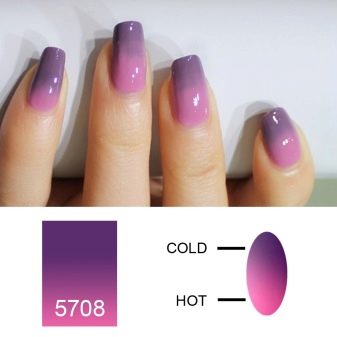
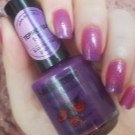
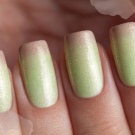
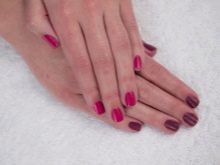
Thermal varnish for nails appeared not very long ago. It began to be released in 2011. The tool got its name due to its peculiarity to change color depending on temperature. The composition of the varnish contains special substances that are sensitive to the ambient temperature. As a result, the coating applied to the nails can change color if you just go outside in cool weather. The lower the temperature, the darker the varnish will be. Therefore, such a coating is especially preferable in the autumn-winter period and early spring, when every time you go outside will provide a change in the color of the manicure. In addition, the shade of the varnish will differ at the tips of the nails and at their base.
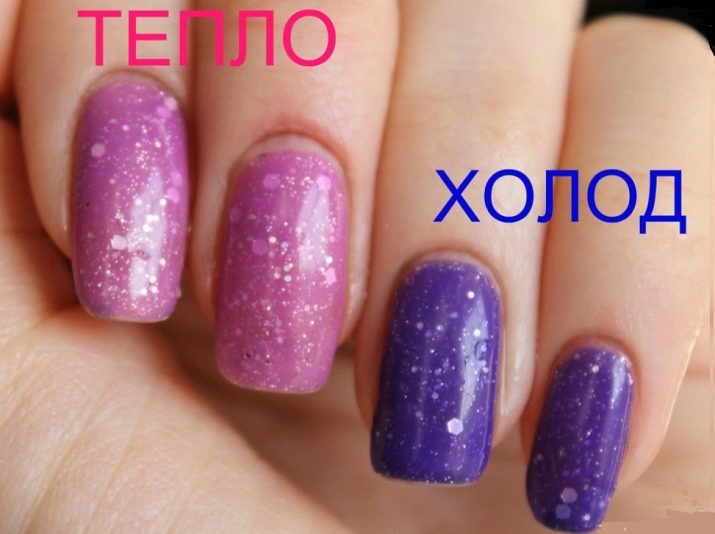
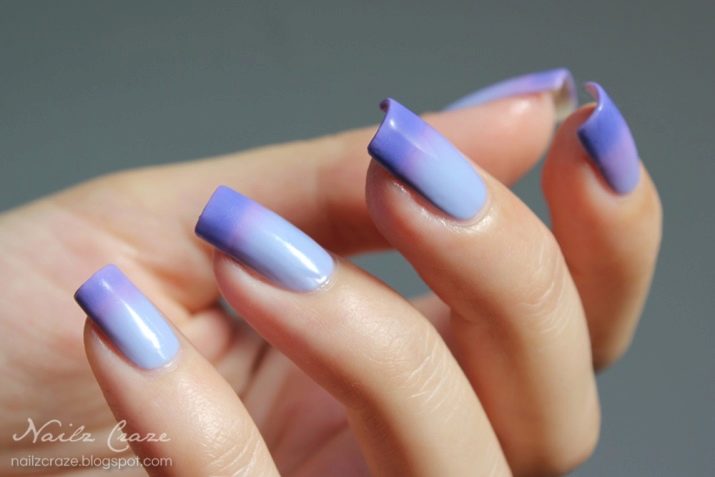
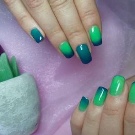
The longer the nails, the lower the temperature at their tips, and the darker they will be, and the nails will have a beautiful gradient effect.
Due to the ability to change color, thermovarnish is sometimes mistakenly called chameleons. But chameleons are varnishes that change color depending on the angle of the incident light, the ambient temperature has no effect on them.
Manufacturers offer a huge range of thermal varnishes. They can be glossy, matte, pearlescent. They can contain shimmer or matte flecks to create different effects. Their color palette is wide.However, when choosing a color, the product can be difficult: the color you see in the transparent bottle does not necessarily match the color you get when applied to your nails.
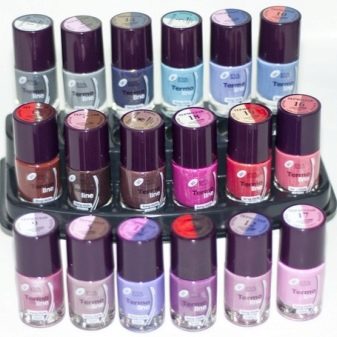
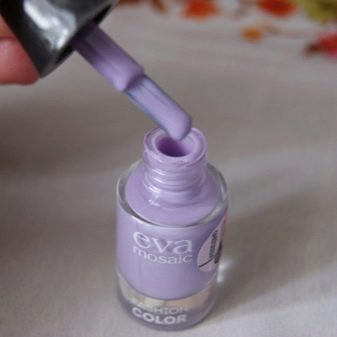
Chamomile will also turn out to be useless, showing the color palette of the product. Therefore, manufacturers put an insert in the package showing the range of shades of a particular product, and this insert should be noted.
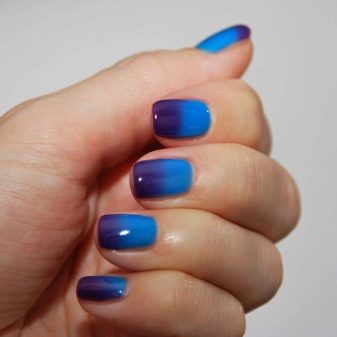
The color shades that appear when the temperature changes can be very different. Often the varnish changes shade within the range of colors: from light blue to dark blue or purple, from pale yellow to bright orange, from pink to crimson. But there are other options when the varnish can change colors to contrasting ones: from yellow to purple or chocolate, from white or red to black.
The effect of the varnish begins to manifest itself only after it has completely dried on the nails.
Advantages and disadvantages
Like any product, thermal varnishes have their advantages and disadvantages. In some cases, they will have advantages over other types of nail coatings.
- First of all, this is the quick creation of an unusual manicure. In this case, you do not need to visit a salon or purchase special tools or a lamp, and all the expenses are the purchase of varnish.
- No special skills are required to use it. Liquid consistency provides easy and even application.
- The products dry quickly.
- High-quality thermo lacquers, as a rule, adhere well to nails, chips do not appear for several days.
- They can be applied on both natural and artificial - extended or false - nails. The product will retain its properties on any surface.
- Easily removed with acetone-free nail polish remover.
- An extensive color palette allows you to make a design for both a festive manicure and choose an office option.

Unfortunately, this interesting product also has some drawbacks.
- First of all, this concerns the choice of color when buying: it may turn out to be somewhat different on the nails due to different temperature conditions. In addition, it is sometimes difficult to predict the intensity and color play of the varnish.
- There is some problem with the purchase itself: despite the growing popularity, the product can not be found in all specialized stores.
- Quite high, in comparison with conventional varnishes, cost.
- The varnish may change color unevenly.
- After the start of use, after 4–5 months, the product begins to lose its original properties and turns into a regular varnish.
- Any dried varnish can be revived with a special varnish diluent. Thermal varnish can also be revived, but it will no longer be a thermal varnish, but an ordinary varnish.
- In rare cases, due to the special composition, the product may cause an allergic reaction.
Manicure design options
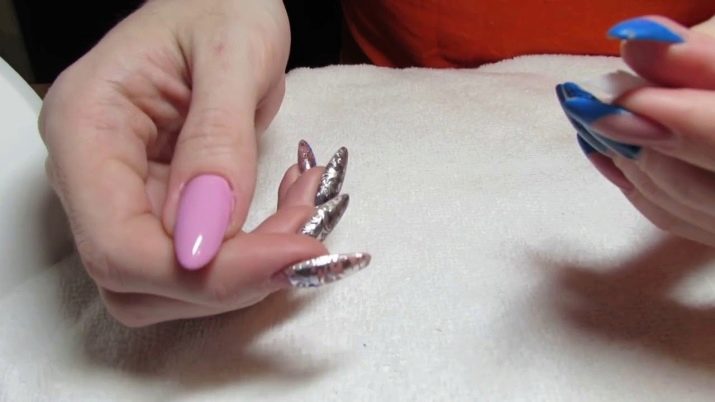
Since the product itself is capable of creating an original effect, it is not at all necessary to use any special techniques to create a beautiful design. All you have to do is choose a suitable color gradient. And here you need to be guided by two factors: the situation for which you are doing the manicure and the length of the nails. Long nails will look good in bright colors.
However, you should not choose contrasting transitions, unless you are going to the carnival: there is a risk of looking vulgar.
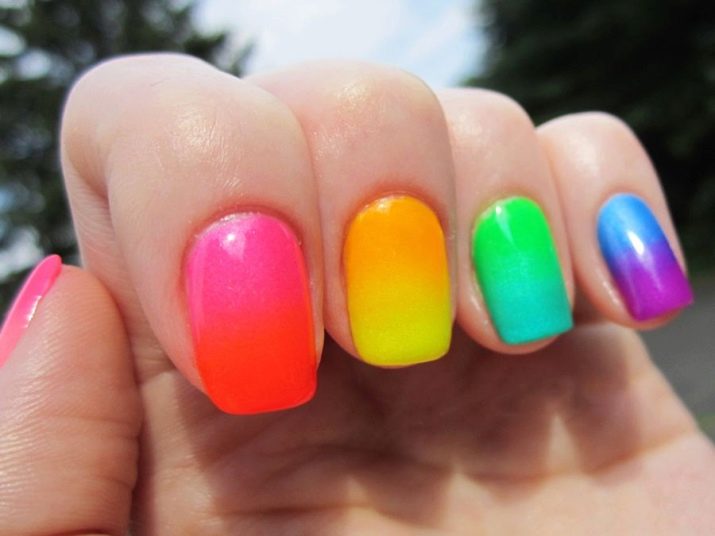
If the nails are short, then it is preferable to opt for light pearlescent or glossy pastel colors., which allow you to visually lengthen the nail plate. And you can also use dark tones, but they must be applied correctly: if the nail is wide, do not paint over its sides, leaving a gap of 1 mm to the lateral skin ridges.
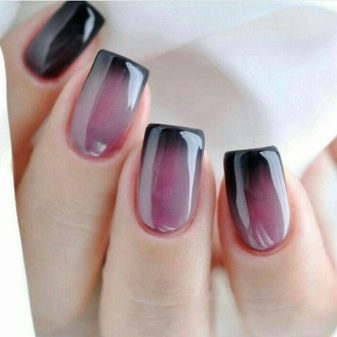
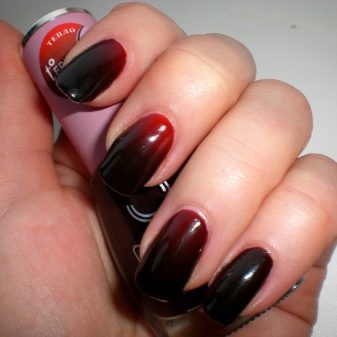
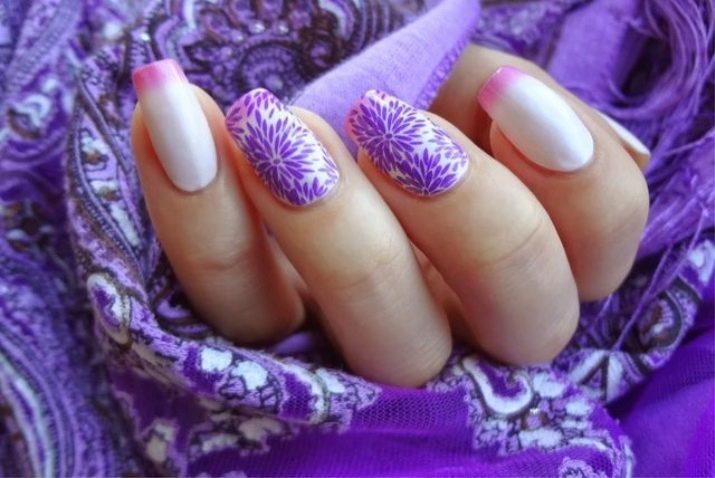
Thermovarnish will help to diversify the jacket. You will end up with something new and unique with a nail tip product. In this case, there will be no clear border - it will be slightly blurred.
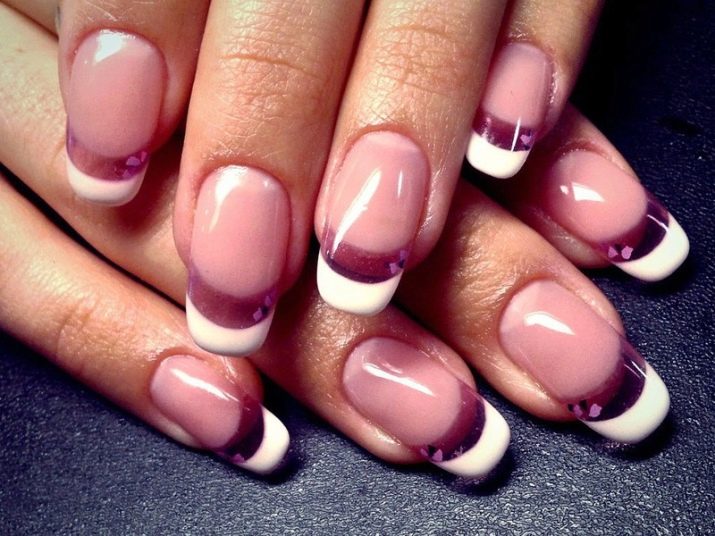
An interesting effect can be obtained by choosing an ordinary varnish of the same shade with a thermal varnish and applying it as the first layer under a thermal varnish. And also an attractive decision will be to use the product for applying drawings and patterns on a regular varnish.
Instructions for use
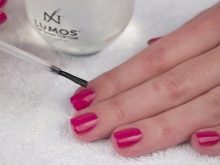
Thermal varnishes are extremely easy and convenient to use. Creating a manicure with it is not much different from methods using other types of varnish, it is not difficult to do it yourself at home. First, you need to give the nails the desired length and shape using nail scissors and a nail file. To make the manicure look neat, the cuticle should be removed. It needs to be softened using a bath, and then cut off with a special tool: nippers. You can also use a special cuticle remover. In this case, a bath is not needed. Detailed instructions for using the product, as a rule, are contained on the package or in the insert.
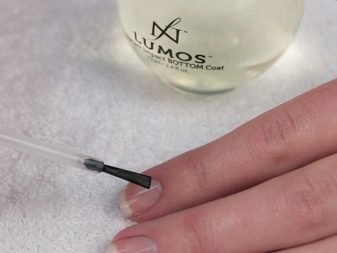
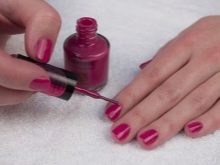
Now you can start painting your nails. A layer of base agent should be applied to the degreased surface of the nail. It will help to strengthen the nail plate, prevent yellowing after removing the varnish, and also smooth out existing irregularities: natural nails are rarely perfect. In addition, on the base coat, the colored varnish spreads evenly and lasts longer. Thermal varnish is applied to the dried base layer and also allowed to dry. After it dries, you need to apply a second layer.
It is recommended to finish the manicure by applying a top coat. It will provide additional durability to the colored coating. In addition, the modern arsenal of tools allows you to get an additional effect: a holographic, glossy or matte finish, additional shine, the effect of a gold or diamond shine. Many top coatings are also varnish dryers.
Advice
So that the manicure is persistent and pleases the hostess for a long time with its original look, without harming the nails, some expert advice should be followed.
- When applied to nails, the product dries faster than conventional varnishes, so do not hesitate, you need to try to quickly and accurately make strokes.
- So that you do not have to cleanse the skin near the nails from accidentally traces of varnish, lubricate it with cream or petroleum jelly.
- Due to the liquid texture, it is not always possible to immediately obtain a uniform, dense color. For this reason, thermo lacquers are recommended to be applied in two layers.
- It is not necessary to paint your nails with a very thick layer: the effect of the varnish will weaken.
- If you apply an additional layer of the product to the tips of the nails, then the gradient will be more effective.
- To make the varnish more interesting, use it in the cool seasons. In summer, the air temperature outdoors and indoors is usually the same, and the effect may not be seen.
- It is worth purchasing a product from reliable sellers: a cheap, low-quality varnish from an unknown manufacturer can deceive expectations not only when choosing a color, but, in general, not change the color.
- To prevent your nails from flaking, file them only dry.
- The cuticle, on the other hand, cannot be removed dry: in a day you will see a large number of burrs and, possibly, inflamed areas.
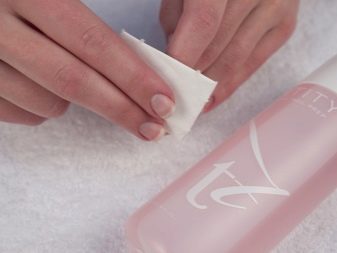
- To keep the polish lasting longer, apply it to degreased nails. This can be done with nail polish remover.
- To breathe in your nail, do not apply the nail polish close to the cuticle.
For a video review of El Corazon thermal varnish, see the video below.


