How to make a wooden spoon?
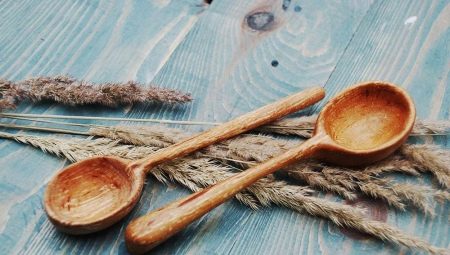
Making wooden spoons is a process that cannot be called boring, unnecessary, outdated. In fact, any work with natural material, as a result of which a utilitarian or decorative thing is obtained, brings its performer pleasure from the very process of creation. Making a wooden spoon on a lathe, processing or painting an existing workpiece, even just varnishing (restoring) an old one - all this is an interesting process even for a beginner.

What is the best thing to do?
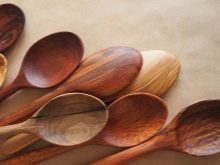
A novice craftsman is not worried about the scale of production of wooden dishes, but about the material that is best suited for this purpose. So that the process does not initially fail, you will need blanks made of solid, but not chopping wood - aspen, maple, ash, cherry, birch, walnut. If you haven't tried woodworking before, take a linden tree. It is soft and light wood, malleable even in the most skillful hands. In addition, linden does not emit tannins, and products made from it are not prone to warp.
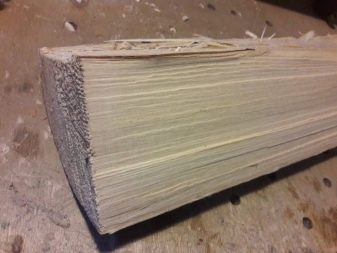
What definitely shouldn't be processed is pine. In principle, conifers are not suitable for the production of dishes: this is due to their strong resinousness and a pungent odor. And if you can remove the smell of paint from the spoon, then the coniferous smell is stable. Use planks as blanks for a food or decorative spoon. You can also split the log-log into small pieces of wood.
It is more convenient to work with planks, but it is more usual to work with poles (this is a more traditional way). The orientation of the wood fibers will form the basis of the symmetry of the spoon bowl pattern.

Tools for the job
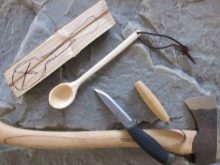
You will need more than one tool to carve a spoon. Ideally, you should have:
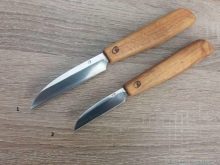
- knife - the best option would be Bogorodsky, it has a comfortable narrow nose and double-sided sharpening;
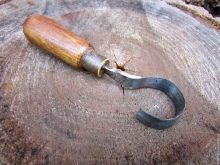
- spoon cutter - this is a steeply bending chisel, which is needed for scraping wood in recesses, instead of a spoon cutter, you can take a wide cranberry;
- straight chisel - it is used for smooth cutting of solid wood from a workpiece;
- clamp - fixation tool;
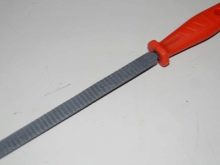
- file - roughing;
- shtikhel - a thin steel cutter, thanks to which you can make a thread on the handle.
As you can see, this method is designed for making a spoon at home with your own hands. If you do not have a lathe, but have the tools described above, you can cut the spoon step by step.
Work progress
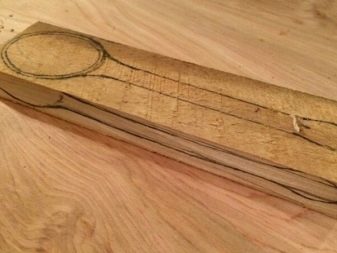
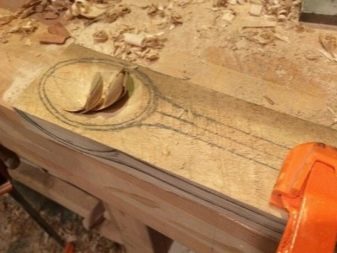
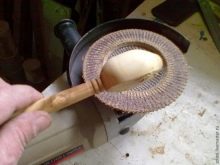
Using the template, transfer the drawing of two types (top and side) onto a piece of wood. Pay attention to the orientation of the wood fibers - it should be longitudinal. Fix the workpiece with a clamp, begin to roughly shape the bowl. Further step-by-step actions are as follows.
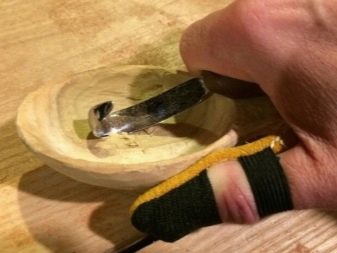
- Use a spoon cutter to select wood in the direction of the grain. After deepening the bowl, remember to leave a thickness allowance for subsequent sanding and trimming.
- After the formation of the depression, proceed to cut the excess array in the vertical and horizontal planes, focusing on the upper and side contours. For this purpose, a jigsaw or a band saw is used, but the work can be done with a chisel or a hacksaw.
- Next, take the Bogorodsky knife, with which the convex part of the spoon is cut off. Thanks to the wide chisel, the bowl can be perfectly flattened. The shape of the handle is worked out with a knife and a chisel.
- With the help of a spoon cutter, a fine trimming is performed, its edges are aligned.
- Grinding, as the final stage, is carried out in 2-3 approaches (do not forget to reduce the grain size of the abrasive each time).
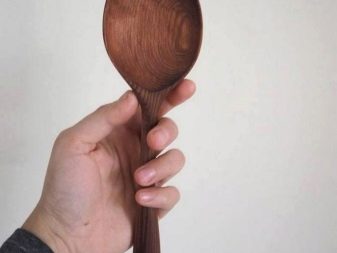
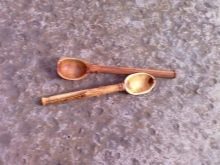
The spoon is ready! But you can't use it yet. To make it suitable for eating, the spoon is impregnated with special compounds and dried.
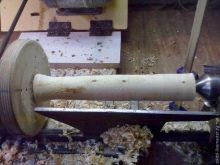
Manufacturing on a lathe
The process begins in the same way - drawing of two profiles of a spoon according to the template. Then, on the band saw, the baklush is cut out, that is, the rough workpiece of the spoon. On the banding machine, you can immediately cut out the teeth for the handle, they are utilitarian - they can be attached to the edge of the dish.
After that, the rough work ends, the subtle begins. Now a clerical knife is taken and with its help the product takes on a smoothed shape. The bur with rasp cutters helps to round curves and edges. Part of the surface is easily smoothed on a grinding machine (if, of course, you know how to work with it).
To sample the bowl, you still need a regular chisel or, alternatively, a mallet. They first cut down a rough contour, then it is corrected with small semicircular chisels. The bottom is leveled with rasp burrs.
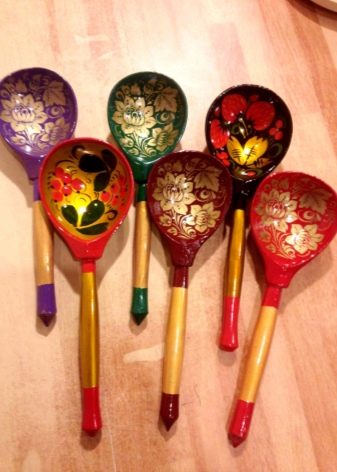
Grinding left: first, coarse-grained sandpaper is used, then fine sandpaper. The process is completed by processing the spoon with a protective composition. And, of course, decorating - the spoon can be gracefully painted, decorated with polymer clay decor, made from it a family amulet, etc.
Protective composition
The old ways of imparting water-repellent properties to wood is impregnation with wax or oil. Try to choose natural ingredients for this purpose without various chemical additives. And even more so, you don't need varnish if you will use the spoon as a dish. What impregnations can be taken:
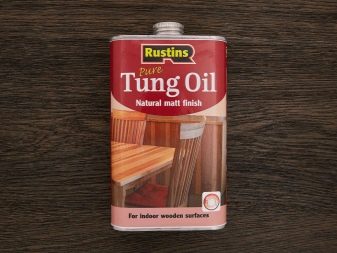
- tung oil - a slowly drying oil with deep wood impregnation, in terms of its protective properties it is close to varnish;
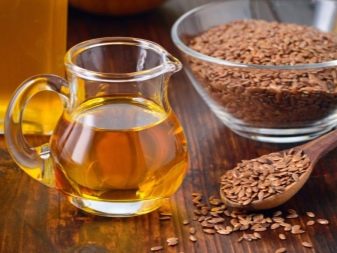
- linseed oil - dries slowly, affordable and relatively cheap;
- mineral petroleum jelly - non-drying, it is washed out from the surface quickly, but quickly and is processed again;
- beeswax or carnauba wax - not the best option, but acceptable.
This concludes the work: further use of the spoon is at the discretion of the manufacturer.
Painting process
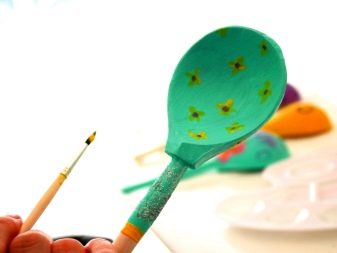
The most common option for decorating a spoon is painting. Even young children in the garden are taught how to color a paper spoon template, or they are allowed to cut a paper blank to imitate carving. If the spoon is purely decorative, and it does not threaten contact with moisture, you can use tempera or colored gouache for painting. Such paints are easy to use, they do not require preliminary priming of the surface.
But if you intend to organize painting a spoon with oil paints, a primer is necessary: this is done in 2-3 steps. The primer is easy to make yourself: one part of gelatin (you can take dry wood glue instead), 5 parts of tooth powder. A teaspoon of the composition in a glass of water - and the primer is ready.
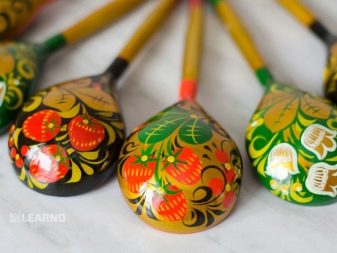
Painting is done with small brushes, no higher than 6, the best option is squirrel... Drawing should not be offhand if you are not a master. Draw a sketch in advance, transfer it to a spoon. Apply the paint in one step! The patterns can be simple, or you can do more elegant delicate work. But for this, a sketch in color must first be done on paper: the hand will be trained, and already on the spoon itself you will be able to apply a complex pattern without errors the first time.
Decorative composition of spoons
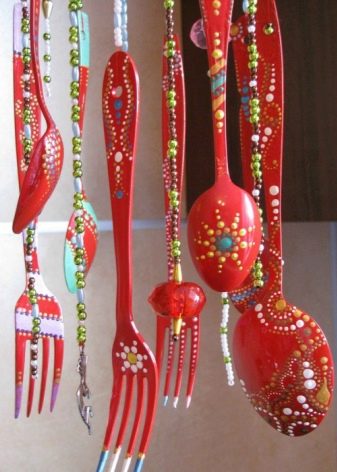
Make a lampshade out of a comfortable material. It can be a plastic or metal blank, which is decorated with braid or lace. In the form of a lampshade, it will be convenient for hanging. Painted spoons will hang along the perimeter of the lampshade on beautiful ropes or a fishing line with strung beads. Painted wooden forks can keep them company.
Decorate spoons and forks with the same color - for example, red... For decoration, use a cute dot painting. Cover the product with varnish and, after waiting for it to dry, fasten it to the fishing line / braid. Holes must be made in the handle to secure in spoons and forks.
You will get a beautiful, unusual composition. Hang the lampshade by twine or strong yarn (whatever, if only it looks aesthetically pleasing and stylistically convincing). Such a talisman composition can hang anywhere: over the dining table, in the hallway, in the working area of the kitchen.
A wooden spoon, independently made and painted, is an excellent gift for loved ones on some not the most grandiose occasion, but from the heart, with their own hands and with the preservation of traditions.
For information on how to make a wooden spoon, see the next video.


