All about baking

Makeup is an integral part of girls' lives. Everyone wants to look perfect, especially at the most important moment for her. In this article, we will consider whether there are special techniques for perfect make-up, what baking is and what cosmetic products are needed to create such a make-up, as well as provide step-by-step instructions.

What it is?
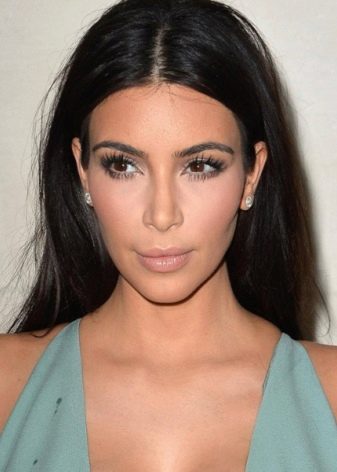
To answer the question of what baking is, it is worth looking into history, because the technique did not come out of nowhere. Baking was originally used only in professional makeup in cinematography studios and in theaters, where it was necessary to achieve a completely different face shape or appearance. Then girls began to use such a little trick with thick makeup for a stage image in burlesque thanks to the diva Dita von Teese. And this technique came to the modern makeup of every girl after the popularization of such makeup by Kim Kardashian.

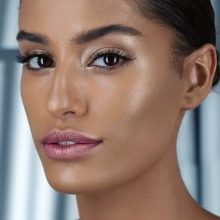
The main task of baking is to achieve an even and uniform coverage over the entire face, covering any roughness, dimples after acne. Thanks to the thick layer, bruises under the eyes and enlarged pores are also hidden. The tone should subsequently be matte and beautiful. This technique is often referred to as a face mask.
If you translate the word "baking" from English, then it means "baking", but you don't have to bake anything. Just to achieve the perfect tone, you must, as in baking, follow the correct sequence when applying each product in the right place and in the right amount.
Due to the peculiarities of applying cosmetic products and shading, many unknowingly confuse baking with two other techniques, such as contouring and strobing. The first is aimed at completely changing the face, that is, reducing the nose and cheekbones.The second is aimed at a natural makeup effect without the use of powder. And baking cannot be completed without powder.


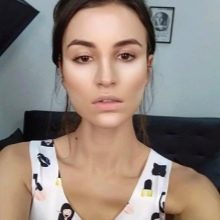
Most often, this technique is used before going to important events, almost all Hollywood stars use this makeup for the red carpet.
Positive aspects of baking:
- makeup will look perfect on girls with oily skin type, as well as on those who have problems with enlarged pores;
- long-term durability of the make-up is noted, even in hot weather (it is recommended to use matting wipes);
- suitable for going out, big events, weddings and photo shoots.


The disadvantages include the fact that this technique is not suitable for girls with too dry and flaky skin, since there is practically nothing to breathe under a dense layer of cosmetics.
Women with mimic wrinkles need to be careful, as if applied incorrectly, the products clog into wrinkles, and the makeup looks very cracked.
This technique takes a lot of time to perform, so it is simply impossible to whip up such a make-up.
Baking has never been positioned as natural makeup, so nude looks are incompatible with this technique. And all because of the amount of products applied to the skin, which makes it too perfect and like a mask.
What is necessary?
Before doing baking makeup, you should prepare all the necessary tools and means for applying it. It is best to choose the products that you use most in your daily life, and they are right for you. You should not choose untested cosmetic products, since the makeup is very dense, you need to be careful so that you do not have an allergic reaction to untested cosmetics.
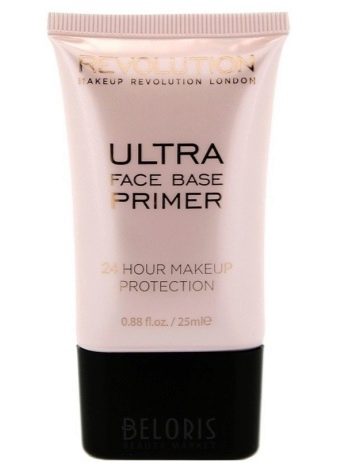
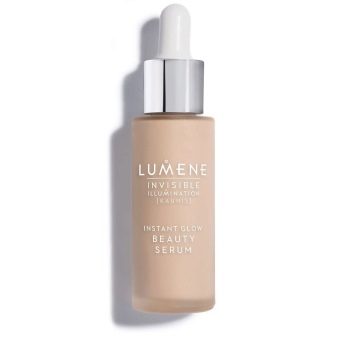
The first thing you need for makeup is a primer. It will evenly fill in all the irregularities and imperfections of the skin, creating a uniform surface. The primer belongs to the main base for other products, acts as a kind of intermediary protection between other products and the skin. Therefore, more attention should be paid to the choice of primer.


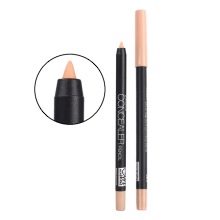
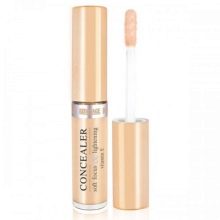
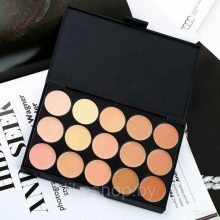
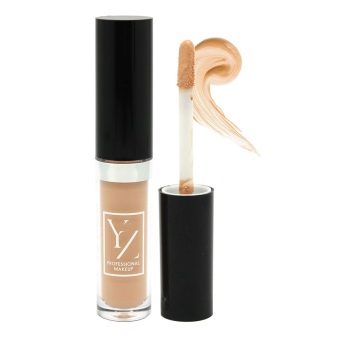
The second important product is concealer. You can choose any suitable one - it can be a pencil with a product, a gel or a palette. A concealer is needed to mask minor redness, acne and bruises under the eyes. The choice of the product depends on how much it will cover any age spots.
It is best to choose the one with the strongest overlap.
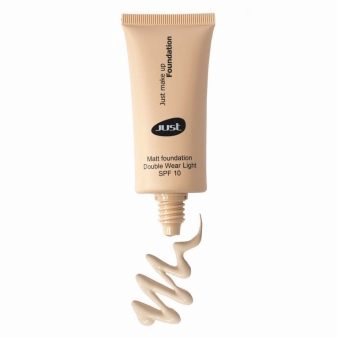
Foundation - there are a number of features here. The first is that it should match your color type and skin tone. It is necessary that the face does not differ in any way from the rest of the body color, especially from the ears and neck. Also, it is better to select a foundation with a soft texture, not too liquid and greasy, otherwise the makeup will be too dense, and at high body temperature it may even begin to leak and roll off. And this is unacceptable.
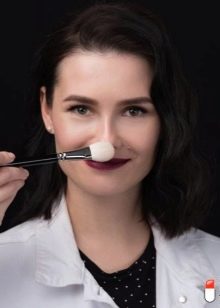
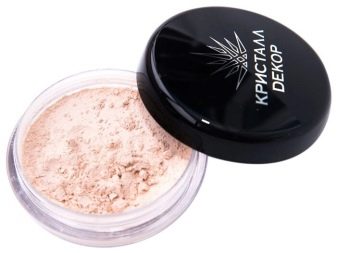
Powder is the product of completion, the most important of all remedies. Suitable only in crumbly form. The powder should be light and finely pigmented. Apply with a large brush, use a sponge or beauty blender for dense application.
The best baking powders are produced by the following companies:
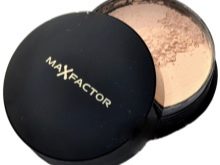
- Max Factor and its Loose Powder Translucent;
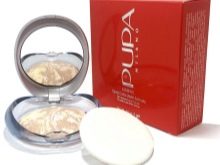
- Pupa with Luminys Baked Face Powder;
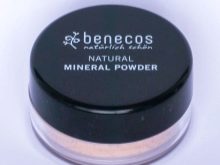
- The German brand Benecos produces a powder with a natural composition and enriched with mineral particles, which, thanks to its light texture, will not weigh down the makeup.
It is worth remembering that the selected cosmetic products must be of the highest quality, as you need to think about the health of your skin. The final look and durability of the make-up also depend on the quality of the cosmetics and their shelf life. You should not replace and use any tricks in technology, for example, instead of powder, take soda or baby powder. All this is dangerous for the skin.
Step by step technique
Having dealt with all the necessary cosmetic products, now we will consider step by step how to properly apply cosmetics on the face.
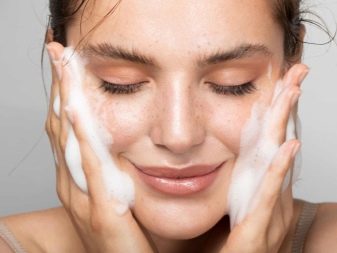
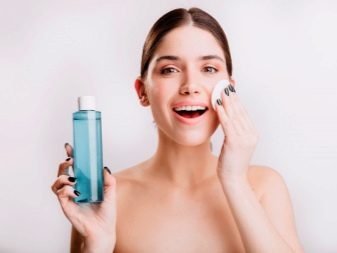
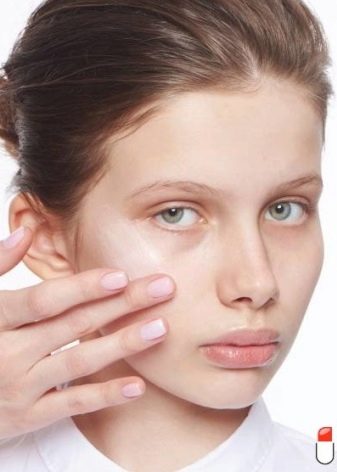
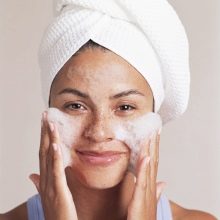
- Before makeup, you should wash your face with foam or gel. This is necessary in order to remove all small peeling and keratinized cells. Then gently wipe off excess moisture with napkins, wipe your face with tonic or toner.
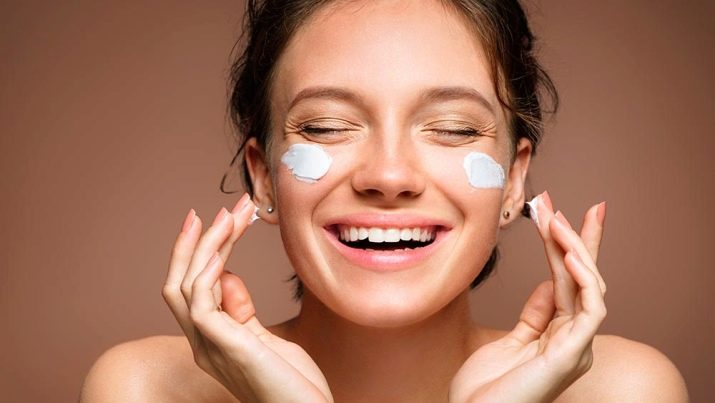
- Then apply your daily moisturizer. The cream should be thick and nourishing, since after applying all the products, oxygen will cease to flow to the skin.
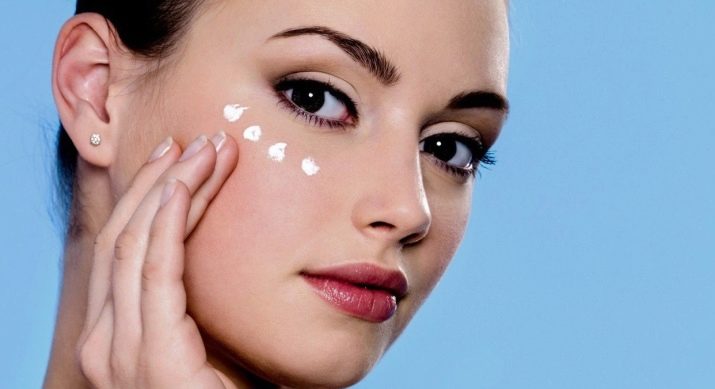
- The skin under the eyes also needs to be moisturized with a special cream for the area under the eyes and eyelids. There the epidermis is much thinner and more quickly exposed to aggressive agents, loses its elasticity. The thick cream fills in wrinkles and smoothes the skin slightly.
- Then, after the cream is dry, you can apply the primer. Massage it in a small layer over your face.
It is worth waiting until it is completely absorbed.
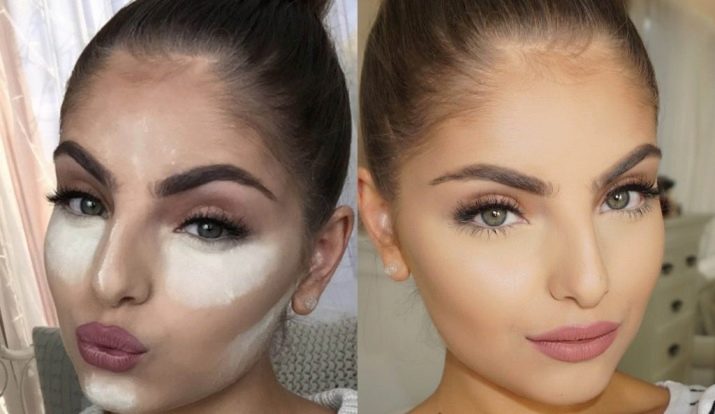
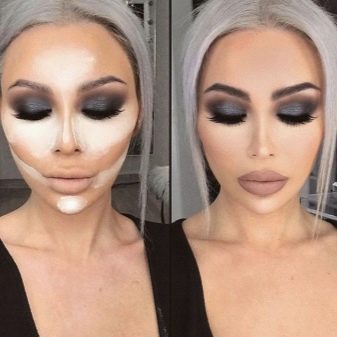
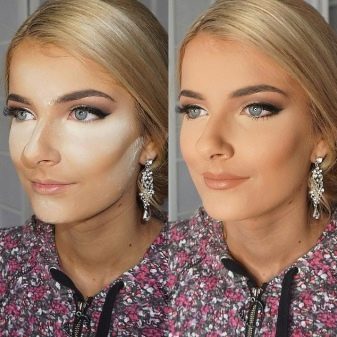
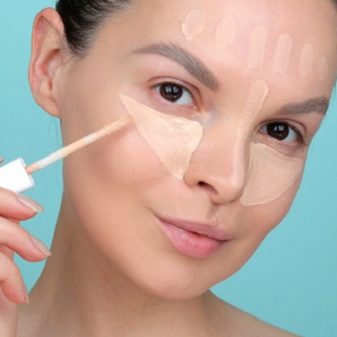
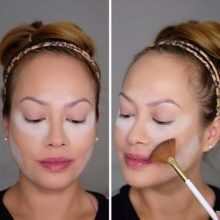
- The next tool will be a concealer. It must be applied under the eyes - in a small arc or in the shape of a triangle, on the cheekbones in a straight line, on the tip of the chin. With the letter "T", distribute the concealer in the middle of the forehead and a little on the bridge of the nose. Then, either with a brush or with a damp sponge, blend the resulting marks from the concealer. If you don't have a brush and sponge, you can use your fingertips. Don't be afraid of overdoing it. The concealer layer should be tight to cover any visible unevenness in the skin. If, nevertheless, there are obvious irregularities and excess, then they can be blotted with a special matting napkin.
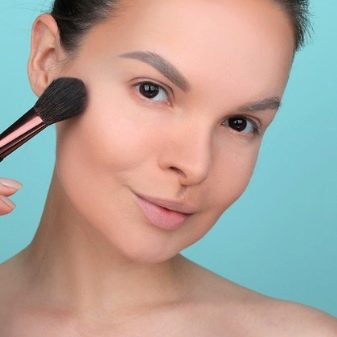
- Apply a light foundation or fluid to the remaining areas where no concealer has been applied. Shading should be done carefully, slowly, slightly driving the tone into the skin.

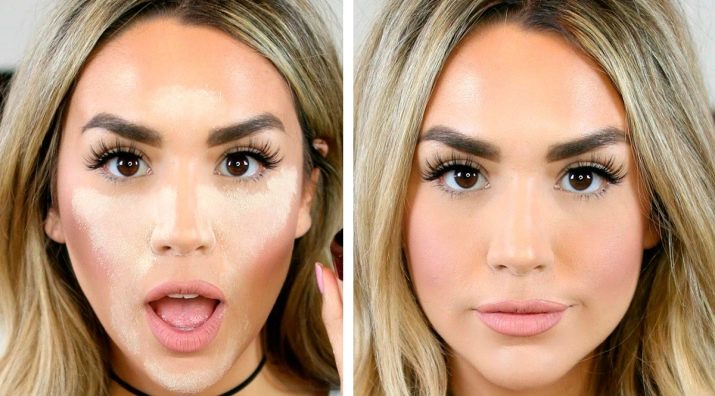
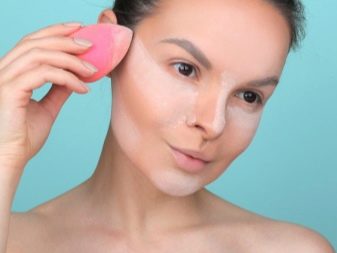
- You need to wait a little and you can apply the powder. It is applied with a brush in small layers on top of each other: under the eyes, on the forehead, chin, cheekbones and in those places where the concealer was used. If you have dry skin, you can apply the powder with a damp sponge, lightly imprinting the pigment into the skin. This will help avoid excess flaking that powder can cause.
- After applying the powder, you need to wait 10 minutes until it completely settles on the concealer. This step is the most important step in all makeup. After all, if the powder does not fix properly, then all the makeup will be ruined.

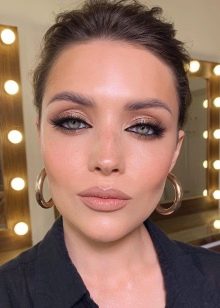
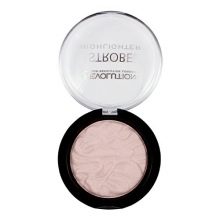
Another product that is essential to complete your makeup is a dry highlighter. It is needed so that the face does not look unnatural. The highlighter will add volume and a little freshness. It should be applied on the bridge of the nose, cheekbones, the area above the lip, forehead and chin. The highlighter should not look bright on the face, it is best to blend the product with a large brush after application.
It should be remembered that although the makeup is dense, you should not overdo it with makeup. Also, you do not need to choose such a technique for daily makeup, as the skin gets tired, and rashes may appear on it from the lack of oxygen. This is especially true for the summer time period.
After a day with makeup using the baking technique, it must be thoroughly washed off. Two-phase micellar water or hydrophilic oil will do. Then the face is washed with a foam remover to completely remove the remnants of makeup.
After the procedures, a night restoring oily cream should be applied to the skin of the face, especially on the area under the eyes and on the eyelids.


For information on how to do baking yourself, see the next video.


