All about nose contouring
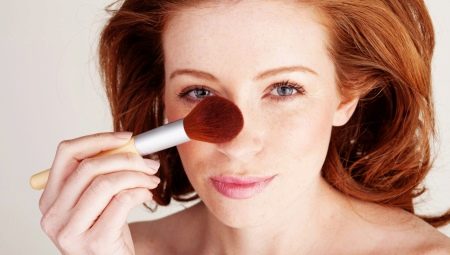
To make the nose more graceful and neat is real and without surgical interventions. Correction of features is carried out by carrying out facial contouring.
Peculiarities
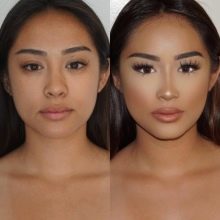
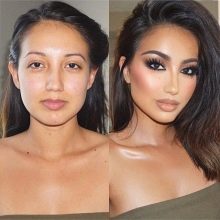
Contouring the nose allows you to significantly change this part of the face: narrow, shorten, straighten or add snub-noses, and even mask the hump. All these tasks are solved by the competent use of cosmetics (darkening, lightening) and a couple of good brushes. Both creamy and dry products are suitable for this purpose, the tone of which is selected in accordance with the natural skin tone. The main advantage of the procedure is its safety, and the main disadvantage is the lack of a long-term result. When choosing contouring products, preference is always given to a cold range of shades. In addition, it is important to use matte products without foreign shine for cut-off correction.
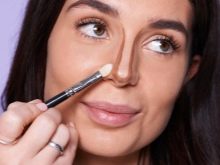
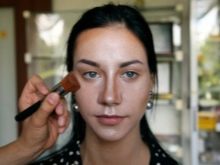
The contouring procedure is based on two principles.
- The first is to create and distribute the correct color strokes so that some areas start to stand out and attract attention, while others disappear into the background.
- The essence of the second principle is to place emphasis on the most advantageous parts of the face.
What is necessary?
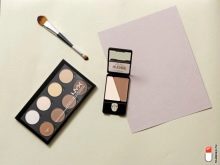
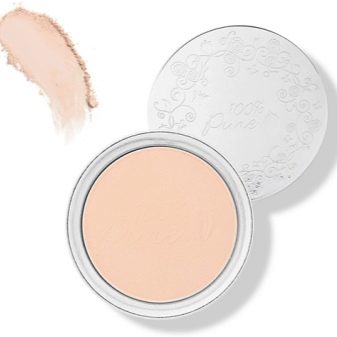
Before starting the direct correction of the nose, it is necessary to choose the right sculpting tools, paying special attention to their shade and format. This technique is perfectly implemented using both creamy substances and dry, that is, powdery products. The former are more recommended for owners of dry skin. They should be distributed over a layer of foundation. Powdered products are more suitable for oily skin.They can also be applied over foundation, before or after applying a finishing face powder.
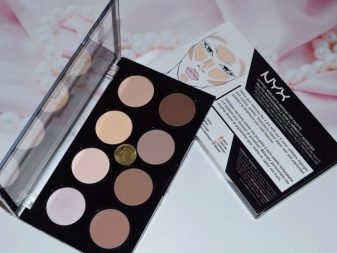
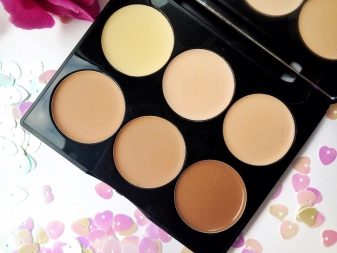
Combine creamy and powdery contouring products for a brighter look.
Dry products will need to be applied over cream ones, which will not only enhance the effect, but also fix the resulting result, making it more resistant.
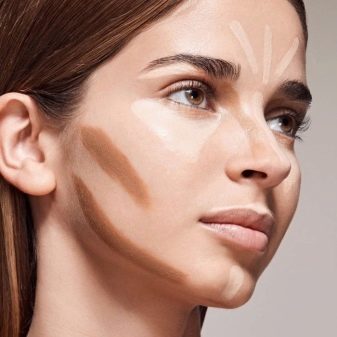
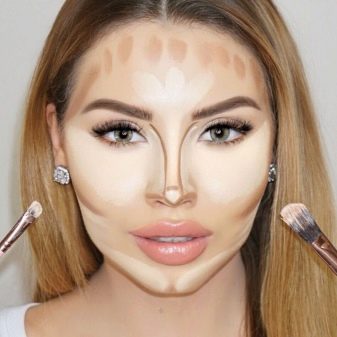
It should also be mentioned that with a cream-based concealer it turns out to be easier to apply lines and curves, as well as to carry out shading. These products are more suitable for daytime makeup, as they blend perfectly with the foundation. A dry concealer allows you to quickly and efficiently apply makeup. However, its use should be moderate, otherwise the lines will be overly saturated.
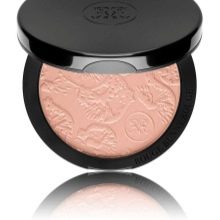
In the absence of cream and dry correctors, it is not forbidden to use matte bronzer, blush with a brown tint, or even matte shadows of a similar shade.
- The first thing to prepare for contouring is a darkening agent 2-3 tones darker than the skin. It is better to purchase it in the form of a stick, since this format is very convenient for application. For example, the popular Maybelline double-sided pencil, the lighter part of which is intended to brighten areas of the face. Also on the market, there is a sufficient amount of cream shading products in various palettes: both in ready-made and in refills. In the latter case, the substance is removed from the container using a brush.
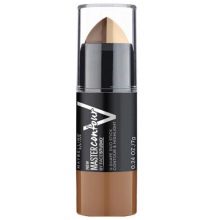
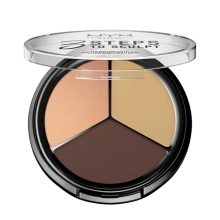
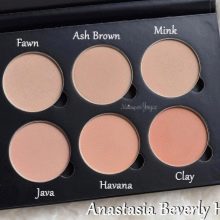
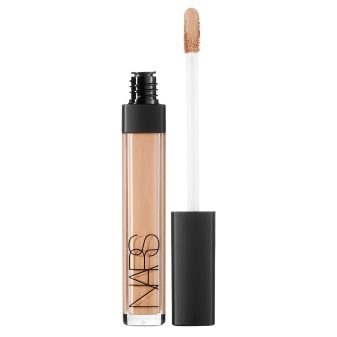
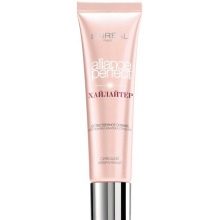
- In the makeup artist's bag, there is always a lightening matte product or a matte highlighter or concealer. A shimmer-free highlight product is usually found in pallets, while a sample with a lighter or more intense shimmer is marketed in stick format. A simple concealer is also suitable for this purpose, the shade of which is chosen 2-3 tones lighter than the foundation - for example, the well-known product from NARS Radiant Creamy Concealer.
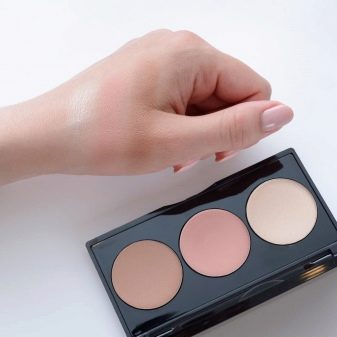
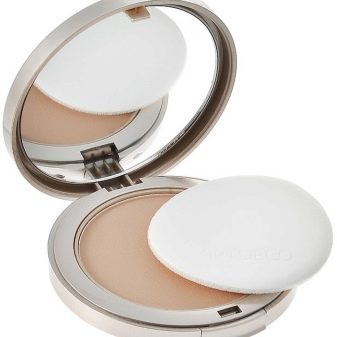
- From dry face lightening products, a light powder with a lighter skin tone is used. The product should create a dense coating on the skin, so a practically transparent or transparent variety will not work.
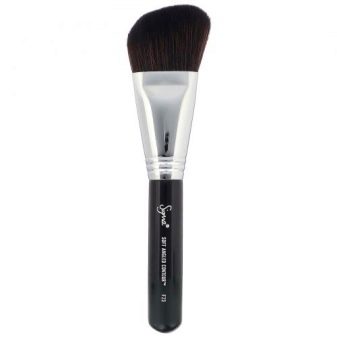
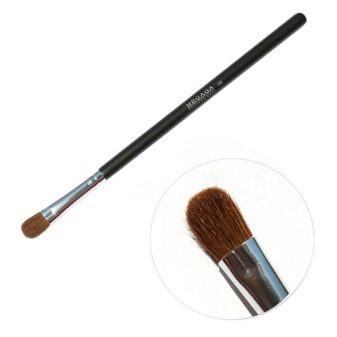
- Of course, brushes play an important role in contouring. For creamy substances, experts recommend using synthetic samples that better absorb the product and distribute it more efficiently over the surface of the face. Also, we must not forget that they are much easier to wash than brushes made of natural bristles. The beveled shape of the object is considered ideal, as can be found at the Sigma brand.
In principle, you can use any miniature synthetic bristle brush.
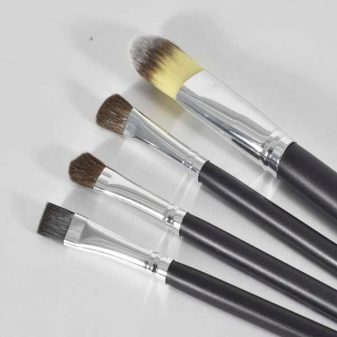
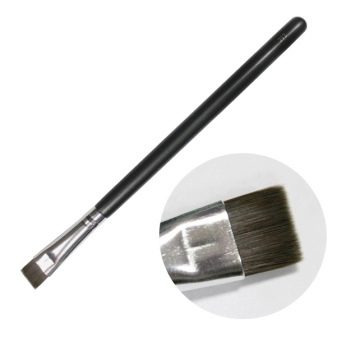
- Dry powder products work better with natural bristle tools. To work with powder, you will have to prepare a small beveled or flat and tightly packed brush. When shaping the nose, the main thing to consider is that the size of the brush should be small in order to work out the details.
How to Contour a Nose?
Before starting the implementation of this or that type of contouring step by step, it is necessary to properly prepare the skin. The first step is to properly remove all existing cosmetics from the surface, despite the fact that only the nose will undergo correction. It is necessary to understand that, for example, when shading the foundation, shadows on the eyes can be imprinted on the skin around and harm the result. The make-up removal procedure is followed by washing with water at room temperature using a cleansing agent. It is important that the liquid is just warm, since too cold or warm leads to narrowing of the pores or the release of excess sebum.


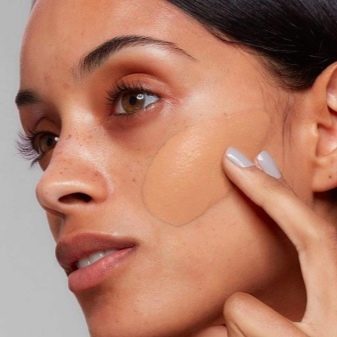
On cleansed skin, either a make-up base or your usual mineral-based moisturizer is applied. Upon completion, the surface is matted with a tonal base, the color of which is close to the natural skin tone.It is worth mentioning that it is customary to apply light correctors first, and then dark ones.

Wide
To visually narrow a wide nose, you need to follow the instructions step by step.
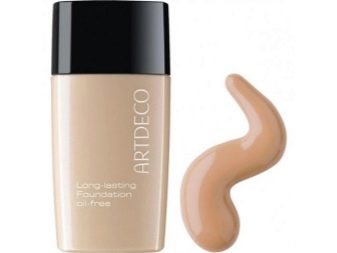
- First of all, of course, the surface of the face is covered with a tonal foundation.so that the contouring products lay down smoother and better shade.

- Next, the darkening product is gently applied and shaded along the lateral lines towards the wings of the nose. The latter will also have to be outlined with a dark agent, including around the nostrils, but not completely painted over. The goal of the first step is to "move" the borders of the backrest closer to the middle than they are. The lines should start at the frontal bone and go all the way to the end of the nose. The lightening substance is distributed along the bridge of the nose exactly in the center.
The line should be quite narrow, otherwise a noticeable narrowing of the nose will not work at all.
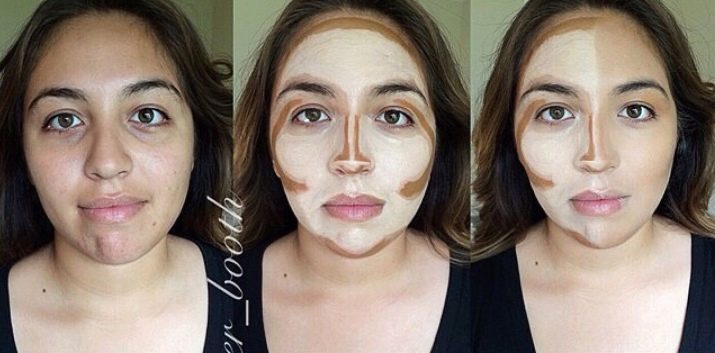
- The substance is shaded very neatlyso that light and dark shades do not mix into one whole, but the transition between them is barely perceptible. It is more convenient to distribute cream products with your fingers or a damp sponge, and dry ones - with a small fluffy brush to blend the shadows.
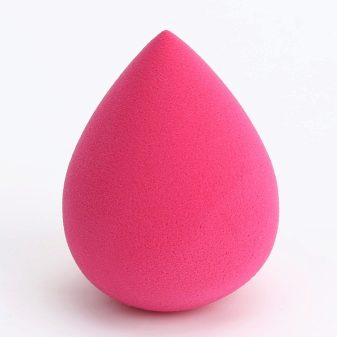
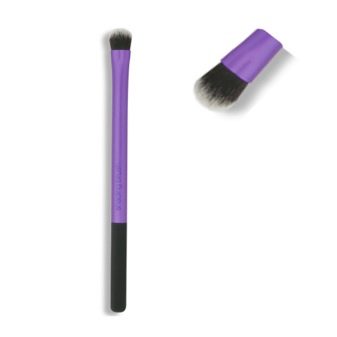
- If you want to make your makeup more radiant, you will have to use a highlighter with shimmer particles., which is applied along the center of the bridge of the nose in the same place as the mass for highlighting. Special care must be taken when working with the tip of the nose - the highlighter point is placed only on the top or center of it. The results of the contouring must be checked in the face and profile, and also evaluated for the absence of pronounced borders of the transition of shades.
Long
With the help of contouring, it is quite possible to reduce a large nose. According to the scheme, it all starts with highlighting the back of the nose from the bridge of the nose to the tip. The resulting light area is outlined with a dark corrector so that the line is not too thick.
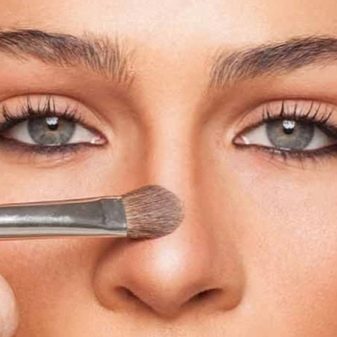
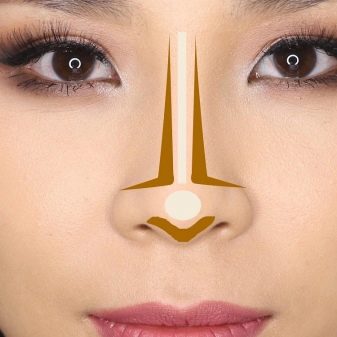
To make the tip of the nose appear smaller, it needs to be darkened. The same is done with the bridge between the nostrils and the depression above the lip. The borders of the resulting areas are shaded until a smooth transition, and then the reduction of the nose is completed by highlighting its back with a light highlighter. It should be recalled that in this case it is absolutely not necessary to highlight the tip of the nose.
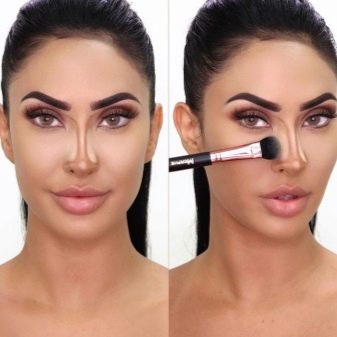
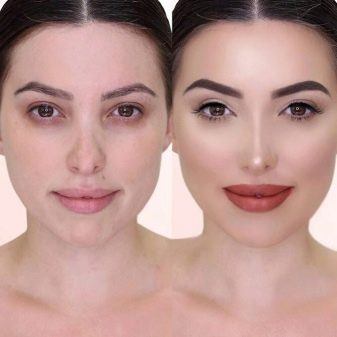
Short
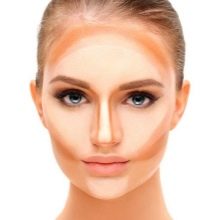
Visual lengthening of the short nose is quick and easy. To do this, the line along the wings of the nose is darkened almost from the very eyebrows, along the entire nose and to the lowest point of its tip. The tool must be shaded, and the most intense shade should turn out between the eyebrows, and not on the bridge of the nose. If desired, the tip of the nose is emphasized with a highlighter.

Hump
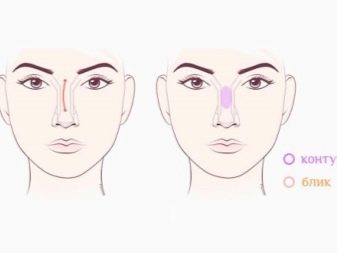
Despite the fact that the nose with a hump looks very majestic, many women strive to get rid of such a zest. For visual correction, the first step is to lighten the area of skin between the eyebrows. At the next stage, the hump is processed with a contrasting dark shade, and the borders of the shading are neatly shaded.
It is important to remember that excessive shading will hide the traces of correction, and an insufficiently smooth transition will create the effect of a dirty nose.
"Potato"
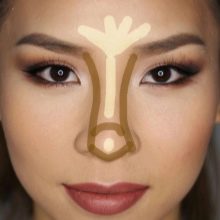
To add grace to a snub nose, apply a foundation or dry concealer of a light shade to the bridge of the nose, the bridge of the nose and the center of the forehead. The same tone is used to highlight the chin and under-eye areas. A dark concealer is applied to the wings of the nose, cheekbones and nostrils. Feathering should be done with a bevel cut tool or a beauty blender, moving from the center to the sides. You need to get a smooth, almost invisible transition, and then lightly powder your face with reflective powder.
Beautiful examples
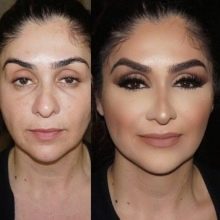
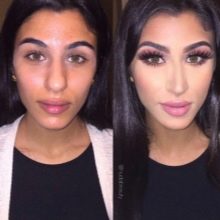
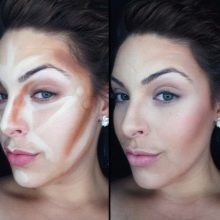
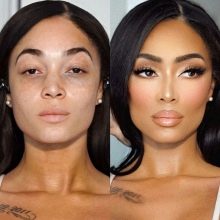
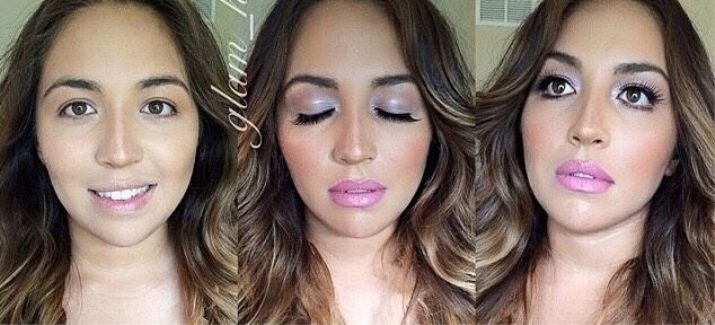
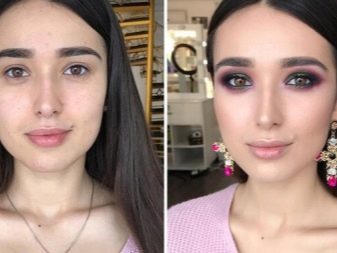
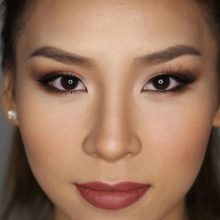
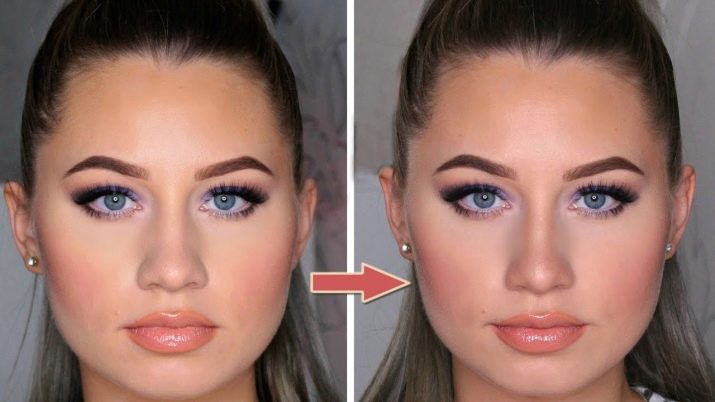
Correctly conducted contouring makes it possible not only to narrow the nose, but also to make it more graceful.You can clearly see how, thanks to correctly applied correctors of light and dark shades, the shape of the fleshy part changes for the better.
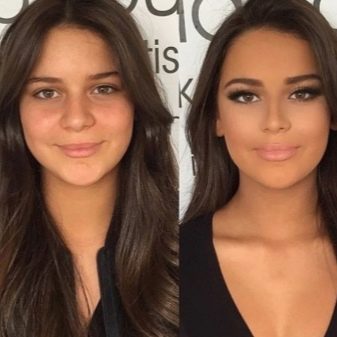
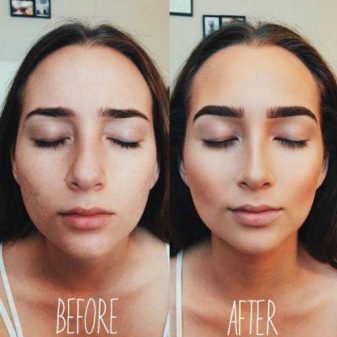
To enhance the effect, corrective agents are applied up to the brow area. It is worth mentioning that even in cases where this part of the face does not require special correction, performing contouring will give it clarity, which, for example, is always beneficial for girls with a round face.
For information on how to make your own nose contouring, see the next video.


