How do I draw arrows?
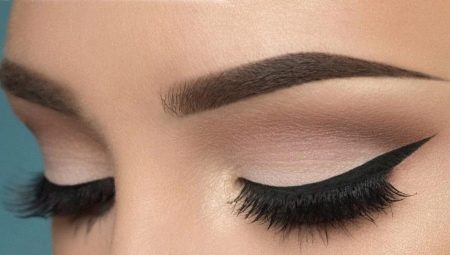
Makeup beginners often have trouble drawing arrows. In this article we will tell you how to draw them in stages and match them to your eye shape.
Basic schema
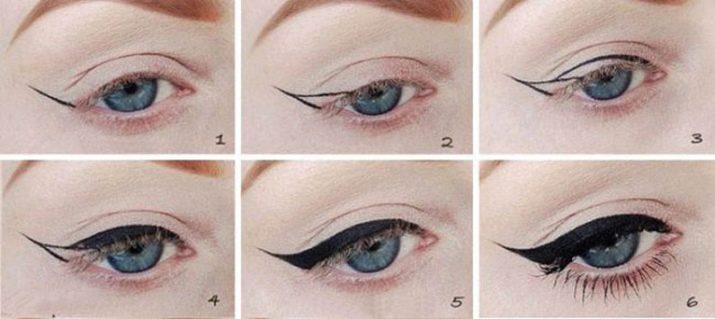
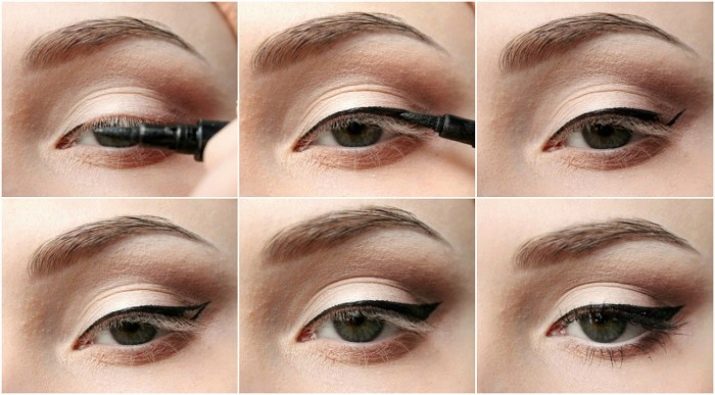
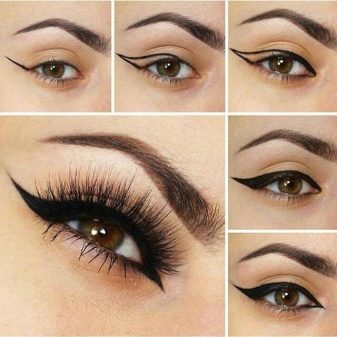
To learn how to draw arrows in front of your eyes correctly, you first need to master the basic scheme, acting step by step. It is quite easy, it can be very helpful for beginners in this matter.
- So, to begin with, draw the bottom line, which originates from the outer corner of the eye and looks like a continuation of the line of ciliary growth. Note that if you are just learning how to draw arrows, then at the beginning it is better not to make a long serif, a maximum of 1 centimeter will be enough.
- Focusing on the pupil, we draw the second line, connecting it with the first.
- Now you need to draw a connecting line from the inner corner of the eye to the top of the second line.
- Paint in the remaining empty areas inside the path and do the same with the second eye.
Ready!
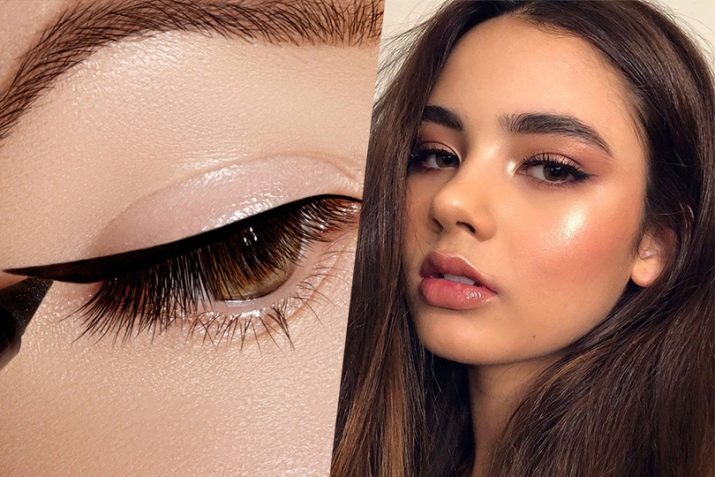
Choosing the right shape
There are different types of arrows, they can differ in many ways. However, in order for the makeup to be beautiful, you need to choose the most suitable shape for yourself, otherwise there is a risk of ruining your image.
It will be easiest for people who have almond-shaped eyes. It is generally considered universal. Absolutely any types of arrows are suitable for such eyes, and the classic version can emphasize them most favorably.
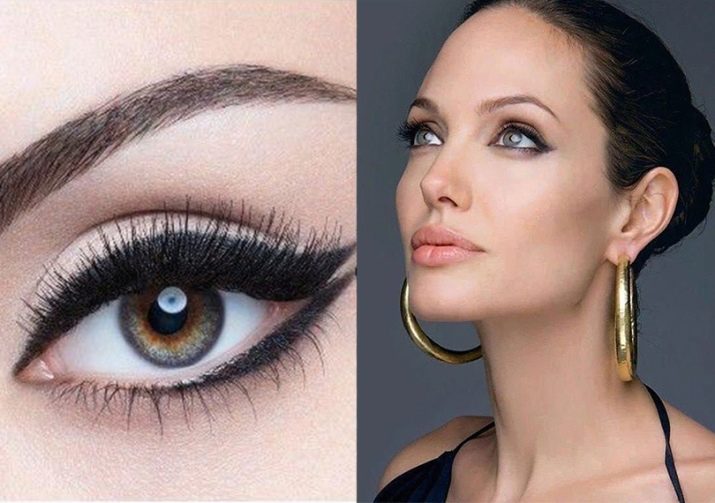
However, if your eyes are close together, then in this case it is better to draw such arrows that will start from the middle of the upper eyelid.If the eyes, on the contrary, are set wide, then in this case the arrow should be wide, and its beginning should go from the inner corner of the eye.
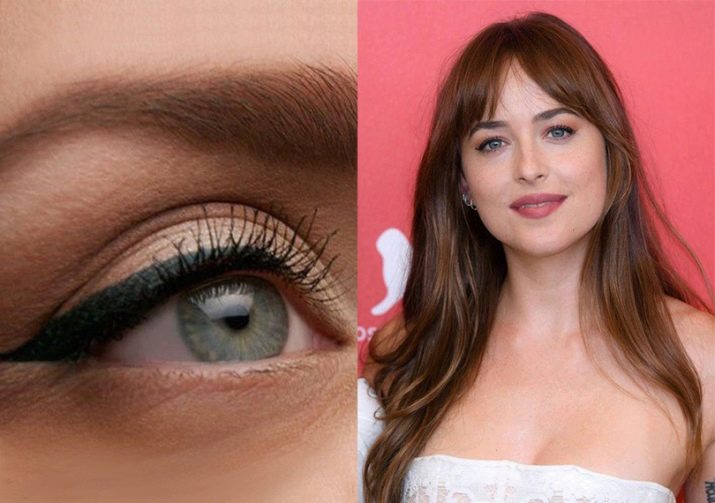
With the impending century, a special approach will be needed. In this case, a thin eyeliner is best suited, with which you will need to highlight the edge of the eyelashes and fill the space between the eyelashes. Otherwise, the arrow will simply not be visible.
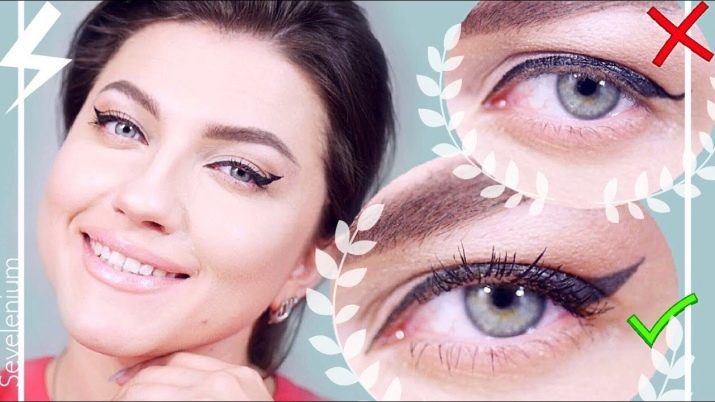
For women with downward-angled eyes Arrows with a slightly raised tail are best suited. If you make them wide, then it will look very impressive.
If the eyes are narrowed then you need to draw thickly so that the tail is slightly raised. Note that in this case, you should not paint over the area of the lower eyelid with eyeliner - this will only narrow the eyes.
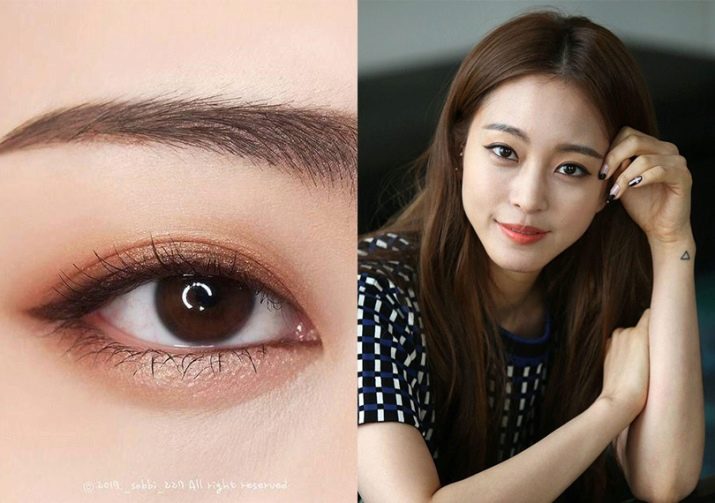
This method of painting is better suited for wide eyes, the owner of which wants to reduce them slightly visually.
Drawing by different means
At the moment, there are many makeup tools that allow you to draw beautiful arrows. Below we will consider each of them.
Pencil
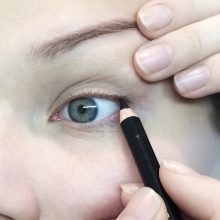
This tool can rightly be called ideal for drawing arrows. The pencil is especially suitable for beginners in this business: it helps to highlight the eyes, make up the arrow easily and evenly. Of course, there are also disadvantages: a pencil needs sharpening, and constantly. Otherwise, you won't be able to draw beautiful arrows.
If you use a pencil in your makeup, we recommend placing it in the freezer for about half an hour before sharpening. Otherwise, strict clear arrows are unlikely to be drawn.
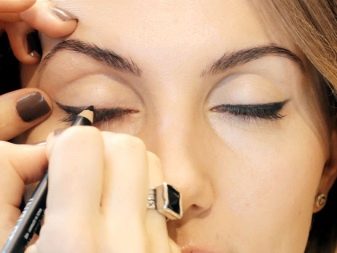
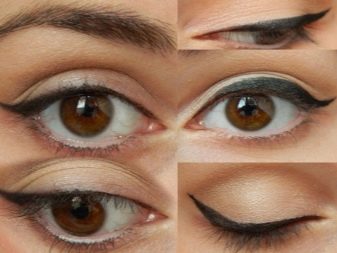
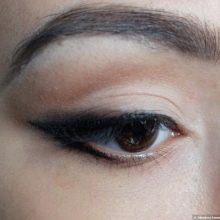
A soft pencil is more suitable for drawing the mucous contour, the space between the cilia and for creating smoky arrows.
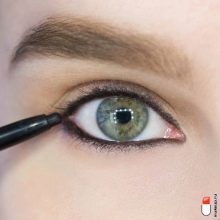
Eyeliner
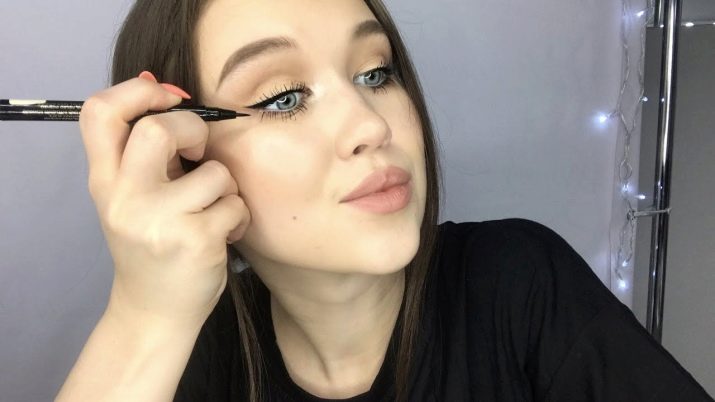
Drawing arrows with eyeliner is quite convenient due to the presence of a convenient brush. There are different types of this product: liquid eyeliner, gel, cream, in the form of a liner, felt-tip pen, and also a jar. If we talk about beginners, then a felt-tip eyeliner is best for them. And for those who already have experience, you can use an eyeliner with a thin brush.
Felt-tip pen
The felt-tip pen will be convenient for applying to all those who want to draw thin arrows for themselves. However, this tool also has a disadvantage: over time, the bright line will begin to fade.
Shadows
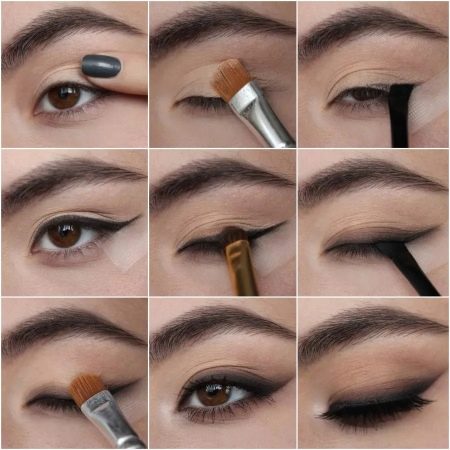
Shadows in drawing arrows are actively used when creating makeup for smoky eyes and smoky arrows. To do this, you will need a brush with a thin cut, with which you can draw smoother lines.
Combination
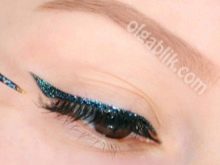
It is quite possible to combine different types of means for drawing arrows. This is usually done by those who already have experience in makeup. So, to create shiny arrows, you will need to use a gel eyeliner and shimmery shadows.
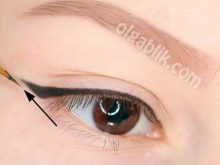
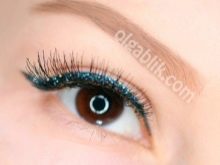
But the combination of a pencil and eyeliner can be used by beginners: it is easier to erase a pencil, and therefore it is worth starting drawing with it. After drawing the arrows, they can be modified with eyeliner.
The arrow will look no less interesting if, when applying it, you combine a sharply sharpened pencil and matte black shadows.... The shadows will need to blend the outer edge of the border of the arrow, which will help create a spectacular make-up.
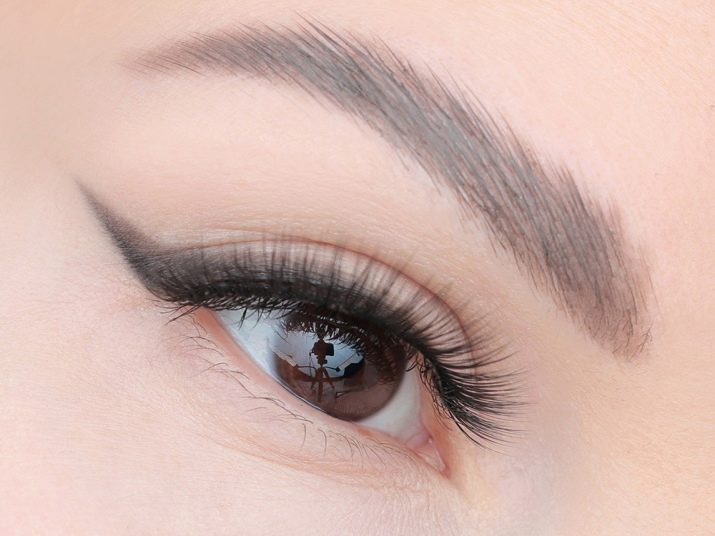
How to make arrows using improvised means?
You can also draw basic arrows using available tools.
So, for example, using an ordinary tablespoon, you can create arrows with graphic corners. The course of action in this case is quite simple: attach the spoon, positioning it correctly, and circle the eyeliner.
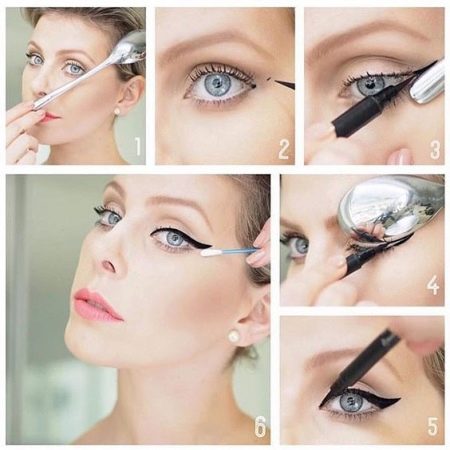
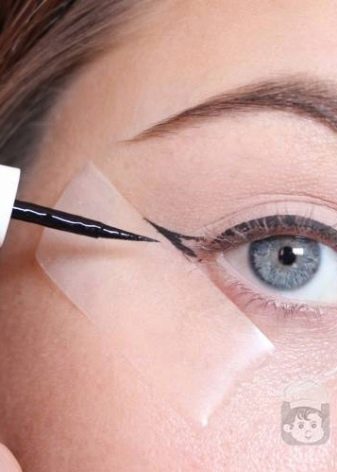
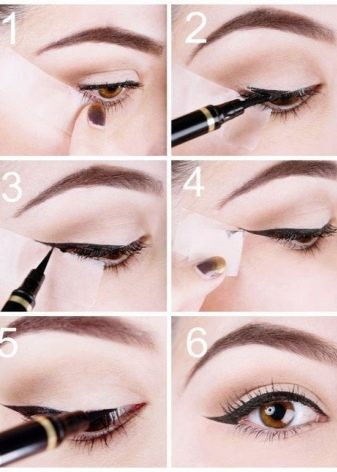
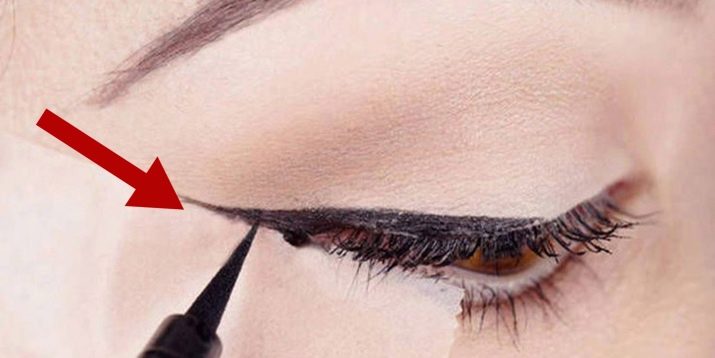
Will help in drawing arrows and ordinary thin scotch tape. Cut a small piece from it and attach it to the bottom corner of the eye so that you can draw the bottom of the arrow. It is important to consider here that the tape must be attached symmetrically to both eyes. After that, you need to wait for the cosmetics to dry, and only then remove the tape. Otherwise, you risk ruining your makeup.
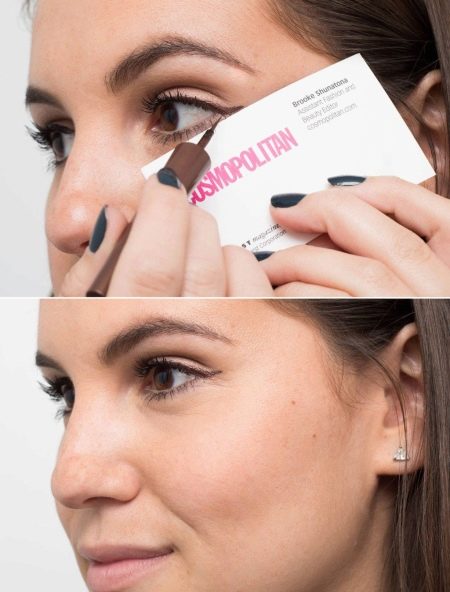
You can also use a plastic card for drawing, but it will need to be well fixed. Otherwise, there is a high risk that the arrows will turn out to be crooked.
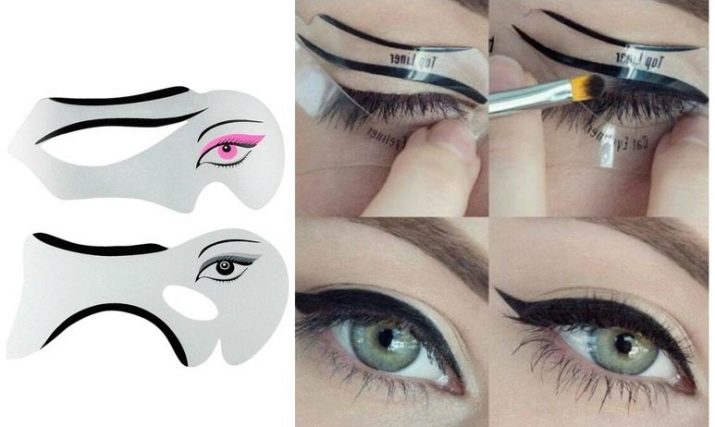
You can use a stencil when drawing, which you can get in a specialty store. In general, it is easy to work with it. The workflow is in many ways similar to working on eyebrows using a stencil.
Interesting options
There are many types of arrows that are popular right now. As a rule, they are all suitable for blue, green and brown eyes, it is only important to consider their shape.
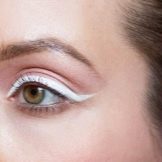
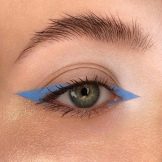
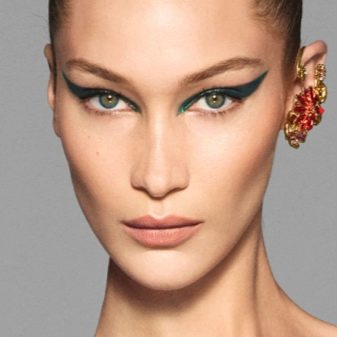
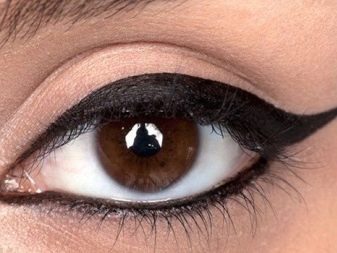
So, the classic arrow is most common. It is suitable for everyday makeup, and you can see such arrows on every third girl. However, this variant of the arrow can be beaten by using a bright colored eyeliner, for example, red, pink, white or blue. This option is hardly suitable for daytime makeup, but for any party - just right.
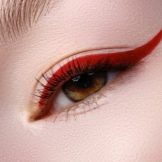
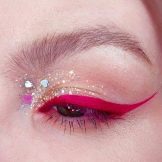
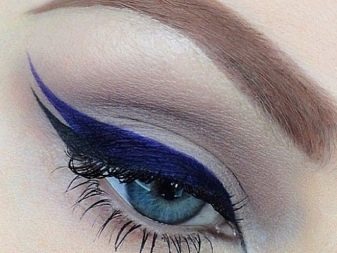
Egyptian arrows are not suitable for everyone, they are best applied to those with large eyes in order to visually reduce them. But for those who, on the contrary, want to visually enlarge their eyes and make their eyelashes thicker, the double arrow, which is currently trending, is suitable.

The so-called arabic arrows. They are not suitable for everyday makeup, but they still look very impressive and bright, and not only in photographs, but also in real life. A similar option, along with smoky arrows, can be used for evening makeup.
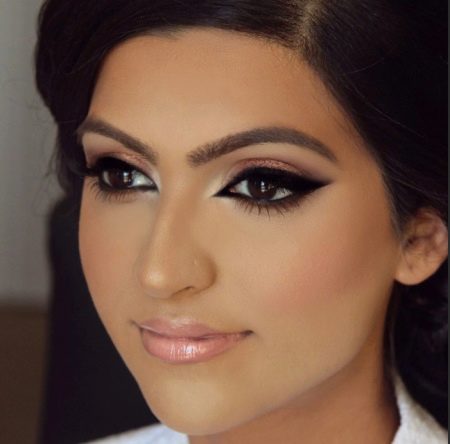
Arrows with the effect of the "cat's eye". These arrows are slightly raised, which allows you to make the female look more expressive.
How to fix errors?
Mistakes are made not only by beginners, but also by experienced makeup artists, because when drawing, any person's hand can tremble, even a professional. In such cases, you need to know how to fix the situation.
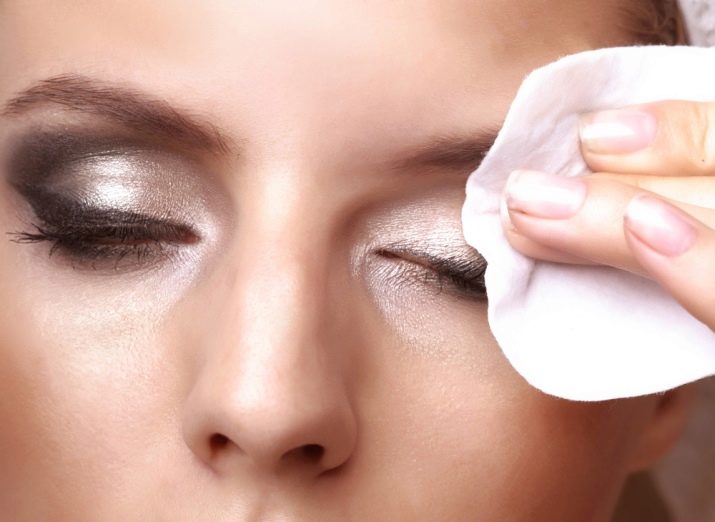
The simplest and most obvious way to eliminate the error is to completely redraw. However, this is an extreme case, and it is worth resorting to it only if nothing will save the arrow. Just moisten a cotton pad with micellar water, wipe the arrow and start over.
There are also less radical options. So, minor imperfections in the form of irregularities can be eliminated by resorting to the help of shadows in dark shades. It is enough to simply shade them in those places that seem problematic to you.
Another option in the presence of irregularities is thickening of the contour. It is important not to overdo it here and make both arrows symmetrical. Otherwise, there is a possibility that you will have to start all over again.
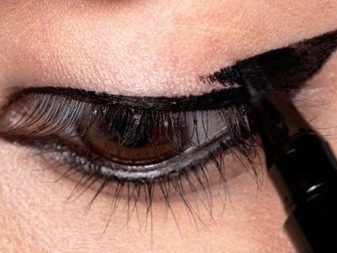
And if it happens that you accidentally protrude beyond the outer edge of the brush, then in this case they can be painted over with concealer.
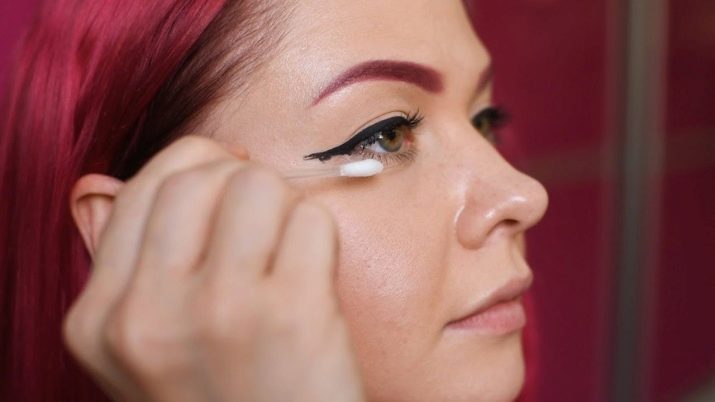
In addition, some irregularities can be removed with micellar water, moistening it with a cotton pad or swab. However, in this case, you need to act carefully so as not to erase the excess.
