How to draw arrows with a pencil?
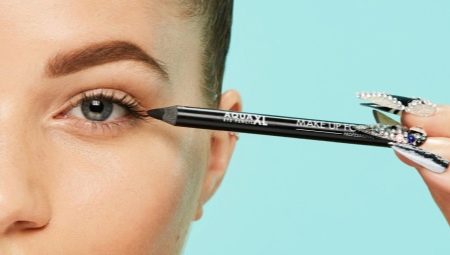
Brightly set eyes always focus on the expressiveness and graphicality of the face. You can emphasize them in many different ways, but the most popular and proven tool for this purpose is the pencil. Today there are a huge number of varieties of this simple instrument.
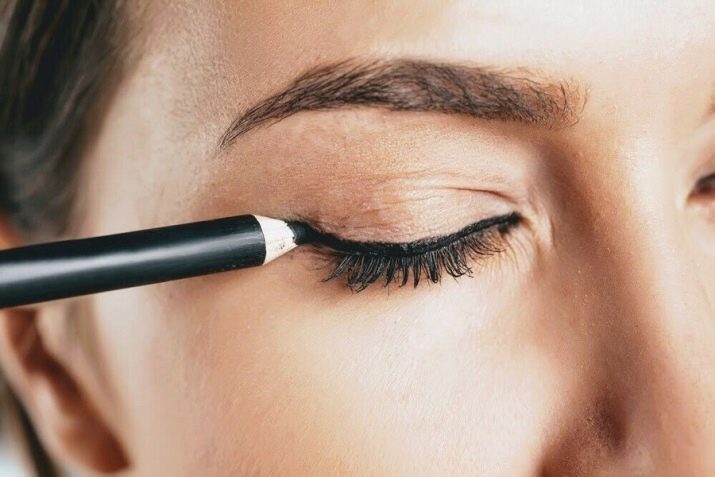
Features of drawing with a pencil
The main features of drawing with a pencil can be considered:
- unfixed end result on the skin surface, but at the same time the ability to correct the finished makeup at absolutely any time;
- relative simplicity and functionality take the pencil to the first places in terms of popularity in use;
- softer texture will allow you to create a "juicy" line from the first application;
- learn how to use such a miracle will not be difficult.
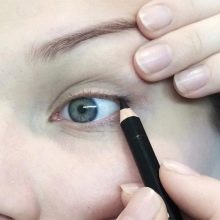
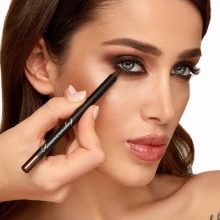
Contour
This assistant is familiar to everyone since childhood, every mother in her cosmetic bag always had one. This copy will not lose its relevance due to the wide variety of applications. There are two types of contour pencils: hard (for creating clear and even arrows) and soft (for shading and the possibility of getting a stunning clean "smokey").
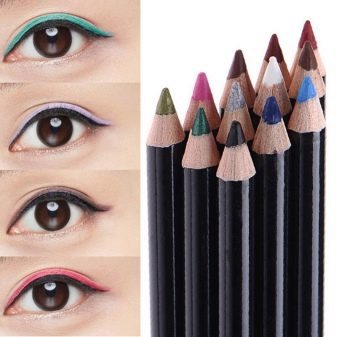
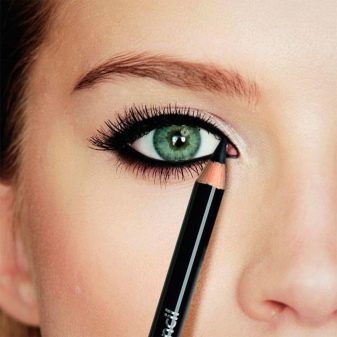
It is best to start your practice of drawing the same arrows with this type of pencil, as they will give a more stable line.
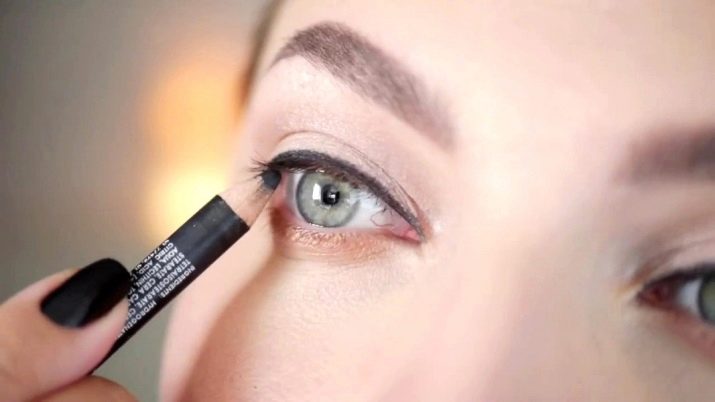
To create a thin, beautiful line step by step, you will need a pencil, cotton swabs and a lot of patience.
- Powder the upper eyelid with shadow to help the material adhere better to the skin surface... The coating will create the effect of matte paper, on which the process will go many times easier and more efficient.
- Attach the tip of the tool to the outer corner of the eye and outline the direction of the future arrow with a thin line... Such constructions are necessary so that the line does not move anywhere, and the result is more symmetrical.
- Start painting the lash line. Fill this area carefully with color to make the result look cleaner and more aesthetically pleasing.
- Draw it following the original sketch. It will serve as a beacon for you and will greatly simplify the task. Don't be afraid, feel free to draw and don't worry about the result. It may not impress you at all the first times, but don't give up. This activity takes a lot of practice.
- Repeat the drawing for the second eye. Carefully correct all unfortunate moments with a cotton swab.
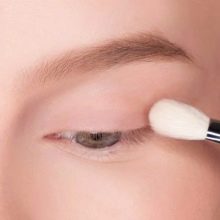
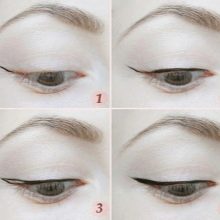
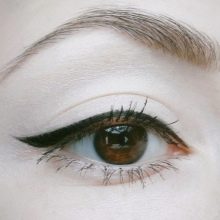
Practice drawing straight lines more, and the result will not keep you waiting long.
Kyle
This is one of the softest types of pencils, but at the same time one of the most resistant to external factors, as it contains wax. Therefore, it is often applied to the inside of the eyelid to create a deep and predatory look that visually enlarges the eye.
One of the main conditions for using this sample is the correct color selection.... If you want to create a light daytime makeup with which you can go to work or school, then you should take a closer look at the shades of brown that will suit absolutely any person.
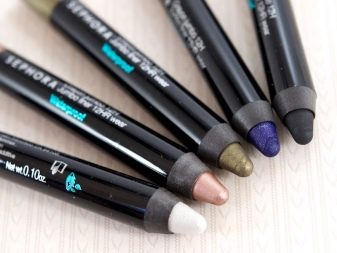
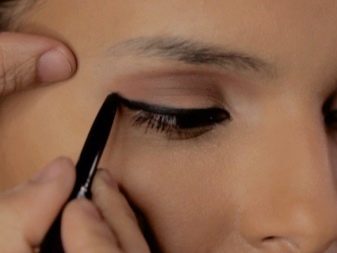
However, if your goal is bright and flashy evening makeup, then you should choose darker or more contrasting colors that will highlight your eyes, thereby riveting all the attention to them. A universal example of this color is black, which suits any type of appearance and age.
Since the kyle is the softest of the pencils, it requires special care.... Therefore, it is better to have some experience in this craft before using it.
The principle of work is not much different from drawing with a contour pencil. You also need to outline the outline of the future drawing and duplicate it on the neighboring eye so that the arrows turn out to be the same.
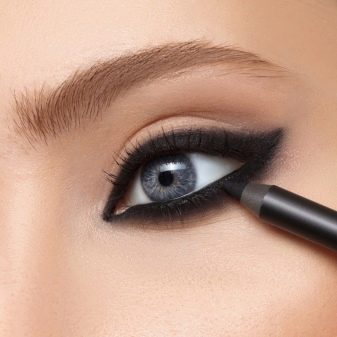
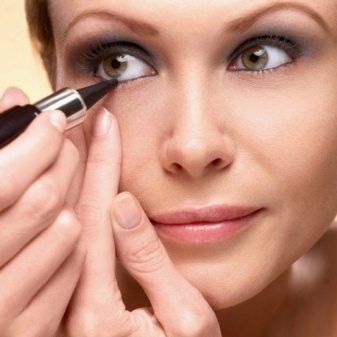
However, this time you should put less pressure on the pencil, as the risk of breaking it and spoiling the image is increased due to the softer and pliable structure.
But one of the main advantages of the kyle is the ability to tightly paint over the mucous membrane of the eyelids. This technique will help to visually enlarge the eye contour and give a special depth and mystery to the look. This technique is not difficult to implement in stages.
- First, draw an arrow and paint over the lash edge.
- Pull the lower eyelid slightly and paint over the mucous membrane with light touches... Be careful! Don't put the pencil in your eye!
- Do the same with the upper eyelid. This can cause more discomfort than with the lower one, but this process takes a little getting used to.
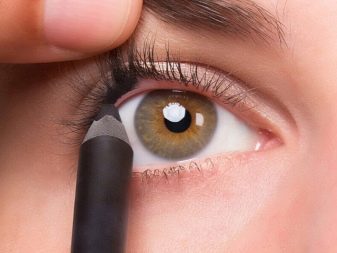
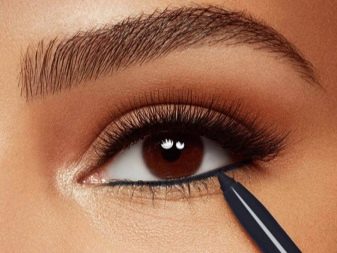
The first time after applying such a stroke, your eyes may water, and you may feel some discomfort, but your eyes will take a little time to adapt to the new conditions. Usually, cosmetics should not cause an allergic reaction, but if the discomfort in the eyes does not go away, but only intensifies, then you should abandon this makeup element, because it will not benefit your eyesight.
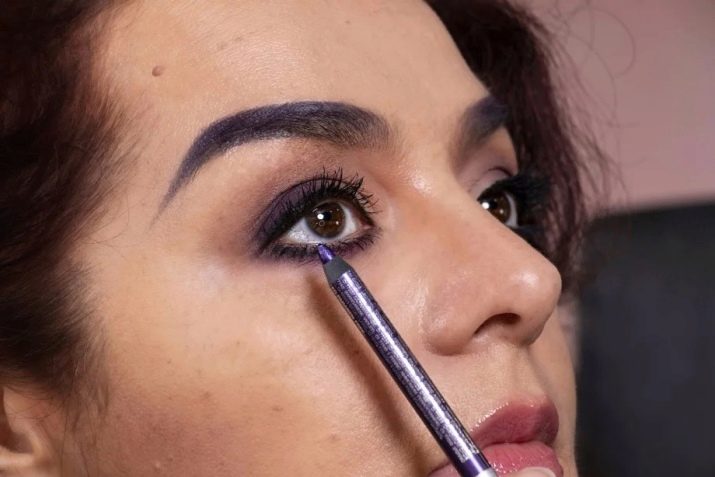
With gel lead
Such a pencil differs from its counterparts in its special gel-like delicate texture. When applied to the eyelid, it may feel like the lead is sliding or floating on the surface of the skin. In terms of its external and technical qualities, it is similar to a pick, but its thicker and more oily texture makes it stand out from the rest. It can also be applied to the mucous membrane of the eyelids, but you should be more careful not to smear the result of your long and painstaking work.
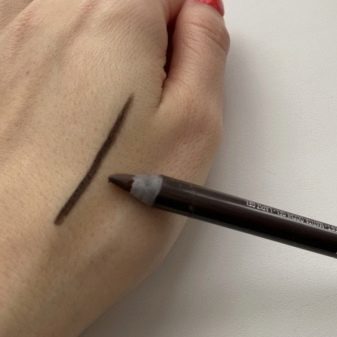
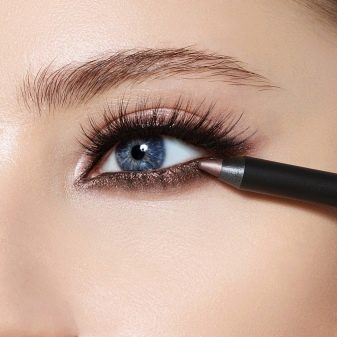
Unfortunately, for lovers of clear, graphic and thin arrows, this tool is not suitable for this type of make-up, but with its help you can create thick arrows that are fashionable now or no less relevant shaded ones. Due to its light creamy texture, it can be easily shaded with a brush, which will create the illusion of a hazy and languid look.
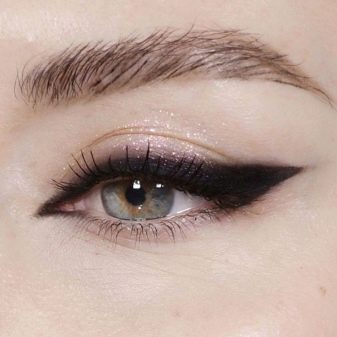
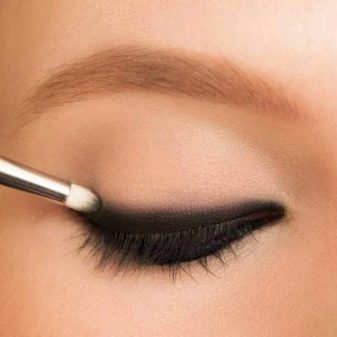
But owners of oily and combination skin should be careful when choosing a gel pencil: due to its creamy texture, it can easily smudge and ruin the whole look. For such cases, it is better to choose a waterproof option. It will last on your face all day and will not ruin your makeup.
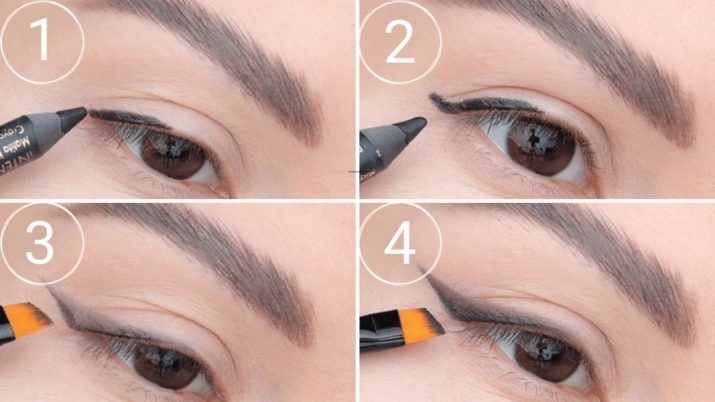
- To draw a neat arrow with a gel pencil, attach it to the lash line and draw a line at a 45-degree angle.
- Neatly paint over the line between the eyelashes and the mucous membrane of the eyes.
- Feather the resulting arrow slightly to give it a slight transparency. Do not overdo it - you don't need to rub too hard with the brush, otherwise you risk just getting a dirty stain instead of a beautiful arrow.
- Lightly wipe off minor imperfections with a cotton swab, but do it carefully so as not to grease the excess.
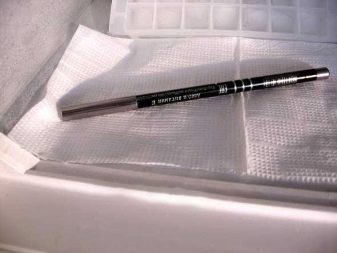
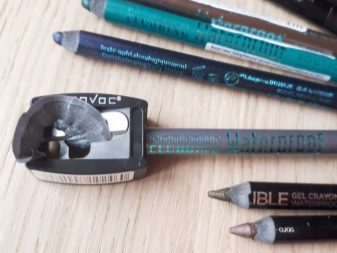
A gel pencil is very difficult to sharpen. Do not try to make the tip too long or too sharp, otherwise it can break easily, with the result that most of the product will simply disappear. To make it easier for yourself, just put it in the freezer for 15-20 minutes.
Pencil shadow
Eyeshadow pencils remain one of the most popular types of eyelid cosmetics today. They have a huge number of different colors, shades, textures.
This product has a thick lead with a creamy texture. It is designed to create not only arrows, but also a complete eye makeup. These shadows are especially suitable for those who do not have time to create a full-fledged image in the morning. We can say that this assistant is designed for quick make-up.
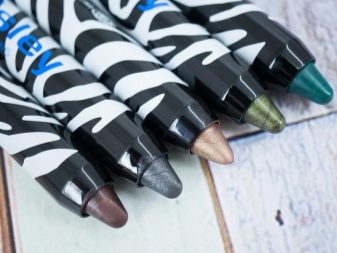
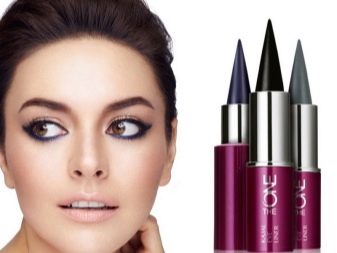
This material is very convenient to take with you, it does not take up much space in your bag or backpack, which is a very convenient solution.
The use of such shadows saves a lot of time, because with just one light movement of the hand, you can get a bright eyeliner or an expressive reflex on the eyelids. By combining the look in the stick and the dry product in the refills, you can achieve greater expressiveness of the result.
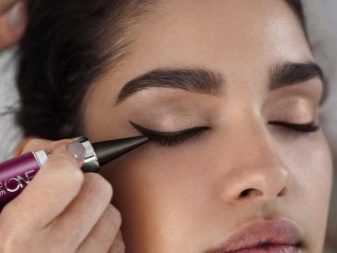
In order to properly apply a product to the skin, you need to know two basic concepts: shading and clean application. Using these two techniques, you can create absolutely any look: from light daytime to spectacular evening. You just need to get used to it.
Feathering
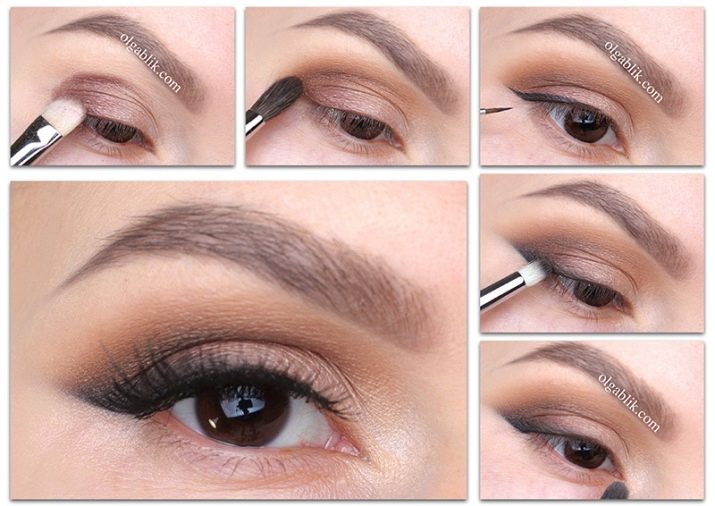
Usually, not one color is used for this technique, but several. These shades can be of the same color, but differ in tone. This technique serves to create depth and volume. The drawing process can be described in stages as follows:
- apply color to the lower eyelid along its entire length;
- shade it slightly, try not just to smear it, but to gently distribute it with a brush, avoid uneven application and bald spots;
- apply the darkest pigment to the outer corner of the eye and gently distribute, emphasizing the shape;
- place the lightest shade on the inner corner and also add transparency with a brush;
- already on the center, apply a shimmery color that will serve as a visual accent that will not be overlooked;
- remember to close the product after use so that it does not deteriorate in the open air.
Clean application
Roughly speaking, a clean application is a classic arrow without any feathering.
Learning to draw a classic arrow is not a problem, but there are a huge number of their varieties.
Drawing different types of arrows
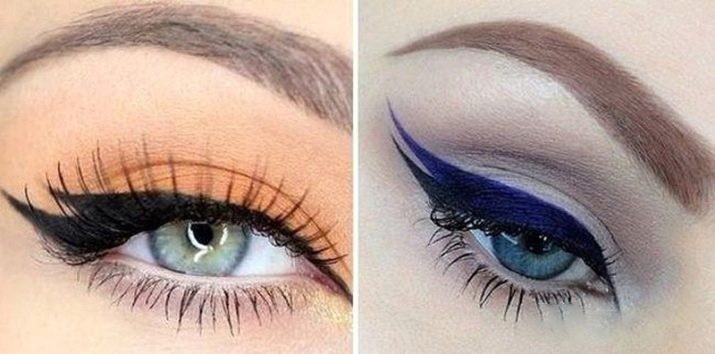
Double-tailed arrow
Draw the arrow that works best for you.Next, place the tip of the pencil against the outer corner and draw a small downward stroke. Give it a neat shape. You should have the effect of splitting the line in two. This tail does not need to be made too bold and long - it should not be larger than the main arrow.
Arabic arrow
One of the most noticeable and eye-catching. Most suitable for bright and slightly defiant make-up.
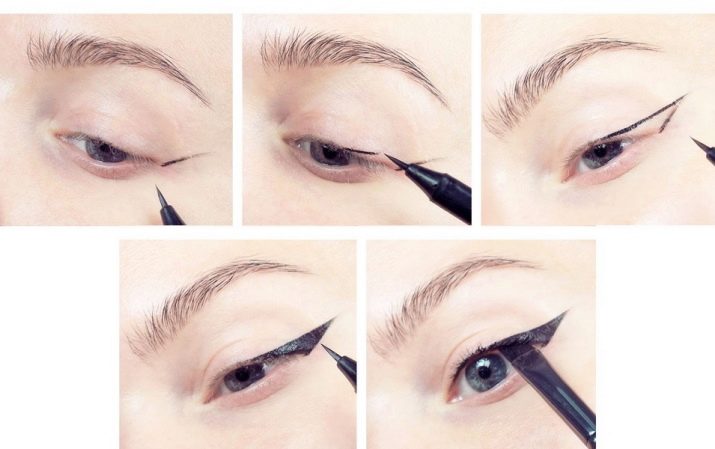
Draw a long arrow and tint the space between the eyelashes. A feature of applying this makeup element is the painting of the inner corner of the eye. This technique creates the feeling of a "cat" look.

Half arrow
Such a simple technique will help to visually open wide-set eyes. To do this, apply a highlighter or light shimmery shadows to the inner corner. Begin to paint over the ciliary edge itself from the middle of the century. In other words, the arrow will start at the center, thus lengthening the cut.
Layered arrows
This option will be appropriate at any evening or holiday to stand out from the crowd.
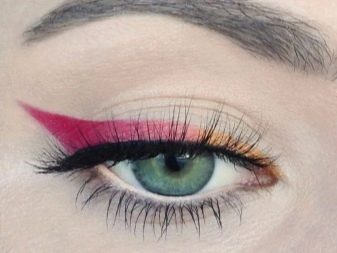
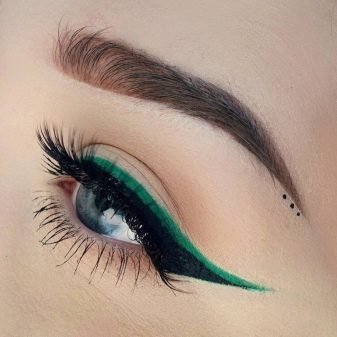
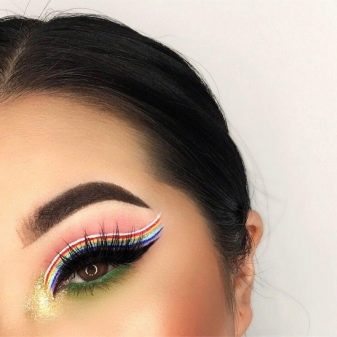
Accentuate the lash line with a darker color. Do not worry if the line turns out to be uneven - all the shortcomings can be corrected with a sponge or cotton pad. On top of the first, draw a second line of a different color that you like.
White arrows
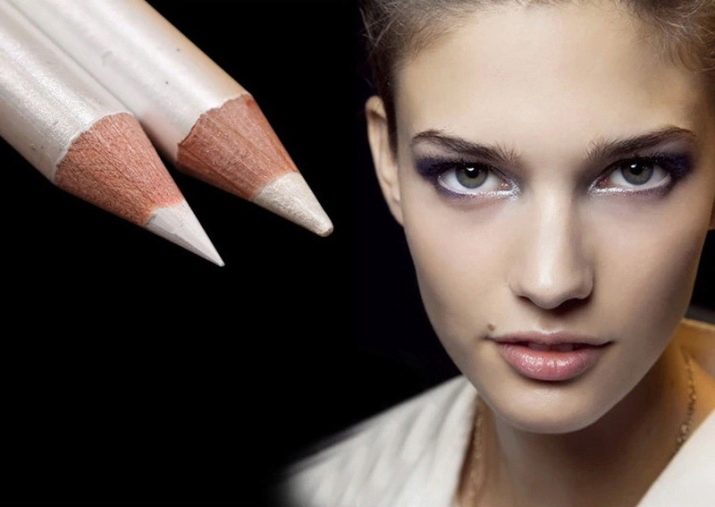
Will look great on a date or as a morning makeup... They will give a special vigor and freshness to the face. The main focus here is on the inner corner of the eye. It is there and apply a white pencil and draw the lower eyelid. Optionally, you can also make the upper dark arrow, but this is no longer required.
Tips for Beginners
- Draw arrows in good lighting, then it will be easier to notice all the shortcomings and correct them in time.
- Drawing a line, pull the eyelid, in this case, the arrows will be smoother and more uniform.
- If you are in doubt about the form, then first make a drawing with a light pencil - so you have a chance to get a symmetrical result.
- Draw the arrow looking directly into the mirror. This will not distort the outline.
- If you are new to this business, then try to find yourself a foothold... Drawing on weight will greatly complicate the task for you. With the right pivot point, the result will be even and the same.
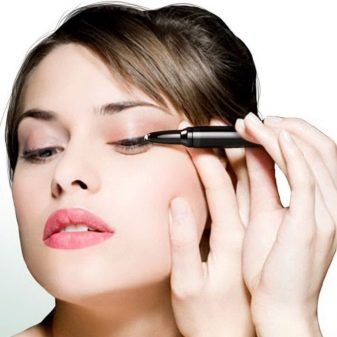
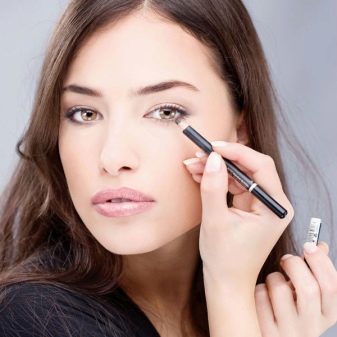
Summing up, we can safely say that a pencil is suitable for absolutely any girl, regardless of her makeup skills. It will allow you to quickly learn how to draw straight and identical lines with minimal product consumption, after which you can experiment with other types of eyeliner.
For information on how to draw beautiful arrows with a pencil, see the next video.


