Acrylic for nails: what is it and how to use it?
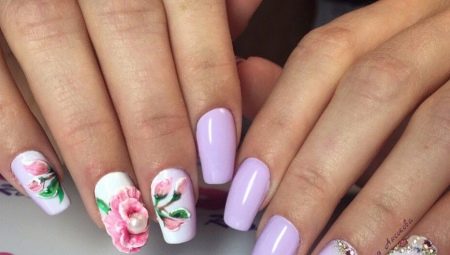
Recently, manicure masters delight with more and more interesting ideas and perfect materials for decorating nails. Acrylic is one of the favorite professional products. It is durable and safe, allows you to make a fashionable volumetric design on your nails and work wonders. It is also used for preventive purposes to strengthen and improve the properties of the nail plate. If you haven’t read this material yet, it’s worth learning more about it.
What it is?
Acrylic was invented in the first half of the twentieth century as a replacement for heavy glass, which had a number of limitations in production and use. It is polymer powder and special liquid acrylic. A durable and lightweight material is formed. In the 1950s and 60s, this material was widely used in dentistry for the manufacture of prostheses that skillfully imitate lost teeth. It was the dentist who randomly came up with the idea of using acrylic as a coating for nails. He tried the material on his wife's nails to give them strength and protect them from breakage. She liked their healthy, well-groomed look so much that the fashion for acrylic nails has spread throughout the world in just a few years.
Acrylic nail polish is now slightly different from what it was 50 years ago. The technology for working with him has become simpler. Now, to create the perfect finish, you don't have to spend money and time at a nail salon.
It is enough to buy professional or more democratic products sold in specialized stores, and you can start creating.
Advantages and disadvantages
Acrylic and its derivatives (gel, shellac) are a modern high-tech material for creating a neat long-lasting manicure. For many, he has become simply irreplaceable. However, disputes about the benefits and harms of its use are still ongoing. There are also masters who prefer to work with gel, while others are in favor of acrylic. Both methods are derivatives of the same technology. Gel build-up is easier to do on your own, and working with acrylic is more complex, multi-stage and requires high professionalism.
However, with the proper desire and a little experience in the manicure field, you can make a high-quality and beautiful coating for yourself at home.
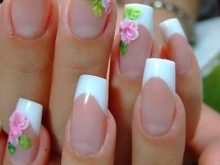
Acrylic nail extension and strengthening has many advantages over other techniques.
- It is a highly durable material. It is able to withstand temperature extremes, aggressive environment and mechanical stress. Moreover, it is quite flexible and thin. You can literally sculpt a new nail shape out of it, if the natural one does not suit and needs correction.
- You don't need a curing lamp to work with acrylic. This significantly reduces uptime and equipment costs. The material itself freezes in air rather quickly.
- The material is non-toxic and safe for humans. And 60 years ago, it was the main material for dental prosthetics.
- Removing the acrylic coating is easy with a special tool. You can also use your regular nail polish remover. No sawing is required. Therefore, the integrity of the nail plate is not violated, there is no need to breathe acrylic dust and time is significantly saved on correcting or removing manicure.
- The special texture allows you to fill in micro cracks and irregularities on the nail. Thanks to this, the surface is perfectly leveled, and the destruction does not go further. The nails are overgrown under the coating.
- Acrylic is ideal for painting, making fashionable volumetric and matte designs. It gives a wide scope for creativity of nail art masters.
- In case of damage or regrowth, acrylic nails can be easily corrected. And the procedure itself turns out to be much cheaper than when working with other materials.
- The coating creates the natural effect of well-groomed natural nails and can last for an average of three weeks. You can do it yourself at home.
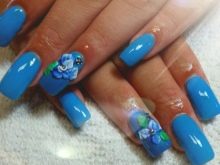
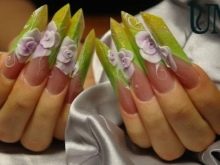
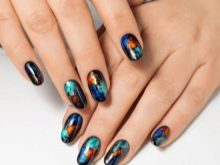
Acrylic is widely used in various areas of the economy, in everyday life and technology. It is not harmful and has even been used in dentistry. Therefore, one can speak about harm only conditionally. An unpleasant factor is the pungent smell of the material during work. But this cannot harm the body, it only causes uncomfortable sensations. There are contraindications to acrylic build-up. They do not affect health, but the very quality of work, given some factors, may not be the same as we would like.
The main diseases in which the result of the work of even the best craftsman can be unpredictable are: diabetes mellitus of various types, ischemia, diseases of the heart and blood vessels, liver damage.


You should not build up your nails during pregnancy and breastfeeding. Certain antibiotics or chemotherapy may also be incompatible with this manicure procedure.
It is very rare to be allergic to acrylic or to its volatile components during work. Craftsmen have every right to refuse to do a manicure for skin diseases, herpetic rashes, manifestations of fungus on the hands - for your own good. If there is damage or injury on the nail plate next to the nail, it is also worth thinking about the advisability of covering with acrylic. In general, acrylic will not harm healthy nails. And the nail plates will look well-groomed and more protected.
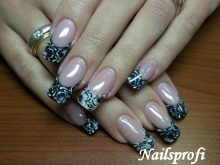
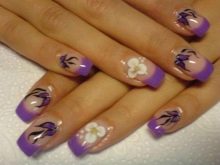
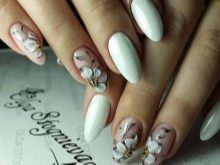
Required tools and materials
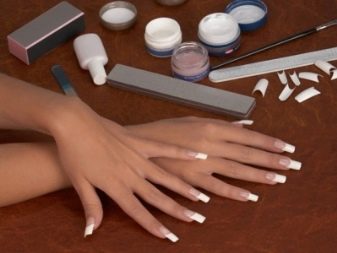
To work with acrylic, you will need, in addition to basic materials (liquid acrylic and powder), a number of additional tools.Don't be intimidated by a long list. Every girl who has done herself a manicure at least a couple of times in her life definitely has half of it.
- Acrylic nail brush. The main thing when choosing it is the pile material. Ideally, it should be natural. Many novice craftsmen choose brushes with artificial hair because of the cost. But their service life is much shorter. The end of the brush is chosen quite sharp in order to neatly arrange the space at the cuticle. If necessary, the pile is trimmed to the desired shape, removing excess hairs.
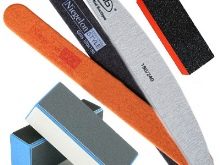
- Nail files can be of different structures. Craftsmen usually have a whole range of different roughness and size of abrasive grains. A beginner can choose a universal one that is equally suitable for natural and artificial nails. Its working surface parameters are 180 - 240 grit.
- Buff can be useful at different stages of a manicure. It is used to polish the nail before applying the first coat of base coat for better adhesion to it. It is also used to process hardened acrylic.
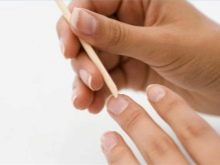
- Orange tree cuticle stick multifunctional. She participates in the creation of any grooming manicure. It also helps to carry out individual elements of nail design of different types.
- Scissors useful for cutting their nail plates and giving the desired length and shape on tips.
- Brush will help remove acrylic dust from the artificial nail without harm to health.
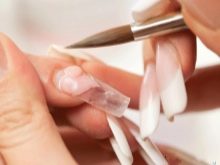
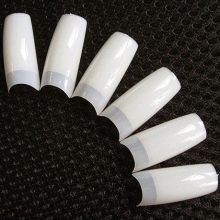
- Tips - an analogue of plastic false nails known to many. The material is thinner and looks natural. It is made of plastic, gives strength to nails and is suitable as a basis for any design of the highest complexity.
- Primer - matting coating, which is used for better binding of the nail plate and subsequent decorative coating.
- Antiseptic - you can use special or regular alcohol. They are handled by the master before the start of the manicure. It is also used in the processing of instruments and tools for manicure (if they are not disposable).
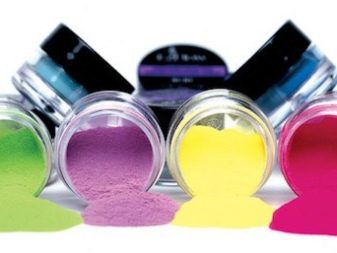
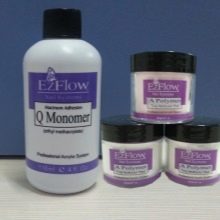
- Acrylic Powder & Monomer - two main components of acrylic-based manicure. Monomer is used as a solvent for acrylic powder, interacting with it.
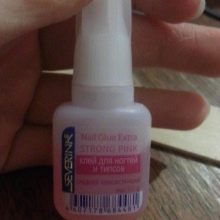
- Glue. You will need a special one for tips. Professionals prefer compositions that are liquid in consistency for work. They adhere well to the surface of the nail and dry out rather quickly.
- Butter. It can be any organic, mineral, or use a special tool to soften the cuticle, not only at the beginning of a manicure, but also at its last stage.
In addition, if you intend to draw patterns or create a complex decor, you will have to stock up on additional tools that will come in handy in each case. These can be brushes of various sizes, dots, acrylic paints and gel polish, glitter or rhinestones.
Technology and methods of application
Working with acrylic powder is not difficult, but it requires some skill, accuracy and dexterity. To use professional tools correctly, you need to follow exactly the recommendations of the masters. You can use their professional secrets. Acrylic helps to create not only a smooth, beautiful, aesthetic coating of nails. With it, you can create various patterns and three-dimensional patterns. For an ideal result, you need to work step by step, following the instructions for each specific type of manicure.
Creating drawings
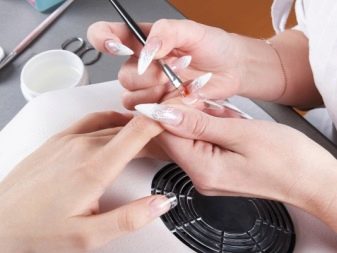
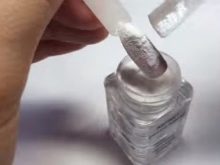
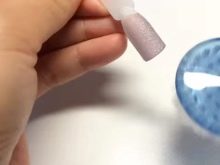
Painting with acrylic has become especially popular in the past few years. Stencil painting is most often used on nails, especially for novice masters. This makes the drawing clearer and more accurate. Patterns in the form of flowers, monograms, hearts, and other figures are voluminous and look attractive. Before creating a design, you need to do a regular hygienic manicure and wipe your fingers with an antibacterial agent.
- With a special file, we remove the gloss from the nail plate very carefully, without damaging the surface.
- Apply a transparent base and cure it under the lamp for 60 seconds.
- Apply two layers of the main shade of gel polish, drying each one in turn under the lamp for at least 180 seconds.
- We put a stencil on the nail where the drawing will be performed.
- Paint over the free space inside it with the main color with a fairly dense layer.
- Immediately pour acrylic powder on top. Dry under the lamp.
- Remove the stencil with a careful movement and remove excess powder with a special brush or soft brush.
- We do not use the top. The cuticle must be treated with oil to keep the skin of the hands around the nail in good condition.
Molding
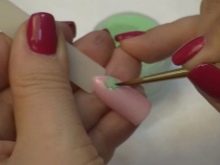
With the help of acrylic sculpting, a very effective and fashionable volumetric design is created, which has been popular in recent seasons. It is indispensable for special occasions. In everyday wear, you can decorate a pair of accent nails with sculpting elements. The technology for creating a picture assumes some skills in manicure, since you will have to work quite dexterously. When the basic procedures are done: the nails are prepared, covered with a base and the selected varnish color, you can start creating volumetric elements.
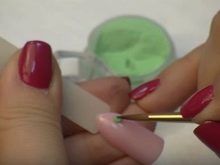
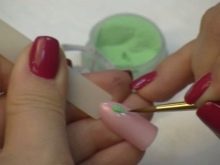
- A little acrylic powder is collected on the brush and dipped into the monomer, picking up the liquid in a circular motion of the brush.
- A small ball is formed, with which you need to work rather quickly, since the resulting acrylic quickly hardens in air. After each ball, be sure to close the jar with the monomer well.
- We transfer the ball to the nail, where the pattern will be performed.
- We help ourselves with a brush or a stick (you can use a dots) to form the details and bends of the pattern.
- Details are best done at the base and side of the nail, not at the tip. Since they are quite heavy, and the free edge from the load can easily break.
- From above, the figurine is covered with a top coating and dried under a lamp. Each element is usually performed separately.
- Sometimes, when performing complex multi-tiered figures, craftsmen make them separately on a sheet of foil. And then, using special glue, they are attached to the nail surface.
- To create a more natural and voluminous design, the figures are additionally painted with acrylic or stationery paints.
Build-up
Extension of nails with acrylic allows you to make a harmless and long-lasting coating. You can do a manicure on a natural nail, but tips or special forms are often used for extension. We offer a step-by-step guide with which it is easiest for beginners to make extensions.
- The old coating is removed. A nail bath is made. They are cut fairly short or filed to their natural growth pattern.
- An antiseptic at the beginning of the procedure is necessary for treating the hands.
- The cuticle can be pushed back using a pusher.
- We treat the surface of the nail with a buff, removing the gloss from it. It should be completely white.
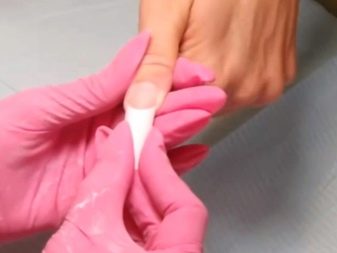
- We select tips of the required size for a natural nail.
- Spread glue on its empty edge and attach it to the nail. Cut the tips to the desired length and shape it.
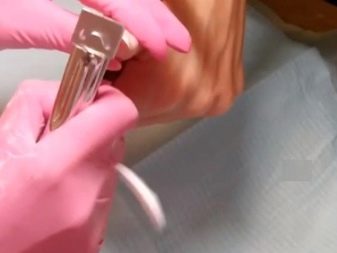
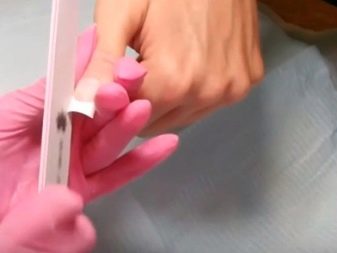
- Next, a file for artificial nails with a grain of 100 units will come in handy. She is treated with tips for better adhesion with subsequent layers of coating.
- Dust after processing is brushed off with a special brush.
- Cover the tips with a thin layer of primer.
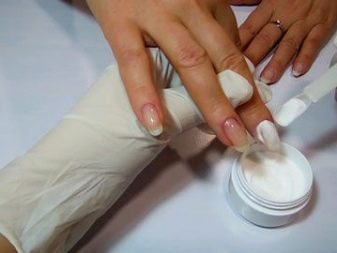
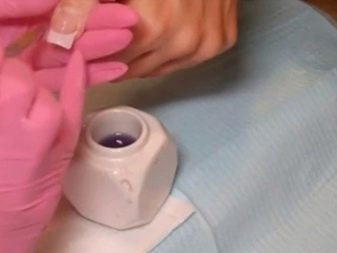
- Next, we begin to form a nail from acrylic. We dip the brush in turn into the monomer, and then into the acrylic powder.
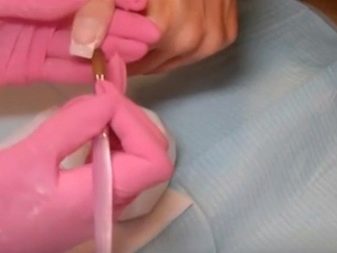
- We sculpt a ball from the resulting composition and attach it to the nail with tips.
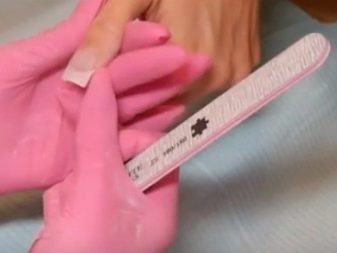
- We take a file for natural nails and help it shape the future nail. We work in the direction from the sides to the edge.
- Buff with buff and level the nail surface.
- We soften the skin around the nail with a special tool or oil. New marigolds are ready. Now you can choose a design or simply cover them with clear varnish.
If your nails are naturally weak and brittle, an acrylic coating will help.It is used for nails and without extensions.
With it, you can grow your own marigolds of medium length without breakage. It will only be necessary to correct the growing part approximately every 14 days (depending on the growth rate of the nail plate).
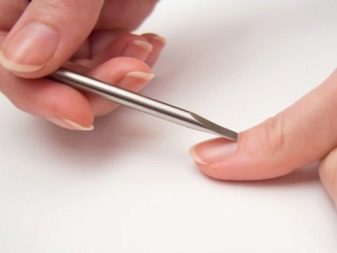
The procedure is carried out in stages. To do this, first we treat the nails and fingers with an antiseptic. Pusher gently push back the cuticle and remove the pterygium. We process the nail with a file for natural nails, removing a thin coating of gloss from it. Dust is carefully removed with a brush.
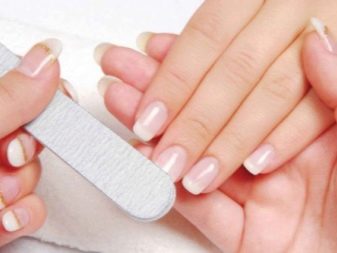
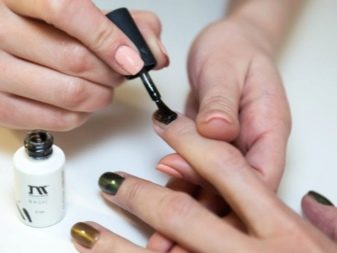
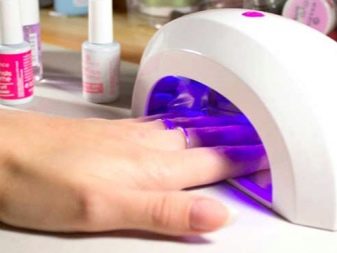
Applying a primer is a must. It creates optimal high-quality adhesion of polymeric materials to the nail. Next, carefully cover the entire surface of the nail with the base gel base. Without drying it, you need to apply acrylic powder on top. We cure the nail under the lamp for 3-4 minutes.
We give the new surface of the nail the required shape, cutting off all the irregularities with a file for artificial nails. Remove dust after processing with a brush. Next, we apply the selected shade of gel polish to the resulting strengthening coating and dry it under an ultraviolet lamp. Cover with finish and dry again. Do not forget to remove the sticky layer at the end.
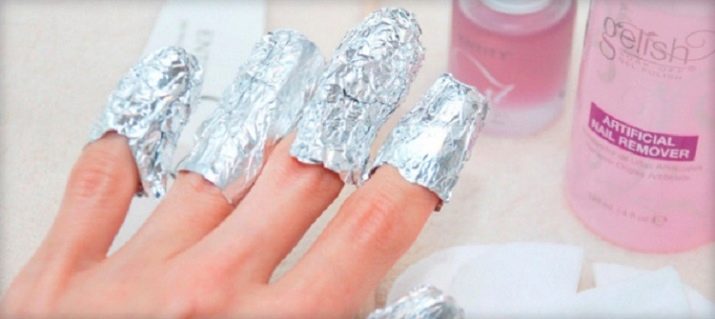
Since acrylic is a completely safe material, removal can be done at home. This will require a special liquid. If not, use the usual acetone-free manicure correction. We cut off the excess length of the acrylic coating with tips with scissors. To protect the skin of your fingers from the effects of nail polish remover, lubricate it with cosmetic petroleum jelly around the nail plate.
Take a separate cotton pad for each finger and soak it well with liquid. We wrap the tip of each finger with foil or put on special caps. We leave for 20-30 minutes. After that, you need to remove the caps and cotton pads. Pry off the acrylic nail with tweezers or a wooden cuticle stick, it should come off easily. If traces of the acrylic coating still remain, they are cut off with a buff.
After final removal, a hand bath is recommended. Apply nourishing oil to your nails, and lubricate your hands with moisturizer.
Care Tips
Acrylic is a fairly durable material. To preserve the beauty of a manicure for a long time, you should follow simple rules that will extend the life of your coating:
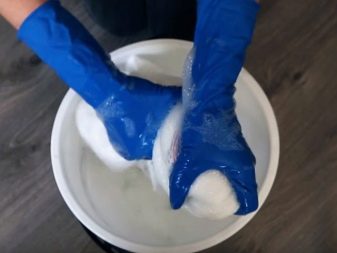
- wash, wash and do any housework with gloves;
- after each washing of hands, dry them thoroughly with a towel;
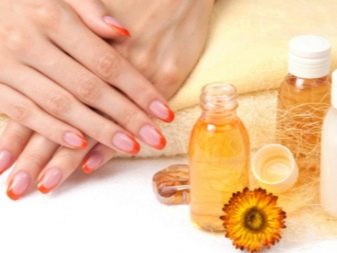
- we use oil for the flexibility of the nail plate daily.
Beautiful design examples
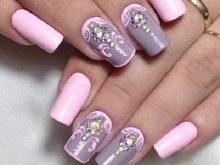
The acrylic finish creates many opportunities for an attractive and trendy design that will last for weeks on nails.
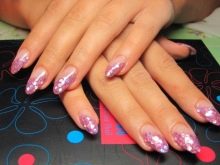
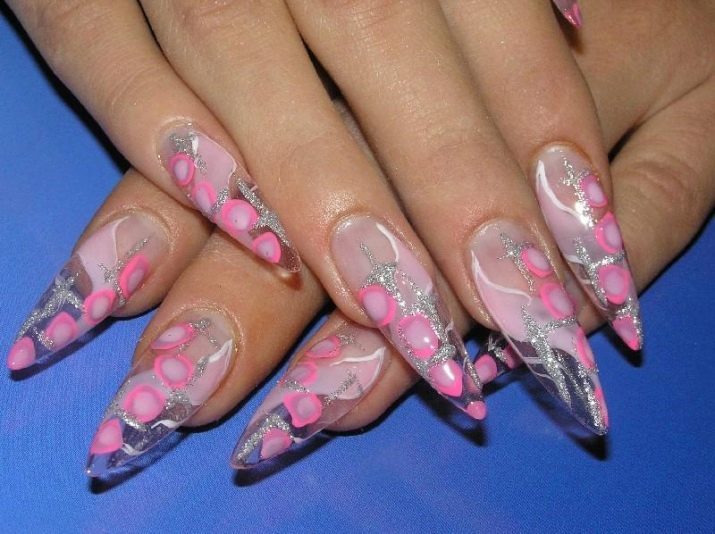
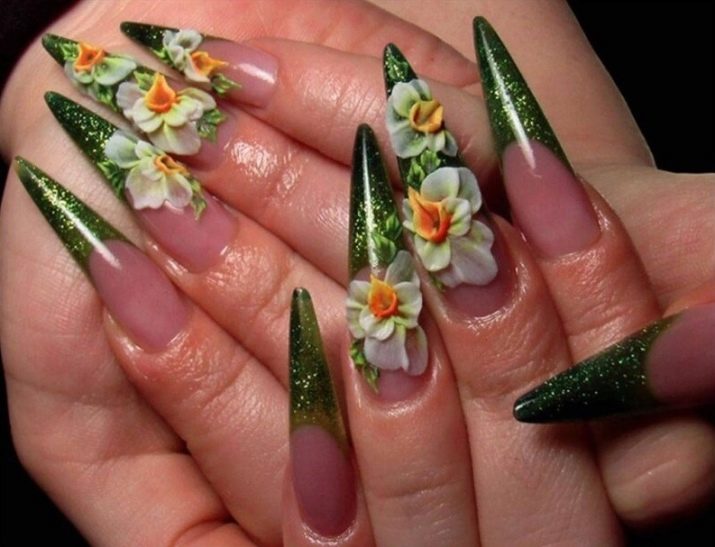
With the help of acrylic, even the sharpest shape of marigolds with a complex volumetric design will be strong and neat.
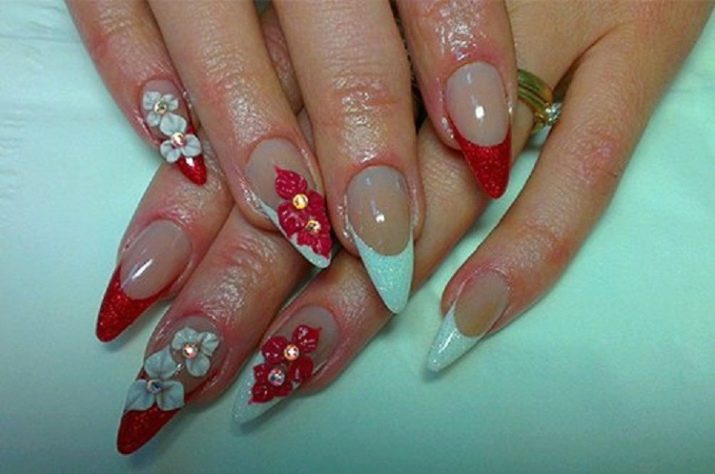
You can create the most luxurious compositions and make multi-layered designs even on tubular nails.
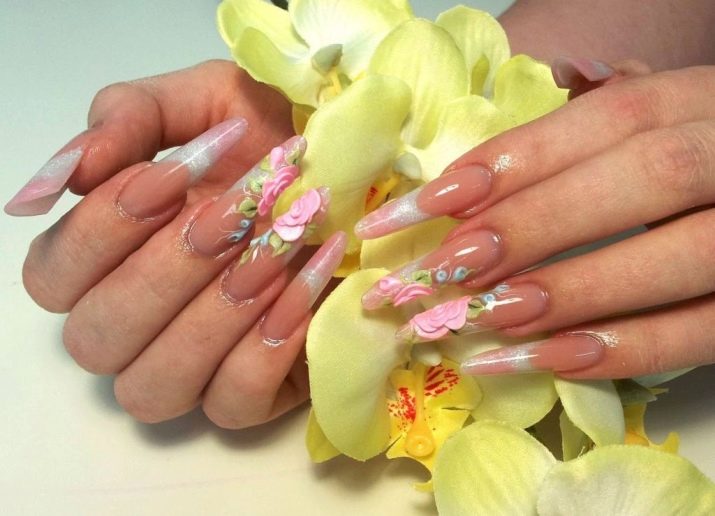
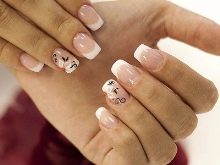
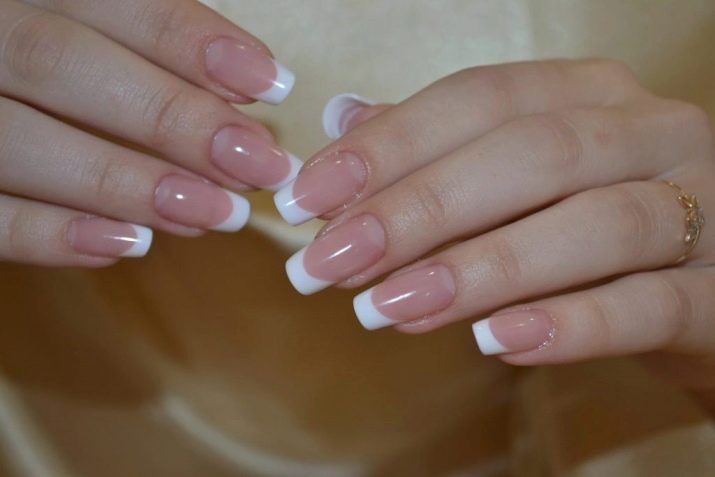
The traditional jacket is a timeless universal classic, especially attractive on well-groomed fortified marigolds.
The amazing design of the aquarium is made precisely with the help of durable acrylic.
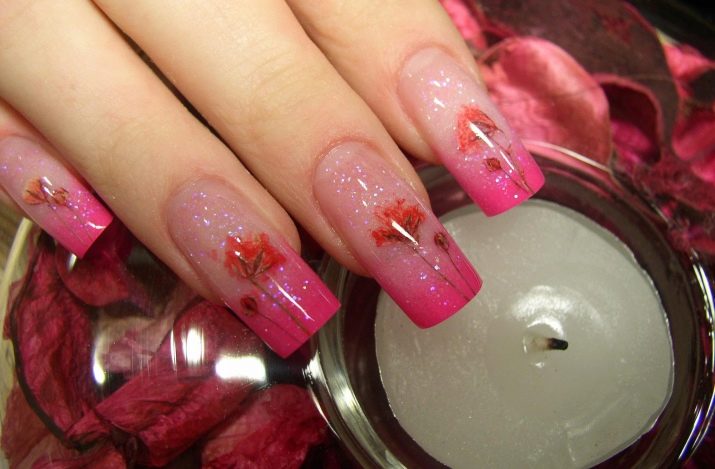
Painting and design in acrylic take on a special depth.
The sculpting can look very delicate and sophisticated. You can afford such a manicure every day.
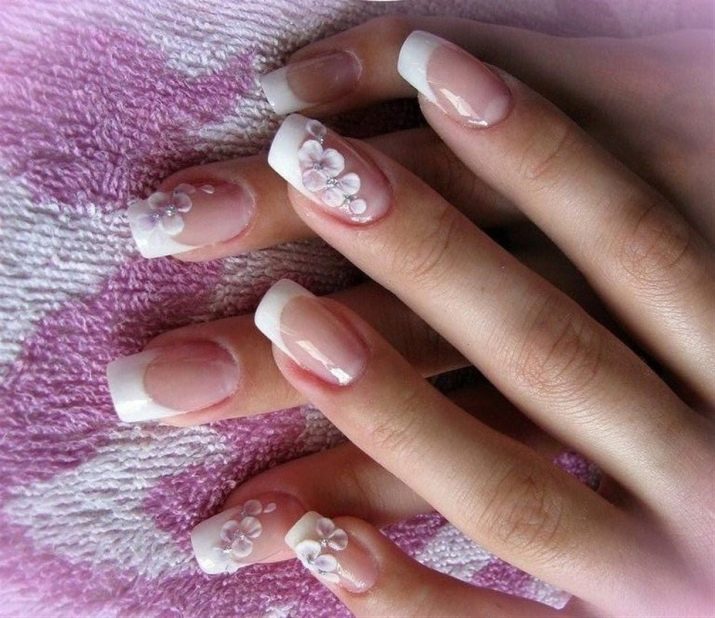
We can say that the possibilities of acrylic in nail art are endless.
How to make a beautiful design using acrylic powder, see the next video.


