Baby Boomer manicure: features and tips for creating
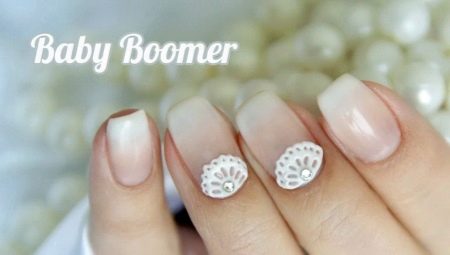
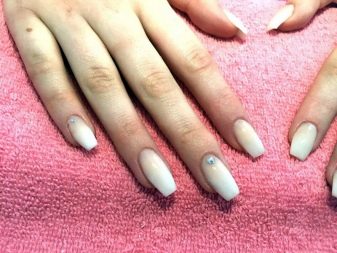
Baby Boomer manicure is one of the brightest varieties of French manicure and harmoniously combines the technique of horizontal gradient and French classic manicure. This image can be called the most sophisticated and elegant. Plus, it goes well with both long and short nails, making it suitable for almost any style.
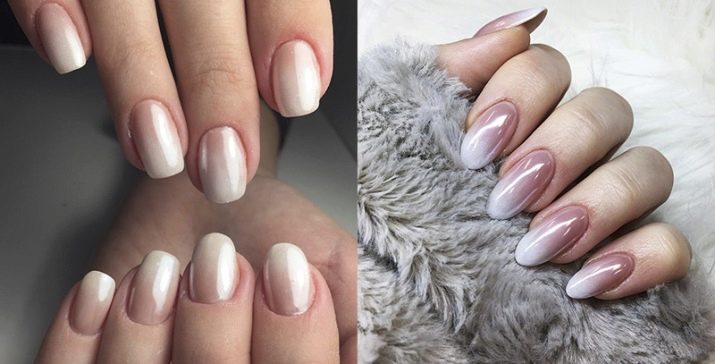
Peculiarities
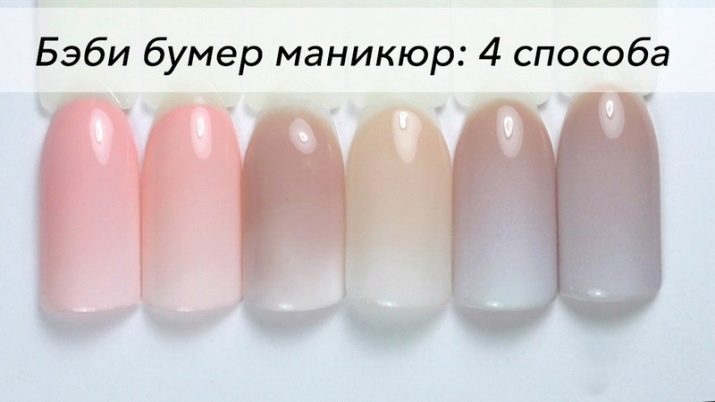
Baby Boomer is a smooth transition from the white socket of the tip of the nail to the camouflage color of its base. Thanks to the tenderness and aesthetics, but at the same time rigor and style, the manicure is especially fond of fans of the business and classic style. Initially, "Baby Boomer" could be seen on short oval-shaped nails.However, recent trends are such that this type of manicure can be found on square and almond-shaped nails of different lengths. Baby Boomer is quite suitable for further decoration, however, it requires caution and selectivity in the choice of decorations.
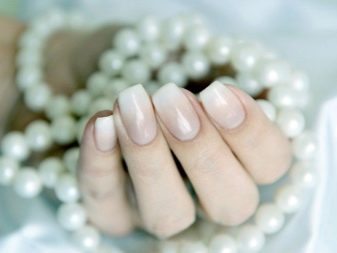
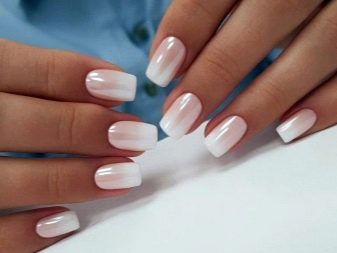
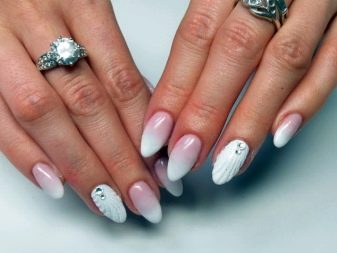
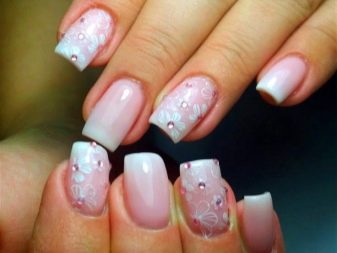
The main process of the selection of decorating elements is the need to preserve the main idea of the manicure and the inadmissibility of cluttering the nail. Baby Boomer should remain light and concise after painting or decorating. One of the main features of such a manicure is its ability to mask extended nails and make them as close as possible in appearance to natural ones. Natural colors allow them to look extremely aesthetically pleasing and gallant.
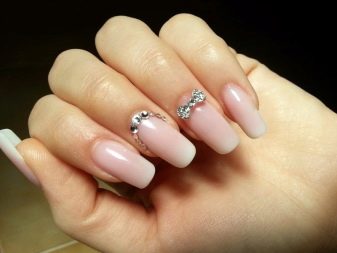
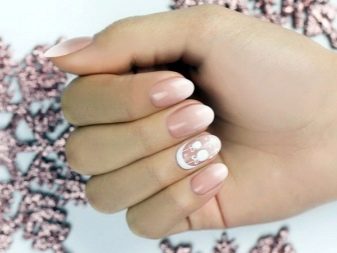
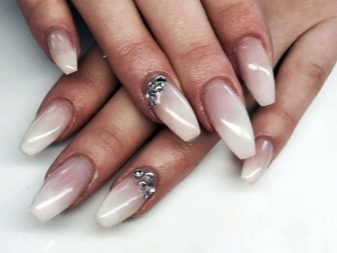
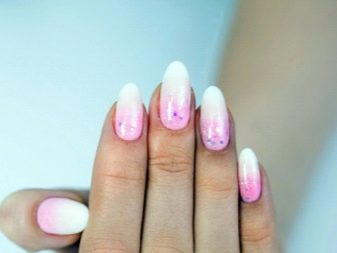
The history of its appearance "Baby Boomer" owes to the light hand of the French master Terry Malon, which gave the name to this type of ombre manicure, referring to the requirements of ladies born in 1946-1960 for the design of nails.This generation of women preferred techniques that were not overloaded with complex decoration and tried to make a discreet, neat, but at the same time very elegant and beautiful manicure. The main accent of the French technique was the illusion of naturalness, the absence of clear contrasts and abrupt transitions. This is how manicure came to our days, gaining an increasing number of fans around the world and emphasizing the sophistication and good taste of its owner.
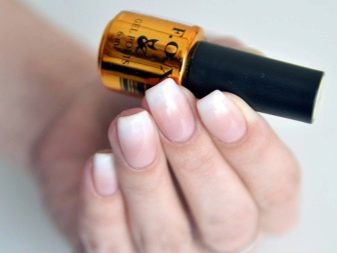
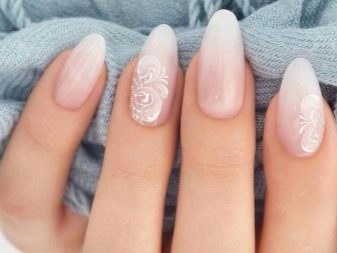
Another advantage of "Baby Boomer" is the possibility of its execution in varnish, gel varnish and acrylic versions. In addition, the look allows you to use a vinyl stencil and air-puffing technique for finishing nails. The only difficulty in performing such a manicure is the need for good orientation in tones and semitones, but an experienced master can cope with this quite well.
Technique of execution
One of the main tasks when performing Baby Boomer manicure is the need to create maximum naturalness of nails. To do this, they usually stop at medium length and rounded corners, but this is not a prerequisite for the application technique, and a manicure can be performed on nails of any shape and length. The creation of the Baby Boomer is not very different from the technique of performing classic french coats: the manicure is formed by shading and eliminating the boundaries between white and camouflage varnish. In general terms, the technique of applying a manicure can be represented by a traditional algorithm.
Preparation
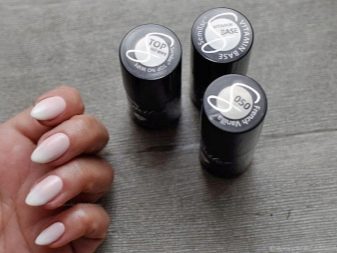
To carry out the work, you need to stock up on nail files with different hardness, scissors and nippers, gel varnishes of several shades, a degreaser, fixative, a set of brushes and an ultraviolet lamp.
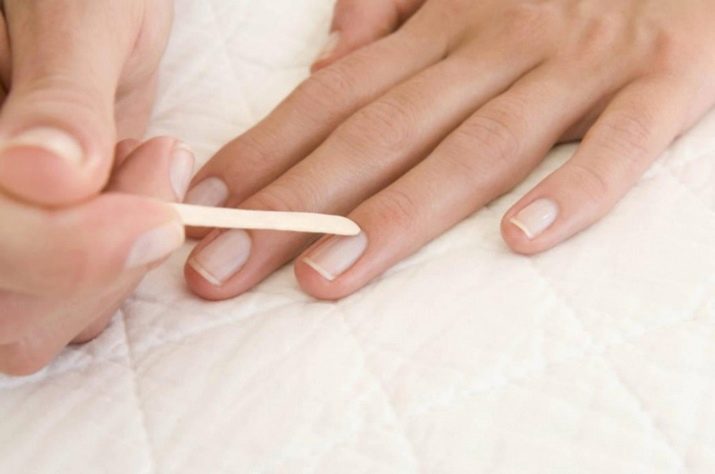
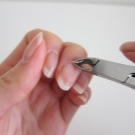
- The first step in creating a manicure is the preparation of the nail plate, which consists in removing the cuticle, degreasing and shaping the nail. Manipulations can be performed both with a hand tool and with an electric router.
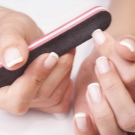
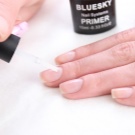
- After the preparation of the nails is completed, it is necessary to apply a base coat under the gel polish and cure it in a UV lamp. The application of the leveling base will effectively eliminate the existing defects of the nail plates and allow the nails to look perfect. For better adhesion of the base coat to the nail, you should lightly remove the gloss from the nail plates, which can be done with a buff.
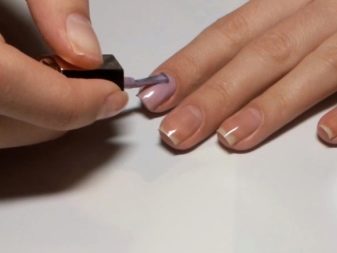
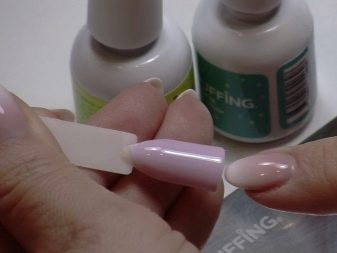
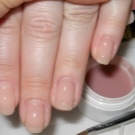
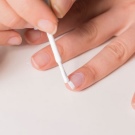
- Then you need to apply camouflage varnish on about 2/3 of the surface of the nail plate, starting from its base. On the remaining third of the surface, a white or milky gel is applied end-to-end to the camouflage.
Feathering
This process is the most critical stage in the application of a manicure, so the work with a brush must be carried out flawlessly. However, it often happens that when using fan brushes, it is extremely difficult to achieve the desired result - bald spots or thickening appear on the surface of the nail every now and then. Therefore, in order to achieve the most smooth transition between colors, it is necessary to use not fanned products, but new models called combs.
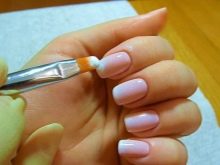
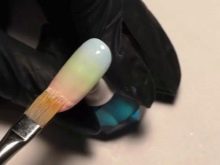
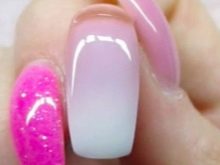
These brushes have a flat shape and are made from natural material, for example, wool column. Unlike their analogs with artificial bristles, such brushes are capable of a deeper grip of the varnish and its easy stretching to the edge of the nail. This is due to the peculiarity of the structure of the hand, which consists in cutting the inner part of the bristle at a right angle, while the outer hairs have different lengths and are freely located on the sides of the trimmed area.
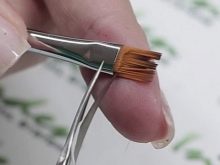
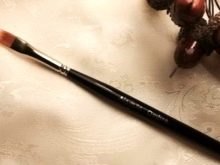
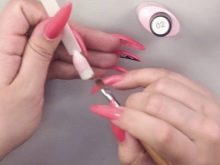
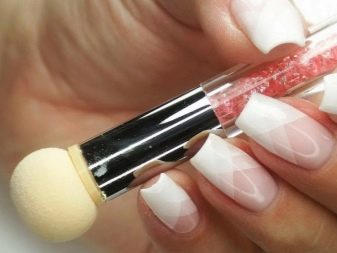
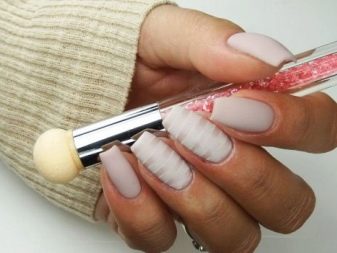
In addition to brushes, you can use air-puffing, made in the form of a thick stick, the tips of which are equipped with a soft sponge with a microporous structure. The pores of the sponge are so small that they do not leave air bubbles on the varnish during shading.In addition, the attachments are easy to remove and can be rinsed and cleaned multiple times.
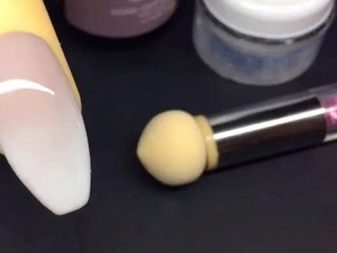
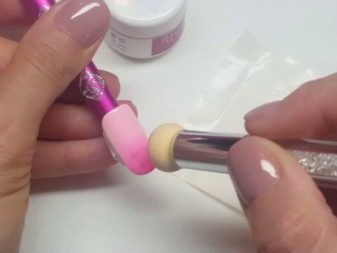
Feather the border of two colors with a brush, airpuffing or roller, and the movement should start from the edges, gradually passing to the center of the nail, or first pull all the material to the cuticle, and then take it to the edge of the nail plate. The tool should be periodically cleaned during work - otherwise the varnish may begin to thicken, and all work will go down the drain. If everything is done correctly, then the gradient transition will be formed already at the first stage. If any of the flowers starts streaking, you must immediately correct the defect with a brush, holding it perpendicular to the nail plate. Deep and rich colors usually require at least two coats.
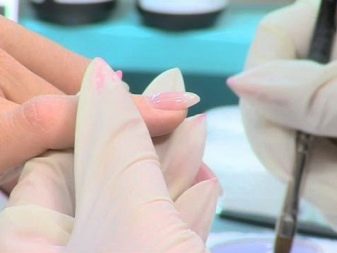
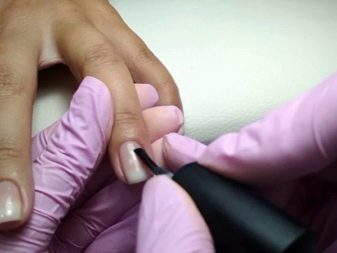
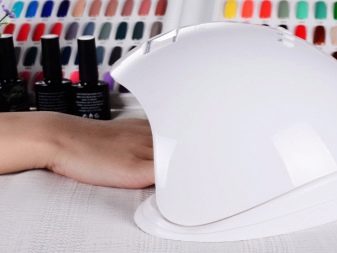
After the nails have dried in a UV lamp, you can proceed to applying a top or finishing gel polish.
Decoration
When choosing decorative elements for Baby Boomer, it is necessary to focus on materials that will emphasize the softness and aesthetics of the manicure. However, if you want to highlight the image a little, then you can use ultra-glossy finishing compounds or pearlescent fixers. When using varnishes containing glitter particles, it is necessary to ensure that they are as small as possible, otherwise such a decoration risks crossing out the main idea of an airy manicure.
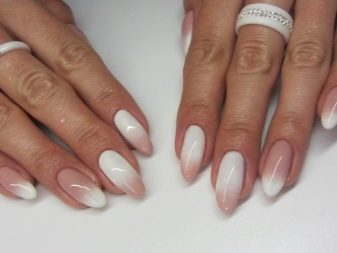
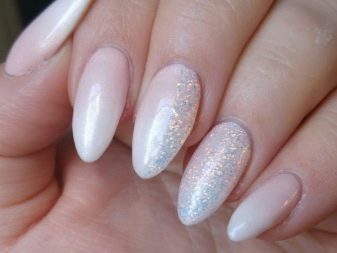
In addition to enhancing gloss, when decorating a manicure, you can use a restrained ligature painting. Simple ornaments and oriental motifs look good on a gentle gradient. The main thing in this business is not to hide the smooth transitions of the tones of the main coating behind the monograms and curls. You can also use elements of free-flowing decor, such as glitter and sand, placing them on no more than one or two fingers.
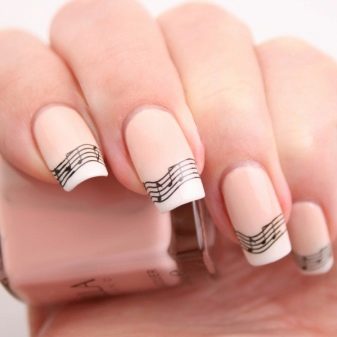
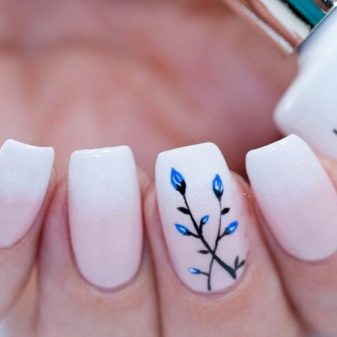
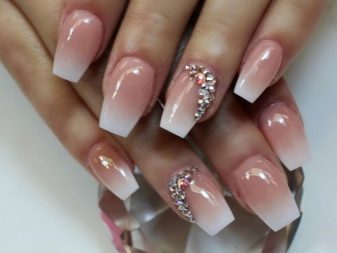
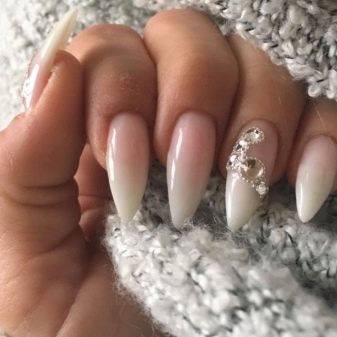
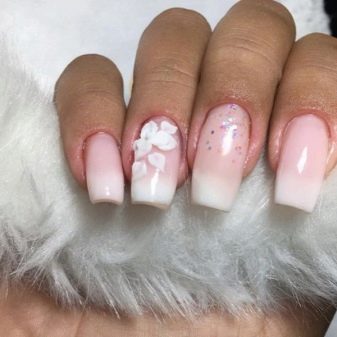
Ornaments in the form of Swarovski crystals, made in the form of a crystal painting on only one finger, will not hurt either. Modeling also often acts as a decorative element. This design adds femininity and romance to the image and looks most appropriate in the bride's manicure. Both simple options and volumetric 3D models are allowed. The main thing here is also a sense of proportion and adherence to the general color scheme of modeling and manicure.
Baby Boomer manicure is one of the best embodiments of the classic image and does not lose its relevance for many years, and the simplicity of implementation and minimal material consumption make it more in demand and popular.
For information on how to make a Baby Boomer manicure, see the next video.


