Rainbow manicure: design secrets and fashion ideas
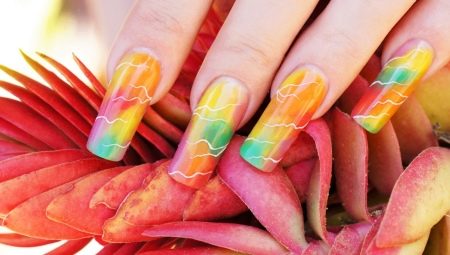
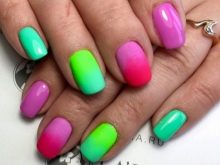
In a bad mood or cloudy weather, you always want to diversify the day with bright and catchy colors, add happiness and joy to everyday life. In addition, many women are very changeable, today they like one color, tomorrow they want something completely different. Bright and colorful manicure almost always copes with these problems. Manicure in rainbow colors goes well with many outfits, pleases the eye with bright colors, besides, it is suitable for women of all ages. With the initial skills of professionalism in creating a manicure, and with all the necessary tools, you can easily create a fun rainbow design on your nails.
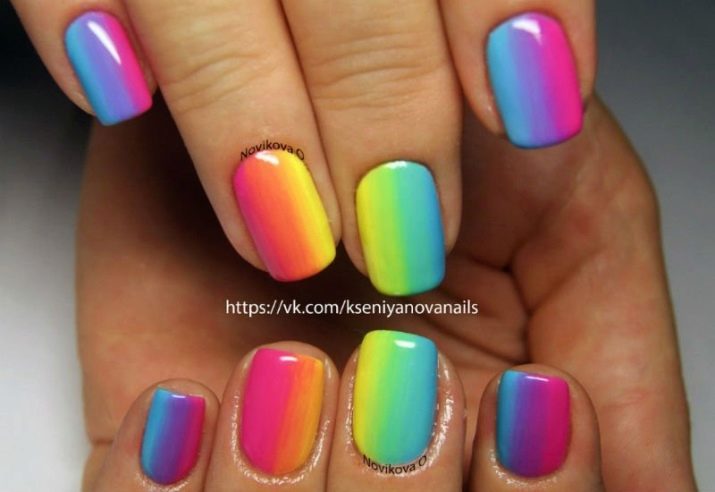
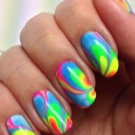
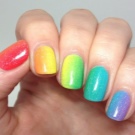
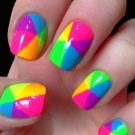
Peculiarities
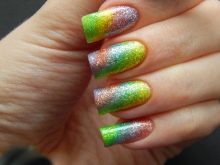
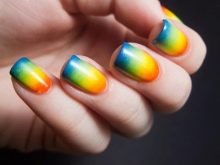
Rainbow manicure is very unusual because it is not limited to just seven colors. You can use any shade. The only thing that is not very welcome is the active use of black, as it darkens the overall picture, however, it is allowed to use black for any small inserts and blotches.
This design has many advantages: it lifts the mood, is unique, and can be made in any colors. Nevertheless, there are also disadvantages: it is not so easy to do a rainbow manicure at home, and you will also need perfect nails.
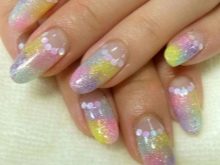
Execution technique
Do-it-yourself manicure at home sometimes does not require special professionalism, however, this is not quite the case. This type of manicure, although it seems simple in its creation, but some skills are still needed.These skills are necessary so that you can easily choose colors and shades, as well as perform the entire procedure carefully.
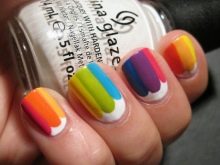
To create a rainbow design on your nails, you need a starter set of tools and materials, it includes:
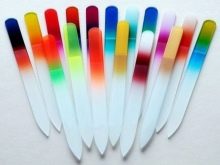
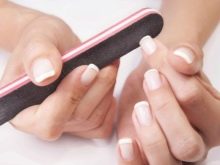
- a set of files of various shapes;
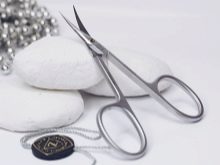
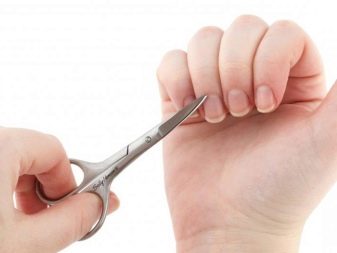
- nail scissors;
- clipper;
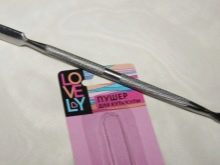
- cuticle pusher;
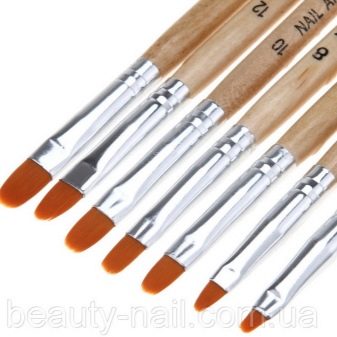
- brush;
- stickers around the nail to protect the skin from excess varnish;
- special lint-free wipes;
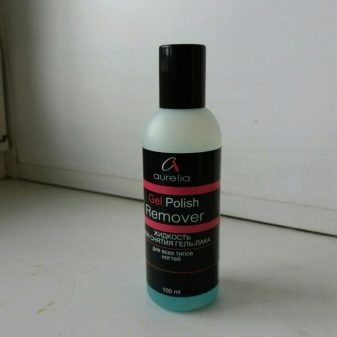
- liquid for removing gel polish or regular polish;
- degreaser;
- base base for gel polish, then base color gel polish or regular polish (mostly white);
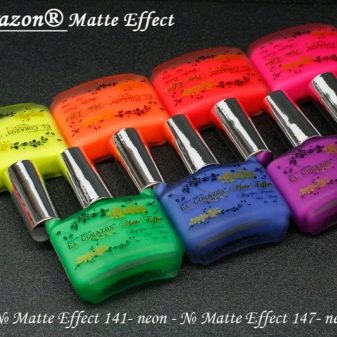
- varnishes of all desired colors (you will need a lot of them, since at least 5 colors are needed to create a full-fledged rainbow design);
- top coating (transparent varnish).
The process of creating a manicure is not that complicated and does not differ much from creating a regular one. Let's consider all the stages in sequence.
- Treatment of the nail plate. We give the nail the desired shape and length, process the skin on the sides of the nail and cuticle.
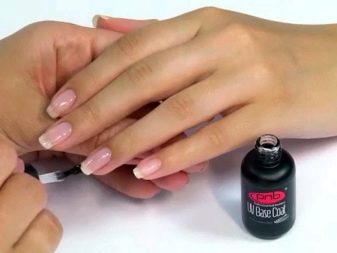
- Application of the base base to the nail plate.
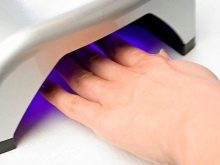
- First drying under the lamp. Drying time should be selected individually, depending on the external conditions, characteristics of the LED or UF lamp.
- This is followed by the application of white gel polish on the nail plate, the second drying under the lamp.
- The next step is optional. It is necessary to paste over the nail with a special tape with an adhesive base, this is necessary so that the skin around the nail plate remains clean of varnish. Or, you will need to remove all excess varnish from the skin using a special acetone-based product.
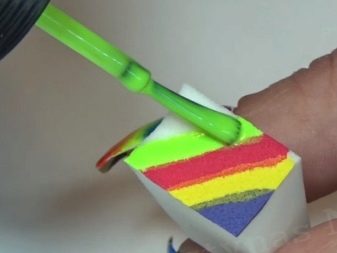
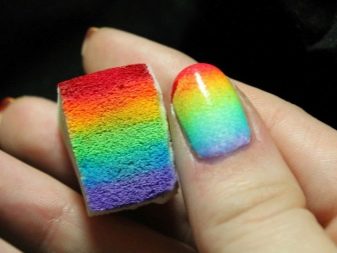
- Next, you need to take a regular sponge and cut it into small pieces, slightly larger than the nail itself. We apply varnish of different colors to each piece, two colors are allowed per piece. Colors are applied in any combination, it all depends on your desire. If there is no time to hesitate, then you can simply decorate your nails with all the colors of the rainbow.
- After applying varnish to the sponge, a piece of sponge must be transferred to the nail. It is necessary to carefully attach the piece and press it down. It is important to apply the sponge evenly and prudently, since it is desirable that the varnish lays down evenly and without gaps.
- Then the nails need to be dried one by one under the lamp.
- At the end, a fixing top is applied, and the nail plates are dried again.
Interesting trends
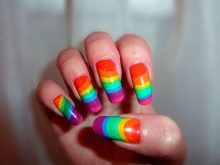
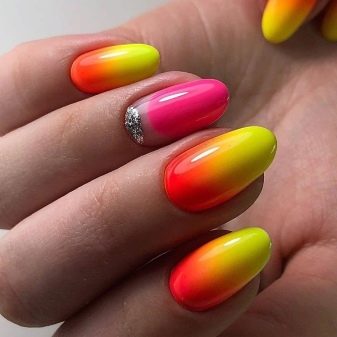
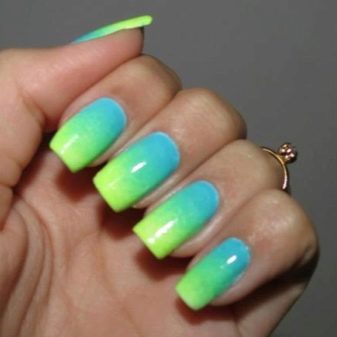
In addition to the classic rainbow manicure, you can combine two colors on each nail, for this it is important to choose tones that complement each other. They are applied from thumb to little finger. It can be red and yellow-orange, orange and yellow-green, yellow and green-blue, green and blue-violet, blue and violet. The second hand should have the same combination.
French or manicure using adhesive tape
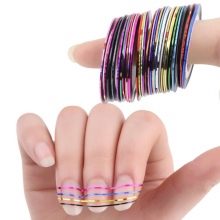
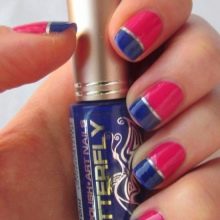
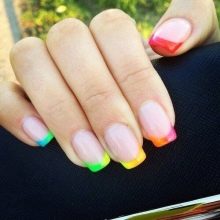
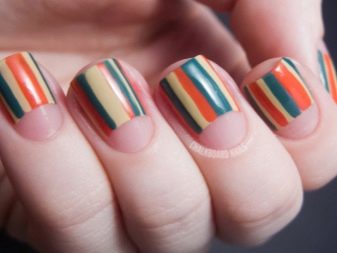
A rainbow jacket or a manicure with rainbow duct tape is a real hit of the season. The technique is no different from creating a regular jacket. In some cases, duct tape can be applied over the entire nail plate.
Pigmented rainbow design
To create it, we need:
- three types of varnishes (base, color and white varnish or gel varnish, top);
- lint-free napkins;
- pigments;
- standard manicure tools;
- fluffy soft and hard brush;
- regular brush for gel polish.
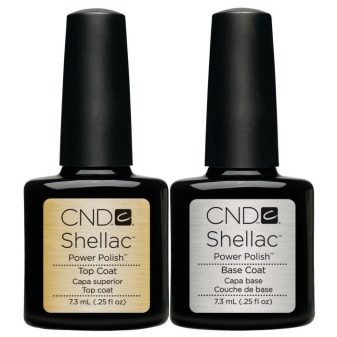
Stages of creating a pigmented manicure:
- nail treatment;
- base application and drying;
- applying white gel along a standard French line;
- pigment preparation and application with a soft fluffy brush;
- cleansing the brush from the previous varnish and applying a second color to the nail plate;
- mixing colors and creating a neat look with a hard brush;
- processing of the skin around the nail, drying;
- top application, drying;
- "Sealing" of the edges.
Rainbow on the water
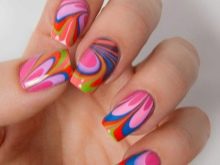
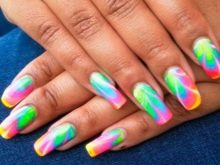
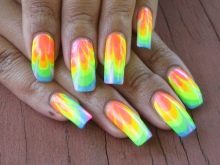
This is another non-standard and interesting look. To create a manicure with this design, you need to drip a few drops of varnish of different colors into the water and stir them with a toothpick.After that, the fully processed and coated nail is immersed in water and then dried. At the end, a top is applied, and the nail is dried again.

Rainbow drops
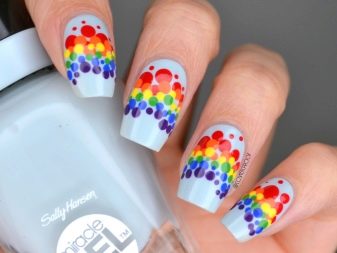
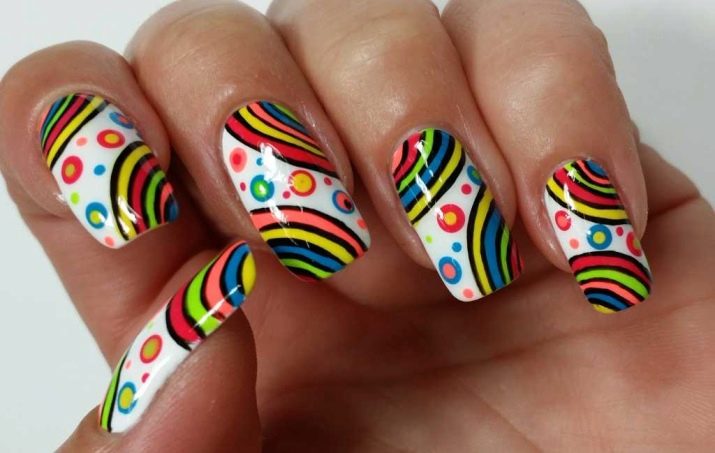
This type of manicure can only be done by a professional, and if you are not, then it is better not to risk it and go to the salon. A similar manicure is performed with thin brushes, with their help, patterns of different colors and shades are created on a white base. The rest of the creation of a manicure is no different from the usual.

Color splashes
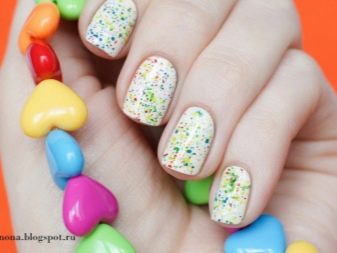
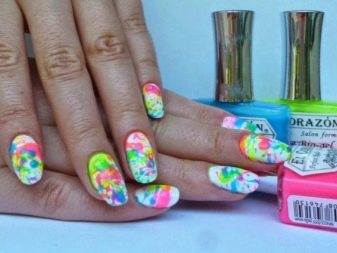
The essence of this design is to create a kind of colored blots on a white background. The process practically does not differ from the previous options, except for applying color. Splashes of color are created on a white background using a straw, into which you need to drip some colored varnish. After each tone, the straw can be wiped clean for the colors, or, conversely, you can create mixed splashes. In addition to white varnish, 3-4 different colors are usually used here, including black, but only in combination with other bright colors.
Colored splashes look very unusual and original, and even beginners can do it.
Colored tenderness
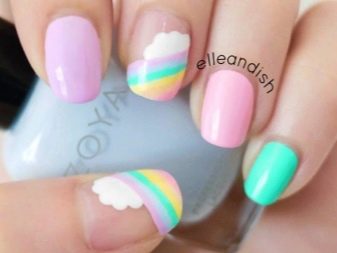
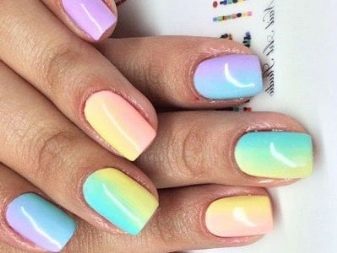
A subspecies of rainbow manicure, which has a wide variety of variations. Its difference is only in the use of nude and delicate shades. The goal of this design is a colorful manicure, but without being too flashy. It will suit fashionistas who do not like to stand out very much.
Beautiful additions
A rainbow manicure can be further enhanced with some elegant touches.
Lunar design
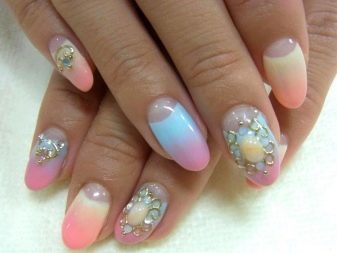
This type is distinguished by a small crescent at the very bottom of the nail plate. The crescent moon can be white, silver, or golden. On top of the faded lunar half, there are combinations of all kinds of color shades, their variety depends only on your fantasies and preferences. You can decorate such a manicure with kamifubuki and rhinestones.
Sequins and rhinestones
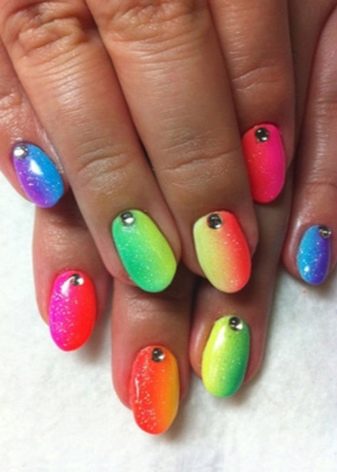
By itself, a rainbow manicure in most cases is bright and catchy, however, some may not be enough of this, therefore, in addition to a manicure, you can use sparkles and rhinestones, they will give a special aura and instantly distinguish the owner of such nails from the crowd.
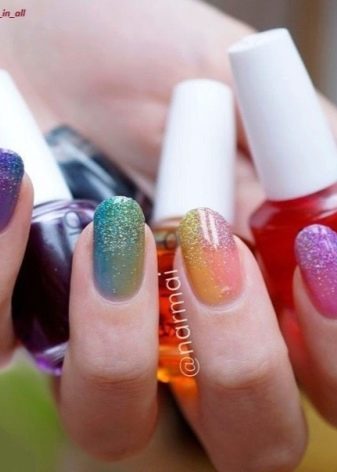
Rainbow manicure is divided into many subspecies, and gives almost complete freedom of action for the "artist", because everyone can draw whatever he likes. In addition, any look is unique and fits different looks. Whatever your tastes, you can easily find the right kind of rainbow design for yourself, and it will perfectly complement your style and image.
See below for more details.


