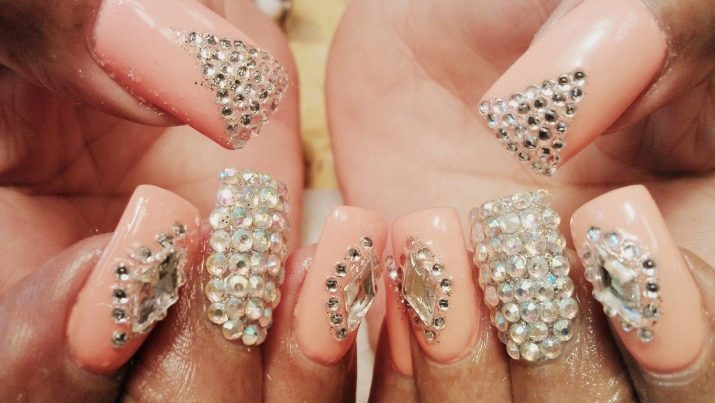
Original manicure options with rhombuses
Manicure is an area of beauty culture where trends change almost every day. Trends set by bloggers and celebrities alike range from sumptuous elaborate designs to minimalist monochromatic nails.
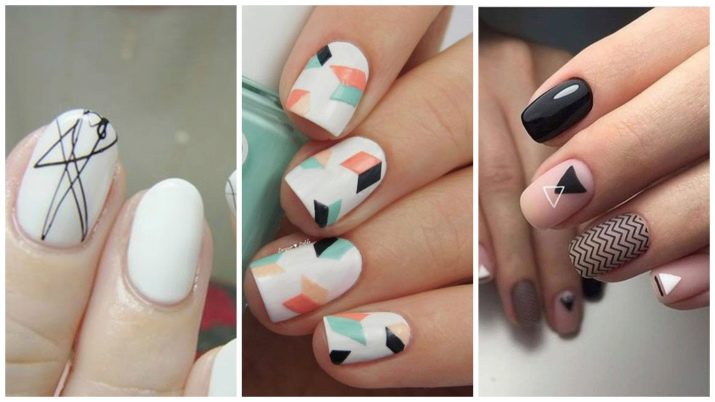
Geometry in manicure is one of the hottest trends of both the past and present seasons. The variety of options is amazing - from simple clear lines to complex ornaments from figures - rhombuses, triangles, hexagons.
Let's dwell on rhombuses. What design options can you make using this geometric shape? Let's take a closer look.
Quilted nails
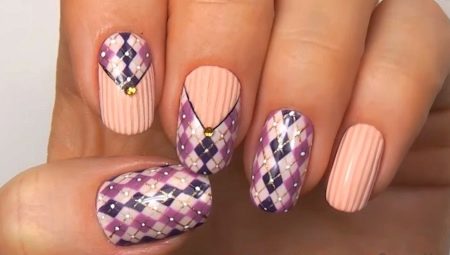
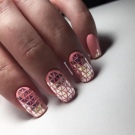
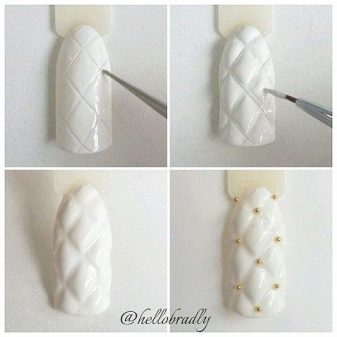
One of the options for manicure with rhombuses is the so-called quilted design, when the pattern on the nails imitates the quilting used on handbags, outerwear and shoes. How to do it? There are two ways: with and without special adhesive tape.
You will need: UV lamp or LED lamp, base, gel polish and top (with or without a sticky layer), adhesive tape for manicure, a thin brush for drawing details.
The first method involves the following sequence of actions:
- having prepared the nail plates for varnishing (that is, you need to do a regular manicure, grind with a buff for better adhesion, degrease with a special compound), apply the base;
- dry nails in a UV lamp, cover them with French manicure gel;
- once again dry the nails, remove the sticky layer from the gel;
- use a tape to form a "grid" of rhombuses, cover the nails with a layer of gel polish;
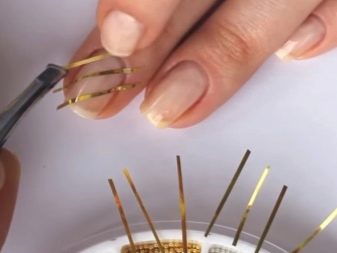
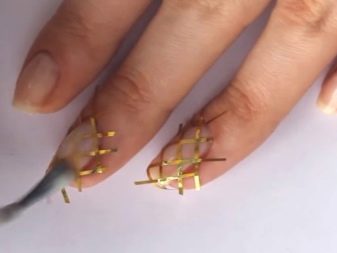
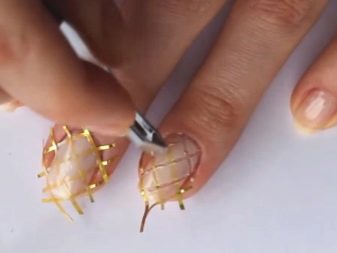
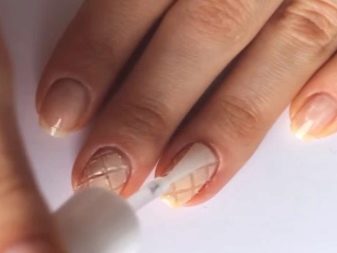
- dry your nails, carefully remove the "mesh";
- further, you need to try to make each diamond visually voluminous, a thin brush and a number of skills will help in this.
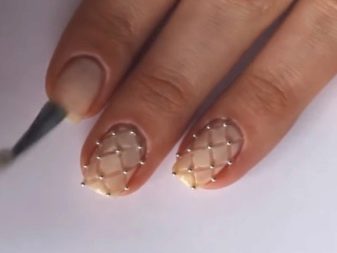
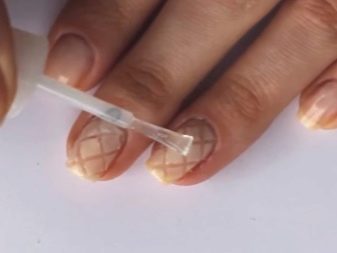
Each element can be decorated with rhinestones or, optionally, covered with sequins. You can “stitch” all ten nails, or you can do it selectively, on two nails of each hand. Some women of fashion match the color of the varnish to the color of the quilted handbag, others play on contrasts. Since at present the rule is: a bag and shoes are of the same color, and lipstick and varnish - strictly in tone - does not work, but, on the contrary, is considered yesterday for the most desperate fashionistas, you can choose any shade for your manicure, and it will be relevant.
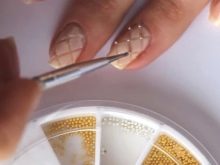
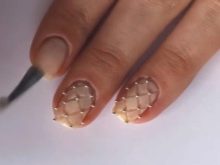
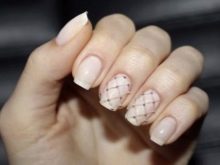
If, for some reason, you did not have ribbons, you can do a "quilted" manicure without them. You will need a thin brush, which you will use to paint the diamonds. Of course, this method requires a lot of concentration and some skill, but the result can be great if you practice a little. The sequence of actions is the same as for a manicure with adhesive tape, only the diamonds are drawn by hand.
To add volume to the elements, they are covered in two or even three thin layers, and the stripes between the diamonds are only in one.
Geometry on nails
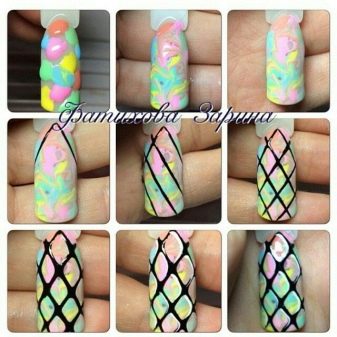
Diamonds in designs do not necessarily imply imitation of stitches. You can combine a geometric pattern with a gradient, then the rhombuses will gradually become more saturated, while maintaining a clear shape, without streaks and irregularities. It is a very complex, time-consuming, yet extraordinarily eye-catching design. With it, your pens will definitely be in the spotlight and "stretch" even the simplest look.
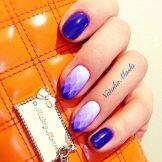
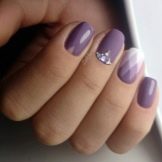
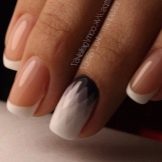
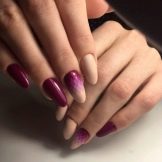
Alternatively, you can place the diamond in the center of your nail, for example, by making it blue. And form the rest of the design “around” it, outlining each subsequent contour with an increasingly darker shade of blue. You get something in between a gradient and an optical pattern.
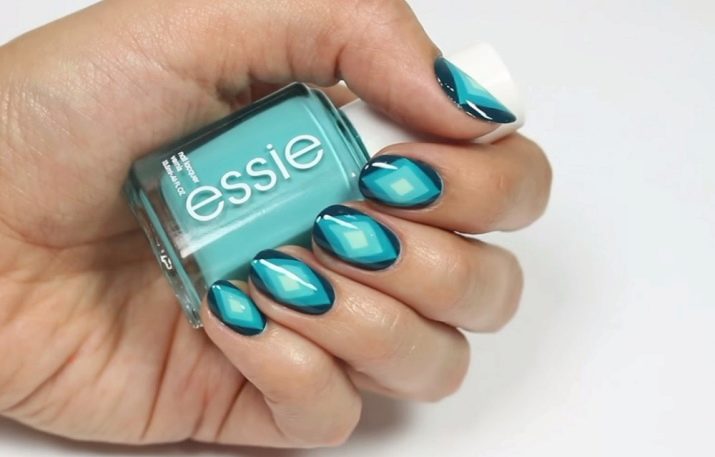
And, of course, we must not forget the clear geometry that is so fashionable now, as a rule, made of black, beige or powdery and one bright color. Thanks to the contrast of tones, the manicure turns out to be very sharp, catchy, and extremely fashionable. Often, the contrast of shades is emphasized by thin lines of silver or gold glitter. But rhinestones and stones are rarely used in clear geometry, perhaps because of the laconic design.
Kamifubuki, "dragon scales" and other interesting elements of nail art
Speaking of geometric manicure with rhombuses, the story of kamifubuki cannot be avoided. In Russian, this mysterious word means nothing more than the well-known paper confetti. In the summer of 2018, the “kamifubuki” trend simply “thundered”, was as popular as possible. In the fall, the circles and squares did not give up their positions, decorating with themselves more saturated tones of varnish - wine, ocher, chocolate and shades of precious stones.
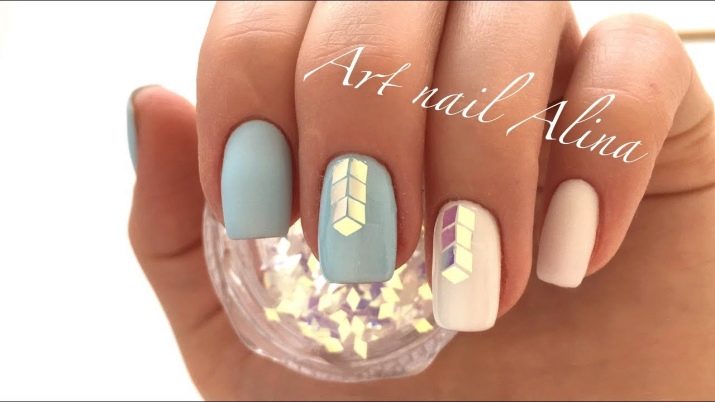
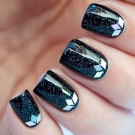
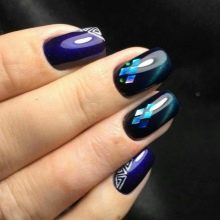
Kamifubuki is not only produced in the most popular form - circles, but also in others: asterisks, rhombuses, squares, ovals, hearts. Their size is also different, which allows you to create a huge number of design options - from minimalistic layouts on colorless varnish to luxurious overflows on the "cat's eye". From rhombuses, you can lay out a gradient, stripes, even a semblance of a moon manicure or jacket.
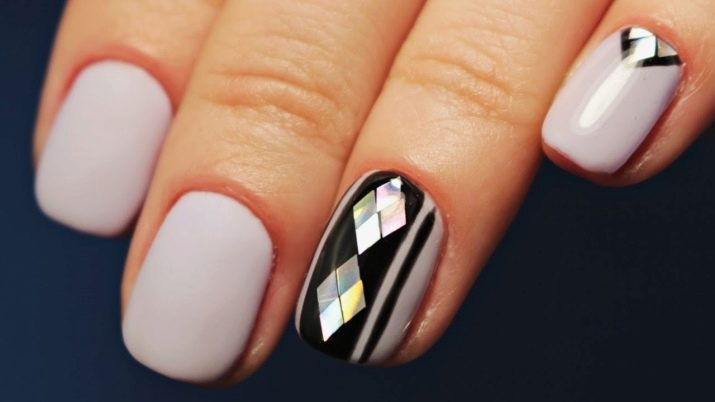
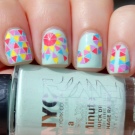
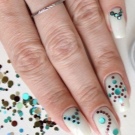
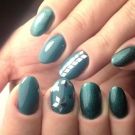
Kamifubuki look great in combination with a matte top, on a black glossy varnish, decorating the "king-nail" - in general, almost everywhere!
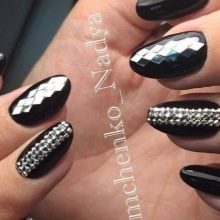
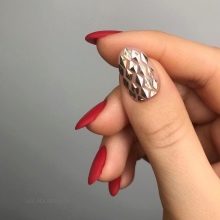
The most current design using kamifubuki today is the so-called dragon scales. This option appeared recently, but immediately became wildly popular among instagram bloggers and fashionable young ladies. "Scales" are laid out from diamond-shaped plates, this work requires great care, and also, since the design is applied to the bending part of the nail, good adhesion of the material to the base and varnish. That is why you should go to a craftsman who has an idea of this type of design and enjoys a good reputation among clients for the "dragon scale".
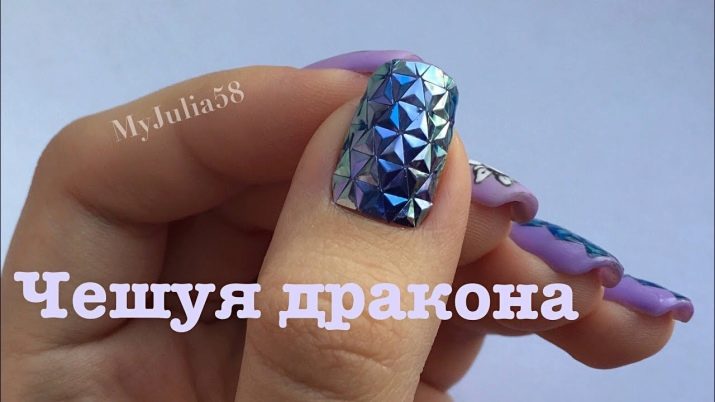
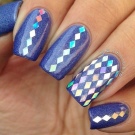
In addition, a diamond pattern can be laid out from small kamifubuki diamonds.In short, the variety of options is limited only by your imagination.
If you have all the materials for this type of home design, you can do it yourself. What do you need? UV or LED lamp, base and top, gel polish of the desired color, dots, and of course the kamifubuki. In this case, experts advise using a rubber base because of its viscosity. The sequence of actions is as follows:
- apply base, dry;
- cover nails with varnish, polymerizing it;
- again apply a layer of the base and, with the help of dots, lay out the pattern of kamifubuki, as if "melting" each element in the base;
- dry the resulting design and apply another layer of the base;
- after drying your nails in a lamp, cover them with a top;
- after the last drying, remove the sticky layer, if the top is with it, and if the top was used without the sticky layer, then admire the result.
For an illustrative master class, see below.
In the form of rhombuses, rhinestones and stones are also produced for decorating nails. They can also lay out patterns or emphasize an ornament painted with varnish.
The only rule for lovers of colorful manicure is this: the more luxurious and colorful the nails are, the more laconic the outfit should be. You need to learn the ability to mix prints, and in the absence of such a skill, you can turn not into a mysterious exotic bird, but into a motley parrot.
