How to accurately and evenly paint your nails yourself?
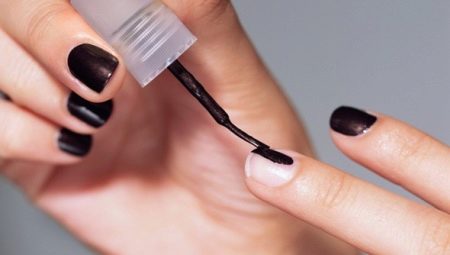
Well-groomed nails are an integral part of the image of any woman who attaches importance to her appearance. When there is no time or money to go to a nail salon, you have to paint them yourself, which at first is quite difficult. To learn how to paint your nails yourself, you need to master the technology of applying varnish with your left and right hands, as well as know some techniques that make it possible to facilitate the task.
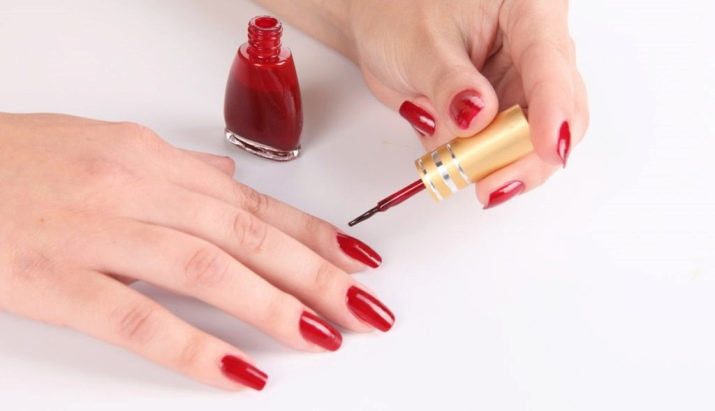
Surface preparation of nails
Before you start painting your nails on your hands, you need to remove the old varnish. Better to choose a product that does not contain acetone. Let it be somewhat more expensive, but the nail plates will not suffer. You may need to work on the cuticle by removing the stratum corneum.
It is important to ensure that your fingers are not damp or trapped in cream. Otherwise, the newly applied varnish will peel off. To avoid this, it is best not to wet your hands one hour before the start of the procedure. It is also advisable to degrease the surface of each nail.
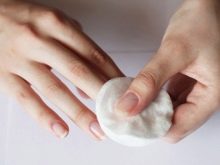
What to do if the nail plates are uneven?
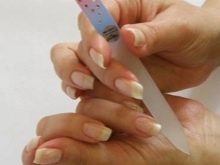
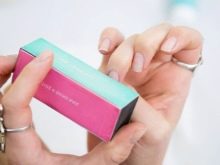
In addition to the fact that the nails need to be shaped so that all the plates repeat the outlines of each other, they should be made smooth - varnishes and gel varnishes fit well only on a perfectly flat surface. Special nail files or buffs will help to solve the problem.
So that, as a result of the effect of decorative varnishes, the nails do not acquire a yellowish tint, they can be covered with a transparent composition. A special tool is easy to find on sale.
Application technology
Not every girl can quickly learn to do a beautiful manicure for herself.Even if it is easy to operate with one hand, the other works much worse. So it is often impossible to evenly apply varnish.
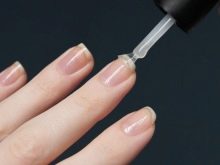
Before applying the decorative layer, the bottle with the coloring agent should be heated in the palms of your hands. You cannot shake it, since air bubbles form in it, which, if they get on the nail plate with a drop of coloring agent, will ruin the whole design.
Accurate adherence to the staining scheme will help you to carefully paint your nails with varnish. When the base layer on the nails is dry, you can take a colored varnish, dip a brush into it and run it along the inner edge of the bottle neck so that all excess glass is back. If there is too much varnish, it will certainly flow into hard-to-reach places.
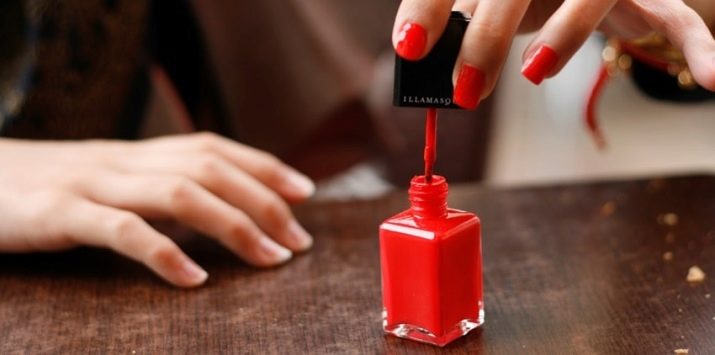
It is necessary to paint starting from the central part of the nail plate of the little finger so that the distance to the cuticle is about five millimeters. Then the varnish with gentle movements of the brush reaches the skin roll around the nail. If the varnish is of high quality, then when pressing on the brush, its villi capture only the surface of the nail, without crawling onto the cuticle. Thanks to this, a neat line is obtained near the hole, following the outlines of the nail. Then the varnish is stretched to the end of the nail, and after that, in the shape of a semicircle, a decorative layer is applied on the sides.
To get the varnish on the side to the very edge, you can slightly push back the skin roll. To do this, it is enough to lightly press your finger against the table top, pushing the cuticle in this way. With similar movements, repeat the staining scheme on the other side of the nail. When the varnish is dry, you can apply another layer of it to avoid gaps and irregularities, and then fix the manicure with a transparent compound.
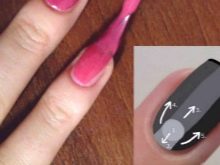
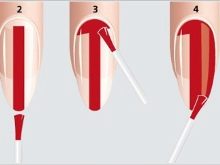

You can dry the manicure in a dryer, with a hairdryer, or wait until natural hardening occurs.
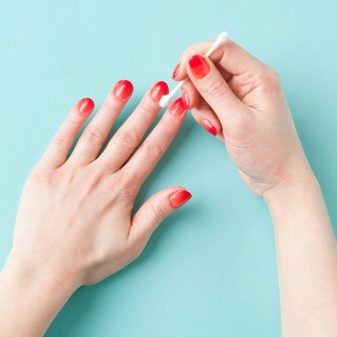
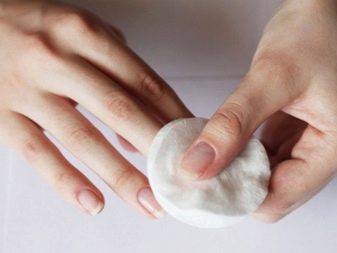
The last step is to nourish the cuticle with a suitable oil. But if the skin around the nails, despite the desire to act carefully, is colored, you will have to wipe off the excess with a nail polish remover. To make it convenient, you need to dip a cotton swab into this product and remove all stains. You can also use a corrector containing a special liquid that removes the remains of the varnish. Thanks to its comfortable rod, it is possible to bring the manicure well to a presentable look.
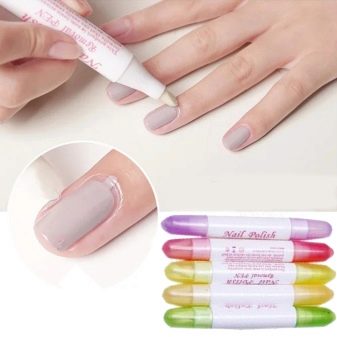
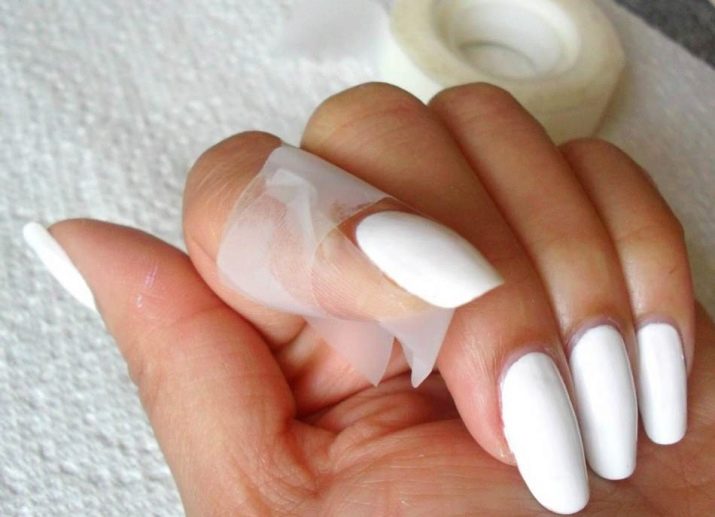
When you apply varnish yourself, it is important to act correctly - using the same, memorized movements. You can use a trick by using scotch tape. For the procedure, sticky tape no more than two centimeters wide is suitable (if it is wider, it will be inconvenient to work). You can take transparent and masking tape, and even just tape. You need to attach three pieces of tape to each finger - on the sides and across the finger at the nail, trying to bend it in an arcuate way as close to the perimeter of the nail as possible. The use of such products will avoid annoying contamination around the marigold during staining. This method of doing a manicure at home has only one drawback - traces of glue may remain on the cuticle. It will have to be additionally put in order.
Some women use a cream to protect their skin by removing it after completing a manicure. But this is also a risky way, since the oily substance can get on the nails.
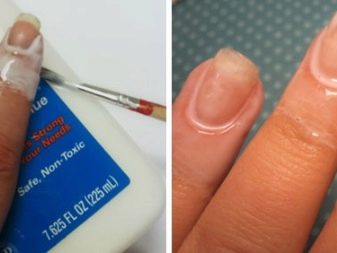
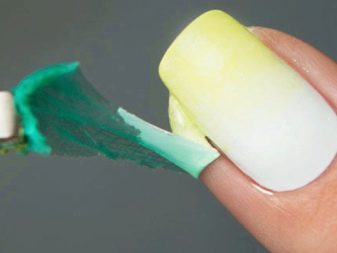
A good way to solve the problem with blots on your fingers is to use PVA glue. It can be applied around nails with a brush and left to dry. Having grabbed, this composition turns into a film, which, if pulled, easily separates from the skin, leaving no traces on it. Thanks to this, the manicure will turn out to be very neat. It is even easier to wrap your finger with cling film, and with your other hand punch a hole in it above the nail plate. There are also more expensive special means. They are used to create images on nails, when applied to the surface, turning into a film.
Using aids to create a manicure does not replace the need for dexterous use with both hands. If a woman is right-handed, it is advisable for her to paint the fingers on her right hand first, and then on her left.
In order for the varnish to lay down well, the hand on which the nails are painted must be relaxed. It is necessary to put the little finger straight. The ring finger should be tucked. Hold the brush with your thumb and forefinger.
When a left-hander acts with his right hand, and a right-hander with his left, you need to pick up a little less varnish on the brush than when working with the “main” hand. Instead of moving the brush, you can move the finger on which the varnish is applied. If you have no experience in applying varnish on the "uncomfortable side", it is better to decorate your nails in light colors. So hands do not attract special attention of others, who see that they are simply well-groomed. Regularly applying varnish on your own will sooner or later lead to the fact that the manicure will turn out well.
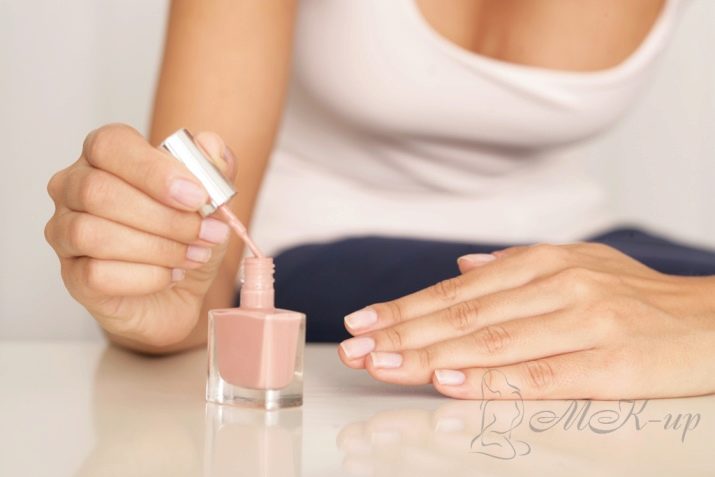
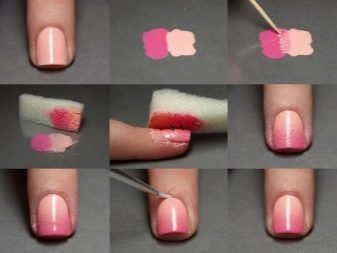
Having learned how to paint nails exactly in one tone, you can master the technique of applying in different colors. It is convenient to use a sponge for this. You can use one that is used to wash dishes, or buy a special one at a store that sells manicure tools. To get an unusual manicure, first you need to carefully paint your nails in a light tone and wait until the varnish is completely dry. Then several strokes of different varnishes are applied to the sponge in a row, cover the finger with cling film, make a hole in it under the nail and apply a sponge with the applied coloring composition. It turns out to be an interesting transition from one color to another.
When all the nails are painted with this gradient, a fixing transparent layer is applied on top. In this kind of creativity, you can go even further, for example, glue rhinestones to the nails or use a toothpick to apply bit patterns on them. Drawing lines or oblong patterns on your nails will make your nails look longer.
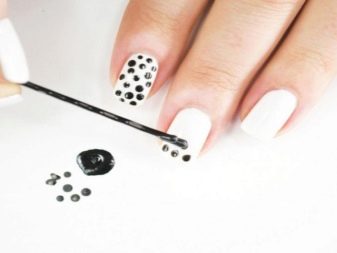
If you add rhinestones or sparkles to the pattern, you get a festive manicure.
Useful Tips
To achieve the desired result when creating a manicure yourself, it is better to follow certain rules.
- You need to use only high-quality varnishes that easily and evenly fall on the surface.
- To extend the shelf life of your varnish, you need to store it in a cool, dark place.
- You can use regular rubbing alcohol instead of an expensive degreaser.
- Do not let your hands hang while applying the varnish. It is necessary that the hands and elbows rest on a hard surface.
- Before applying a decorative layer to the next nail, be sure to dip the brush into the varnish.

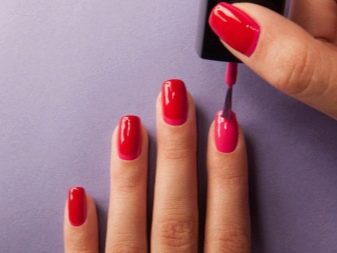

- Not having enough experience in creating a manicure on your own nails, you should not paint over the plates near the cuticle itself. It's okay if the stained area ends at a distance of 0.5 millimeters from the skin. But the nails seem longer than they really are.
- If the manicure is performed using gel polish, then during the main procedure you need to keep your hands and the coloring agent away from the drying lamp so that the paint does not set earlier than it should.
- You can easily bump your nails together or lightly touch your lips with your nails to see if the beautification product is dry.
- When the procedure is over, you should not run to wash the dishes, do the laundry or do other things. In order for a manicure to remain in excellent condition for a long time, it takes several hours not to have contact with liquid.

Now that you have familiarized yourself with all the intricacies and secrets, you can design your nails at home. Thus, your hands will always be well-groomed and decorated with fresh manicure. At the same time, you will save time and budget by avoiding beauty salon services.
For information on how to smoothly and accurately paint nails on both hands, see the next video.


